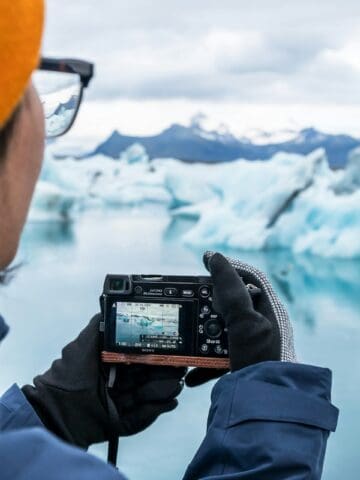
I've been curious about drones since the technology became affordable to the general public. Maybe it's the tech, perhaps it's the beauty of tropical beaches from a bird's-eye view, but after years of saying "someday," I finally decided to take flight.
The goal? Learn a new skill, capture incredible aerial shots from my travels, and eventually use that footage to elevate my stories on social media and Go Backpacking. But I also wanted to start small. Literally.
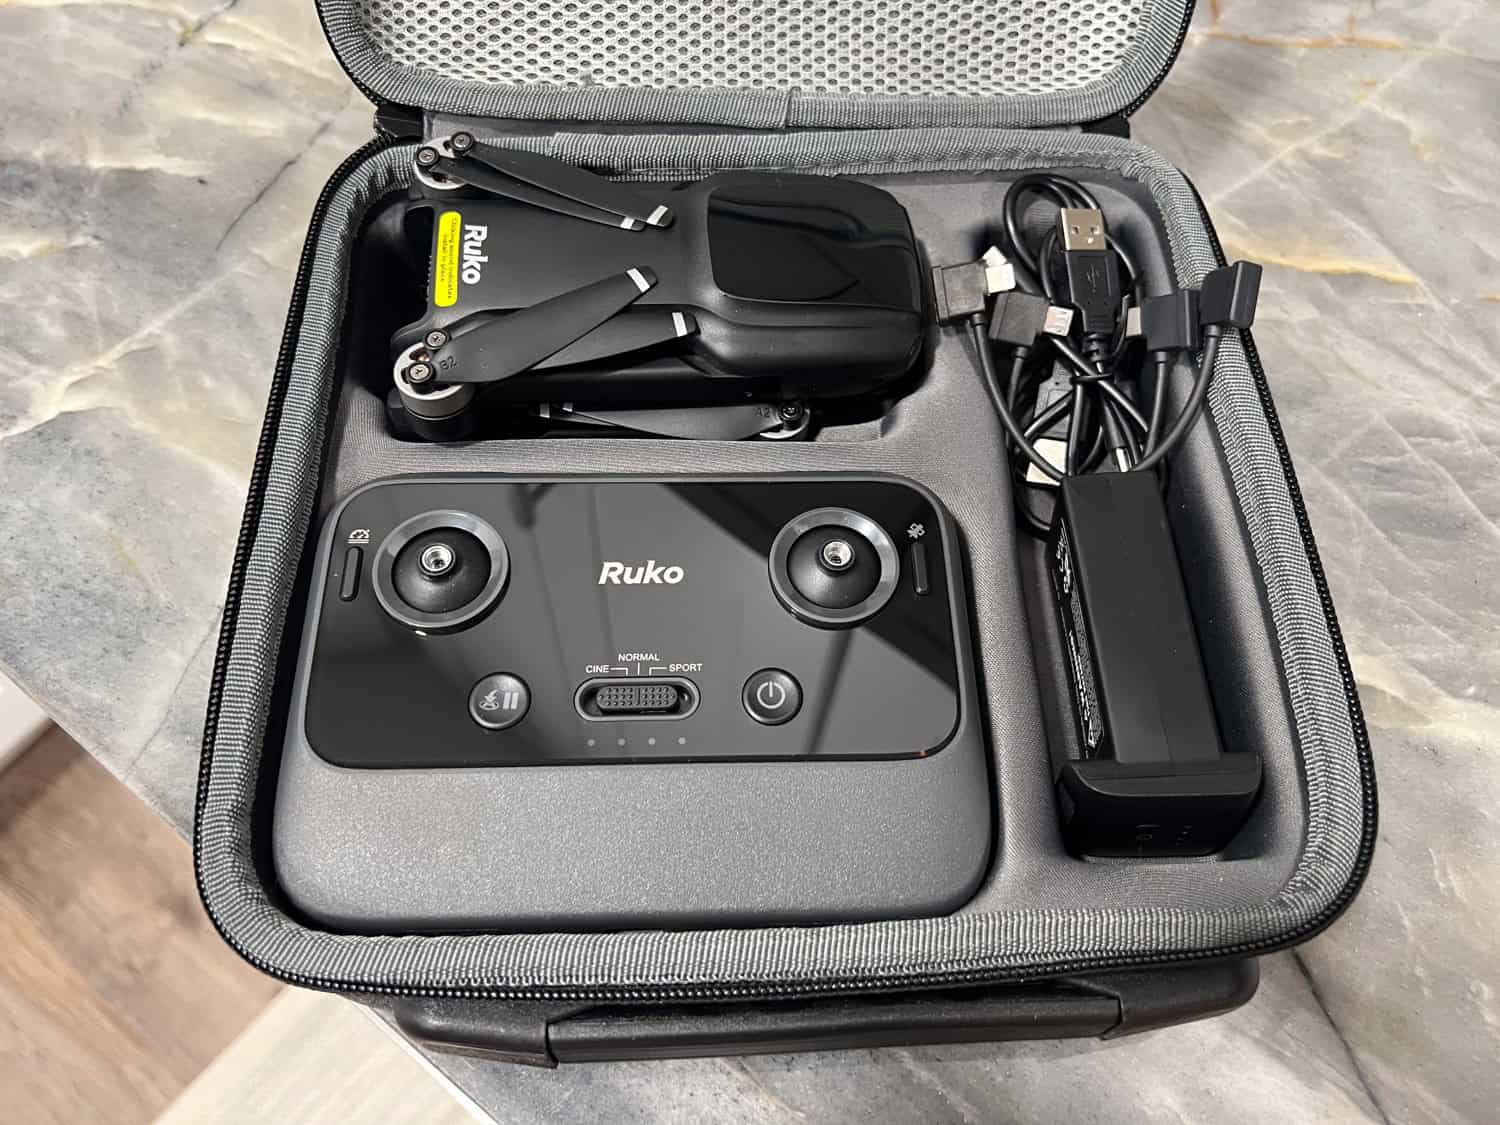
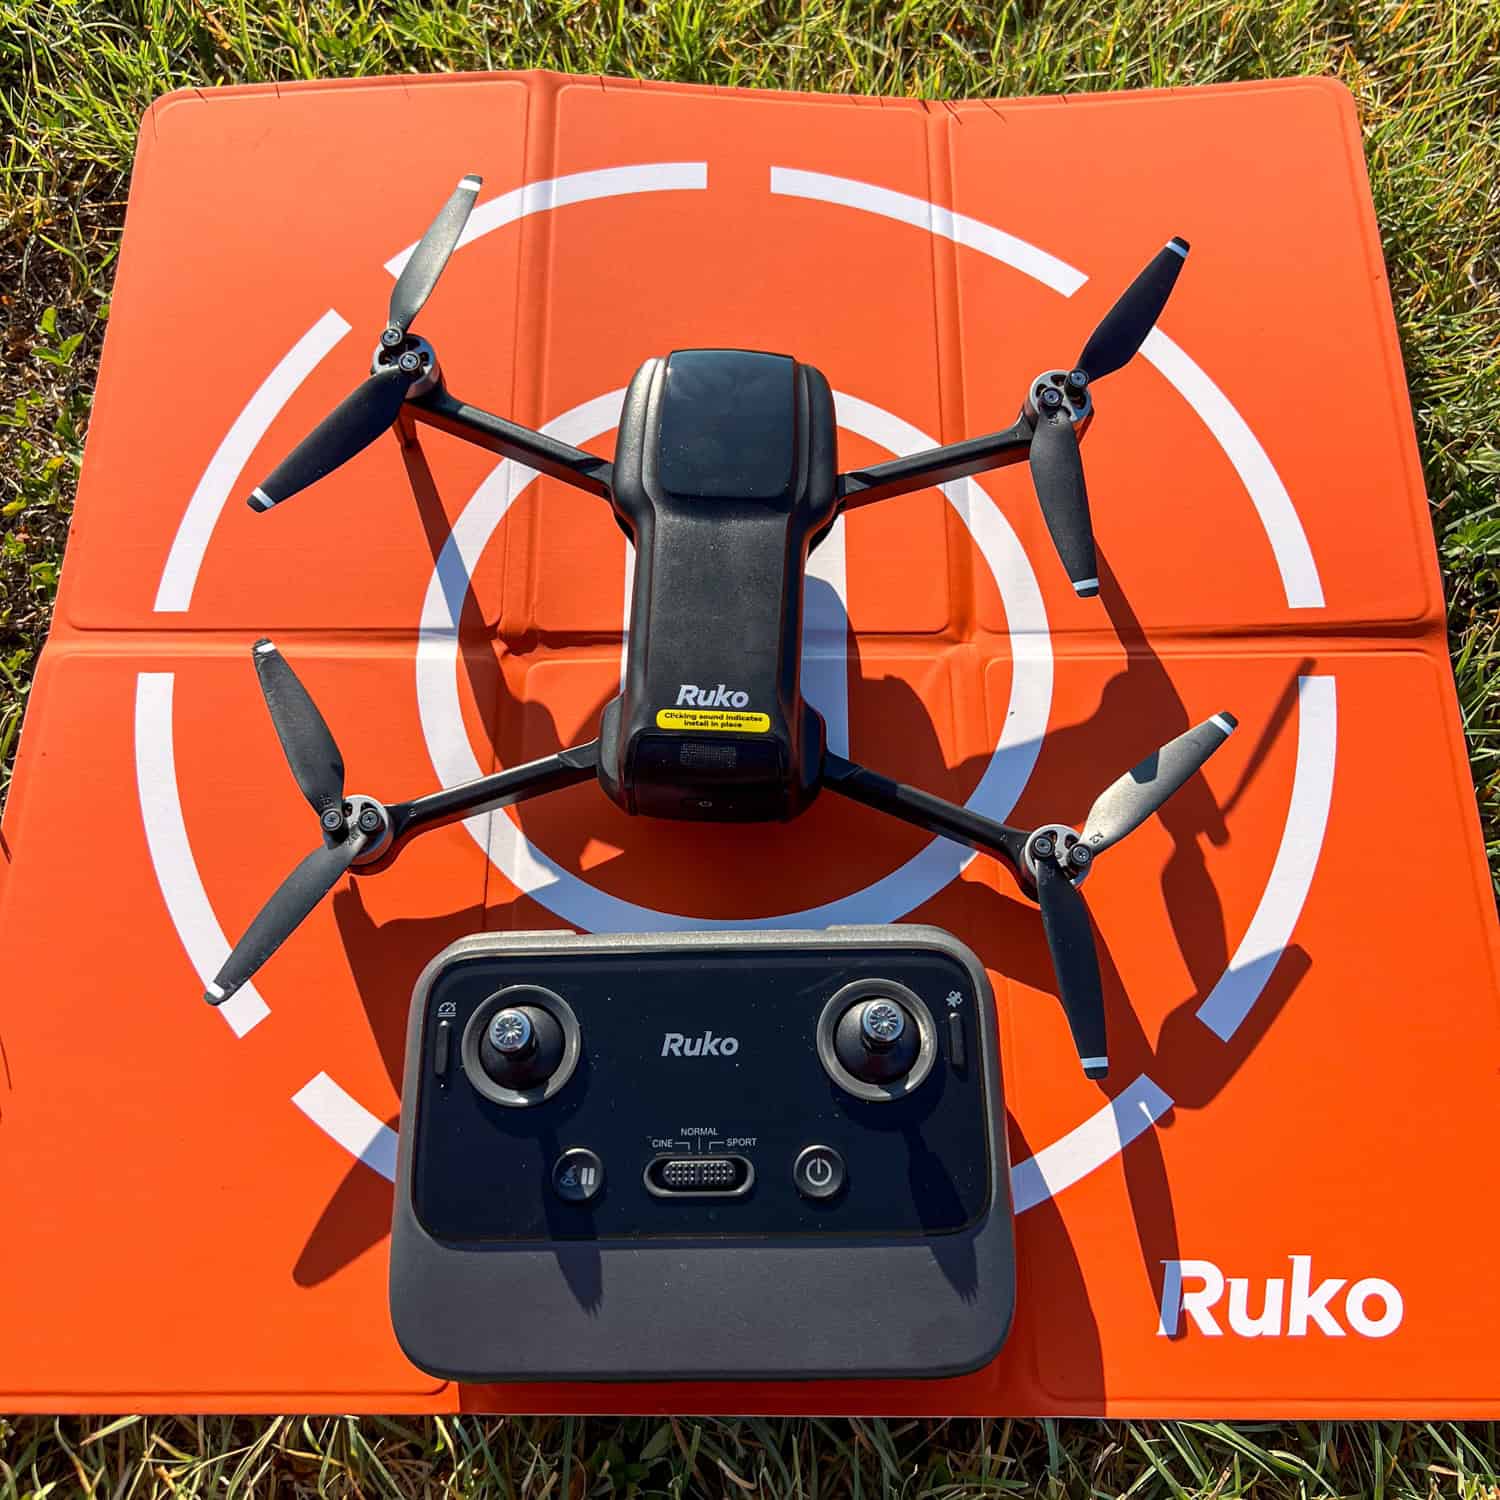
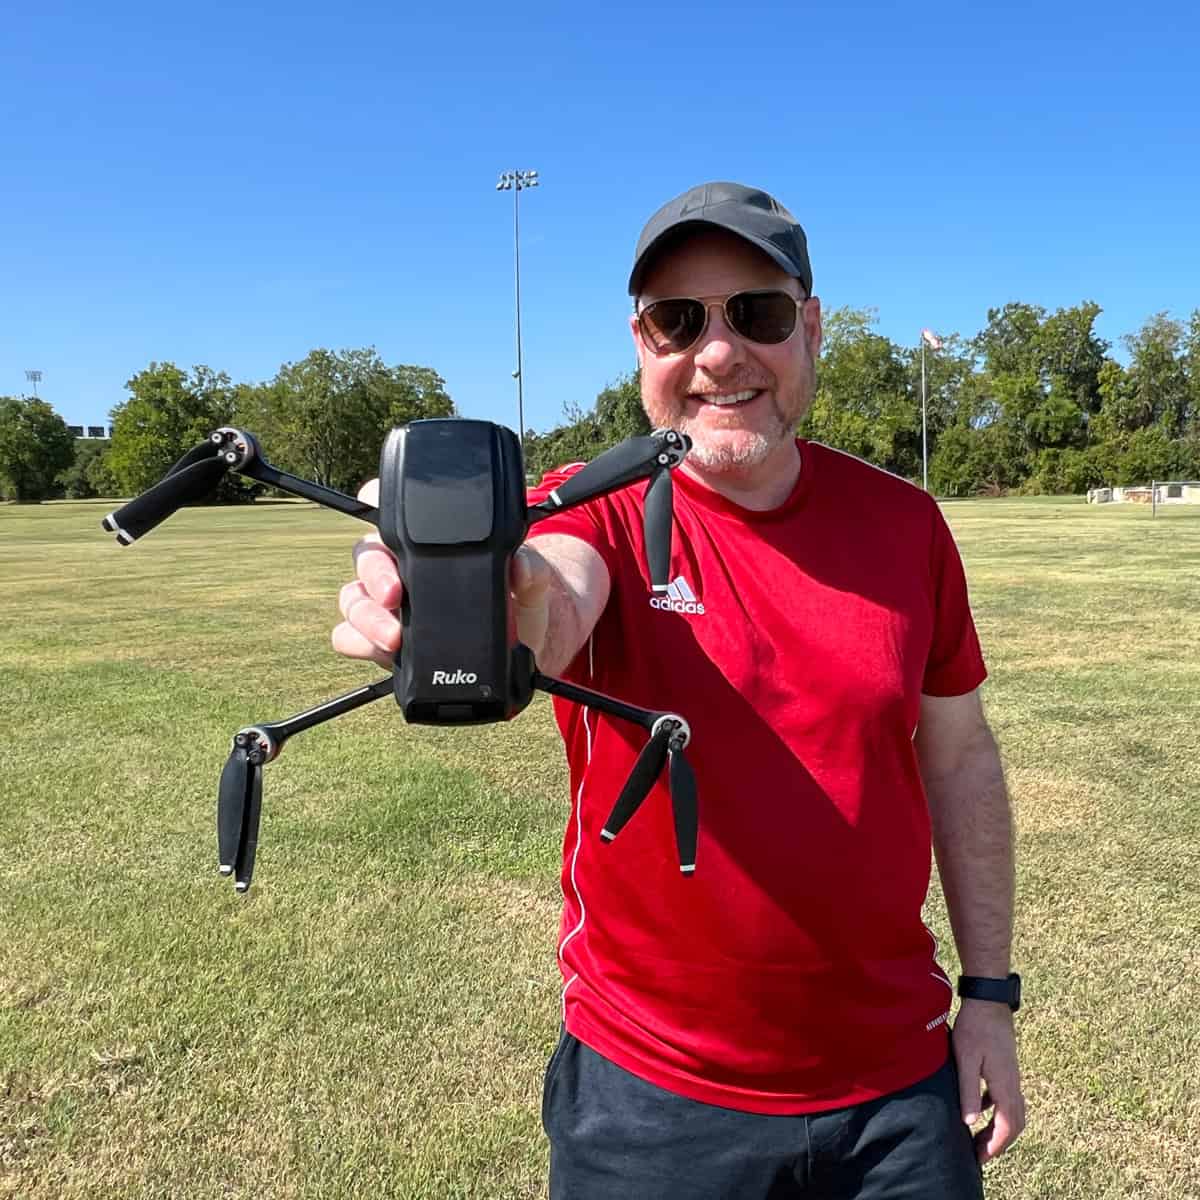
Enter the Ruko U11MINI 4K, a budget-friendly drone that weighs in at just under 250 grams. Not only does it feel less risky if I nosedive into the dirt, but it's also light enough to avoid the hassle of FAA registration.
Ruko provided me with the U11MINI 4K at no cost so I could share my firsthand experience learning to fly as a total beginner. All opinions are my own.
Table of Contents
A New Hobby Takes Flight
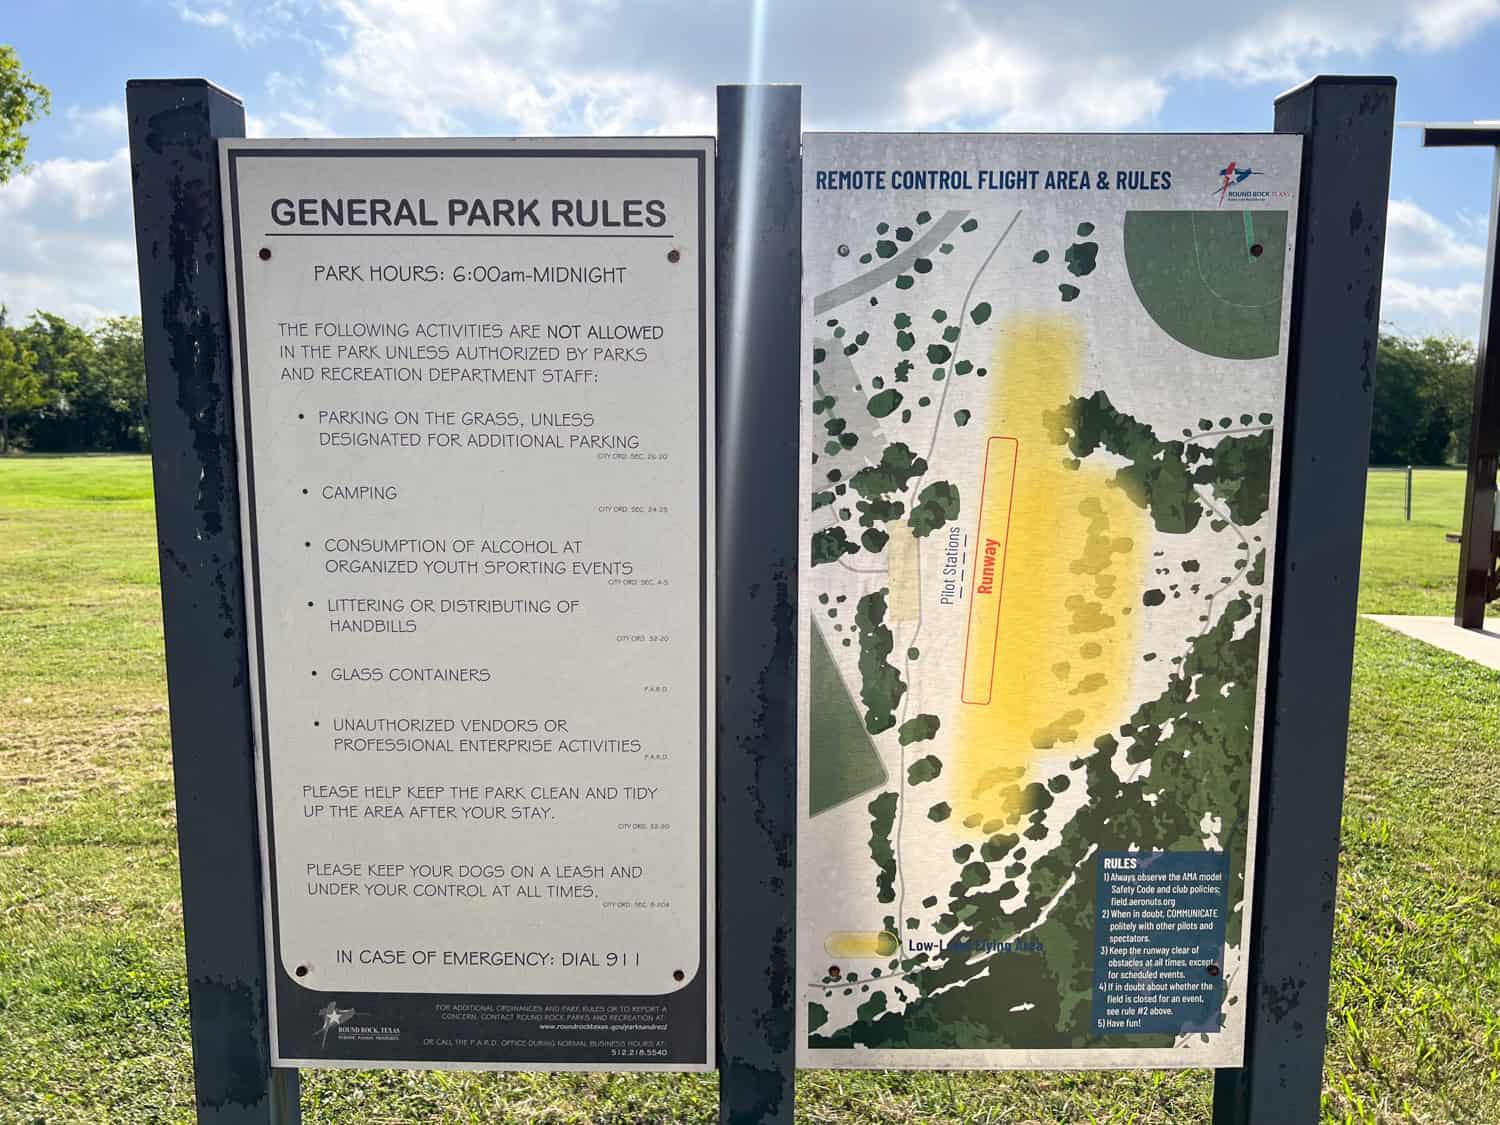
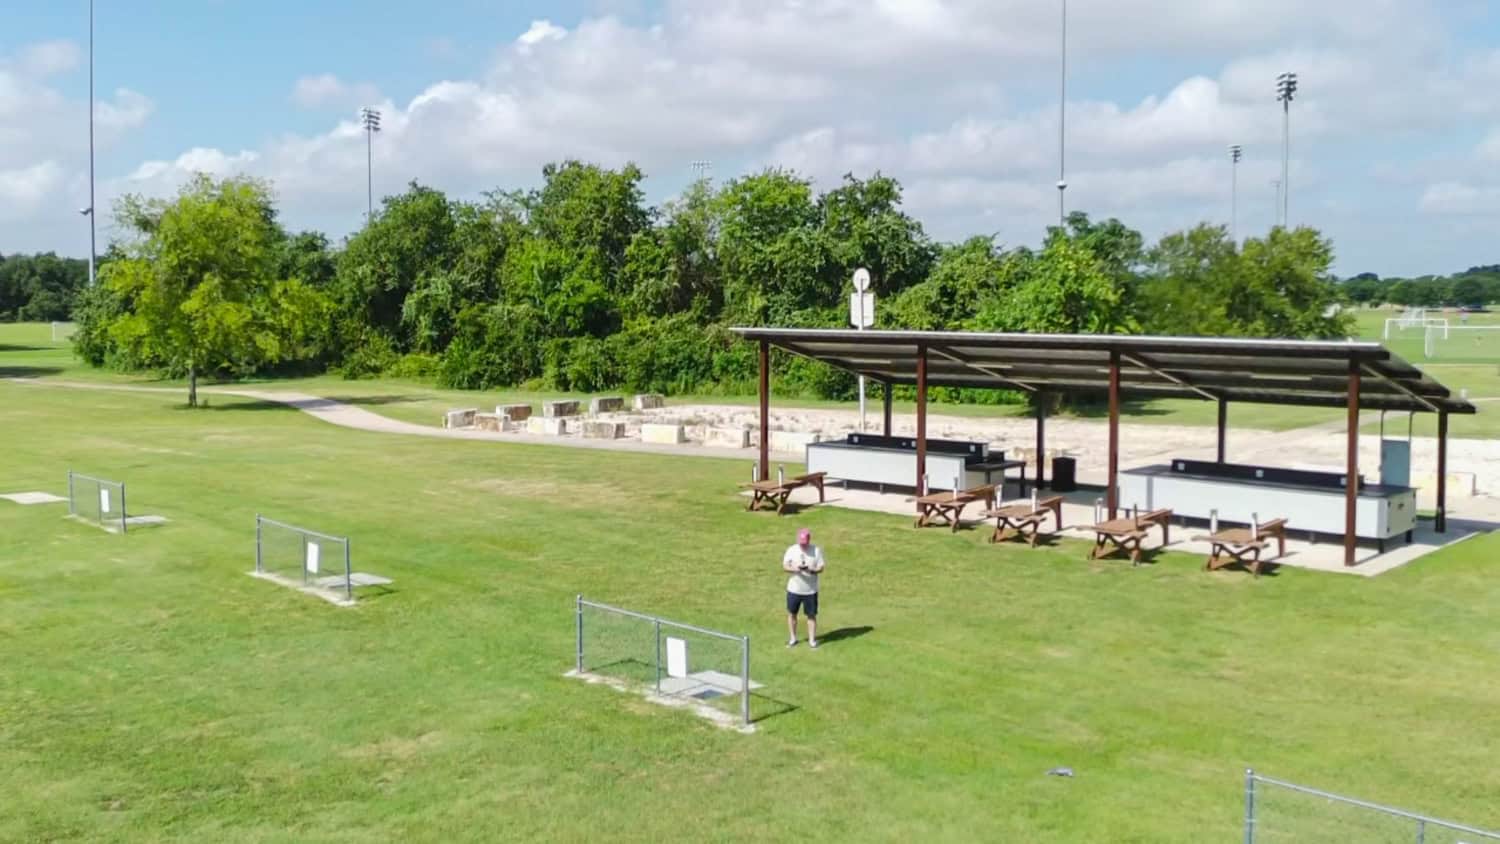
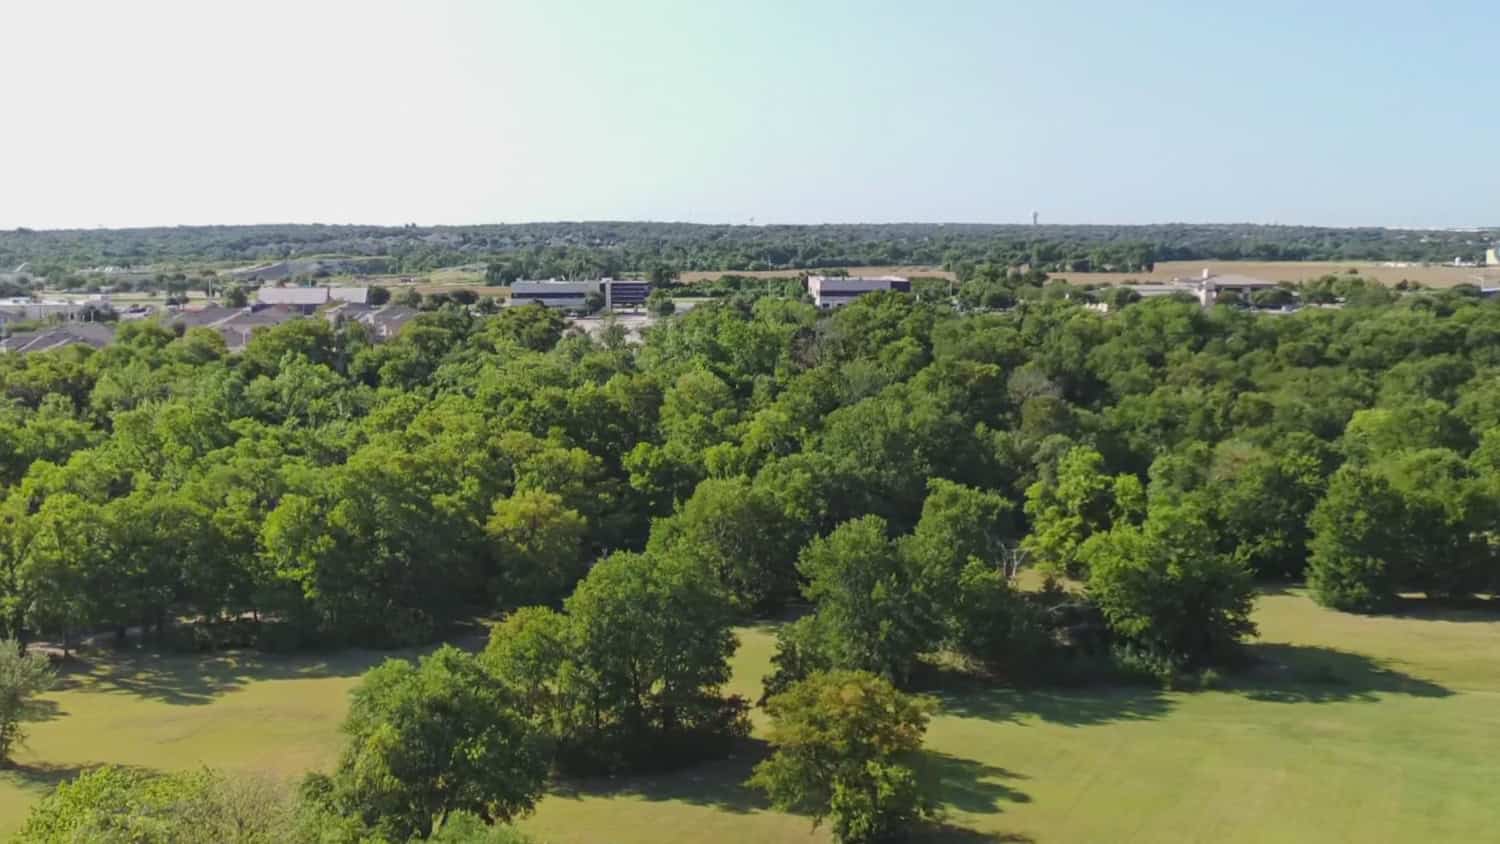
To practice safely, I found the perfect launchpad: Lone Star Aeronuts airfield at Old Settlers Park in Round Rock, Texas. It's an open, obstacle-free space reserved for remote control hobbyists.
The only catch? Flying there meant joining the Academy of Model Aeronautics ($85 a year), but I figured that was a small price to pay for peace of mind and avoiding a crash into a power line on day one.
With my drone, AMA membership, Recreational UAS Safety Test (TRUST) certificate, and fingers crossed, I set out on my first journey into the skies. Spoiler alert: it wasn't all smooth sailing, but it gave me a new appreciation for lift-off and learning curves.
Pilot's Journal
Week 1: First Flight Jitters
Day 1
Before setting foot at the airfield, I spent the day prepping like a student cramming for a test, reading the Ruko U11MINI 4K drone instruction manual. I charged the drone's batteries and the remote.
I'd been itching to fly for a while, so I was genuinely excited. But I'd be lying if I said I wasn't also a little nervous. I didn't want to crash on Day One.
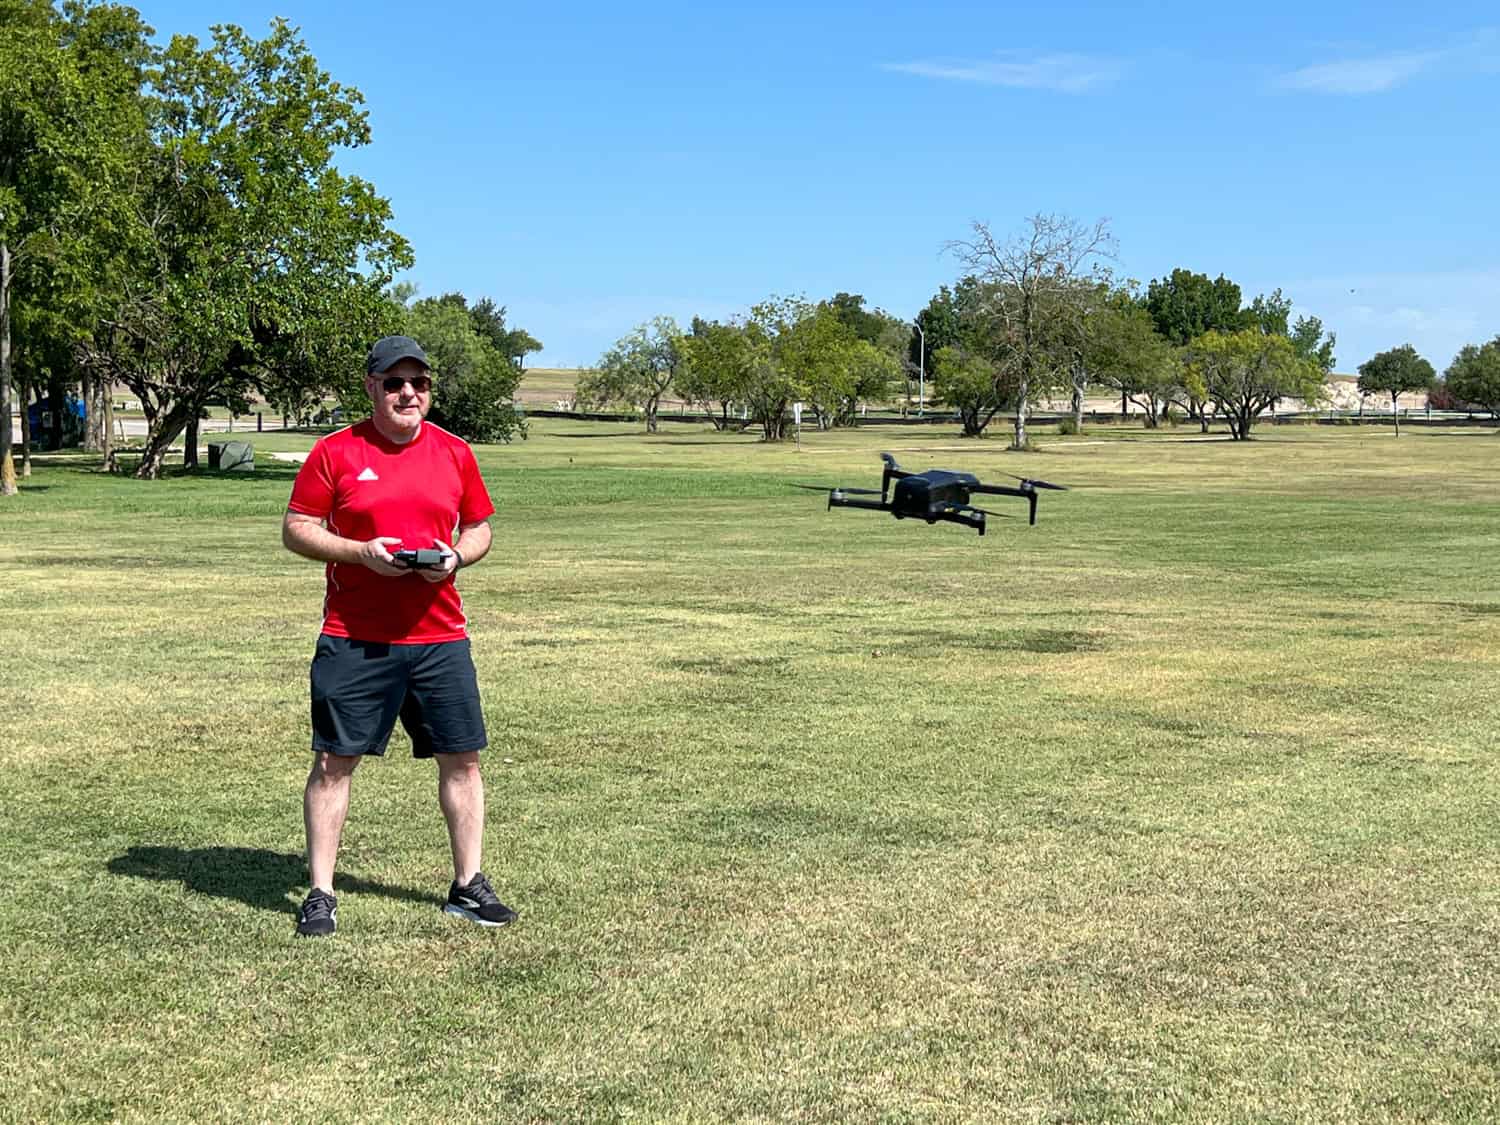
I chose a Monday morning for my first flight at Lone Star Aeronuts field, hoping for solitude, and it worked. The sky was a flawless blue, and I had the whole green space to myself.
Powering on the Ruko U11MINI 4K and its remote was easy enough, but I hit a snag when it came time to connect my phone to the drone via Bluetooth. The pairing is supposed to be automatic, but nothing was happening.
After a few minutes of fumbling, I called Ruko's customer support line, and to their credit, someone picked up right away. The solution was embarrassingly simple: the cable connecting my phone to the remote wasn't fully pushed in. Once I fixed that, the connection synced in 20 to 30 seconds. Crisis averted.
With the Ruko U11MINI 4K drone finally ready, I kept things safe by using Beginner mode, which automatically limits the drone's altitude and range. I launched manually, which was super easy, and then hovered for a while to get a feel for the controls.
When it was time to bring it back down, I tested the one-button auto-return-to-home function. It landed just a few feet from its takeoff point. Not bad for a first try.
However, I then became a little overconfident. I attempted a manual landing on a small concrete slab and, well, botched it. The drone tipped over and scraped its propellers against the hard surface. Nothing serious, but a lesson learned: precision landings take practice.
Note: The Ruko U11MINI 4K comes with one set of replacement propellers, but the scratches were superficial, so I didn't replace them.
After about 75 minutes in the field, I decided to call it a day as the summer sun was getting higher and more intense. There still appeared to be some charge left on the drone's battery, so I didn't recharge it when I got home-big mistake.
Day 2
The next morning, excited to take the U11MINI 4K drone out again, I made the drive to the airfield. The drone powered up correctly, and it initially appeared to have a sufficient charge in the battery. I took off manually.
Small birds were flying around, making me nervous, so I quickly auto-landed the drone (it first rose to 65 feet, as per its standard protocol). It missed the landing zone by a foot and landed in the grass.
The battery was off when I picked it up, so I couldn't fly again. That was the end of a swift session, and I learned my lesson. Always recharge your drone's batteries before flying it.
To make takeoffs and landings easier, I ordered one of Ruko's foldable, weighted landing pads from Amazon ($20). This would allow me to take off and land with plenty of grass around, a much more forgiving surface than asphalt or concrete.
Week 2: Gaining Confidence
Day 3
The following week, I was once again excited to drive out to the airfield. It was partly overcast when I left home around 8:30 a.m. When I reached a section of elevated highway, I could see storm clouds and rain.
Before I could decide whether to keep driving to the park, it started drizzling. I had no choice but to turn around and try again the next day.
This was especially frustrating given my short practice due to a low battery. I was making some unforced errors that were wasting my time.
Day 4
It was a Tuesday morning, and another bright, blue sky awaited me at the Lone Star Aeronuts field. Once again, I had the place to myself. This time, I showed up with a freshly-charged battery, a landing pad, and a little more confidence.
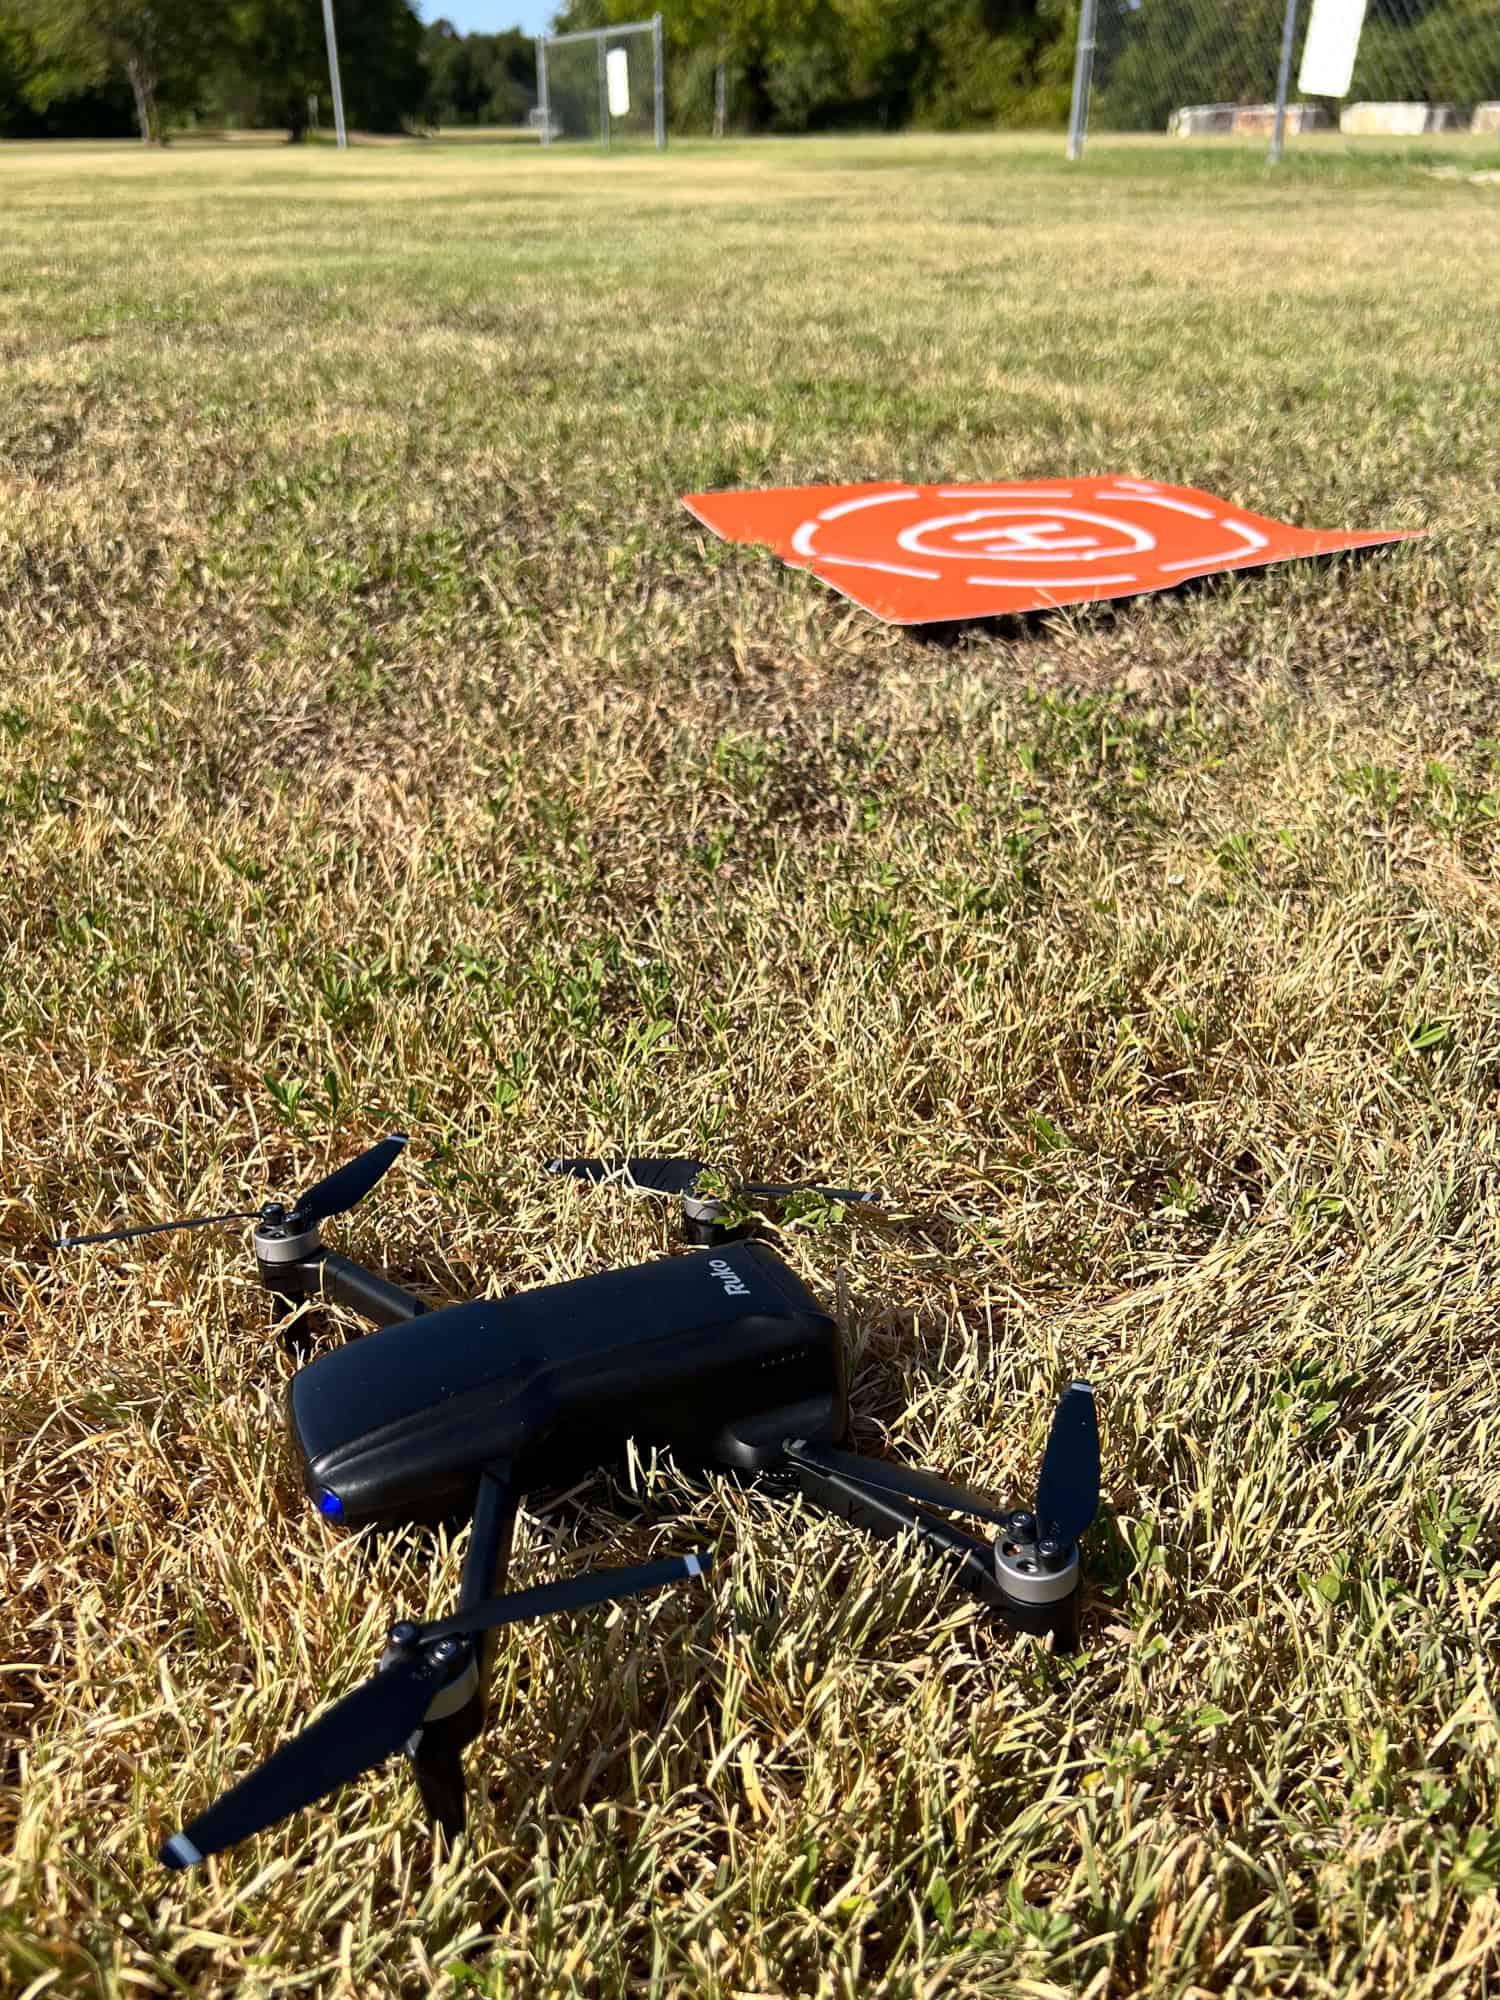
Throughout the session, I launched and landed the Ruko U11MINI 4K drone three times using the auto-land feature. While it never quite hit the bullseye on the bright orange landing pad, it consistently touched down in the grass surrounding it (still a safer bet than the concrete slab from Week 1). No damage, no problem.
Feeling bolder, I gave manual landing another try and this time, nailed it right on the pad. It was a small win that felt huge. I felt like I was flying the drone, not just letting the tech do it for me.
I also started experimenting with Sport mode and Cine mode. Sport mode enhances the drone's responsiveness and speed, making it ideal for zippy, dynamic flights.
Cine mode, on the other hand, slows everything down for smoother, more cinematic footage perfect for practicing camera movement and steady shots. I didn't shoot much video, but I enjoyed seeing how each setting affected the drone's handling.
Another milestone: I turned off Beginner mode, giving myself more room to roam in both distance and altitude. It felt like stepping out of a fenced-in yard and finally being allowed to run free, though I still kept a close eye on the flight data.
The bottom of the Ruko app on my iPhone display shows real-time data for distance, altitude, velocity, and ascent/descent rate. As I flew the drone higher and farther (while still maintaining a necessary line of sight), it became a helpful tool for monitoring how far I was pushing the drone and how stable it was in the air.
By the end of the session, I felt a noticeable shift. The nervousness of Week 1 was giving way to the excitement of improving my skills. It was a fun session, and I was already looking forward to next time.
Week 3: Higher, Farther
Day 5
Another solo session under sunny skies, with just a light breeze rolling across the airfield. I've started to appreciate these quiet mornings just me, the open field, and the faint whizz of the drone blades overhead.
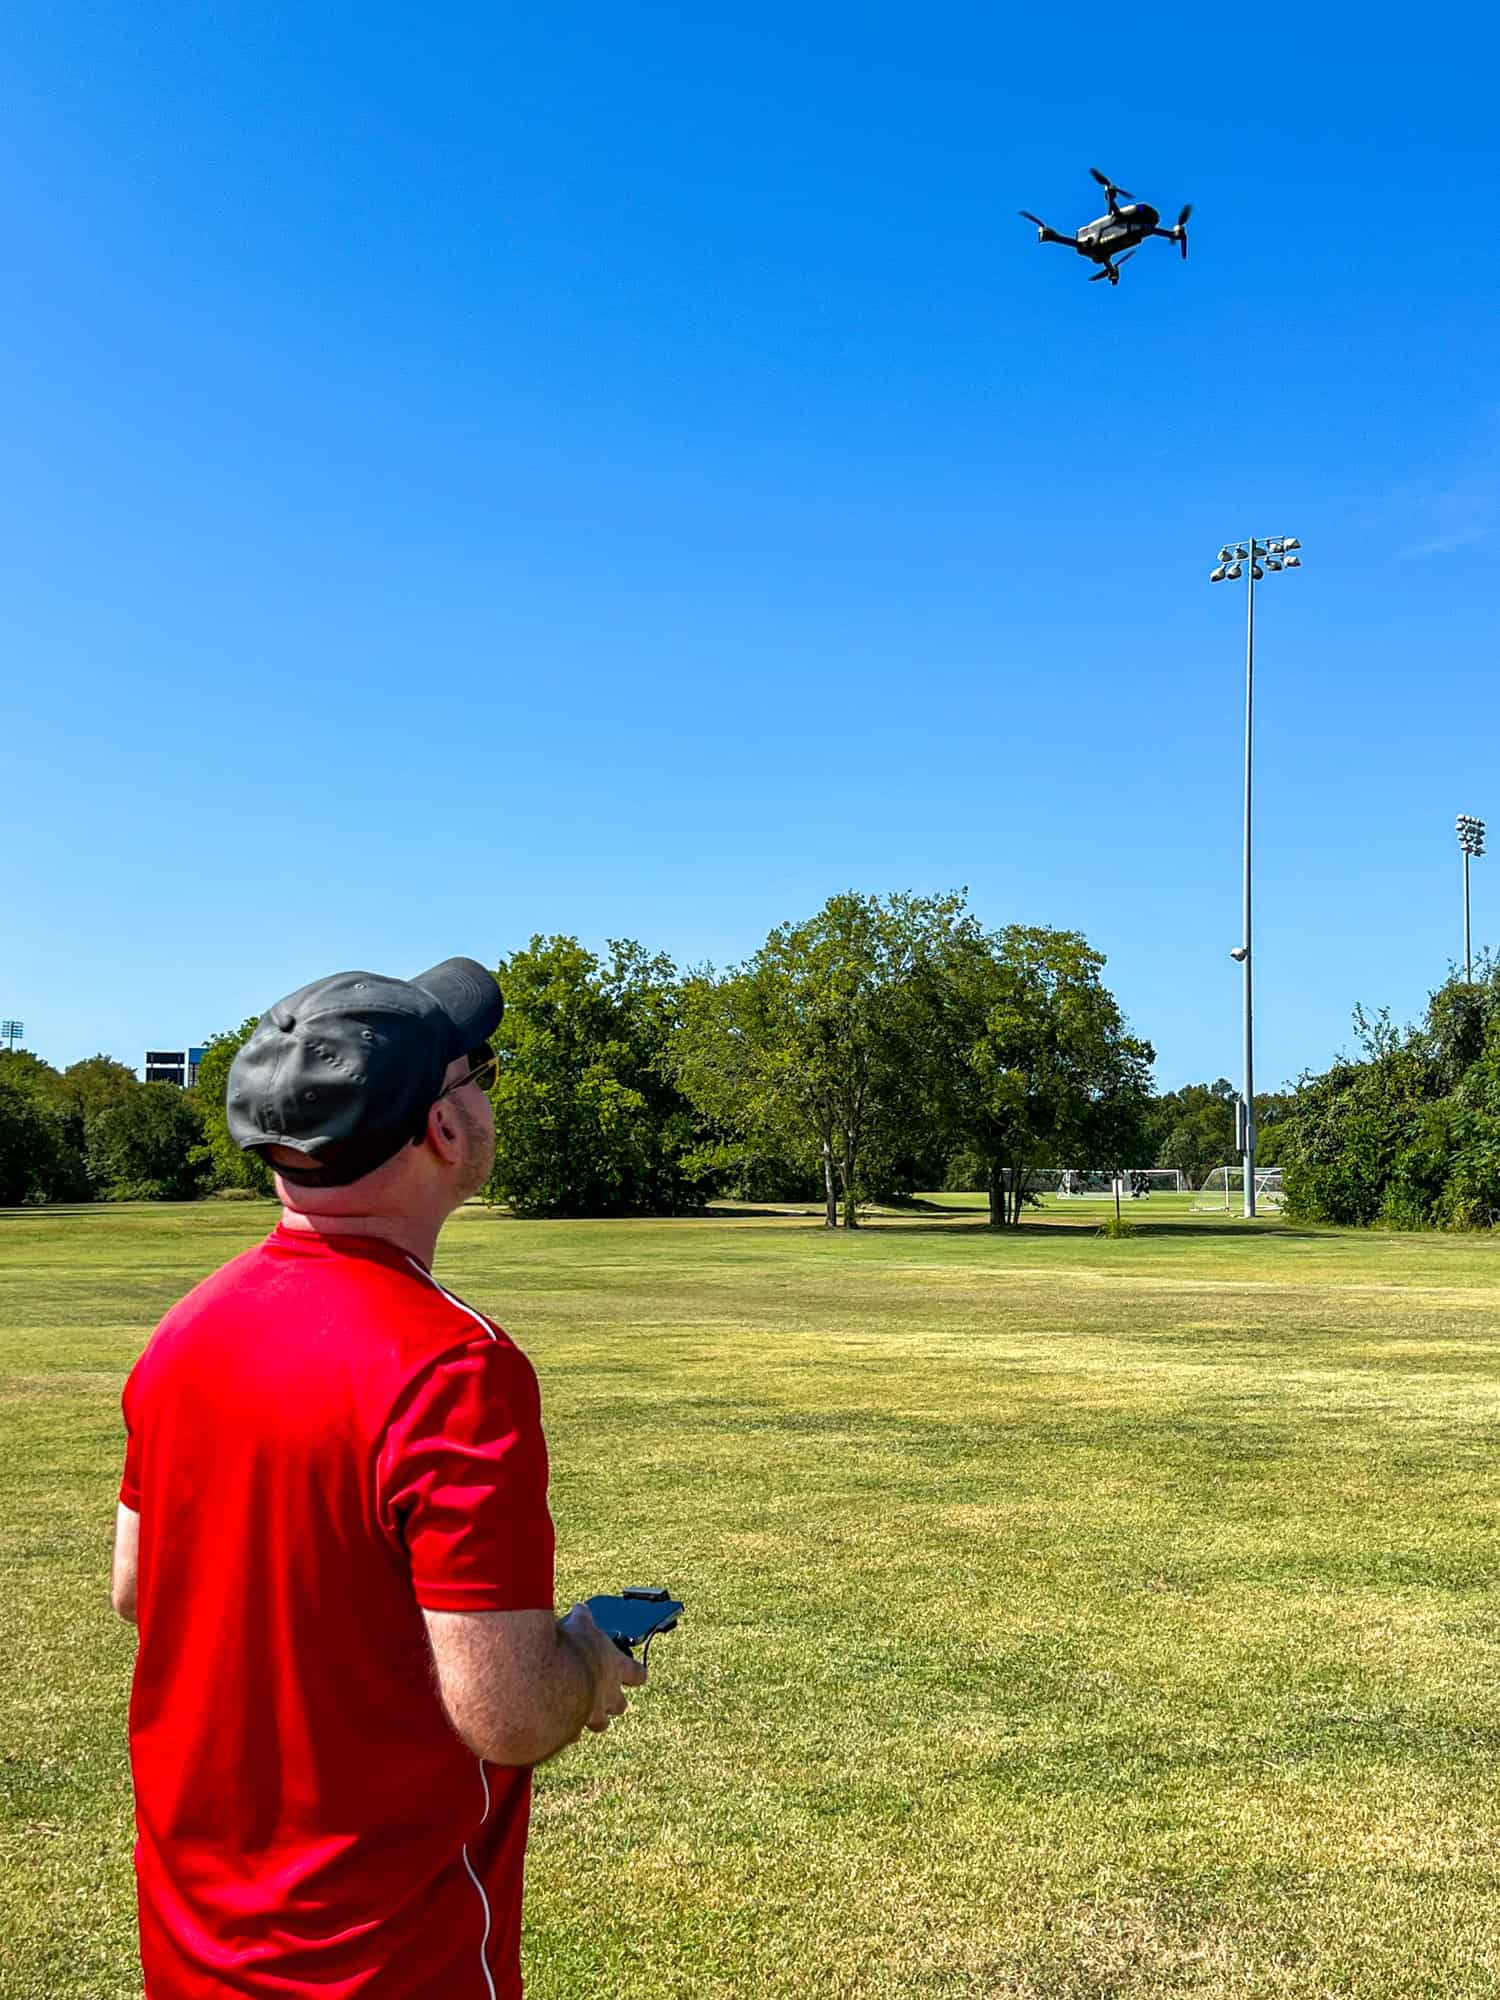
This week, I wanted to test the limits a little more. I flew a complete battery cycle, rotating through Normal, Sport, and Cine modes to see how each handled as I pushed the drone higher and farther than before. I increased the maximum altitude to 200 feet and the maximum distance to 500 feet.
Watching the drone hover at that height, just a tiny black dot in the blue sky, gave me a little thrill (and a bit of anxiety). Part of my goal for the session was to test the auto-return-to-home function that activates when the battery runs low.
As the battery charge graphic on the app's display dropped, the drone started its return as expected. Instead of descending smoothly like it had on earlier flights, it seemed to hover in place longer than usual. My nerves kicked in.
Rather than wait it out and risk the drone crashing, I took control and brought it in myself. I landed safely, but the moment reminded me that I still have plenty to learn, not just about flying, but also about trusting the technology.
My piloting skills are improving, but landings still give me a nervous feeling. It's a delicate balance of confidence, muscle memory, and not overcorrecting. Still, each session is getting smoother, and I'm feeling more confident.
Week 4: Putting It All Together
Day 6
On my most recent session, I had company for the first time. I invited my girlfriend, Kel, to join me at the airfield. I was excited to show her what I'd been practicing and give her a behind-the-scenes look at how easy the Ruko U11MINI 4K is to fly, even for novices like me.
After a quick explanation, I powered up the drone, manually launched it, and hovered it at eye level so she could take a few photos. It felt good to have someone there to share the experience with, and it gave me a small boost in confidence.
I showed Kel how the auto-land feature works, and true to form, the drone gently settled itself near the pad. I didn't try anything too flashy. It was a calm and controlled session, and a reminder of how far I've come since those first nervous takeoffs.
Takeaways From a First-Time Drone Pilot
Learning to fly a drone wasn't as intimidating as I feared, but it takes patience, problem-solving, and managing the inevitable missteps.
Still, every flight teaches me something new, whether it's understanding flight modes, fine-tuning my landings, or learning to trust the drone's return-to-home feature.
If you're new to flying, here's what I'd say:
- Read the manual, but be ready to learn by doing.
- Select a safe and open practice area where you won't feel rushed or observed.
- Start slow. Beginner mode exists for a reason.
- Don't skip battery checks.
- Have fun! The sense of accomplishment builds quickly with each successful flight.
Ruko U11MINI 4K Drone: Key Specs
Here's a quick overview of what you get with the Ruko U11MINI 4K:
- Weight: Under 249 grams (no FAA registration required) and small enough to fit in your pocket.
- Camera: 8K picture and 4k at 30 frames per second for video, thanks to a 48 megapixel ½" CMOS sensor. The camera is on a 3-axis gimbal for smoother footage.
- Flight Time: Up to 32 minutes per battery (one battery is included).
- Transmission Range: Up to 20,000 feet (3.78 miles).
- Speed Modes: Normal, Sport, and Cine.
- Return-to-Home: GPS-assisted auto return at the push of a button, on low battery, or signal loss.
- App Display: Real-time metrics for altitude, speed, distance, and more.
- Follow Me, Waypoint, and Orbit Modes (I haven't tested these yet.)
- 3 Data Cables (Micro USB, USB-C, and Lightning): To connect the remote control to your smartphone.
- 3 USB Charging Cables
- Extra Set of Propellers
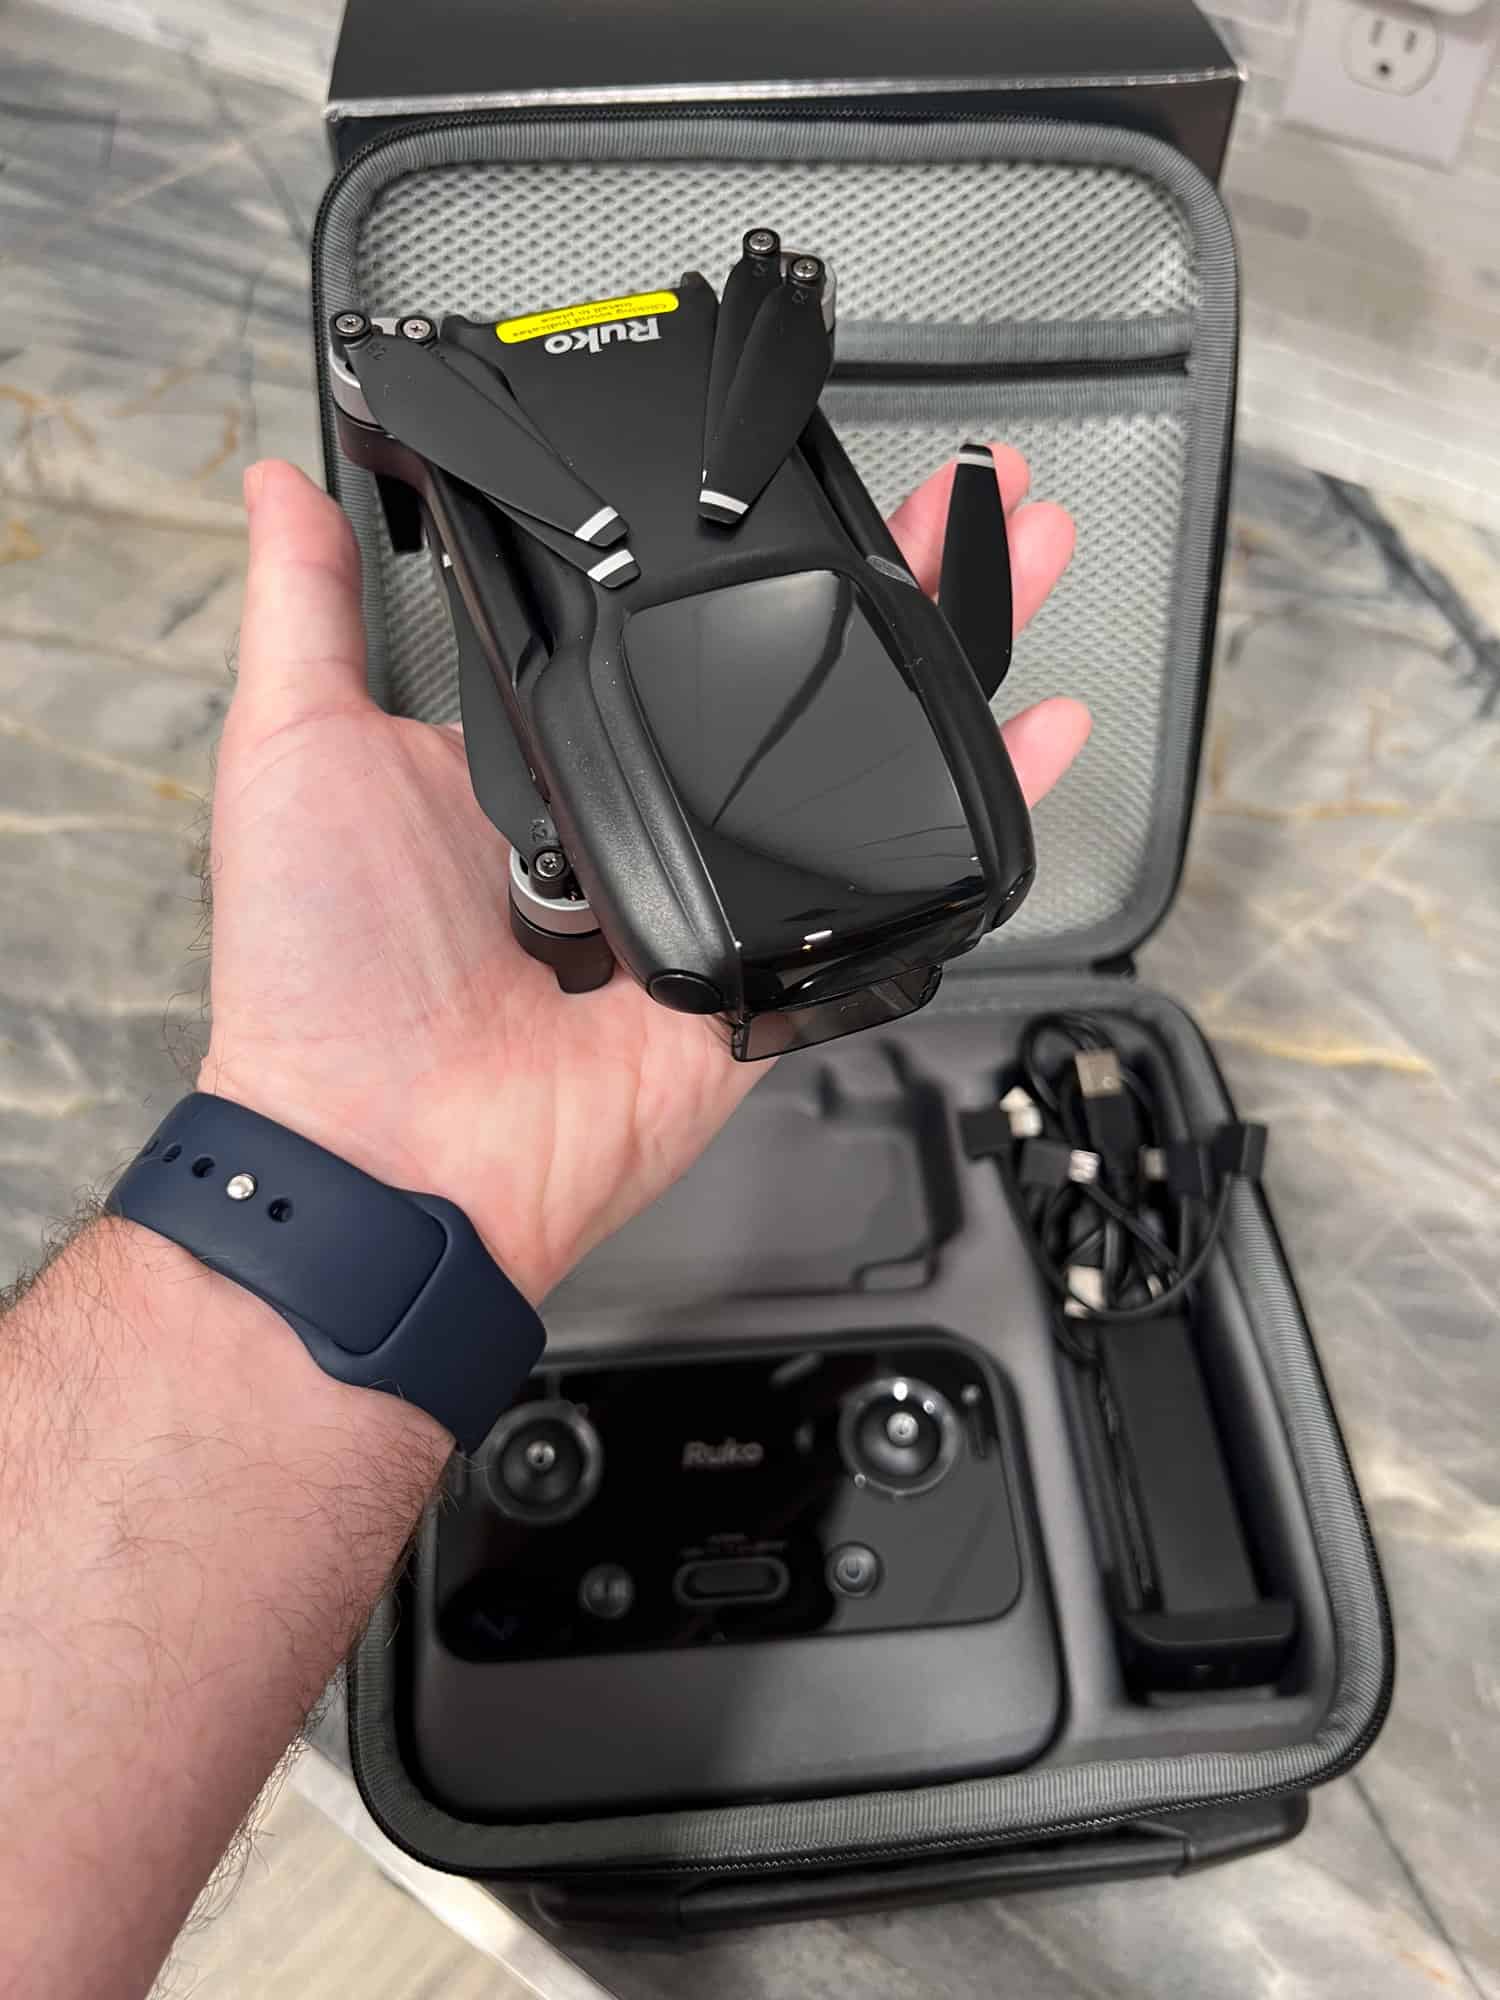
- Padded Carrying Case
What's Not Included
The drone kit does not include the AC charger plug you'll need to connect the USB charging cable from the drone battery and remote control to a wall outlet.
Ruko's recommendations in their instruction manual are to use a 5V/3A charger. It should be equal to or less than 18W for charging the drone battery and equal to or less than 15W for charging the remote control.
Based on this information, I found and purchased a package of two 5-volt 3-amp 12-watt USB chargers via Amazon. This allowed me to charge the battery and controller simultaneously.
To charge and fly the drone out of the box, you'll either need to have a charger that meets Ruko's requirements or buy a new one at the same time.
Would I Recommend It?
For beginners like me, the Ruko U11MINI 4K hits a sweet spot. It's affordable at $231.99, easy to set up, and feature-rich without being overwhelming.
It offers enough tech to grow into (multiple speed modes, GPS functions, and a 4K camera), but it won't break the bank or your heart if you crash.
It's not the most advanced drone on the market. And serious photographers might eventually want a drone with night mode or longer flight time. But for hobbyists, travelers, or content creators looking to dip their toes in the drone world, it's a solid pick.
Conclusion: Your Turn to Take Off
Learning to fly the Ruko U11MINI 4K has been fun. Becoming an adept drone pilot has the potential to add a whole new perspective, both literally and figuratively, to how I share my travels.
I'm still just getting started, but I'm excited to take this drone on the road eventually. If you're drone-curious and want to ease into flying without a steep learning curve or hefty price tag, the Ruko U11MINI 4K is an excellent place to begin. To learn more and read verified customer reviews, visit Amazon.
_____
Disclosure: Ruko provided me with the U11MINI 4K at no cost so I could share my experience learning to fly as a beginner. All opinions are my own.