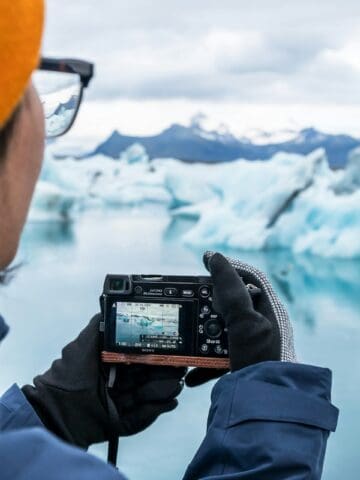
Travel photography is one of the most exciting aspects of being a backpacker. I cherish the opportunity to capture life as it happens anywhere I go.
I have been on the move for half a decade, traversing nearly every continent with only a backpack of necessities. However, one of the things I always have with me is my camera gear.
My love for travel photography is all about the compassion and motivation I gain while witnessing the world through a lens. Below, I have outlined four rules of travel photography that I've developed over the years of perpetual travel.
Table of Contents
Travel Photography Tips: 4 Unwritten Rules
Here are the most important things to know to improve your experience traveling with a camera and the quality of your work.
1. Choose a Camera
My best advice when choosing a camera is to pick one brand and roll with it. The classic photog debate, Canon vs. Nikon, can only be determined when you determine your preferences. Each camera has strong suits and faults.
There are thousands of articles online featuring the most intricate details of any camera you could be interested in, but trust me. You can only begin to learn the real powers of a camera by using the same one tirelessly.
One of the biggest trends in travel photography is mirrorless cameras. They are more affordable and easier to travel with (lighter, smaller, point-and-shoot, etc.). Perhaps a novice photographer (or even veteran photogs) would prefer the convenience of going mirrorless.
A little-known tip about camera shopping is that most cameras can be rented. Don't be afraid to rent for a day or two to test-drive a particular camera before you spend upward of $1,000-$3,000 on it, especially for high-spec DSLRs.
2. Know When To Bring a Tripod
Over the years, I have learned when to use tripods and when they become a nuisance to lug around.
Generally, I like to follow these guidelines when determining whether or not I will bring a tripod with me:
- If I am taking a video that requires a steady shot (this is usually only for project-based videographers/documentarians, not often beginners).
- If I am taking long-exposure shots (usually nighttime photography or continuous motion).
- If I am taking long-distance shots (usually wildlife or nature photography).
If you do not foresee taking these kinds of photos, I recommend leaving the tripods behind. They just become a burden if they are not necessary.
3. Master Editing Software
The quickest way to take your photography game to the next level is through editing. Maximizing results through editing is the best way to improve your work. Similar to choosing a camera brand and sticking to it, I believe it is best to master one photo editing software.
The only way to develop a style for your craft is to get comfortable using the same tools. There are many photo editing software programs, and everyone has their preference.
I recently began using a photo editor for PC by PhotoWorks. Among the many things I like about this software and have gotten used to, it has features that match or exceed those of other editors I've used in the past.
I love using the Curves feature on PhotoWorks' editor. Every change is smooth and natural, making using an often-complicated tool a breeze! I also liked that it allows you to automatically edit your photos with one click of a button. Going through thousands of pictures from a trip can be draining, so seeing results with one click was exciting.
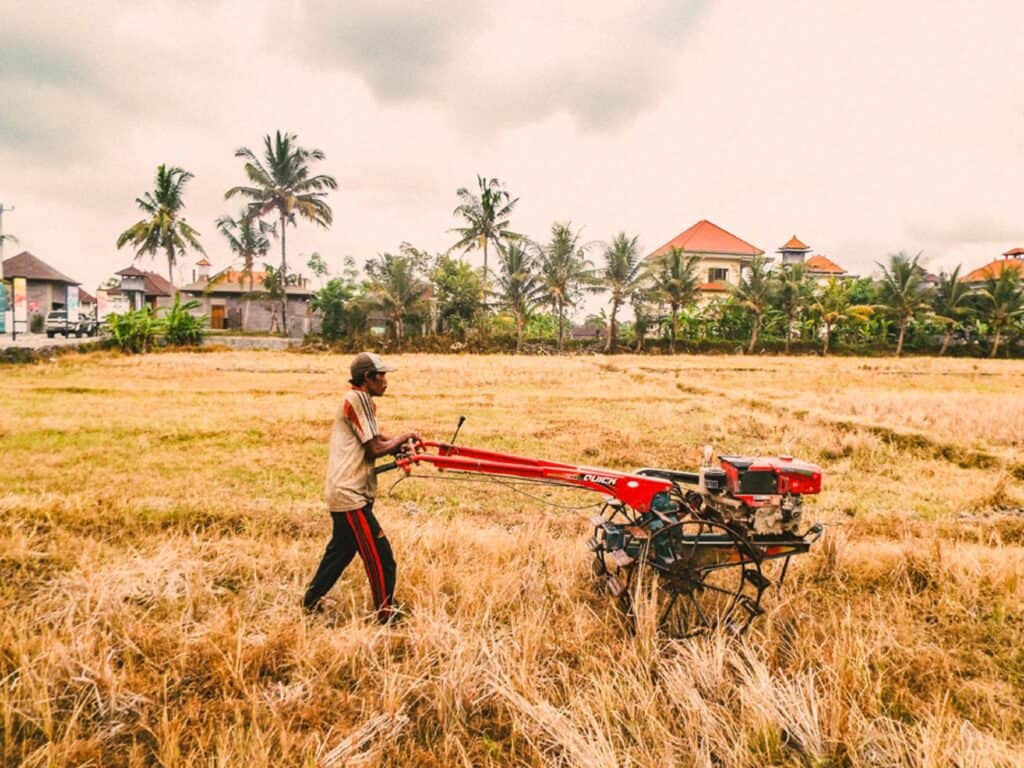
As you can tell, the photos in this story were taken in dramatically different locations and on other days. Still, they could swiftly be edited using the intelligent software and the "Change Background" tool, which is unique to this software.
Even novice photographers can learn to edit their travel photos from the get-go. The sooner you start, the better your work will become. The best part of PhotoWorks is its affordability compared to other editing software. Its filters are even better than those of top competitors at a fraction of the price!
It probably isn't the first thing novice photographers want to spend their money on, but becoming a master editor is a must for anyone serious about taking their passion to the next level.
4. Figure out which accessories you need to bring
Lastly, as a novice photographer, I recommend taking a few trips before purchasing a wide range of photo accessories.
Even after five years of capturing travel experiences, I try to bring the bare minimum, which is:
- Camera bag
- Camera lens
- SD card
- Lens cap
- External hard drive/ USB stick
- Extra camera battery/charger
- Tripod (see above)
- Lens cloth
Anything more than this is a bit much, in my opinion. As your skills advance and you become more serious about the art, you may find yourself with a bigger bag of accessories, but until then, this list should be plenty.
It's a learning process. No matter your experience level or what tools you use, your primary focus should always be to hone your craft. Get interested in travel photography more than just as a way to brag about your trip on Instagram. Make it essential for you.
Once you have a deep-rooted interest in capturing life and moments around the world, your skills and dedication will increase, too. Travel photography is a hobby; you are rewarded for what you put into it. So enjoy it, and you will be happy with the opportunities it offers.
______
This story was brought to you in partnership with AMS Software.