A year ago, when I opened Go Backpacking up to contributors, I got an email from Troy Floyd, an American travel photographer who wanted to share some of his ideas and images. The instant I saw his photography, I knew I wanted to work with him.
Over the next several months, I began to feature portrait photos from the "Faces" series on his blog, FOGGOdyssey.com.
I admired how he got up close to people, captured the details in their faces, and used editing software to enhance the original photos, making them more vibrant and colorful.
I first used Adobe Photoshop Lightroom during my trip to Rwanda this past April.
As it was a social media press trip, my group included Eric Lafforgue, a BBC photographer on assignment for Lonely Planet, and Peter Stuckings, a freelancer based in Vietnam.
Simply being in their presence improved me as a photographer. However, I still figured editing photos was over my head.
To further grow as a photographer this year, I bought a Canon S90 before leaving for Colombia in June.
My friend Jodi at Legal Nomads recommended it, and it also allowed me to shoot in RAW. This meant I would have more leeway to edit my photos than if I shot in JPG, should the desire arise down the road.
And it did arise, after returning to Medellin and hanging around Troy for 3 ½ months. It was like hanging around Eric and Peter, but for a prolonged period.
Not only would I be with Troy while he took photos, but I'd also see what they looked like after he edited them.
Before he left Colombia a few days ago, we sat down together, and he gave me a tutorial on Lightroom and file management (which becomes essential when you're amassing tens of thousands of photos).
Below are some of my early attempts to spruce up old travel photos with Lightroom's magic.
As I found my style and voice through writing here every day for close to four years, I know I will eventually develop my photo-editing abilities too.
Here are a few before/after examples from my experience getting started with Lightroom.
And be sure to tell me what you think! If you have any feedback (positive or constructive) on the "after" photos, please share it in the comments section below.
Examples
French Polynesia
This was supposed to be my "making you jealous from a beach in the South Pacific" photo, but overcast skies and a Canon PowerShot 6MP camera (on a low-quality setting) left me with a dull result.
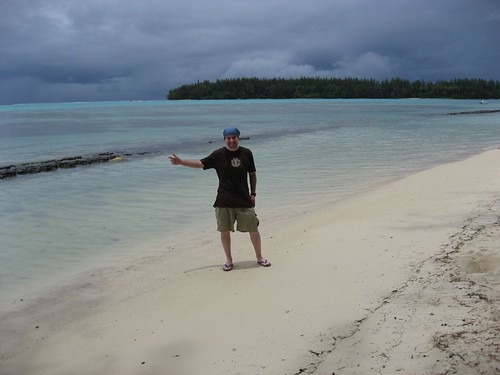
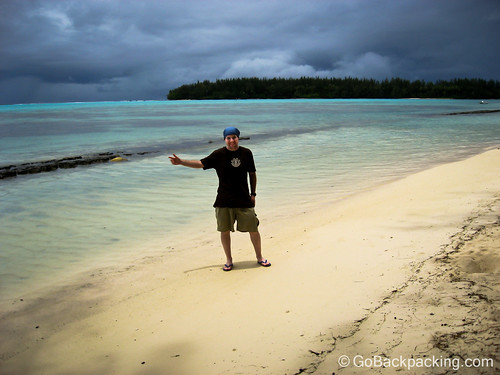
With Troy, we highlighted the turquoise waters, warmed the sand with yellows, and added definition to the clouds. We also brightened up my face to help draw the viewer's focus.
Moorea
On a snorkel trip around Moorea, we passed by these luxury bungalows. With the lush green mountain backdrop and the dolphin swimming to the right, I thought this photo would reflect the paradise I was visiting. But again, overcast skies and a low-quality photo left it looking bland.
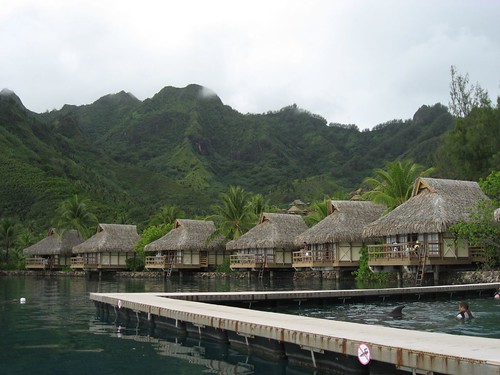
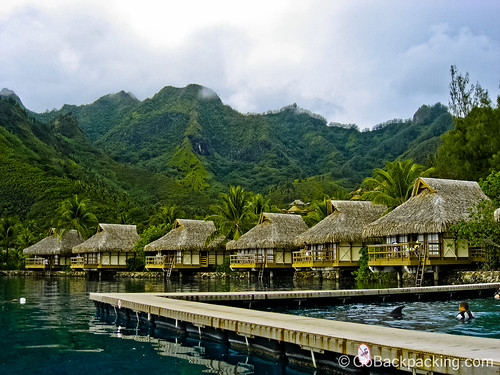
I used a Lightroom preset called "General - Punch" to pump some life back into the shot. I then tweaked brightness, exposure, and contrast to add definition to the clouds.
Tahiti
Back on Tahiti, I ate the pork in this photo as my last supper before heading to New Zealand in the morning.
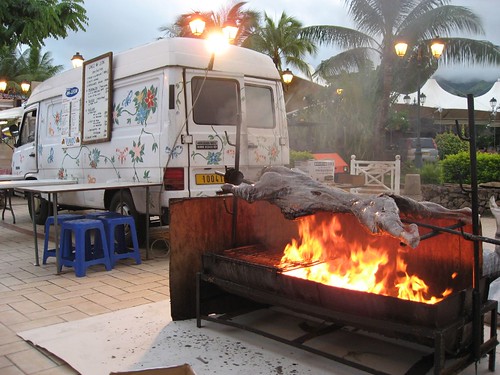
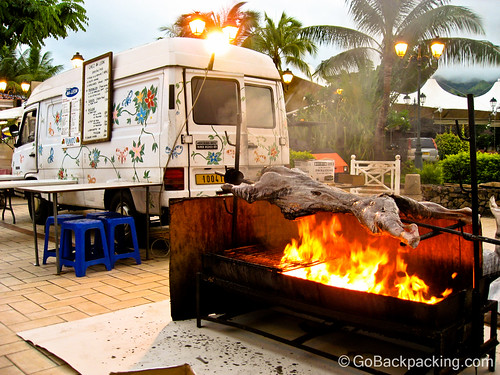
Again, overcast skies and a setting sun reduced the available light. I used another Lightroom preset for a quick 1-click improvement, then adjusted individual settings for practice and to ensure the photo looked the way I wanted.
I was specifically focused on brightening the flowers painted on the truck and warming up the fire.
Editor's Note (2026): Lightroom remains useful for improving photos you've taken yourself. For supplementary graphics beyond your own photography, such as banners or featured images, tools like Higgsfield AI offer an AI Image Generator that can help create a consistent visual identity. AI-generated images should be clearly labeled and used to complement, rather than misrepresent, real travel experiences.
Auckland, New Zealand
Often, when I look back at photos from my round-the-world trip, I remember a much more vibrant scene than the camera captured. When I took this nighttime photo of the Sky Tower in Auckland, the picture on the right is closer to what I saw then than the original on the left.
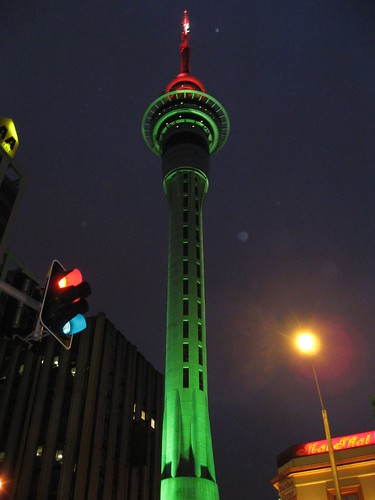
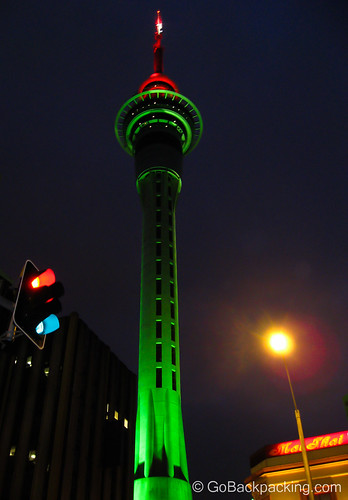
In Lightroom, I cropped slightly to focus attention on the Sky Tower, removed dust spots, and brightened the greens and reds.
Cathedral Cove, New Zealand
As my Lightroom tutorial with Troy wound down, I started editing this photo from New Zealand, which is one of my all-time favorites. It was too stormy at Cathedral Cove to go sea kayaking, so we hung out for a bit, watching the rough waters.
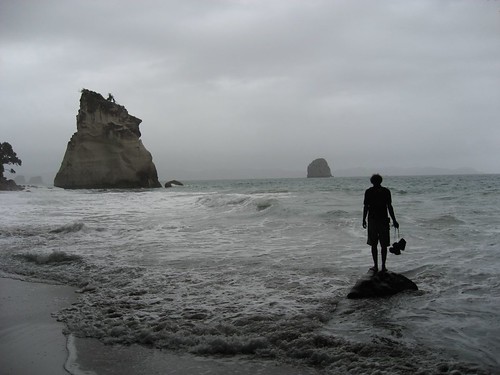
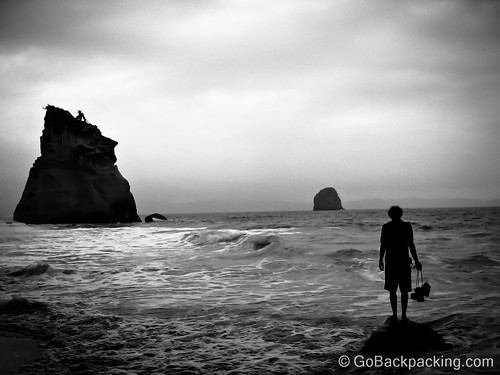
One of the backpackers on our bus hopped up on the rock, his boots dangling from his hand. His silhouette against the sea says "contemplation" to me. Troy helped tweak it a little further.
Lake Taupo, New Zealand
As I get started editing photos, I'm sure I'll over-edit many of them. I'll add too much saturation and color, turning natural landscapes and people's skin tones into what I think looks good. But it might end up unappealing to everyone else.
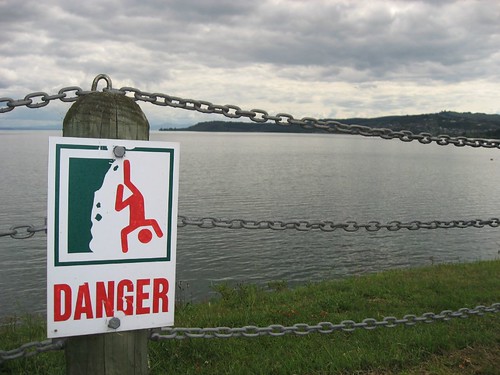
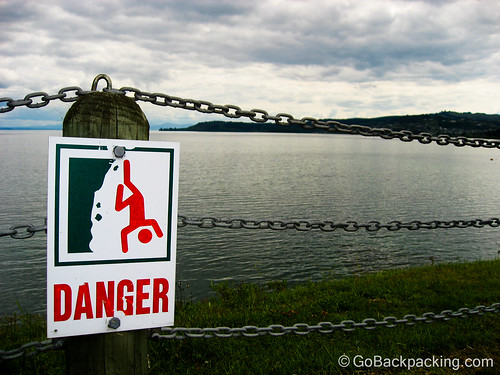
As Troy suggested, I'm going to chalk it up to the learning process. For this photo on Lake Taupo, I took a more subtle approach, and I think it shows how a few small improvements can make a big difference.
Cali, Colombia
While visiting the historic San Antonio neighborhood of Cali, Colombia, Troy took a few photos of me against a variety of painted buildings.
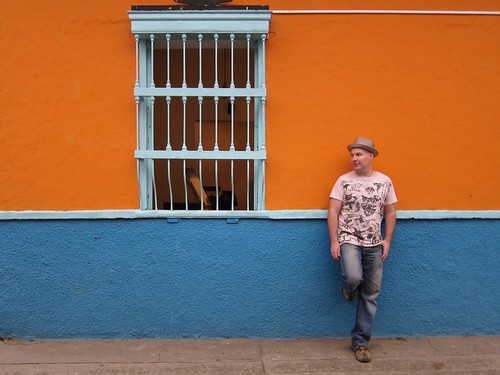
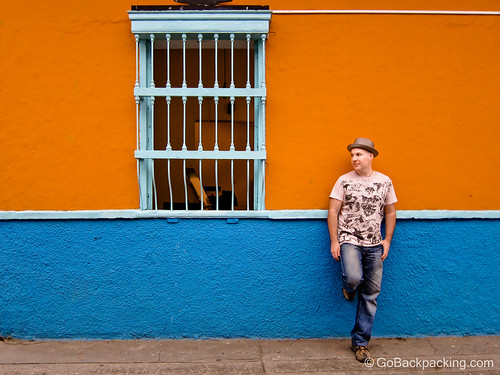
In this photo, he was drawn to the textures, so in Lightroom, I darkened it a bit, which brought out the texture of the blue area of the wall.
I brightened my face and added a little orange without going overboard. The photo didn't need cropping; it's exactly how Troy framed the shot with my camera.