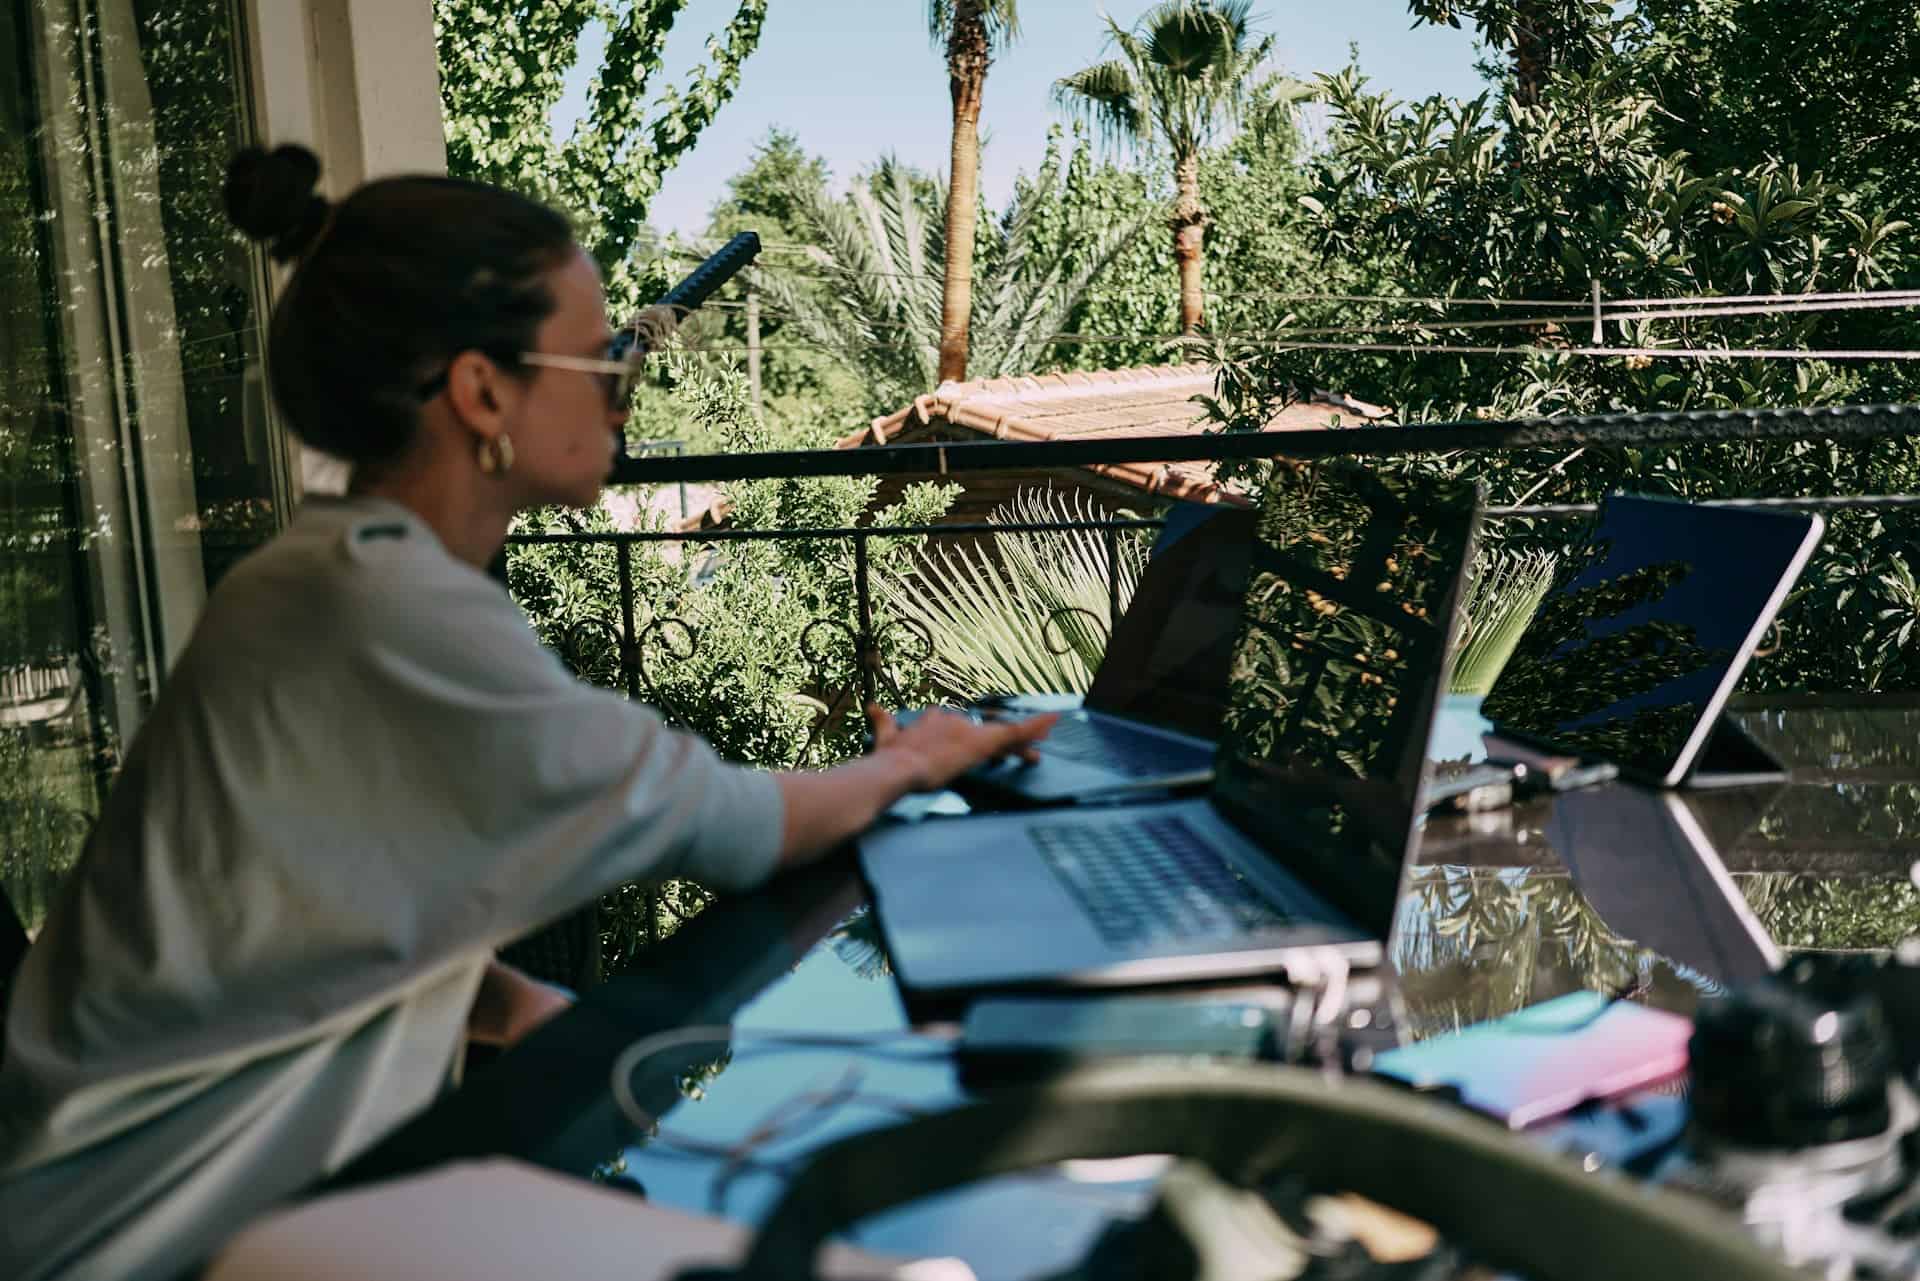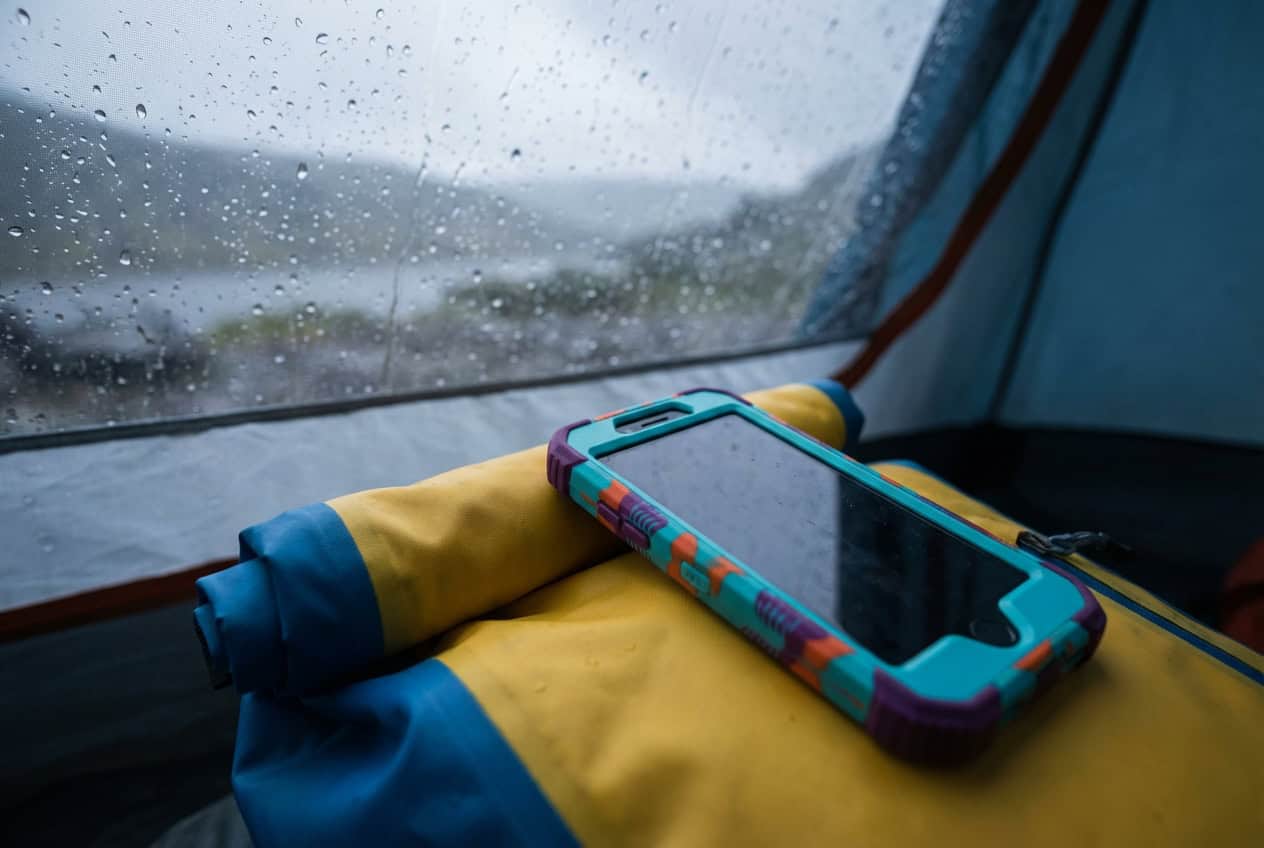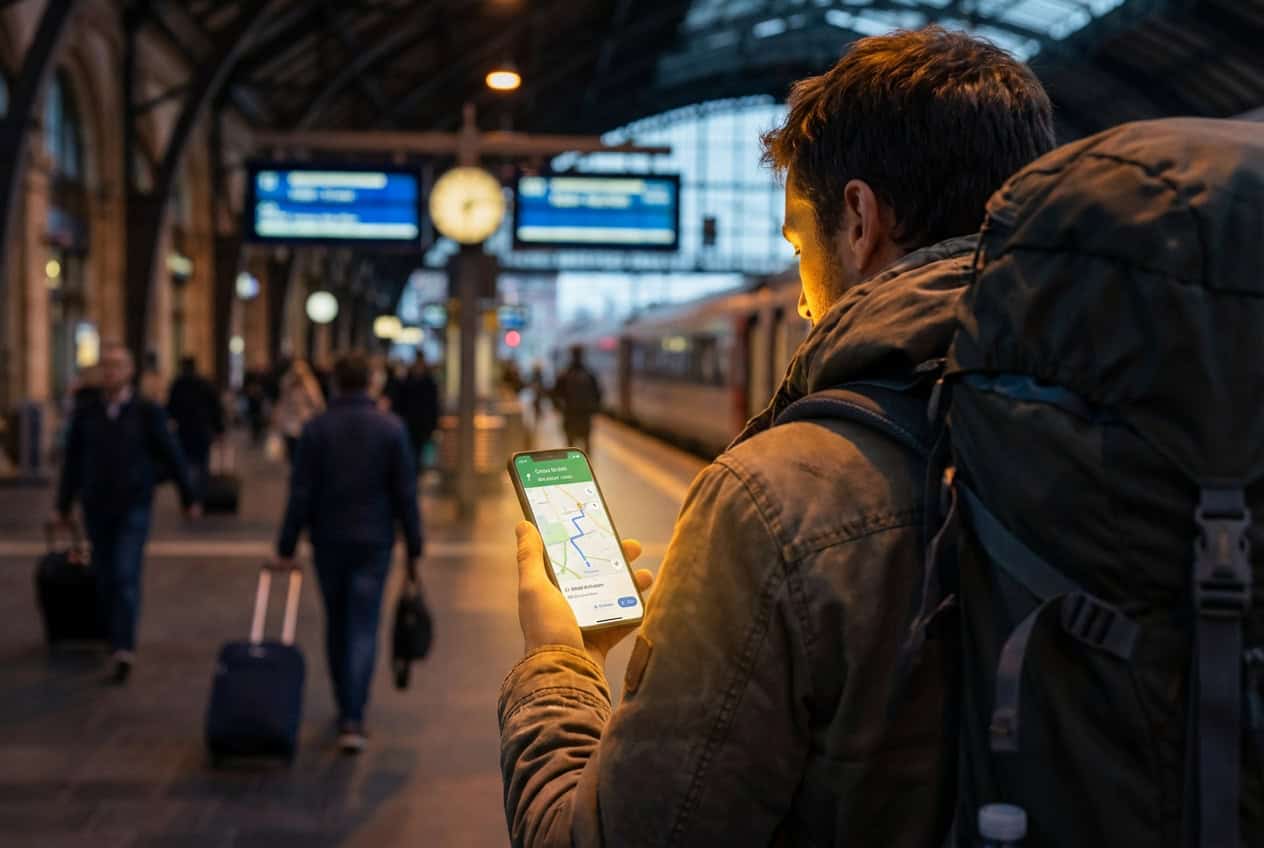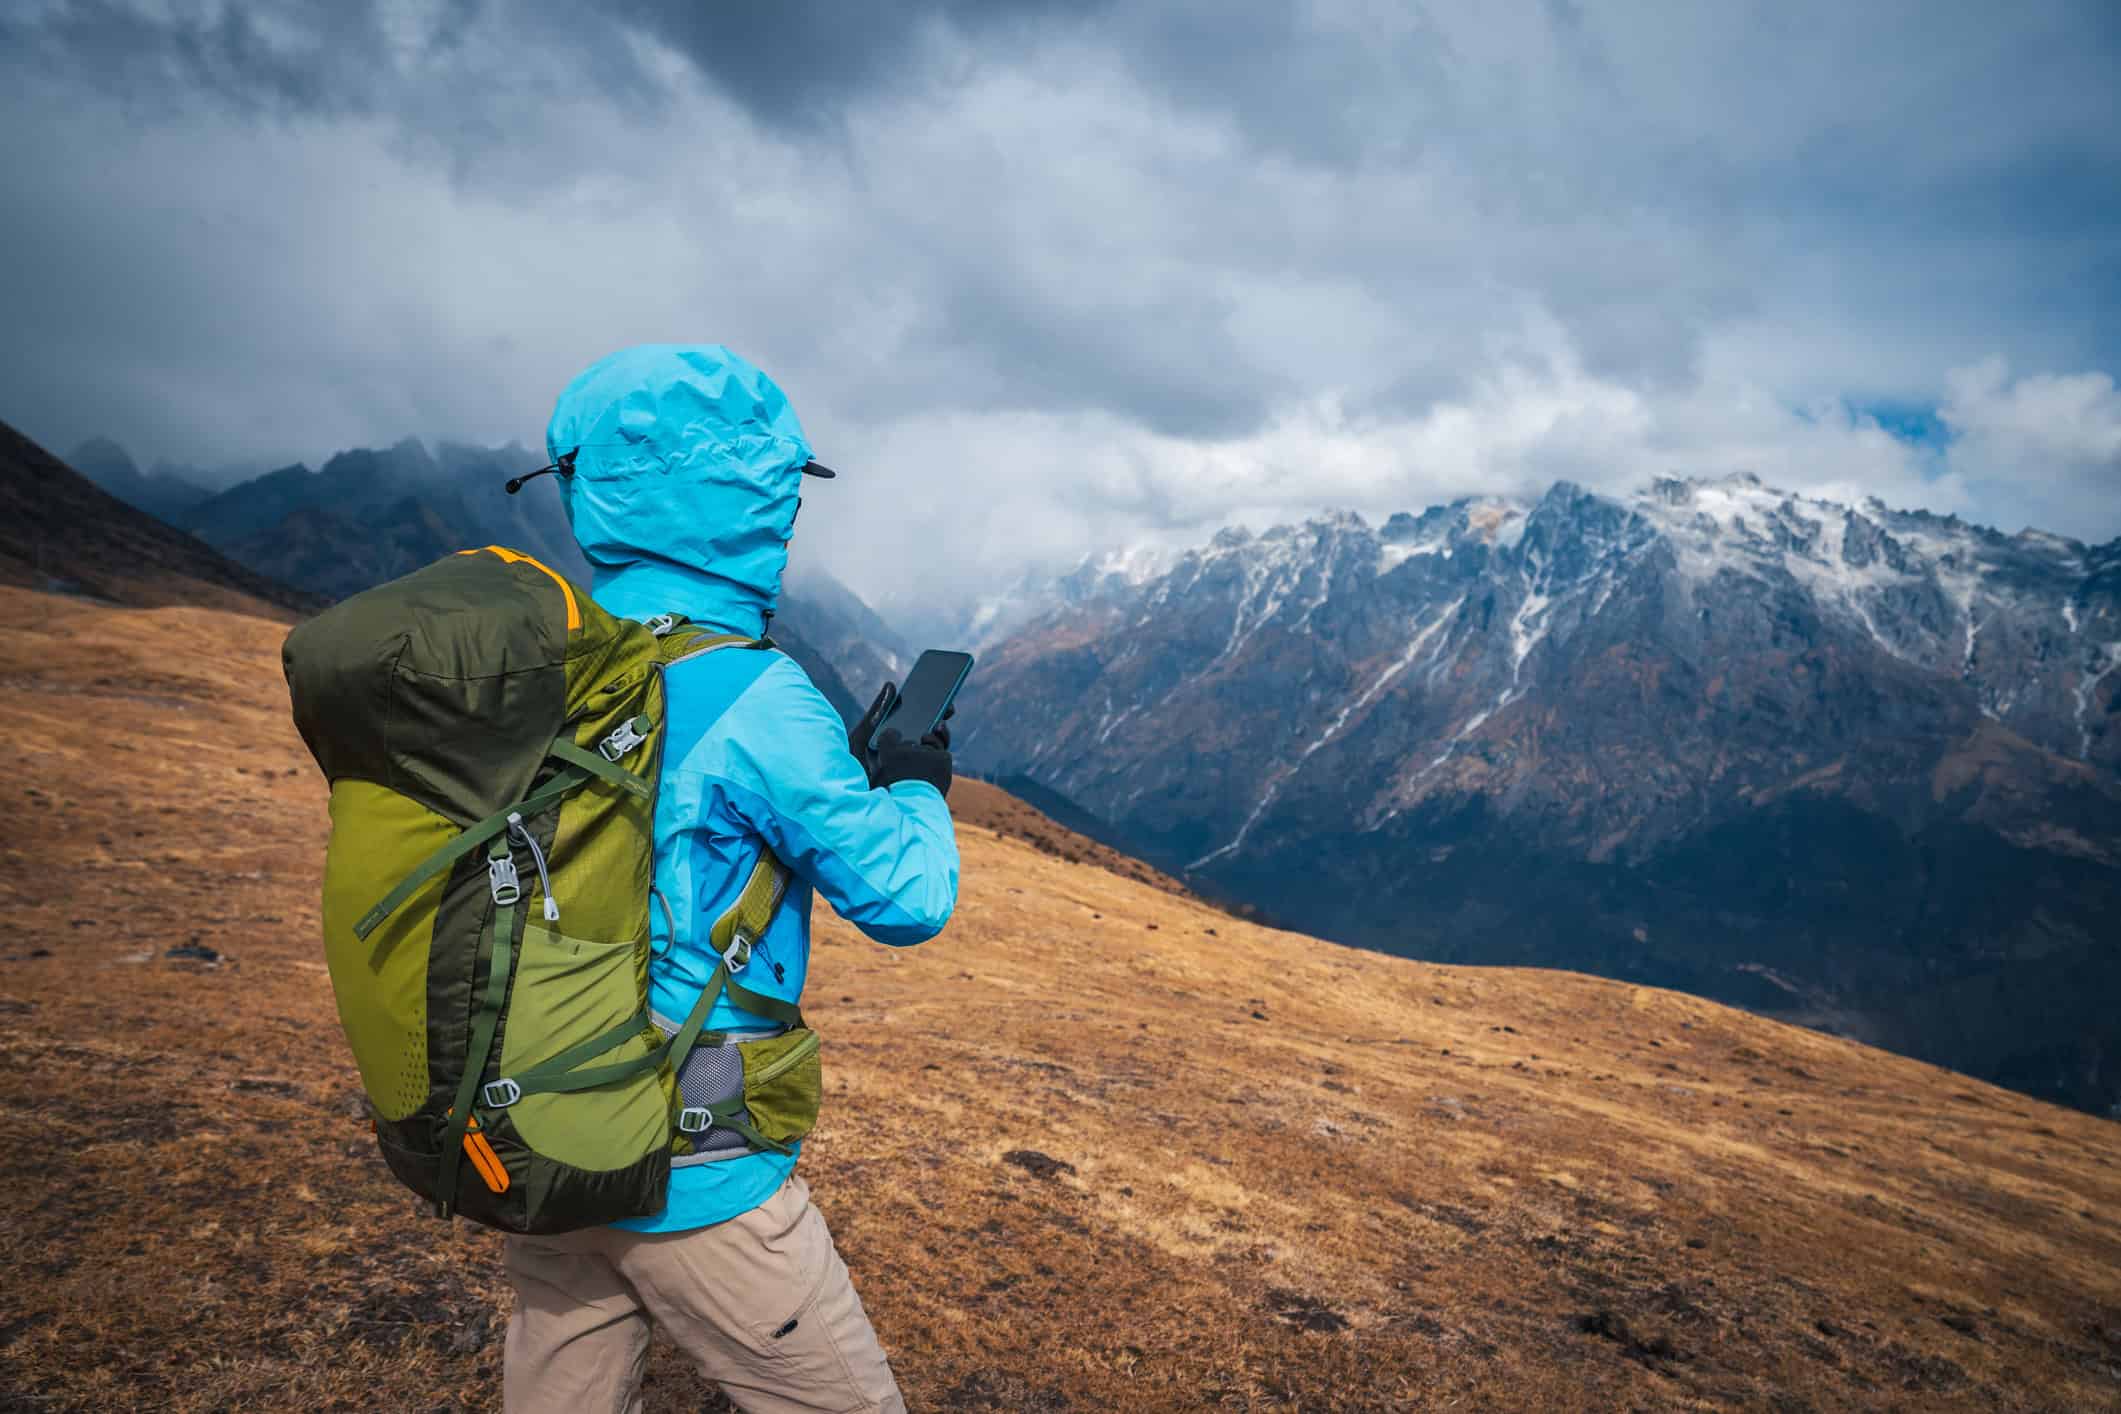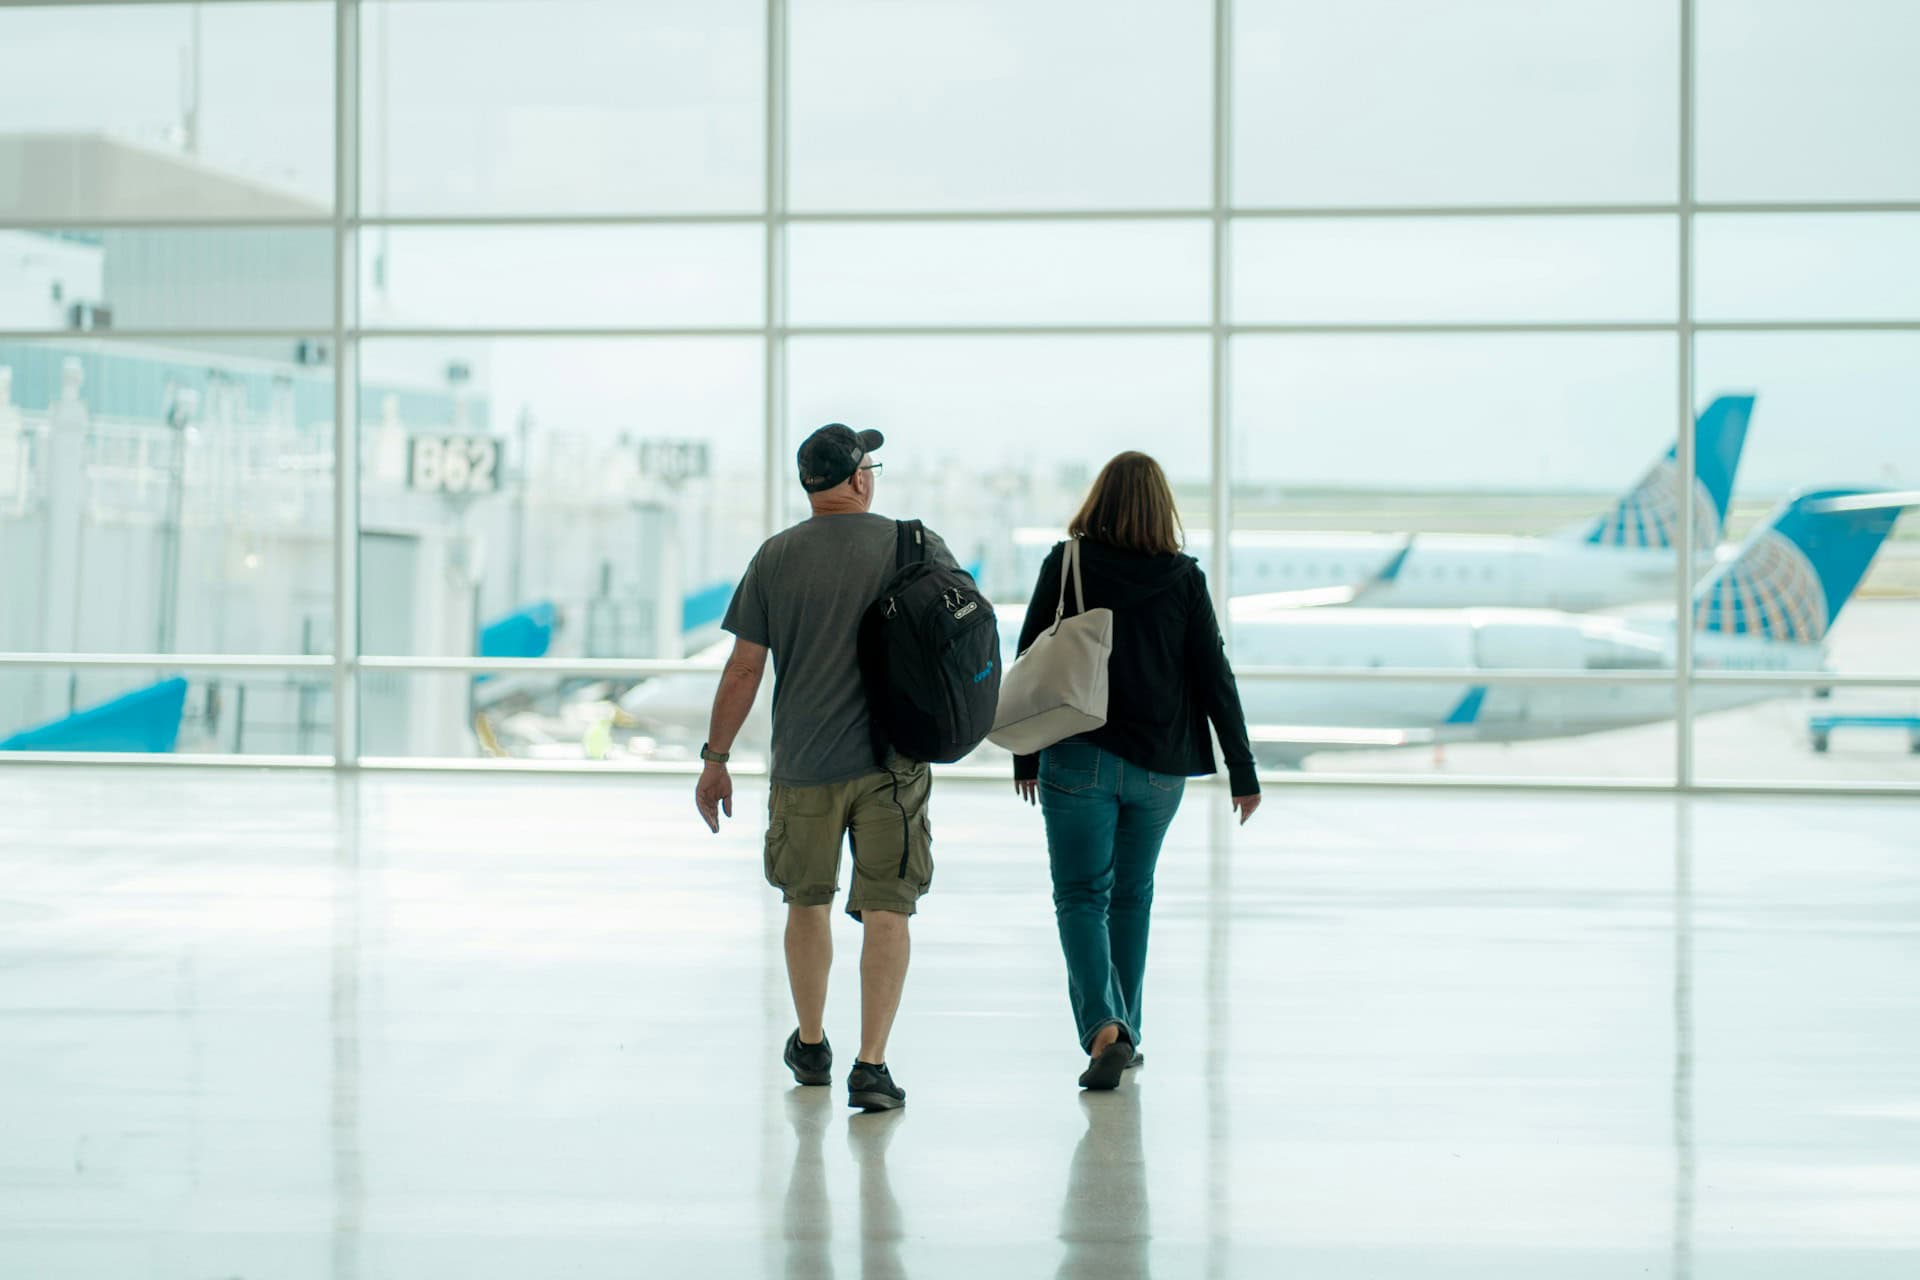
Long travel days are part of backpacking, whether a red-eye flight, a 10-hour bus ride, or a string of connections across time zones. The goal isn't to eliminate discomfort entirely. It's to manage it well enough that you still arrive feeling like yourself.
Most experienced travelers figure this out the hard way. It's not about packing more but packing smarter. A few small, well-chosen items can make a noticeable difference in how you feel after hours on the road.
These five essentials focus on hydration, hygiene, sleep, personal care, and health - the things that quietly determine whether a long travel day feels manageable or exhausting.
Table of Contents
Long Travel Day Essentials to Stay Comfortable
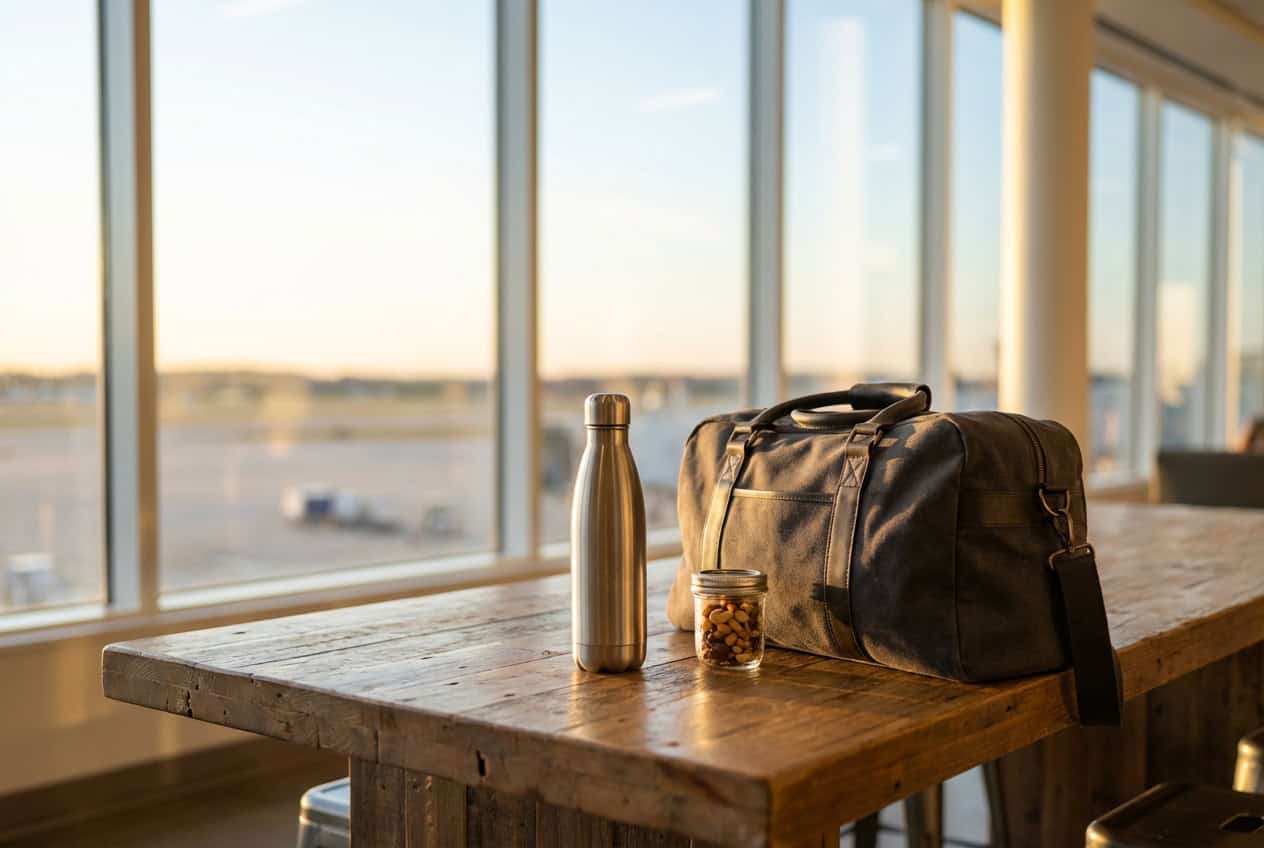
1. Manage Hydration and Snacks
Dehydration creeps up slowly during travel. Between dry airplane cabins, long stretches without water, and irregular meal timing, it's easy to feel off before realizing why.
A reusable water bottle is one of the simplest ways to stay ahead. Filling up whenever you can-at airports, bus stops, or cafés-helps maintain steady hydration throughout the day.
For longer journeys, adding electrolyte packets helps preserve energy, especially when meals are delayed or inconsistent. It's a lightweight addition that makes a noticeable difference.
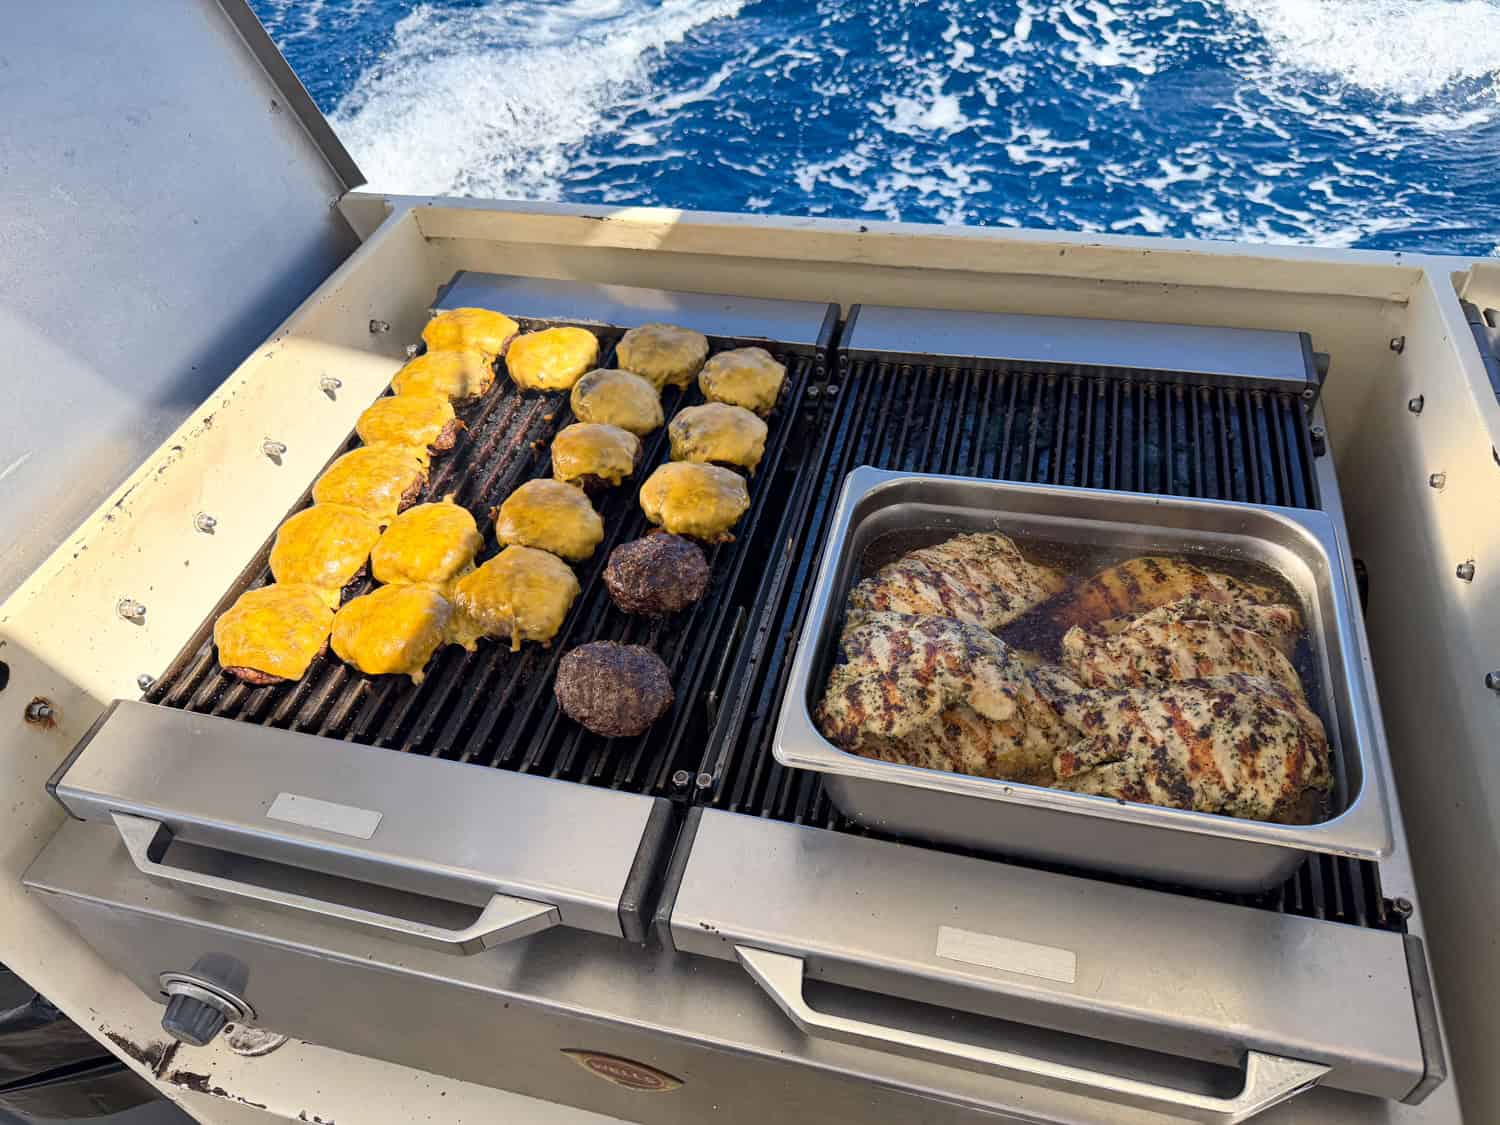
Snacks matter just as much. Instead of relying on whatever is available in transit hubs, many travelers carry small, high-energy options like nuts, trail mix, or energy bars. These take up little space but prevent dips that make travel harder than it needs to be.
Keeping water and snacks within easy reach, not hidden in your bag, makes it more likely you'll use them.
Pro Tip: Don't wait until you feel thirsty or drained. Small, consistent sips of water and light snacks throughout the day help sustain steady energy and avoid sudden crashes.
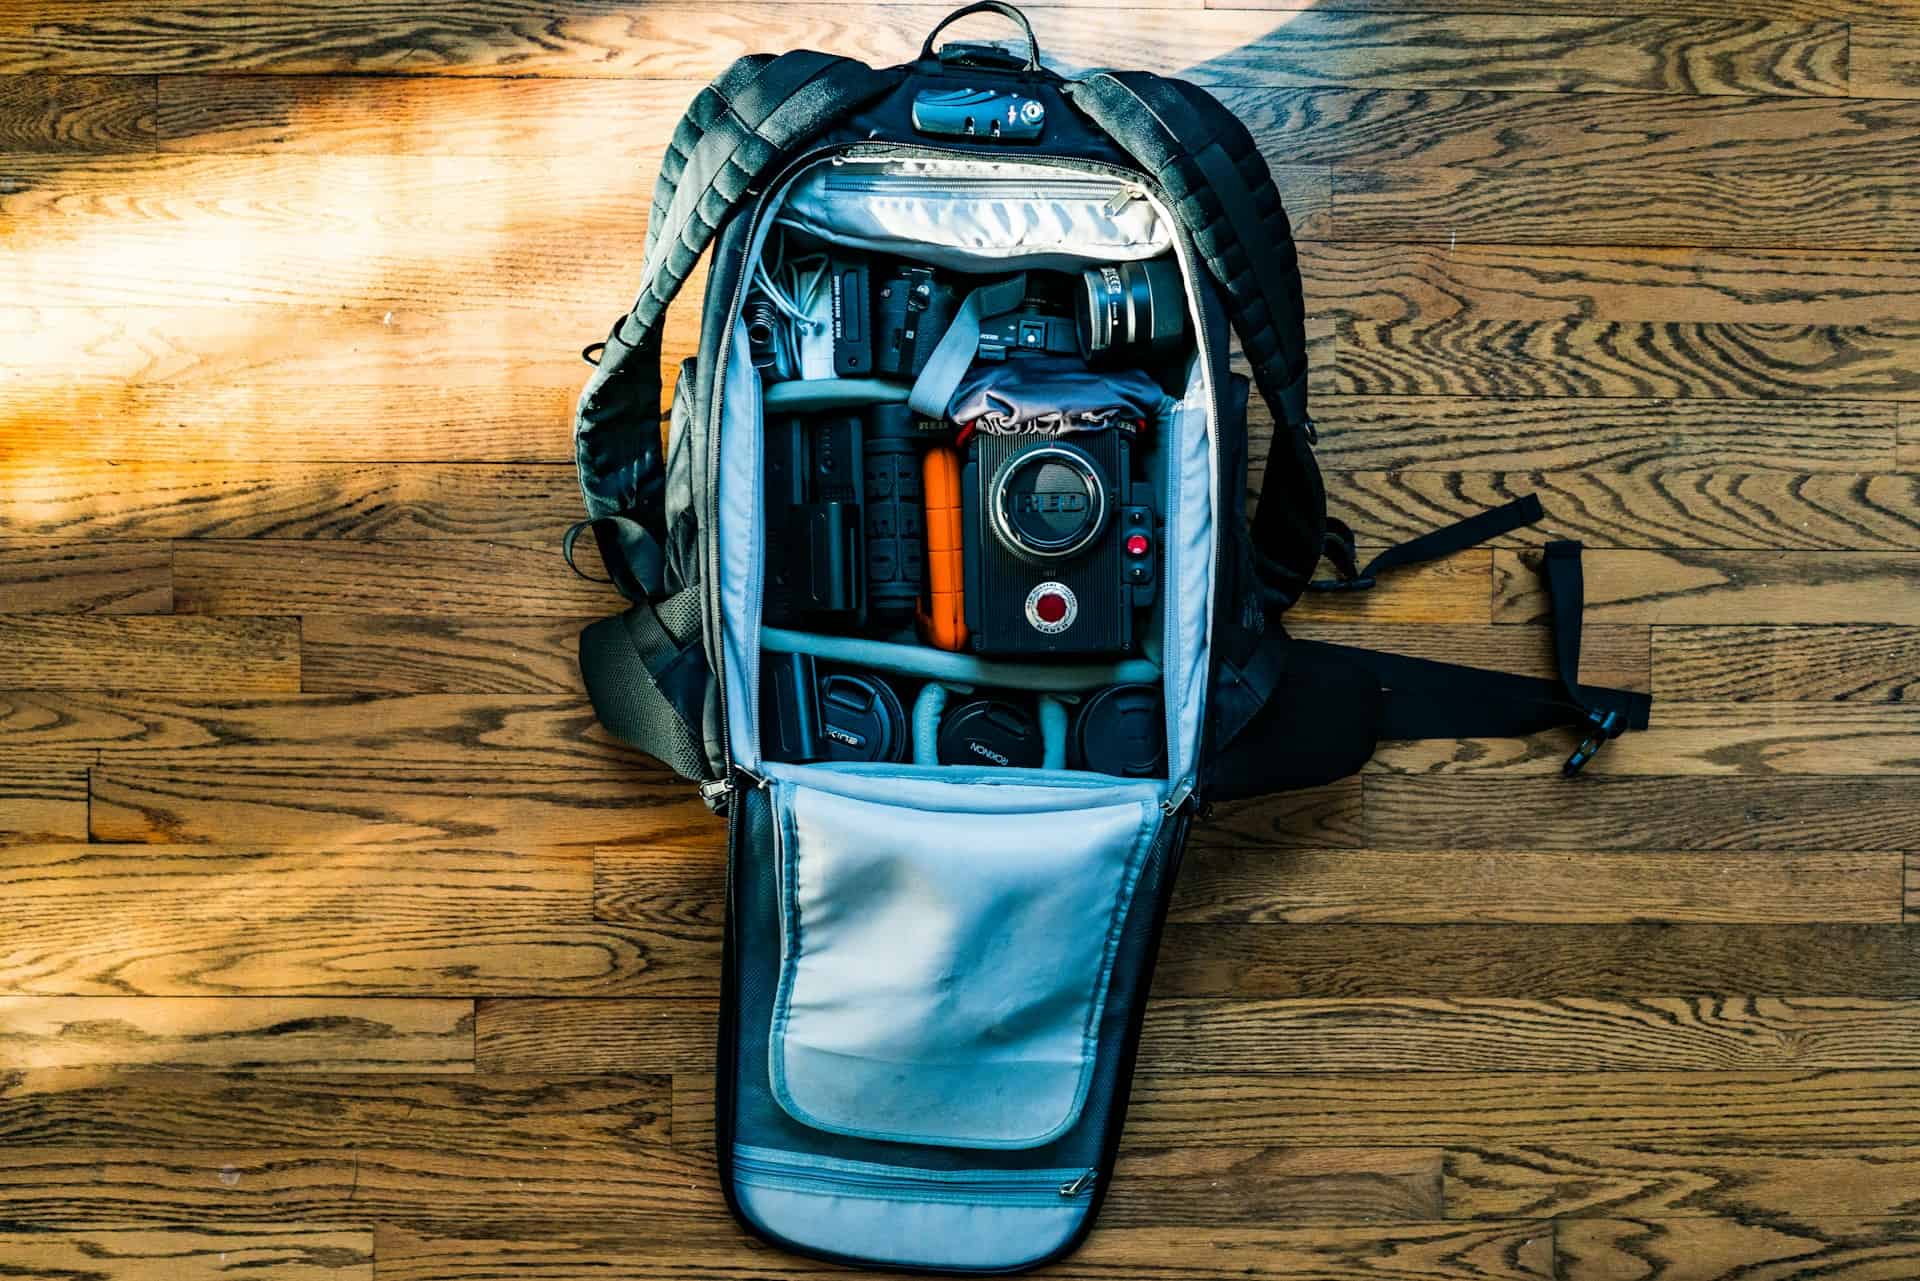
2. Build a Compact Hygiene Kit
After hours on the move, basic hygiene can make a big difference. A simple kit helps you reset during long layovers or before arriving at your destination.
A practical setup might include a travel toothbrush, toothpaste, hand sanitizer, deodorant, and a small washcloth. For longer travel days, a compact microfiber towel can also come in handy.
Keep it minimal and accessible. A quick refresh kit fits in a daypack or personal item.
For travelers with specific health or personal care routines, it's worth thinking ahead about what's actually needed in transit. For example, some travelers rely on travel-friendly equipment like RespShop's AirFit F30, along with compact CPAP setups, to maintain sleep routines on long-haul trips. Having gear that's designed to be portable can make that process much easier.
The same logic applies to other personal care items. Choosing compact, travel-ready versions helps reduce bulk while covering essential needs.
Pro Tip: Keep your hygiene kit in an outer pocket or small pouch so it's easy to grab during a layover without unpacking your entire bag.
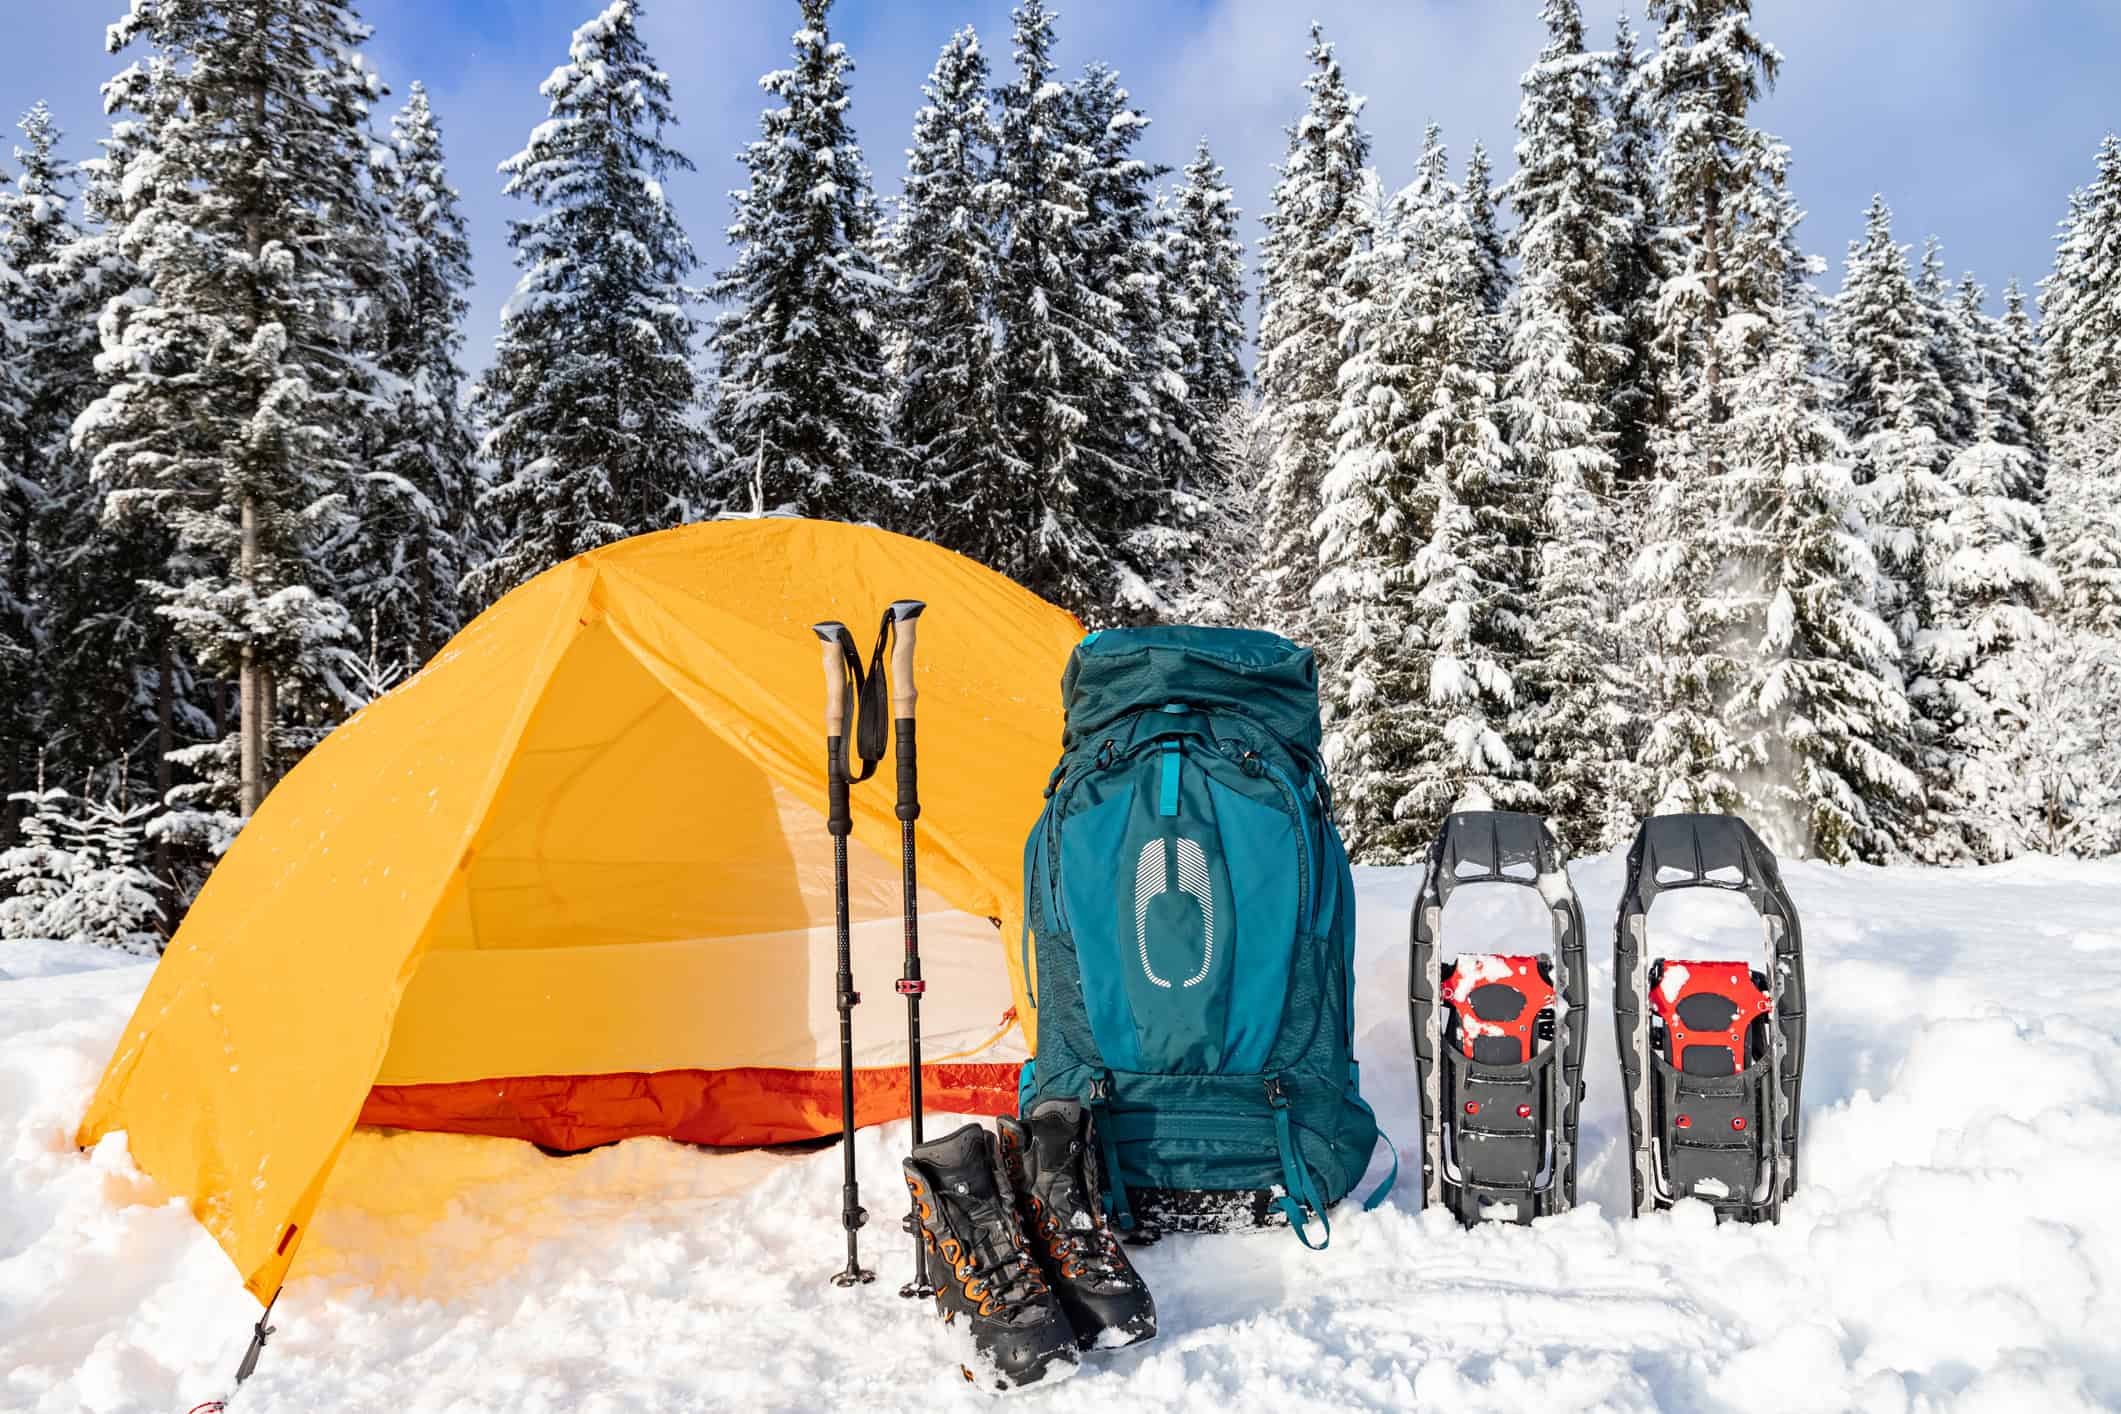
3. Plan for Sleep and Recovery on the Road
Sleep often makes the difference between arriving refreshed and exhausted. While you can't control your environment on a plane or bus, you can improve your chances of getting some rest.
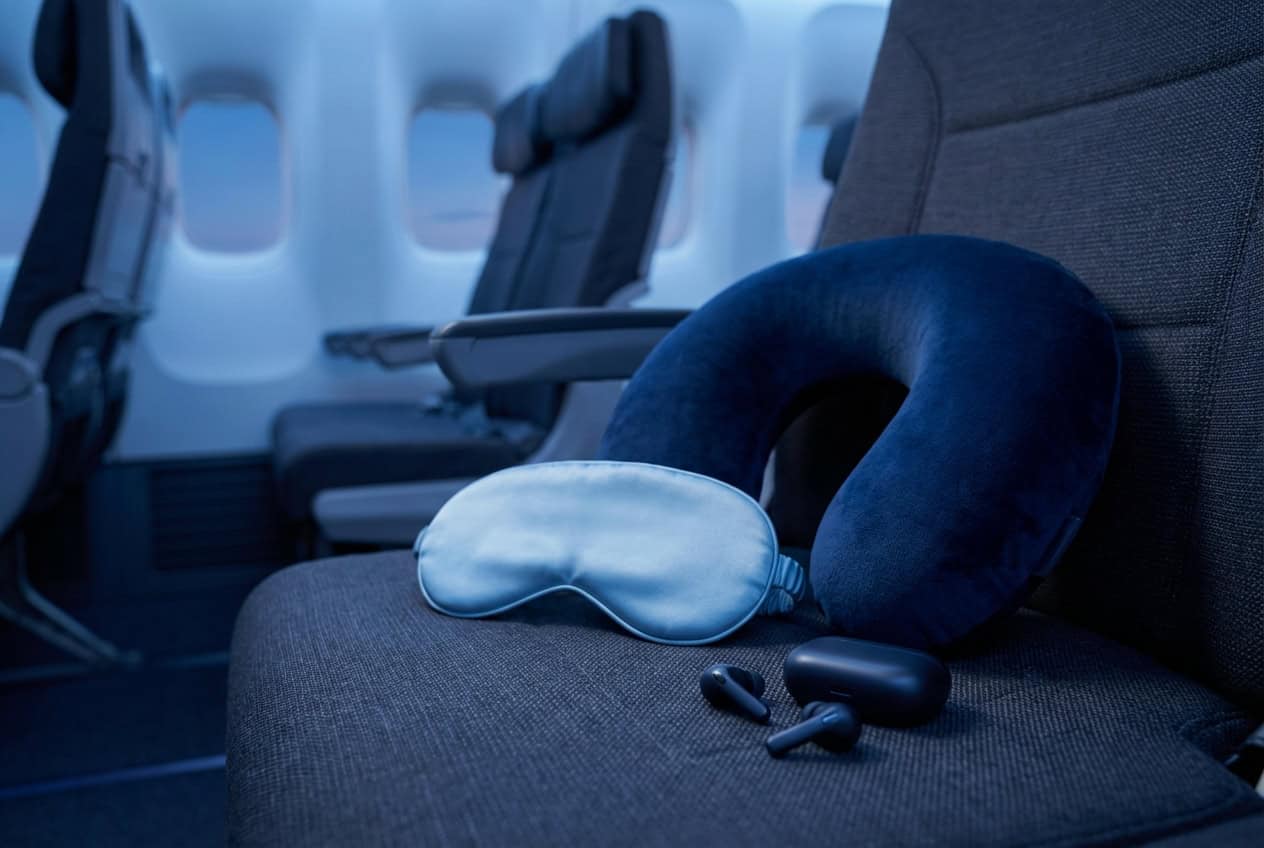
A few simple items, like a travel pillow, an eye mask, and earplugs, can go a long way toward blocking out light and noise. Even short rest periods make a noticeable difference, especially with jet lag or tight schedules.
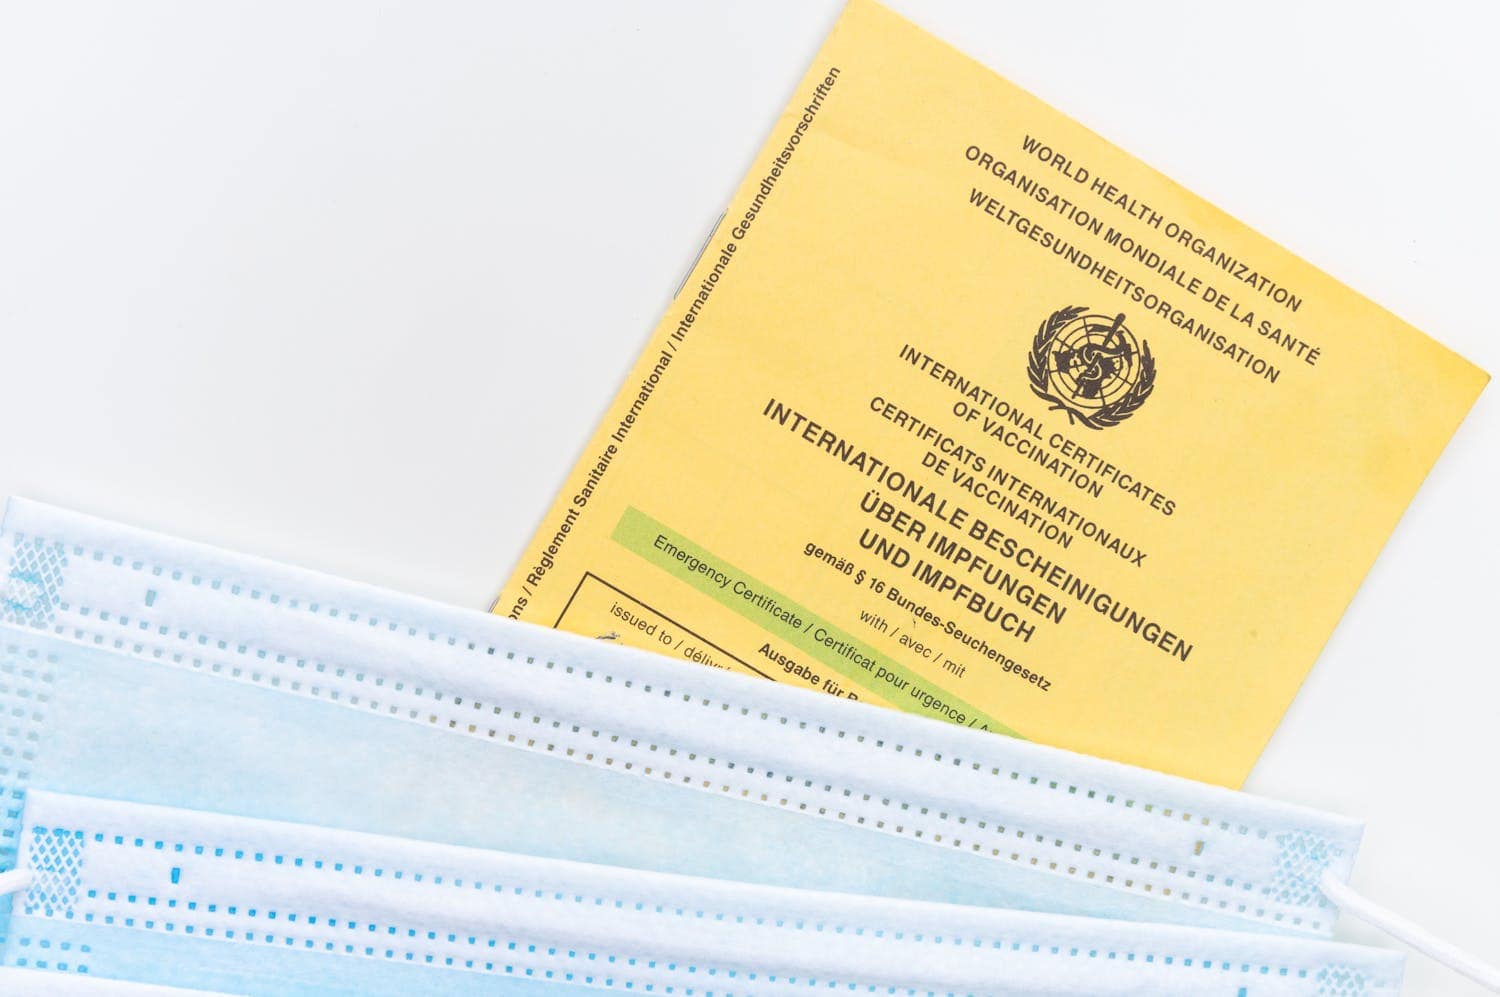
For some travelers, keeping consistent sleep routines is more than a matter of comfort. For example, research shows that sleep apnea affects millions of people worldwide, making it important for those individuals to maintain reliable sleep setups even while traveling.
That might mean planning ahead with portable gear or ensuring accommodations can meet their needs.
For everyone else, the goal is simpler: create a small window of comfort wherever you are. This might mean choosing a quieter gate area, adjusting your seat, or using downtime to rest.
Key Tip: Even if you can't sleep fully, closing your eyes and resting for 20-30 minutes can help reset your energy and improve how you feel when you arrive.
4. Pack for Period Comfort
Travel doesn't pause for personal needs. Planning makes a big difference in staying comfortable on the road.

Disposable products can take up space and require frequent resupply, which isn't always convenient when moving between destinations. For many travelers, switching to a reusable option simplifies things significantly.
A reusable menstrual disc from nixit provides a compact, long-lasting solution that fits easily into a small toiletry kit. With fewer items to carry and less reliance on finding supplies along the way, travel becomes less physically and psychologically taxing.
This approach fits well with minimalist packing by replacing multiple single-use items with a single reliable solution. This flexibility is useful on long transit days with limited restroom access.
Pro Tip: Keep a small, discreet pouch for personal care items so they're always easy to access without digging through your bag.
5. Prepare for Personal Health Needs Without Overpacking
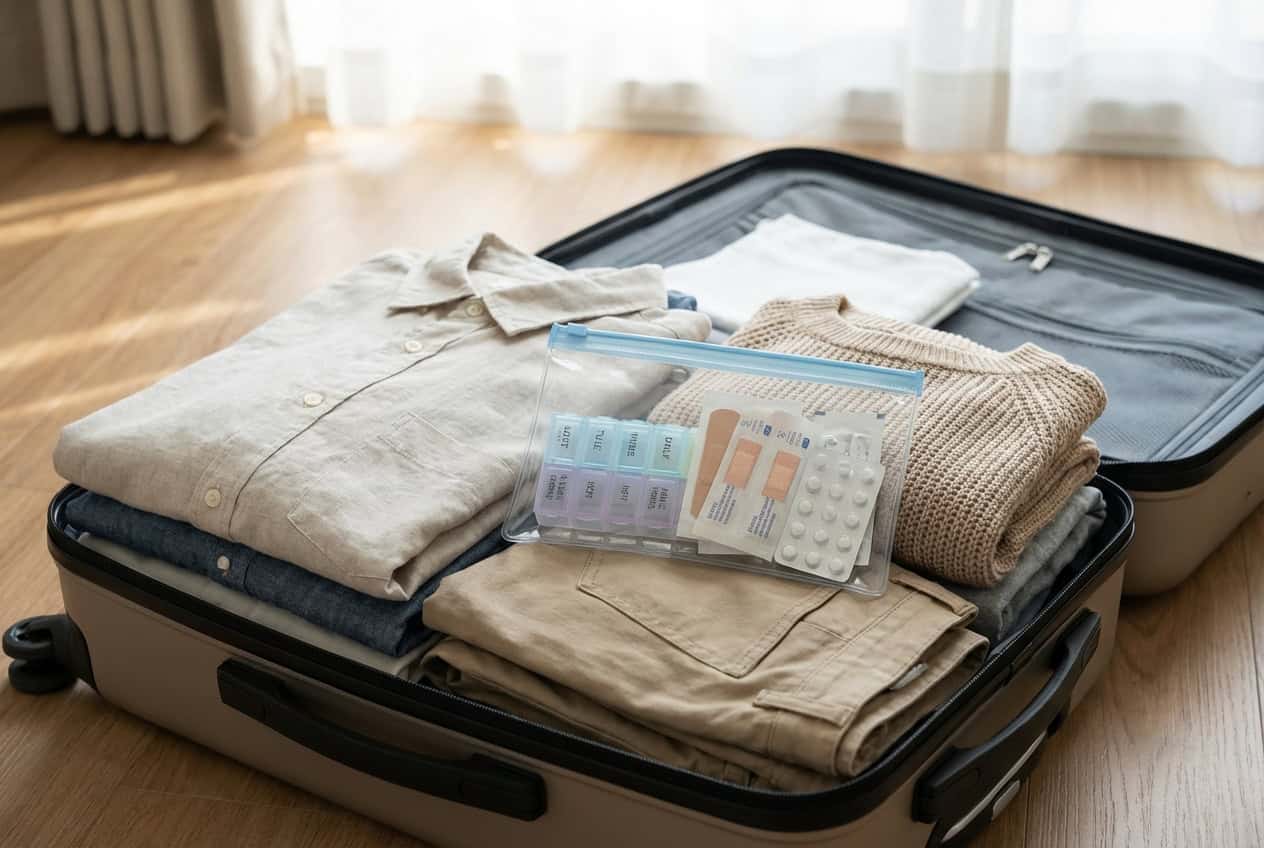
A small health kit can go a long way in making travel feel more manageable. Instead of packing for every scenario, focus on what you actually use. A few basics: pain relievers, motion sickness medication, and a couple of bandages usually cover most situations.
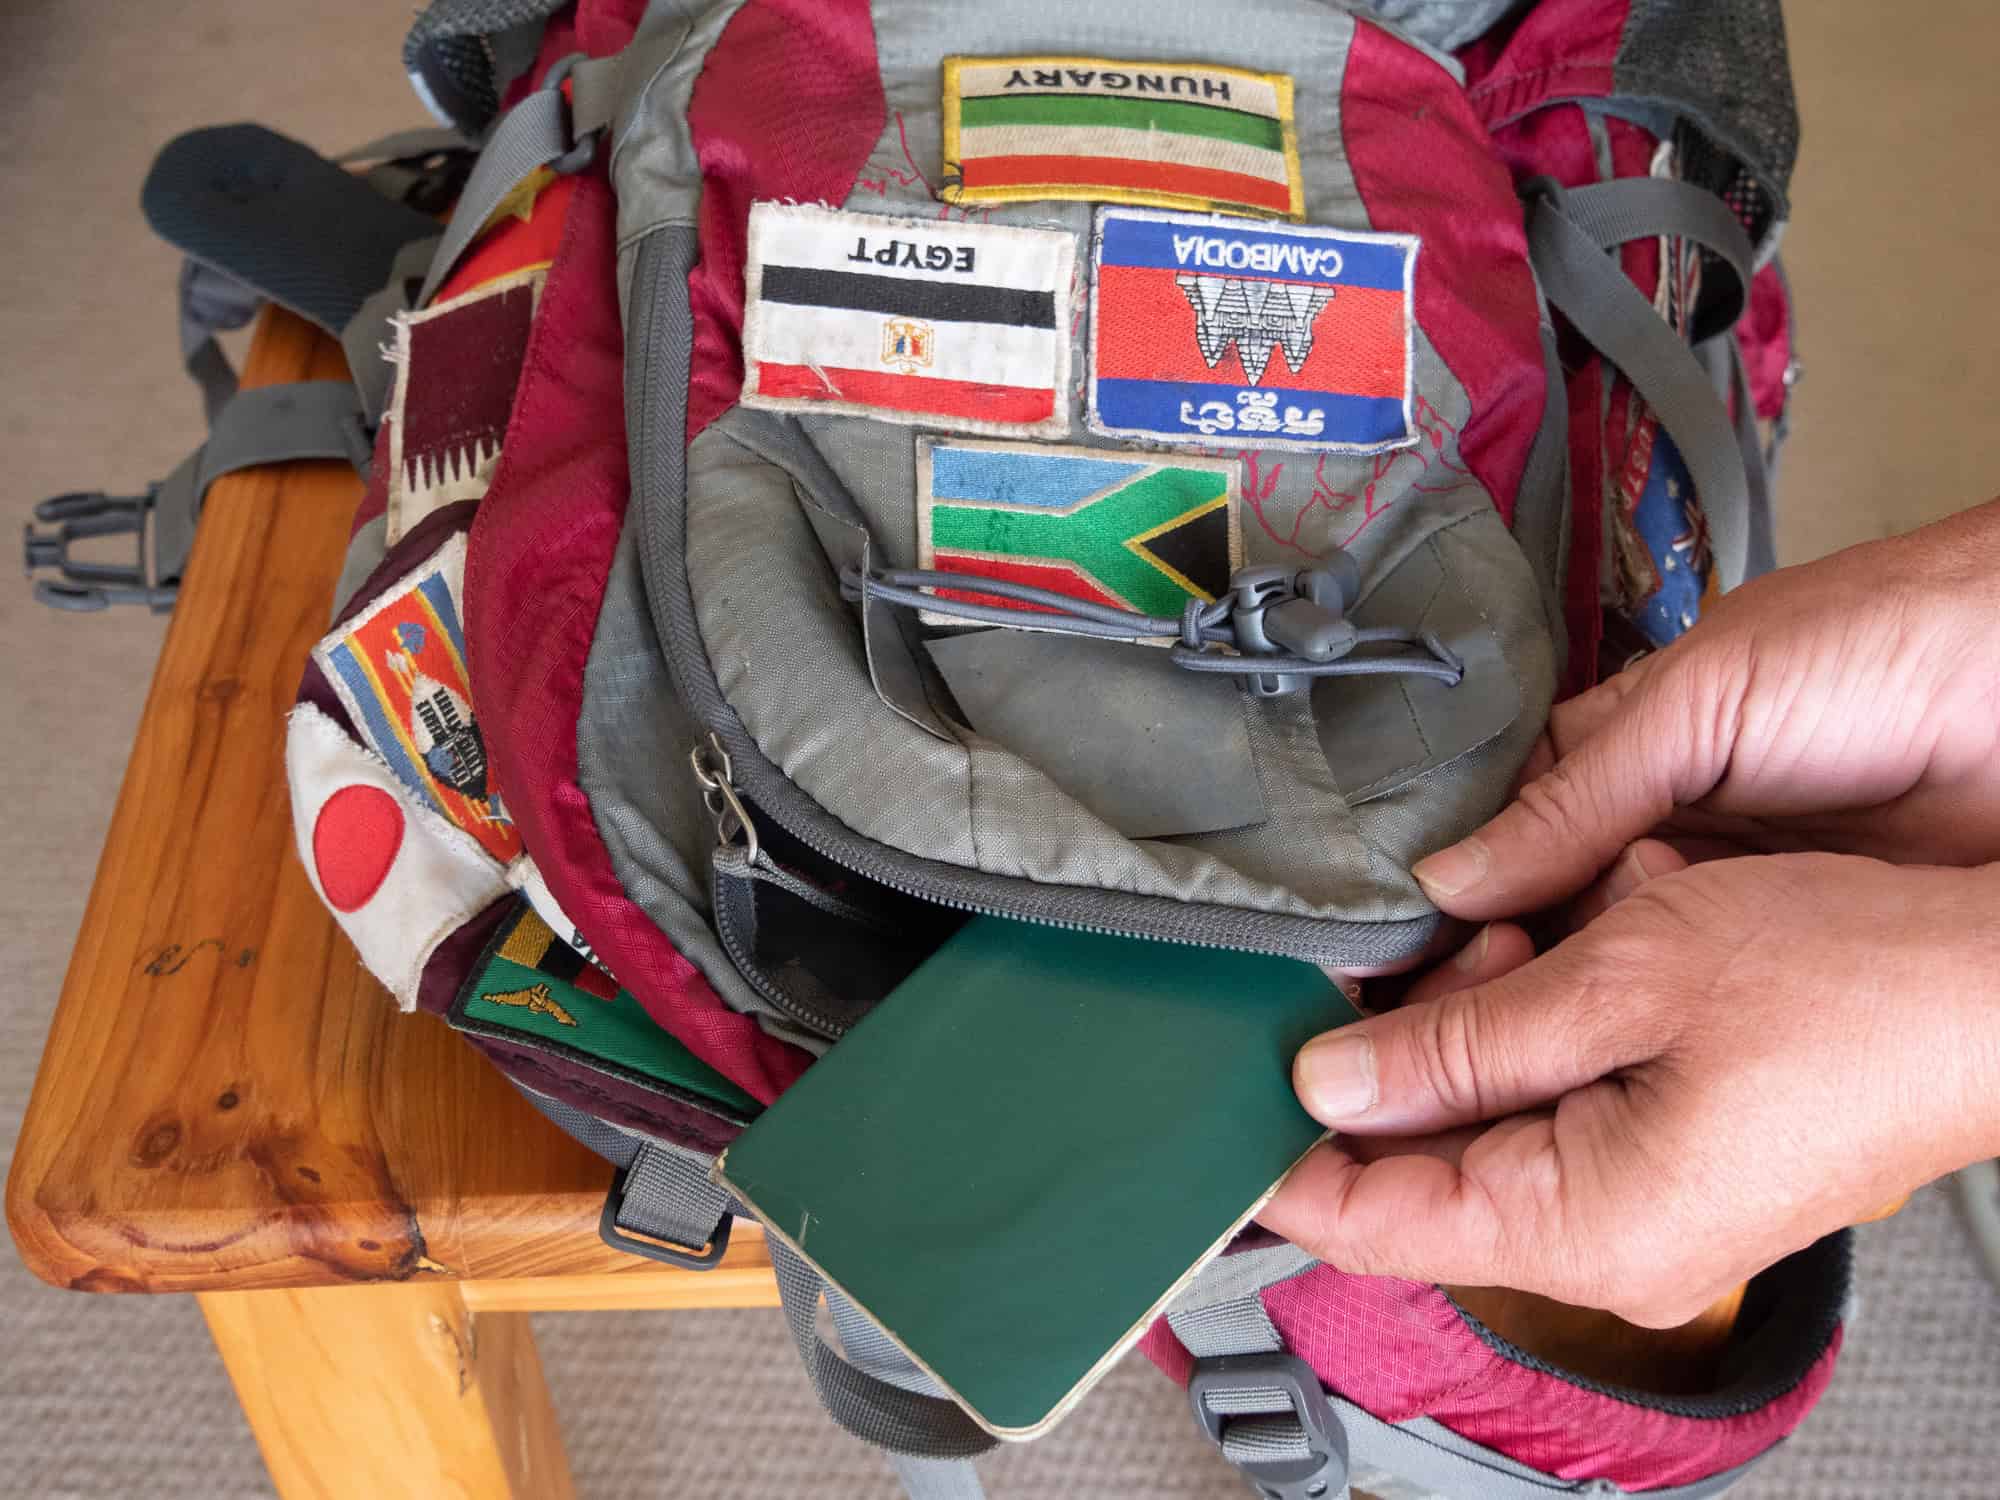
Travelers with ongoing health needs should be especially intentional about what they bring with them. Keeping medications in their original containers and packing them in a dedicated pouch helps avoid issues during security checks or border crossings.
It also helps to recognize broader health considerations. For example, over 890 million adults worldwide live with obesity, making it common for travelers to manage health conditions while on the road.
Bring only what you need and keep it organized. A simple pouch or pill organizer keeps everything in one place and is easy to access when needed.
Important: Avoid the "just in case" trap. Focus on the items you regularly use rather than overpacking for unlikely scenarios.
The Bottom Line
Comfort on long travel days isn't about having everything - it's about having the right things.
Hydration, hygiene, sleep, personal care, and health each play a role in how you feel after hours in transit. When those basics are covered, everything else becomes easier to manage.
Most of these strategies don't require much space or planning. They're simple adjustments that help reduce friction during long days of travel.
With a little preparation, even the most exhausting travel days can feel easier to handle, leaving you ready to enjoy the destination when you arrive.
_____
This story was published in collaboration with nixit and RespShop and edited by the Go Backpacking editorial team for clarity and fit.