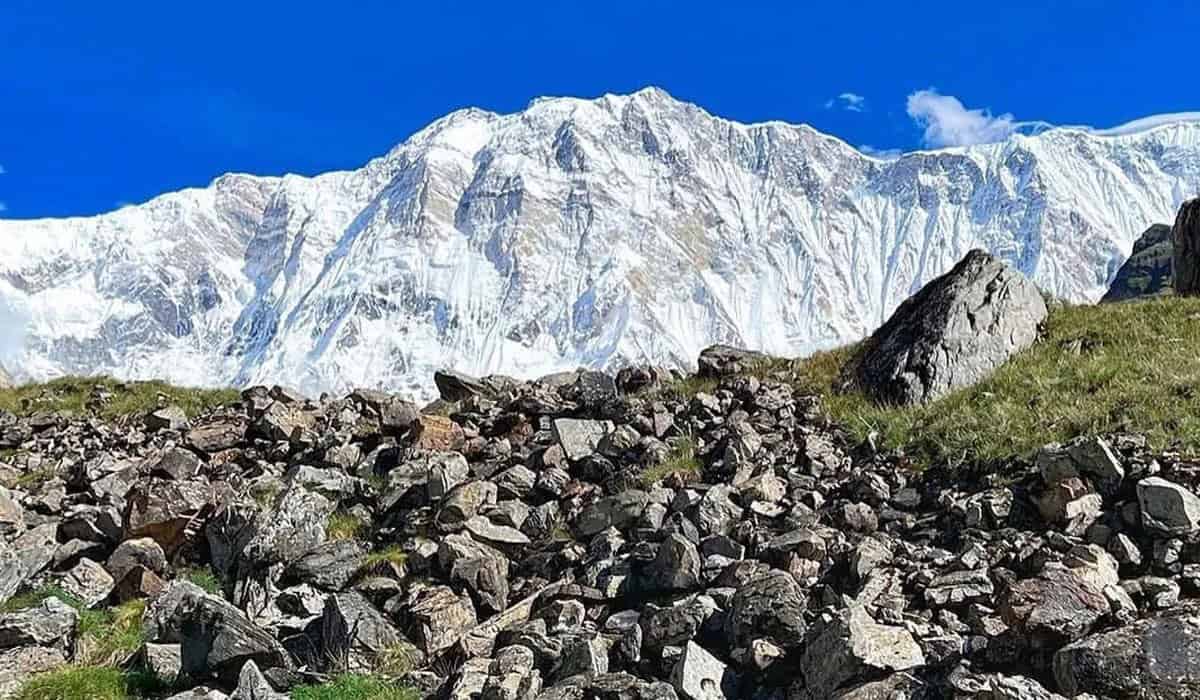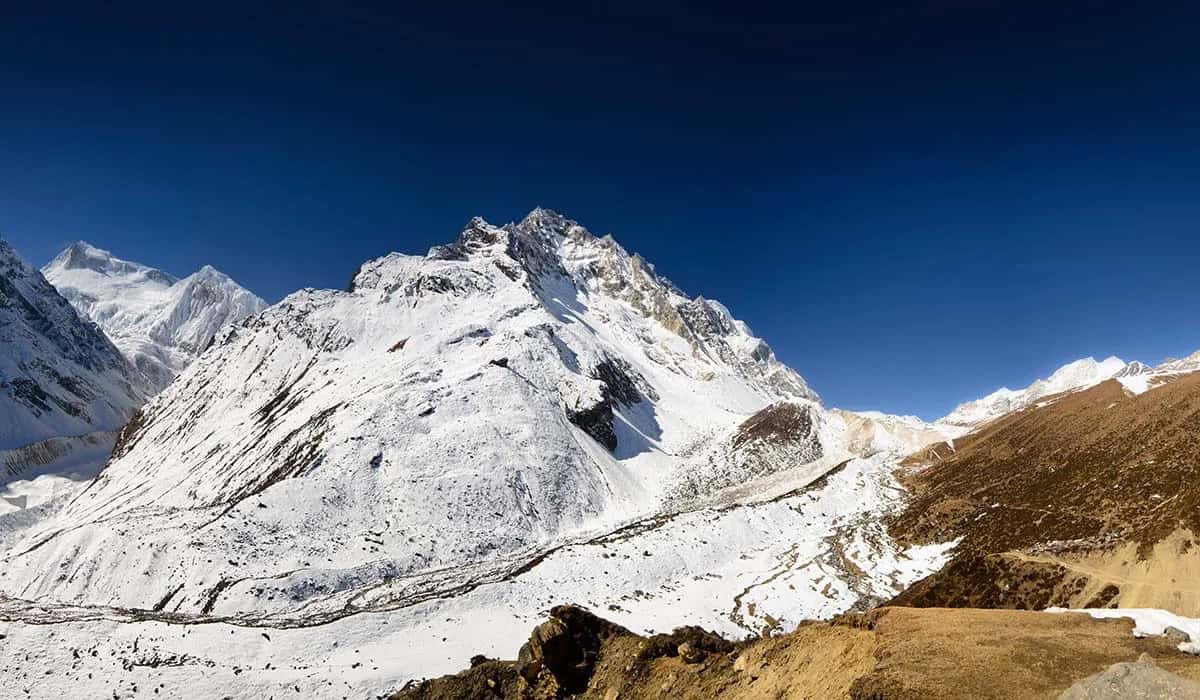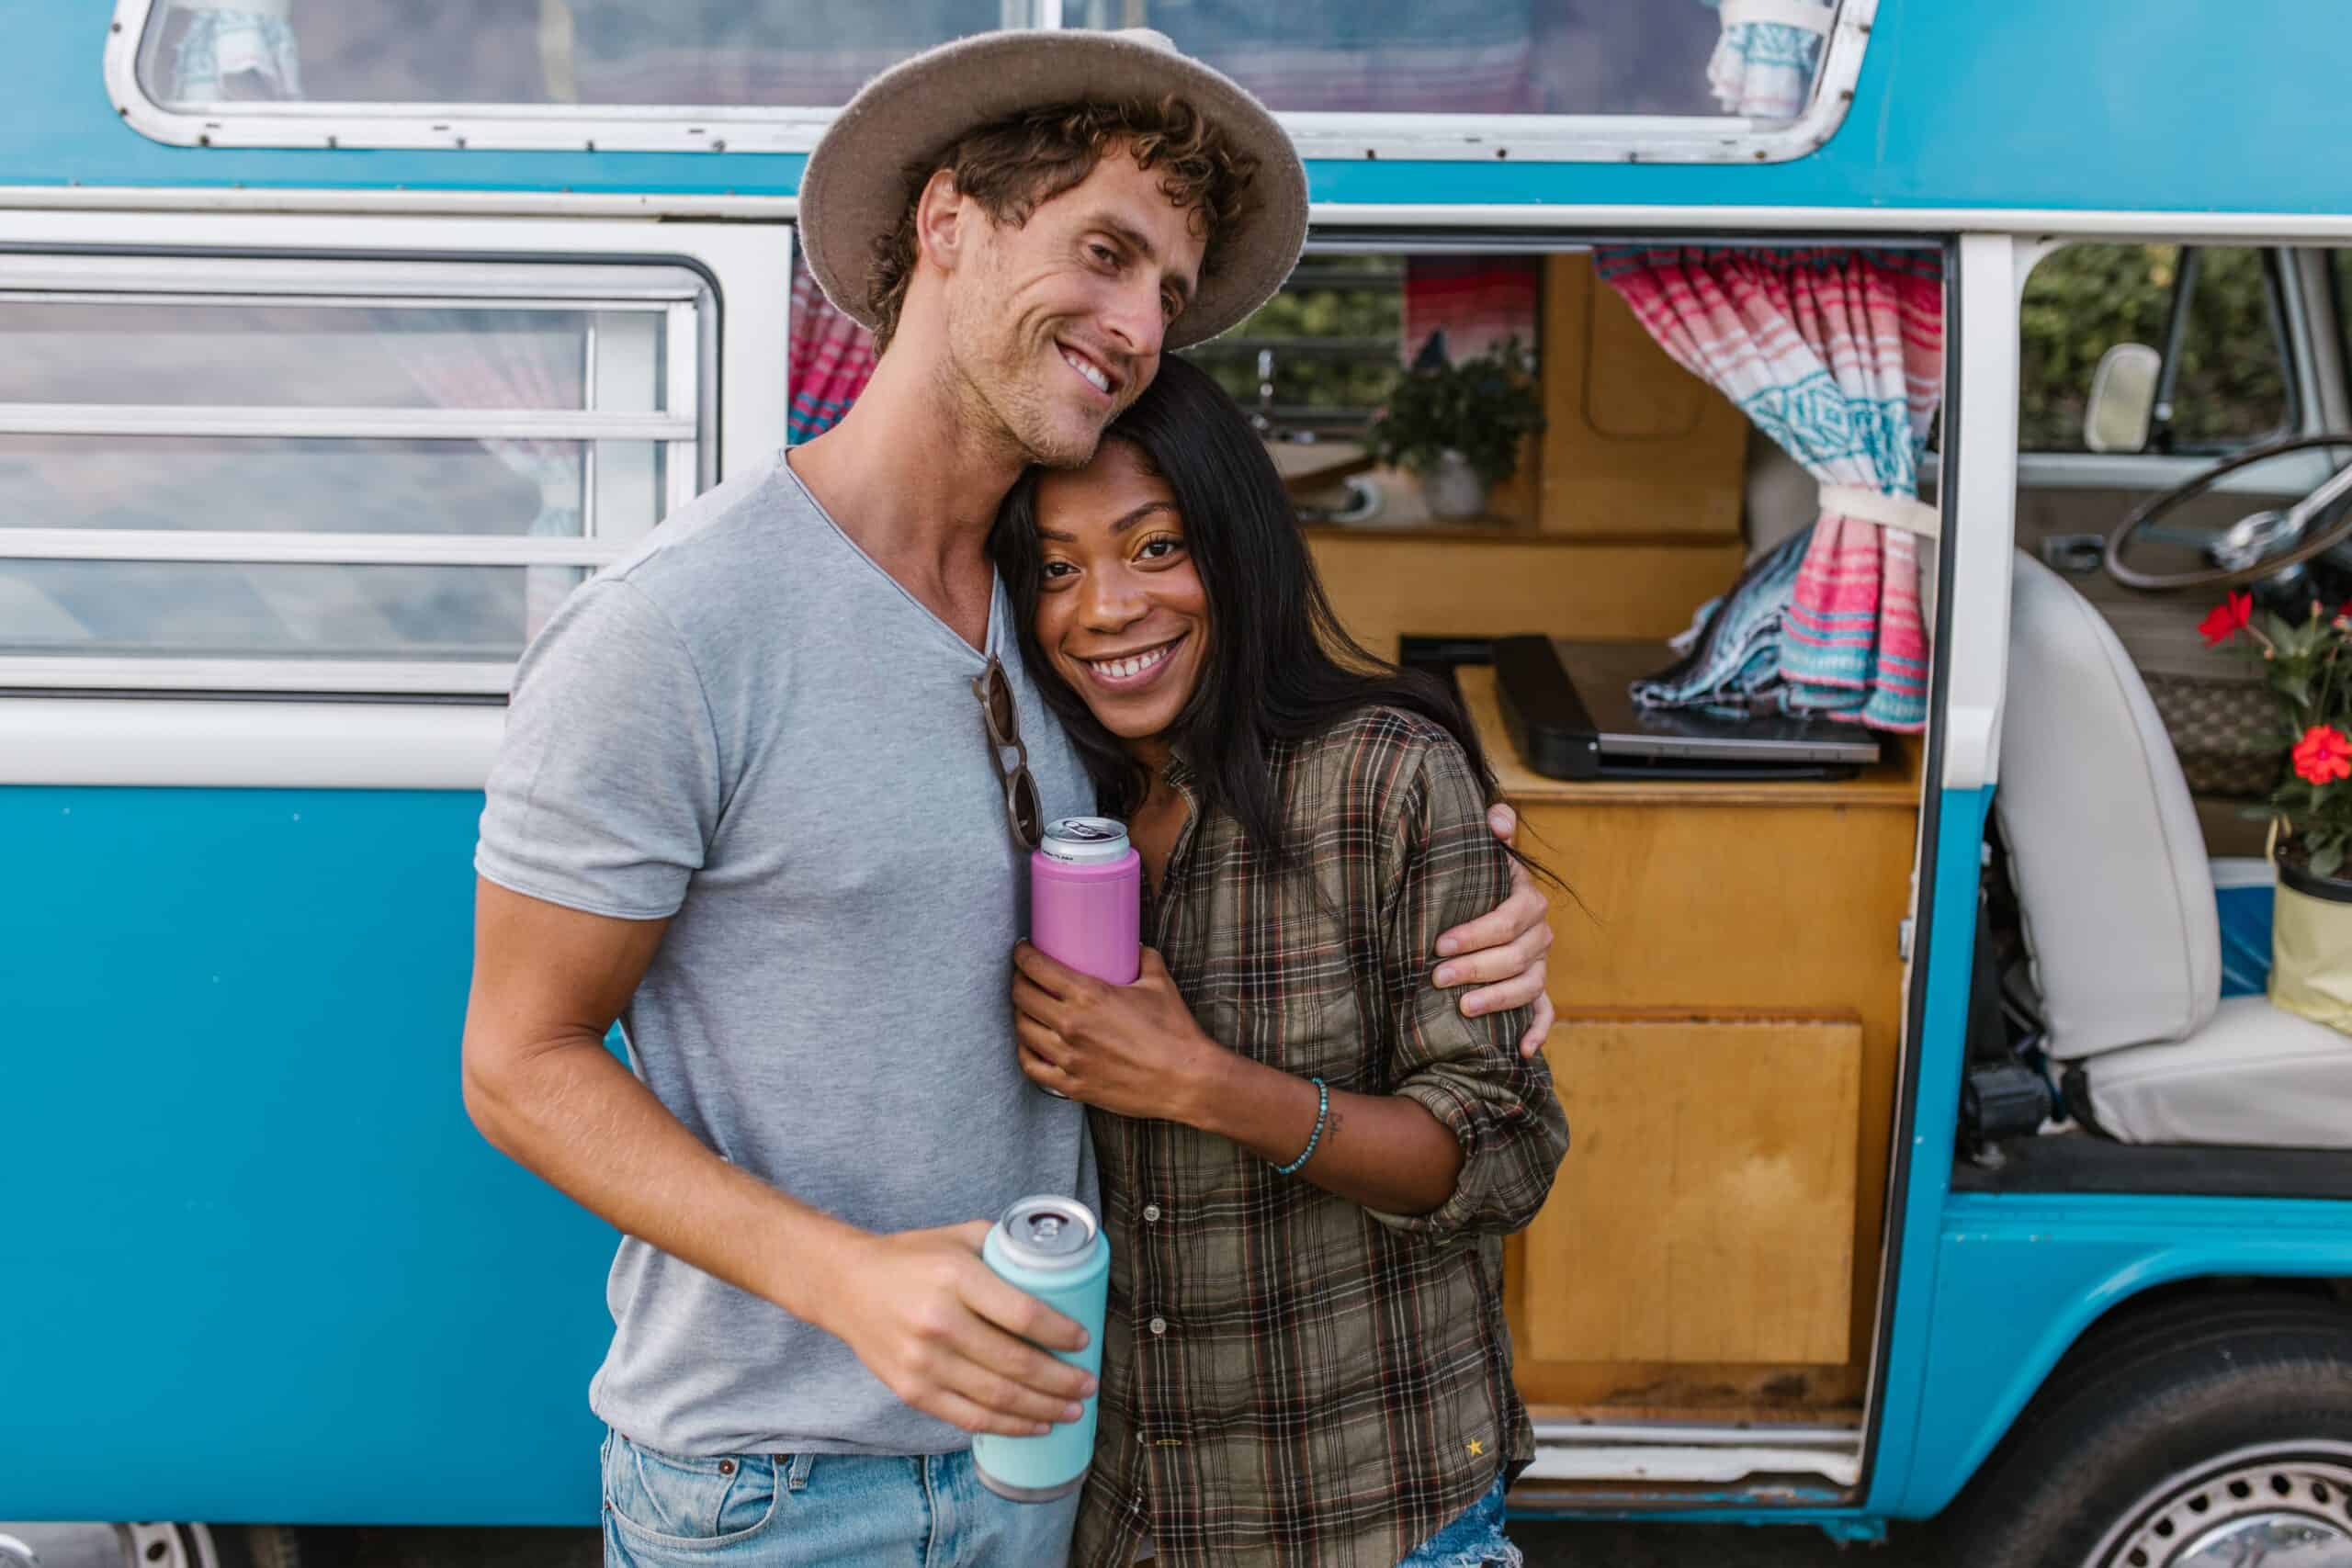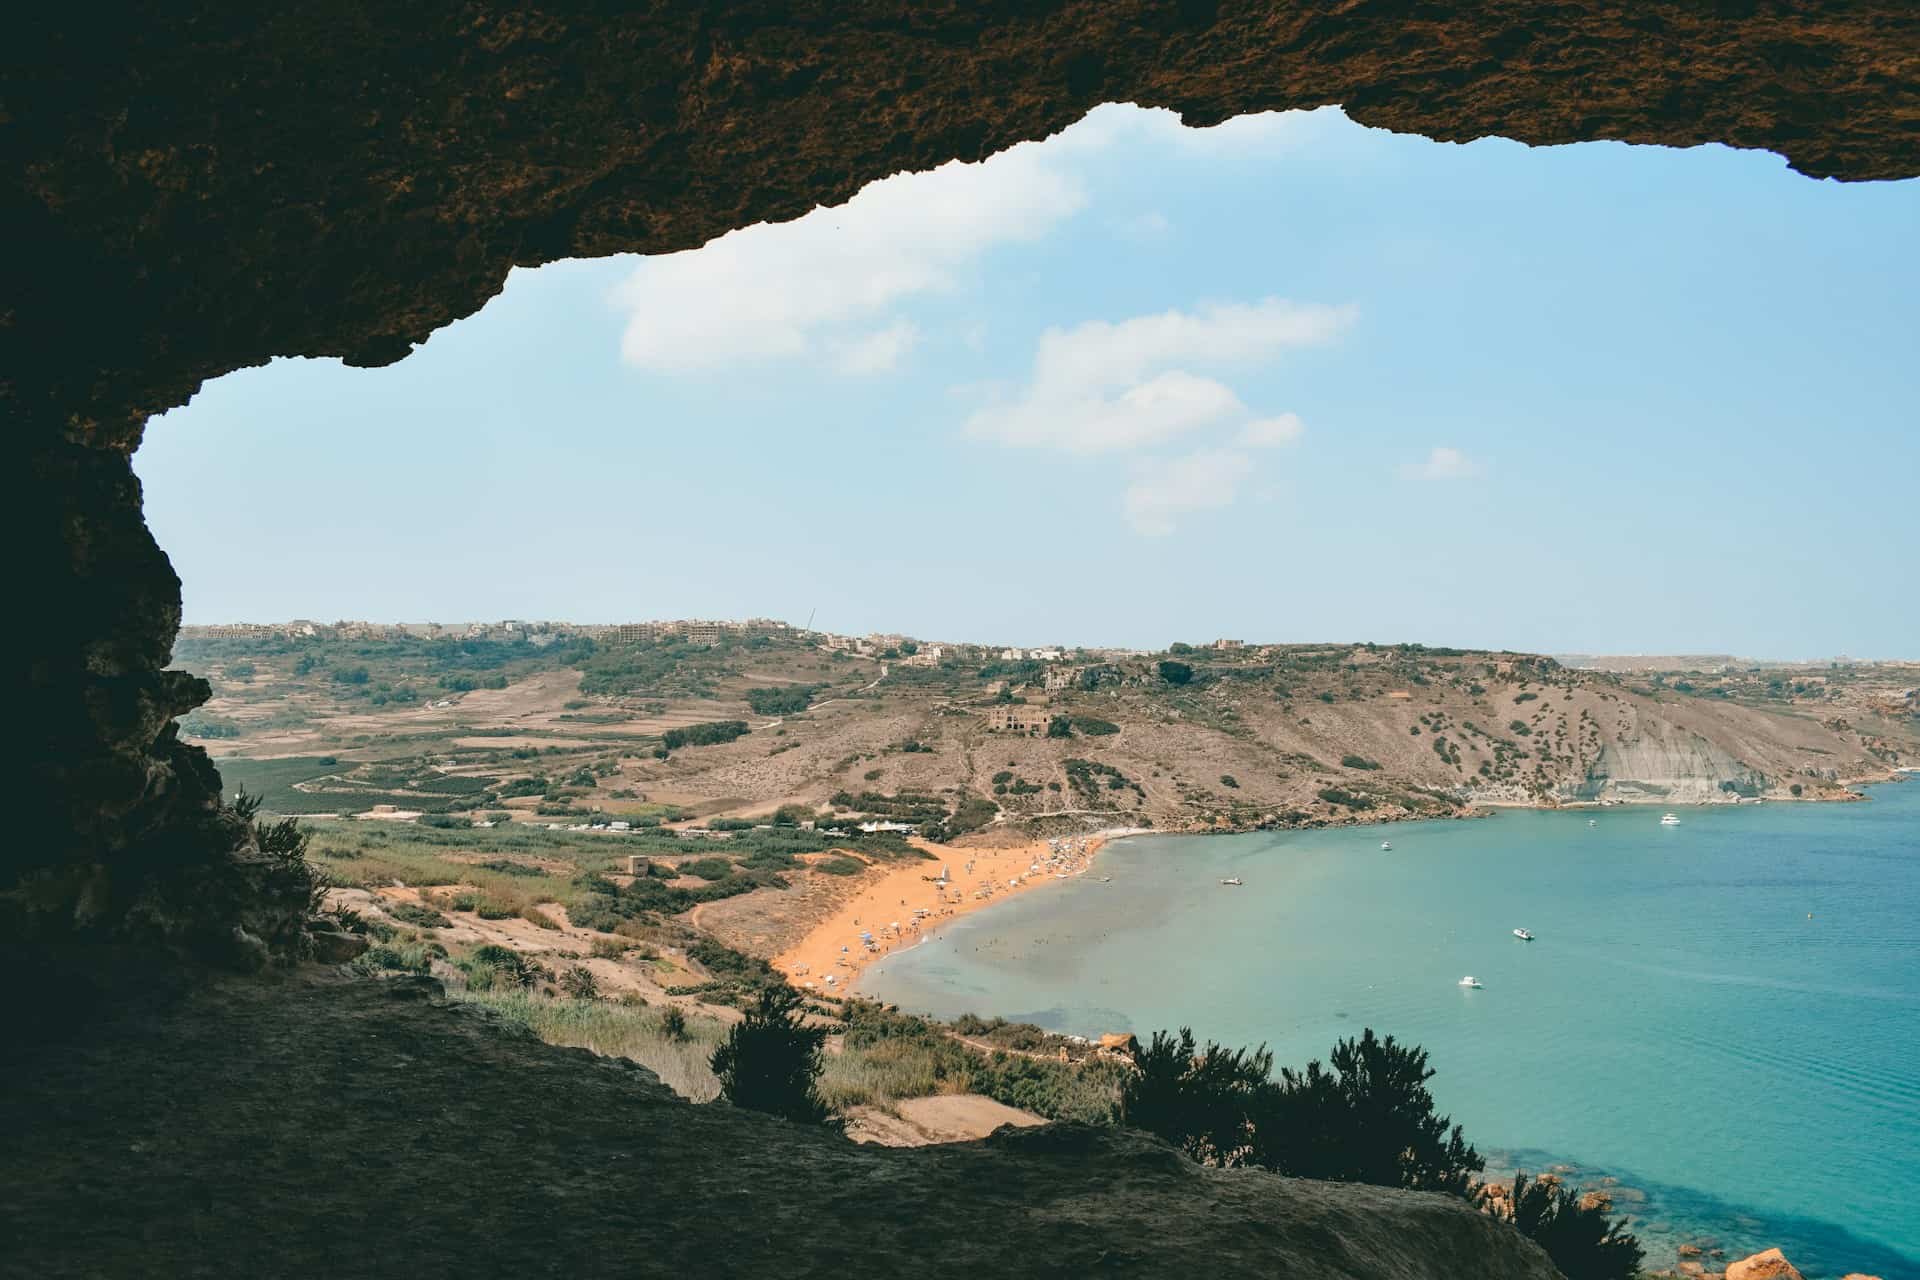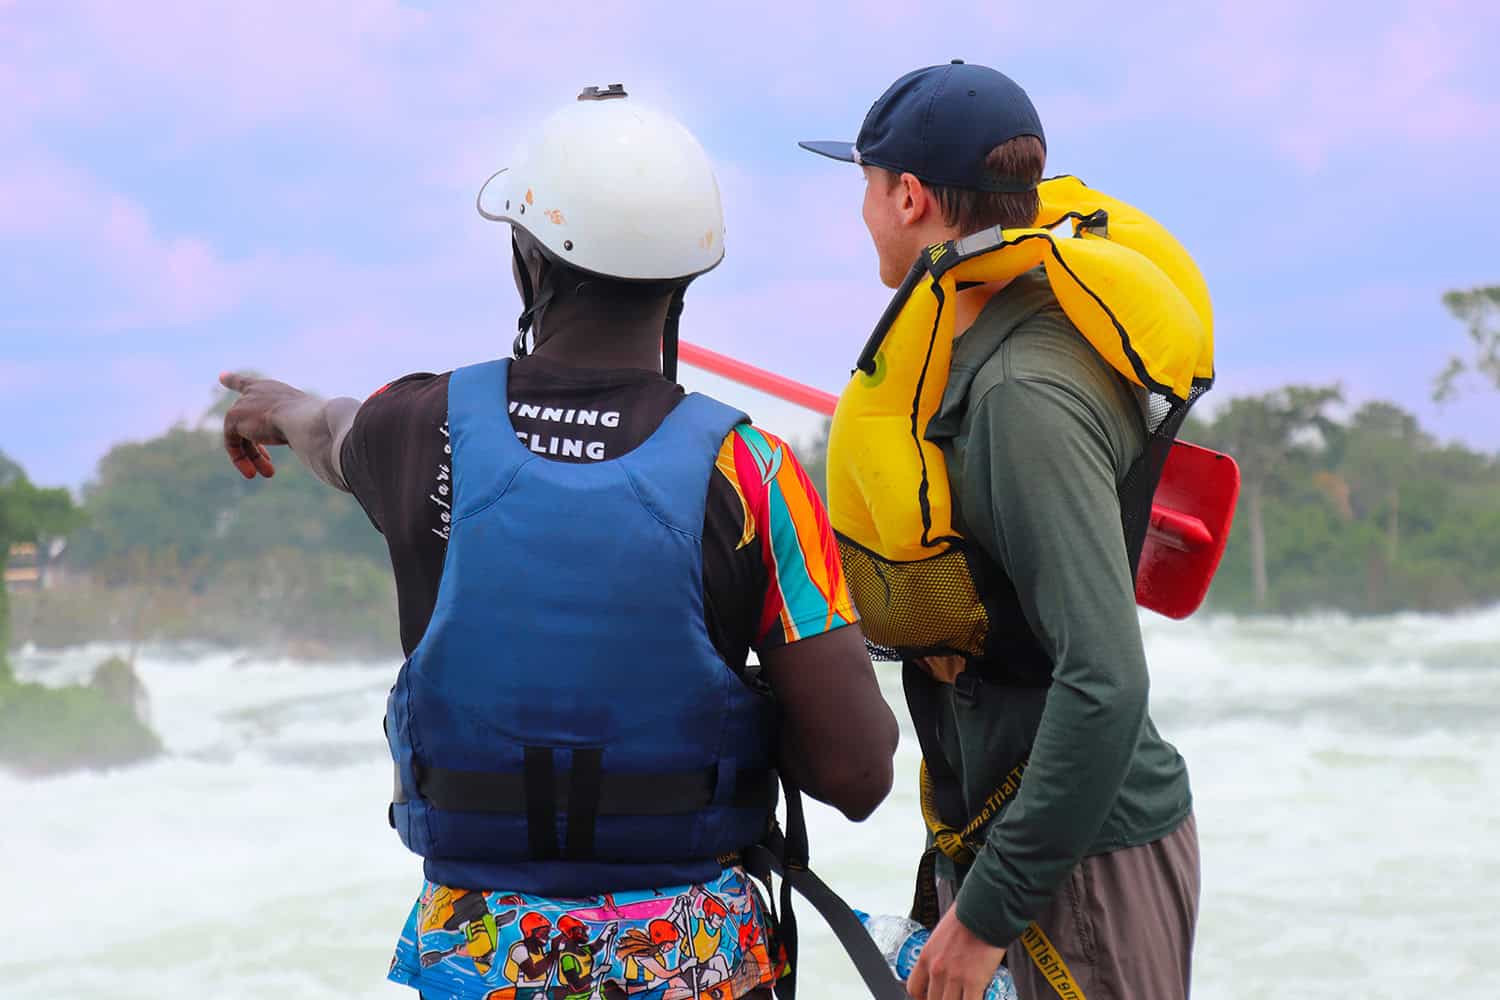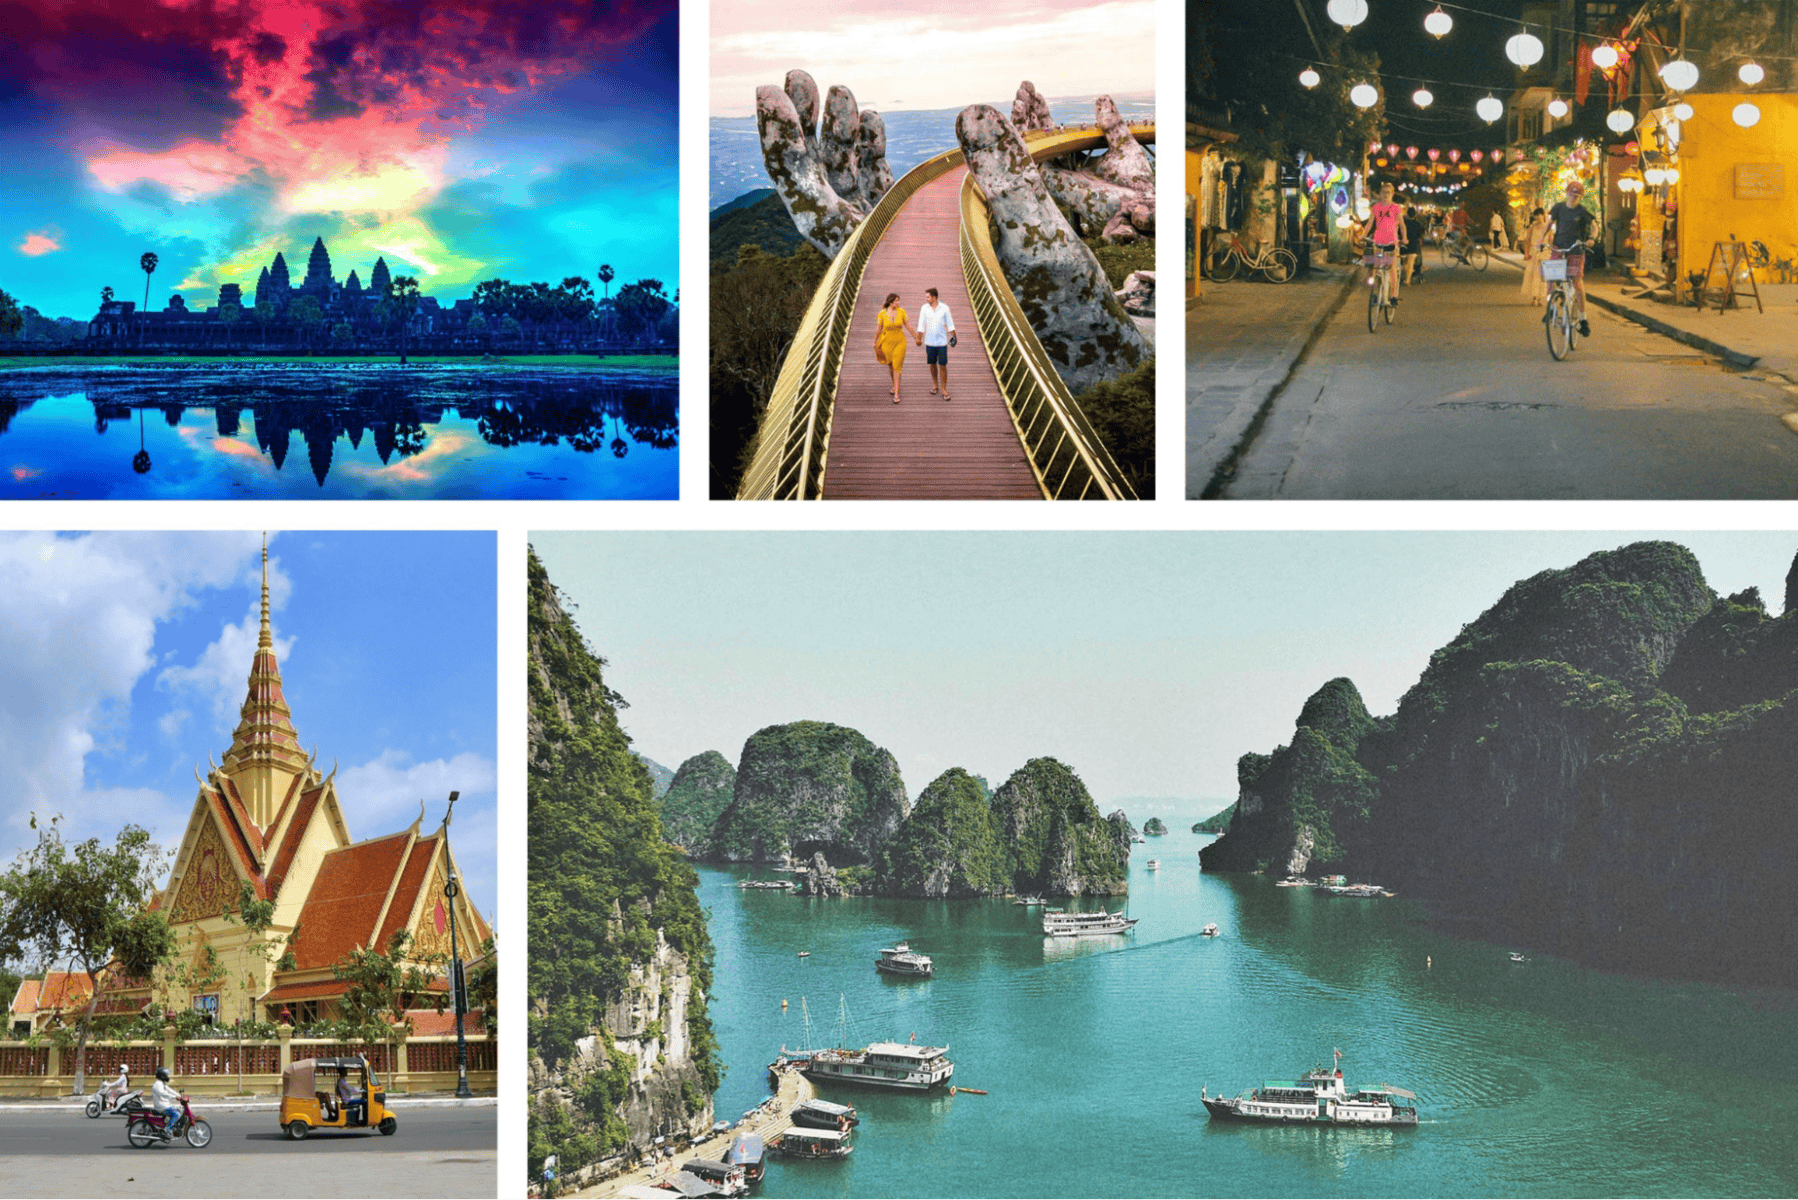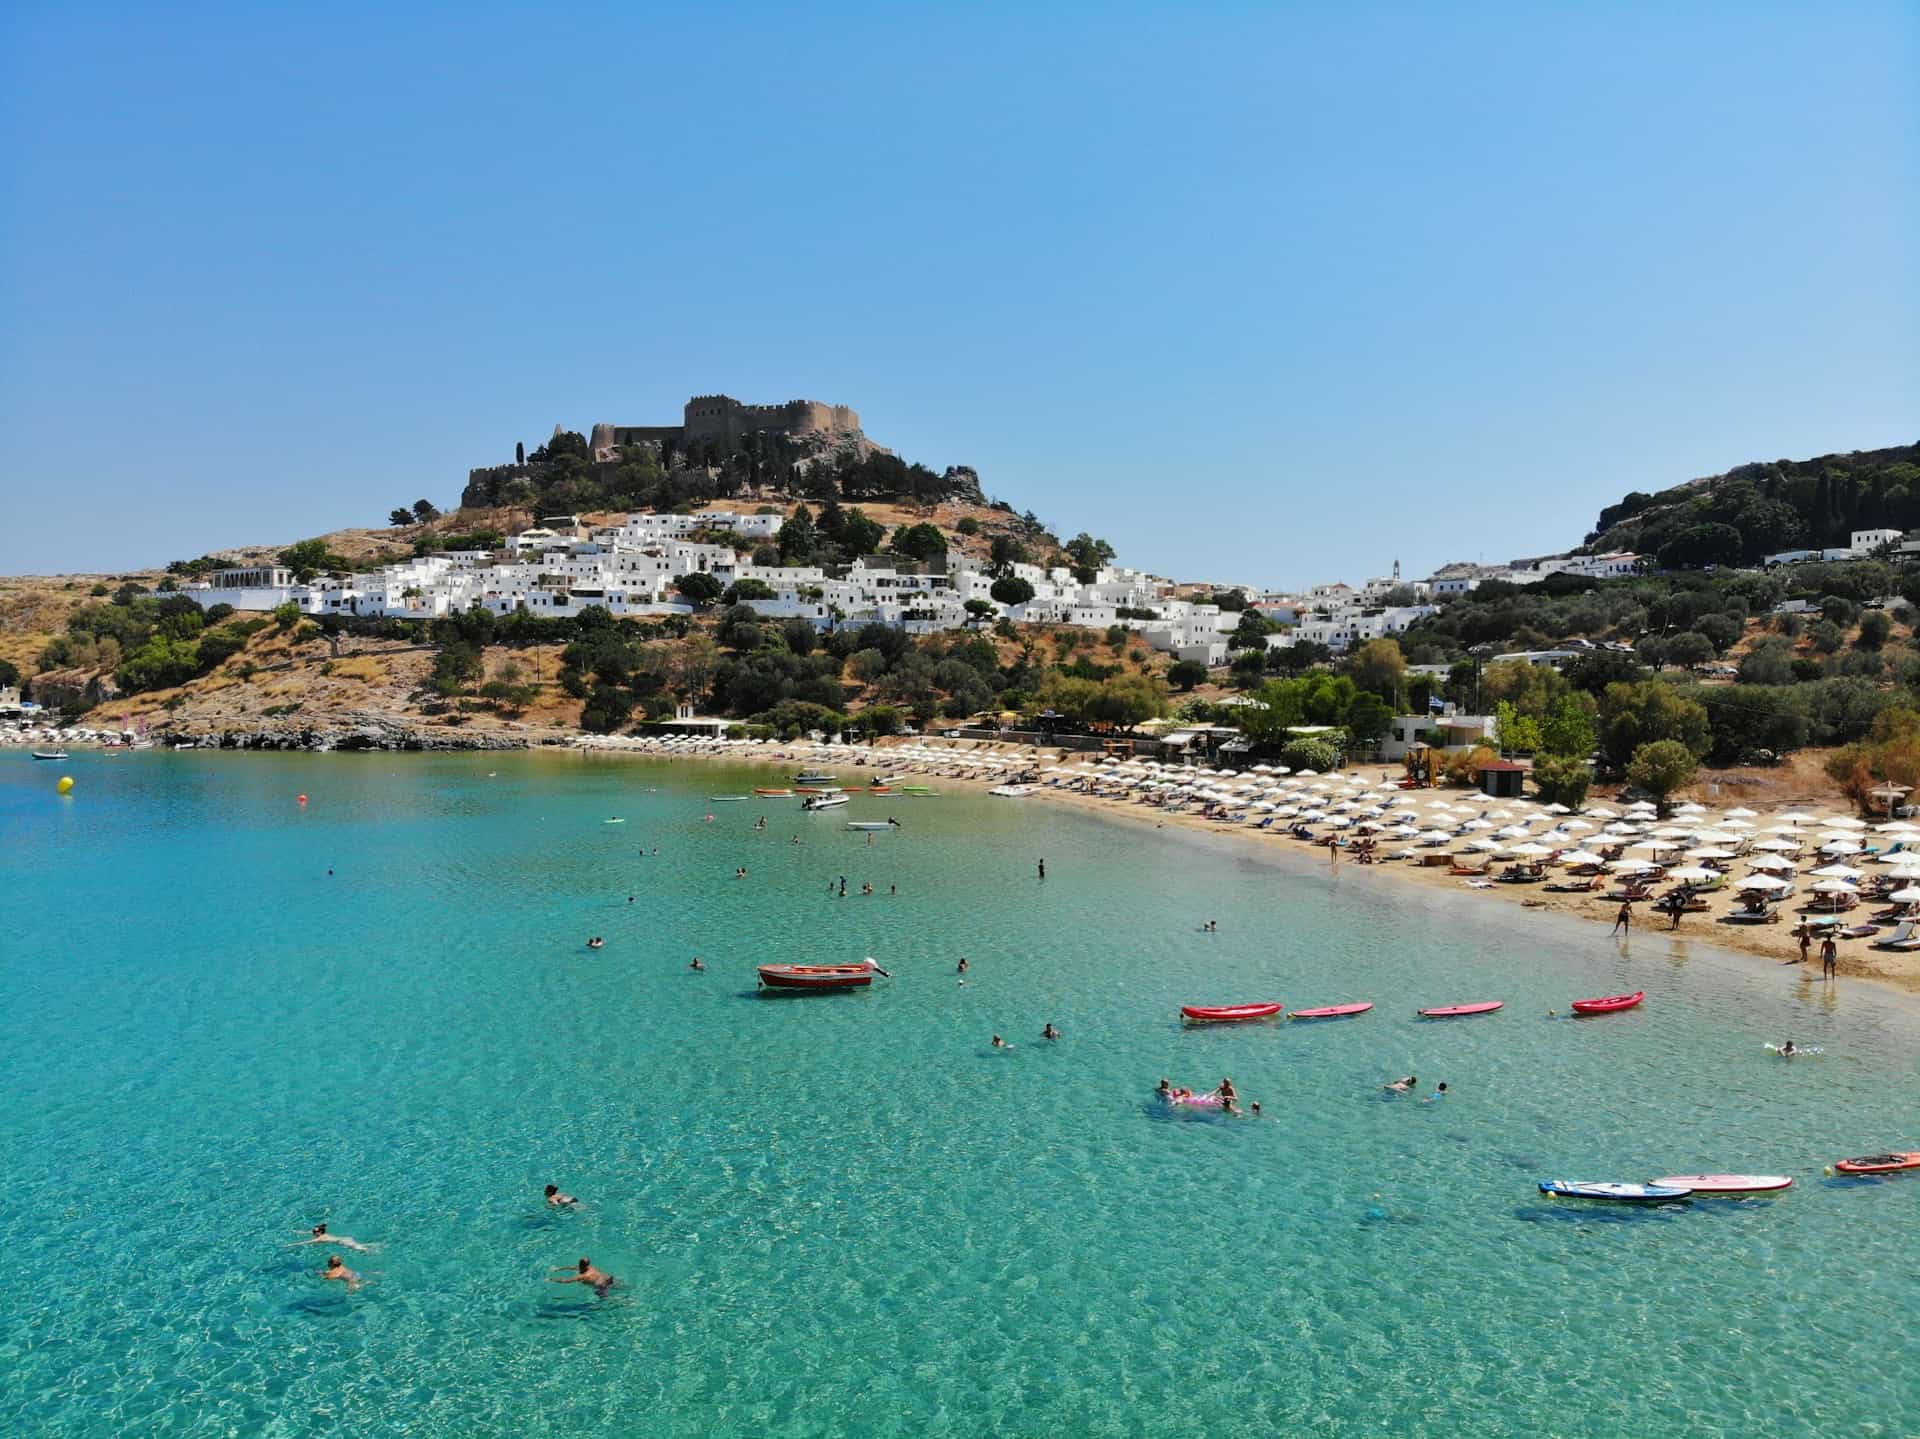
Planning a backpacking trip doesn't mean scheduling every hour. Instead, the finest adventures leave room for unexpected discoveries while still keeping travel days pleasant and hassle-free.
Whether you're heading out for a weekend getaway or a months-long adventure, some preparation helps you spend less time worrying about logistics and more time enjoying the experience. With that in mind, proceed by creating a clear travel plan.
Table of Contents
Start With a Clear Travel Plan
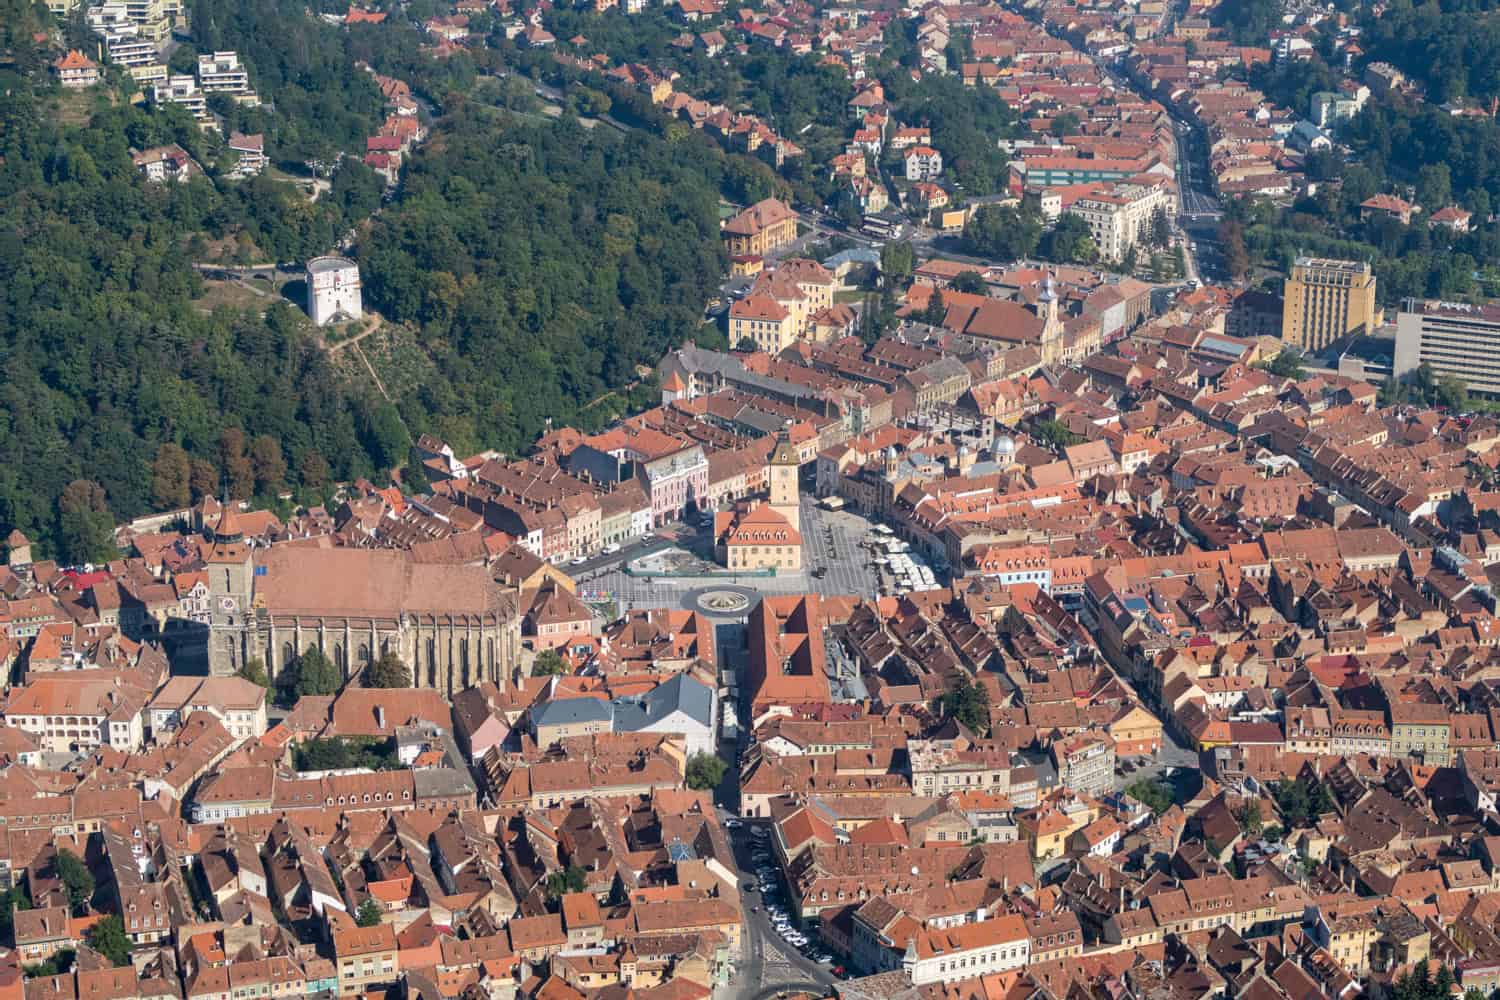
A backpacking trip becomes easier when you know your main route before leaving home. Don't plan every minute; instead, choose the places you most want to visit and decide how many days you can spend at each. This will help you manage your time, money, and energy more effectively.
Choose Places That Fit Your Time
First, look at the total number of days you have. Then choose destinations you can explore without rushing. It's better to fully experience three places than briefly visit six. Group nearby destinations together to reduce travel time and avoid unnecessary backtracking.
If one stop requires a significant detour, consider whether it's worth the extra time. A well-planned route lets you spend less time in transit and more time experiencing each destination.
Keep Some Free Time in Your Schedule
Backpacking feels better when your day has room to breathe. That free time may lead you to a cool street, a local event, a family-owned eatery, or a quiet sunset spot.
A full schedule can make the trip feel like a slog. Keep morning or evening itineraries light in some places. Leave space to walk around and enjoy the area like a local.
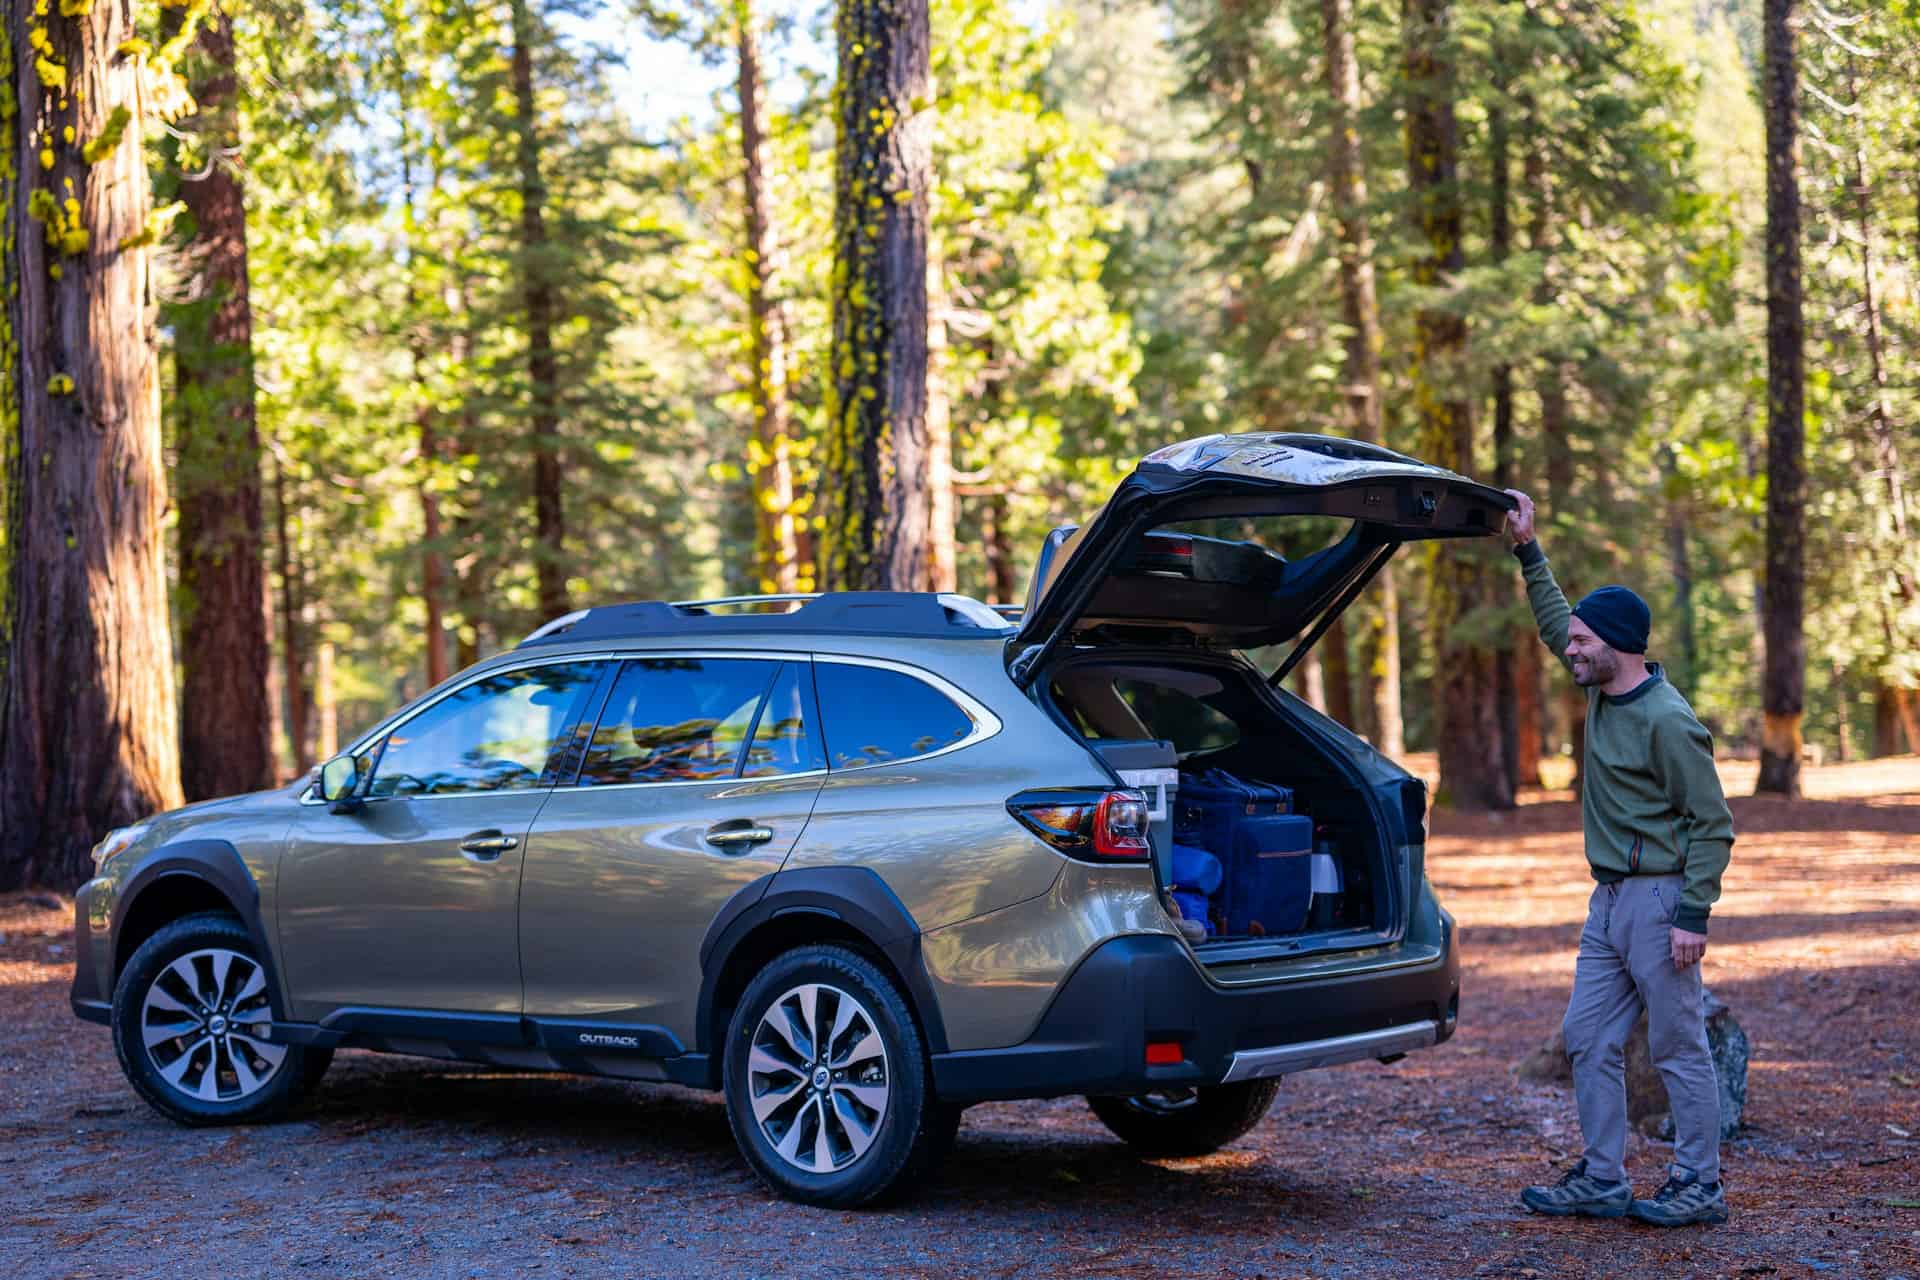
Plan Transportation in a Practical Way
Transportation can have a big effect on both your budget and your overall travel experience. Planning how you'll get from one destination to another ahead of time helps you compare options, avoid unnecessary stress, and make the most of your time on the road.
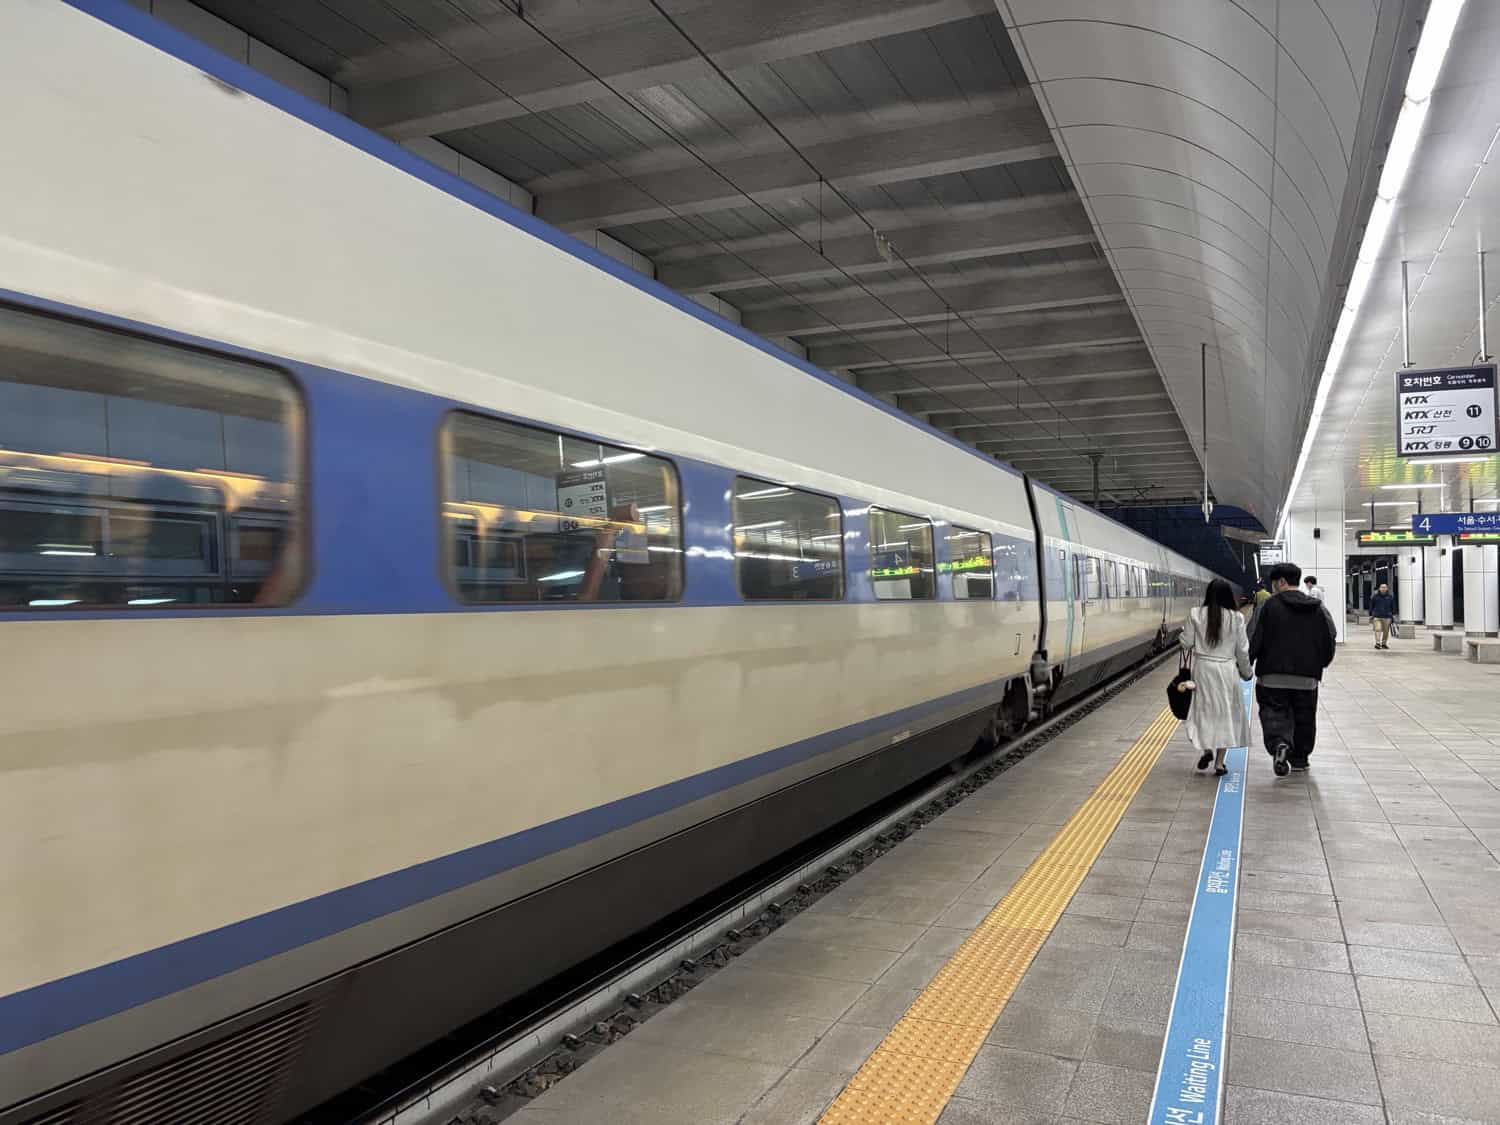
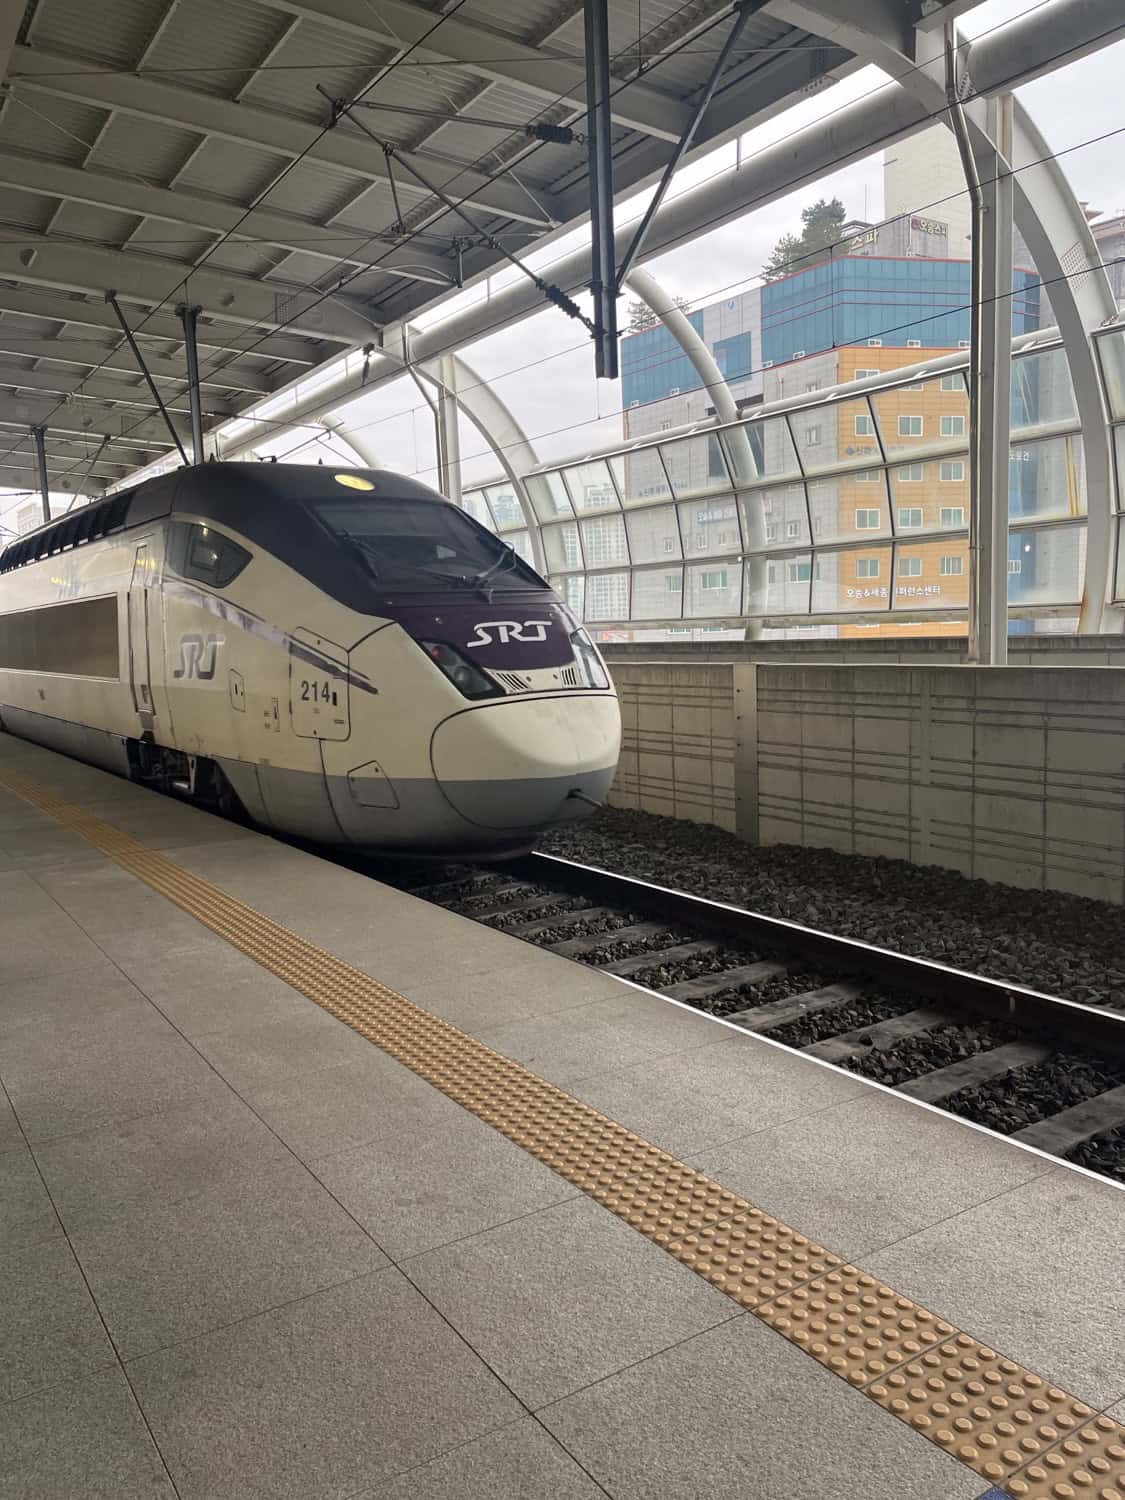
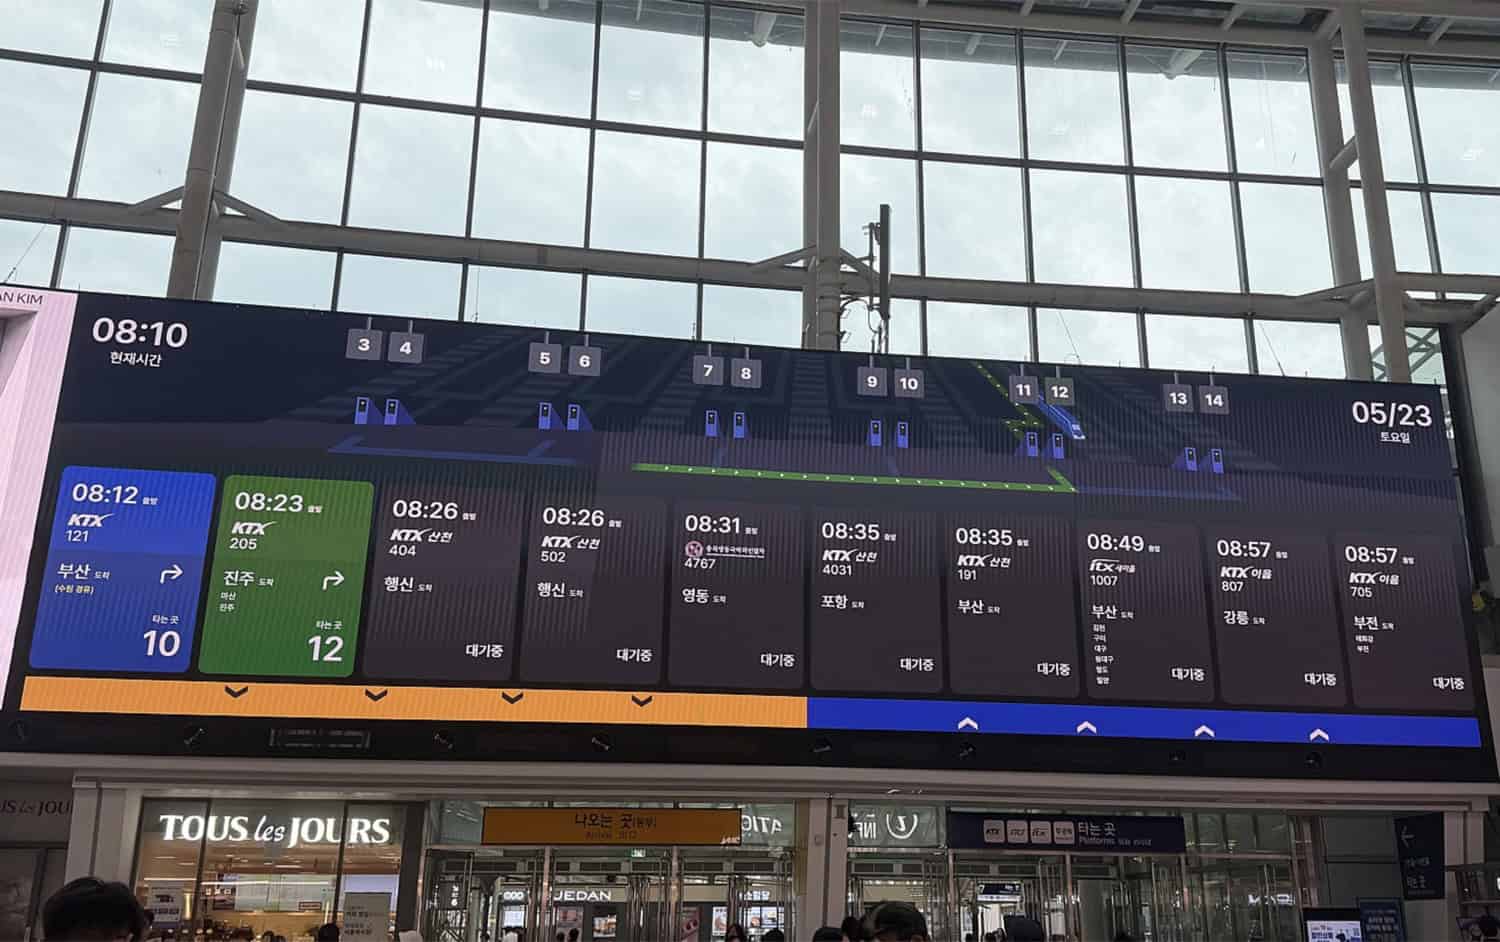
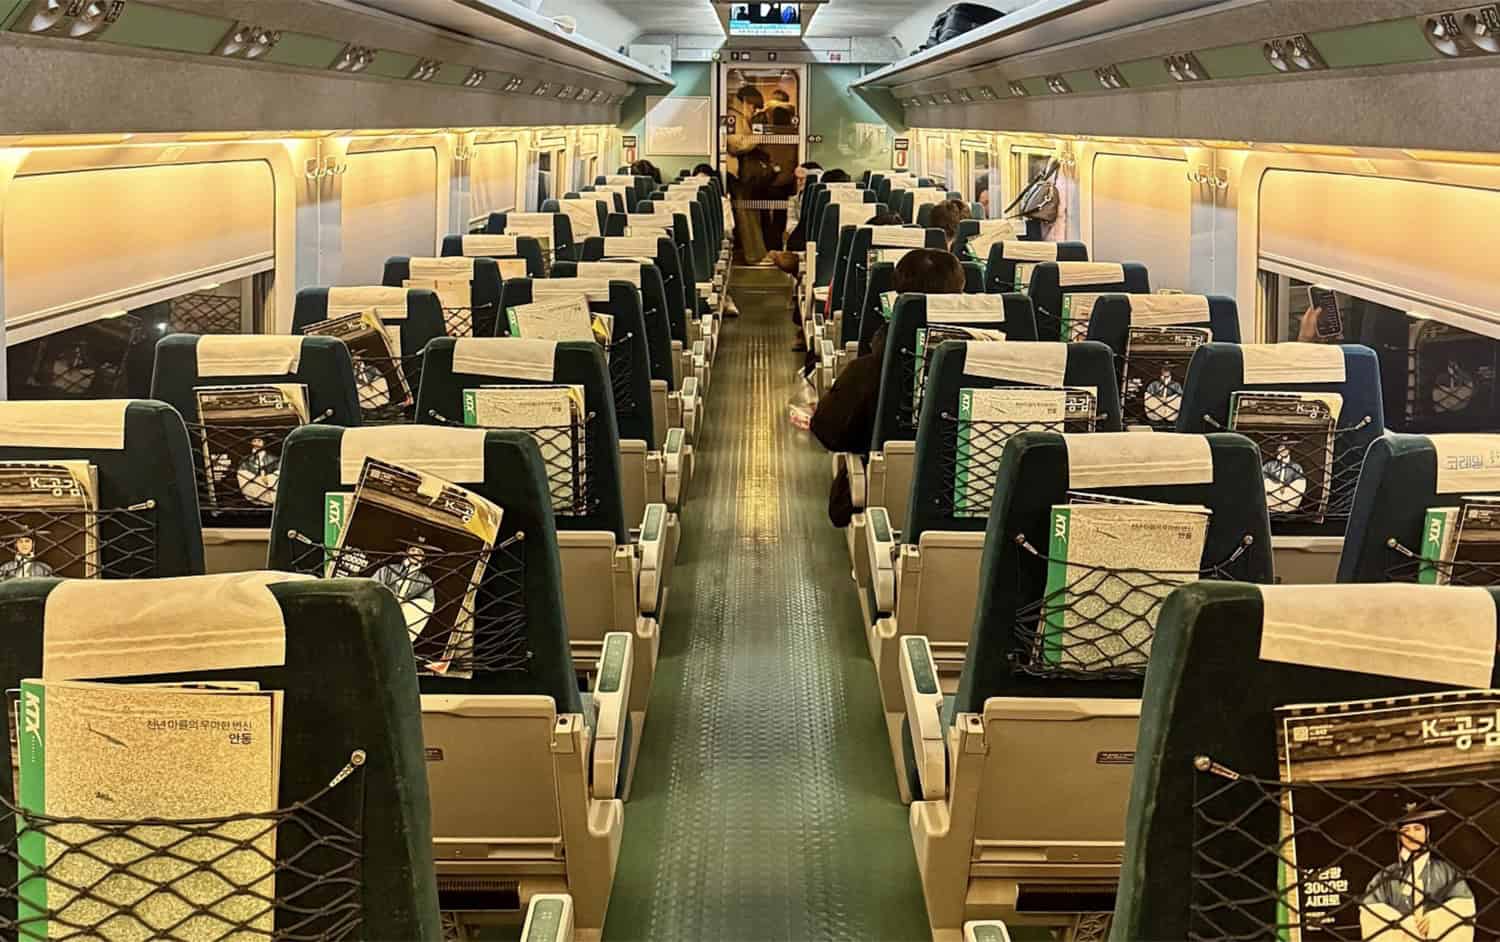
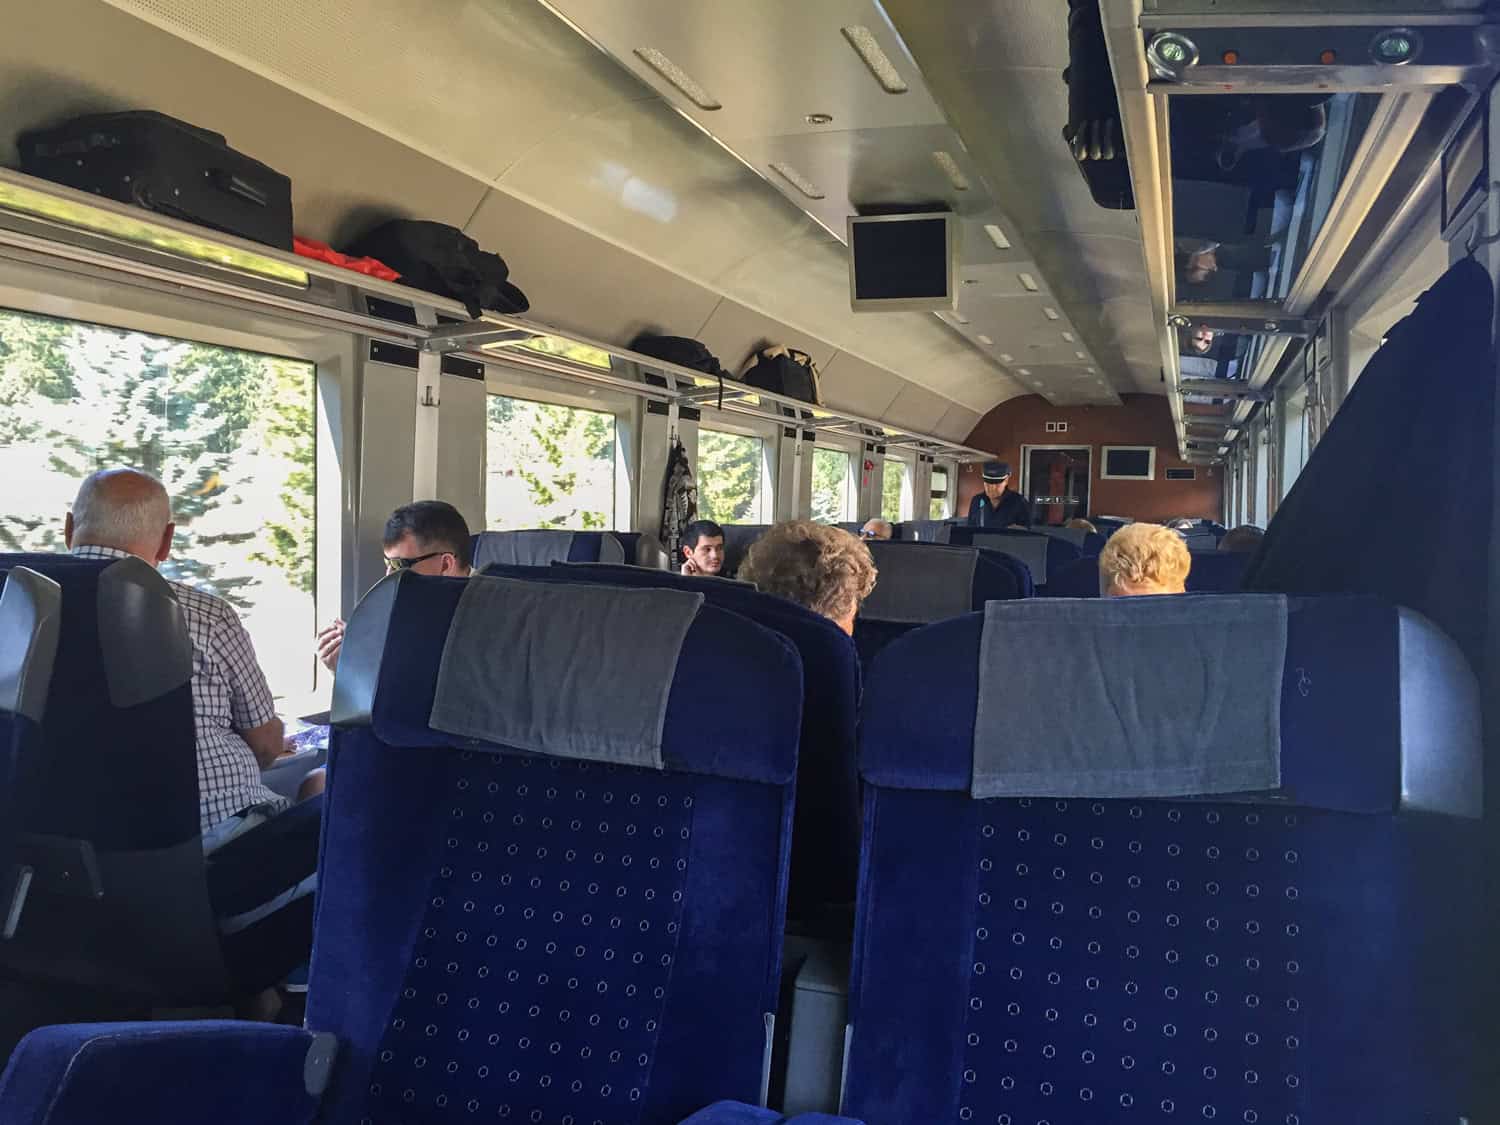
Use Public Transport Where Possible

Public transport is often a good way to get to know a place. Local buses, trains, shared vans, and metro systems can help you see how people move in daily life. They are also useful for short and medium distances.
Before you travel, check routes, station names, and timings. Save important details on your phone and keep a small written note in your bag. Do this before you leave so you're prepared when the internet is slow or your phone battery is low.
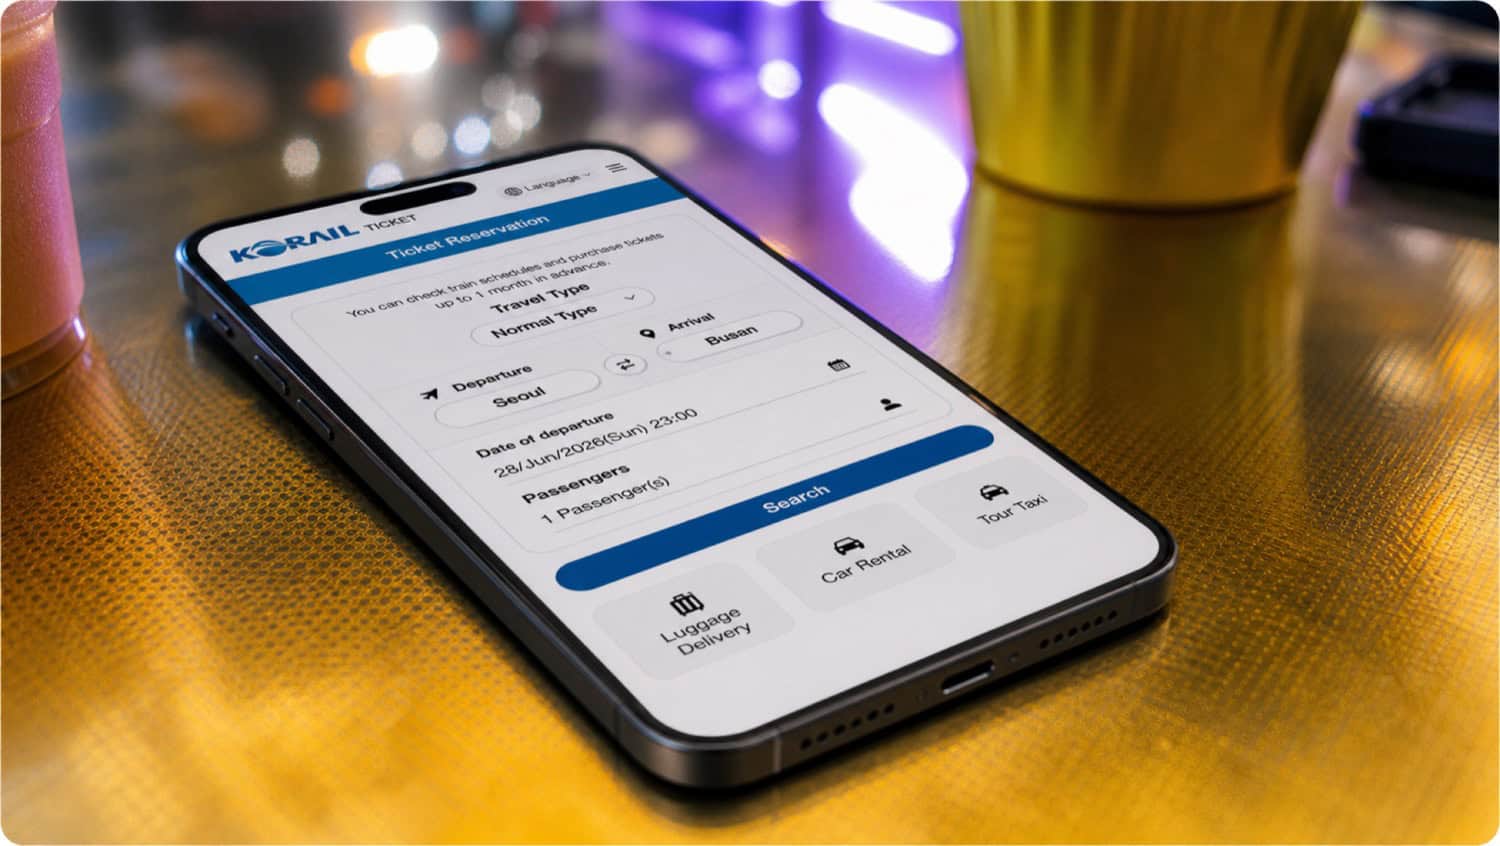
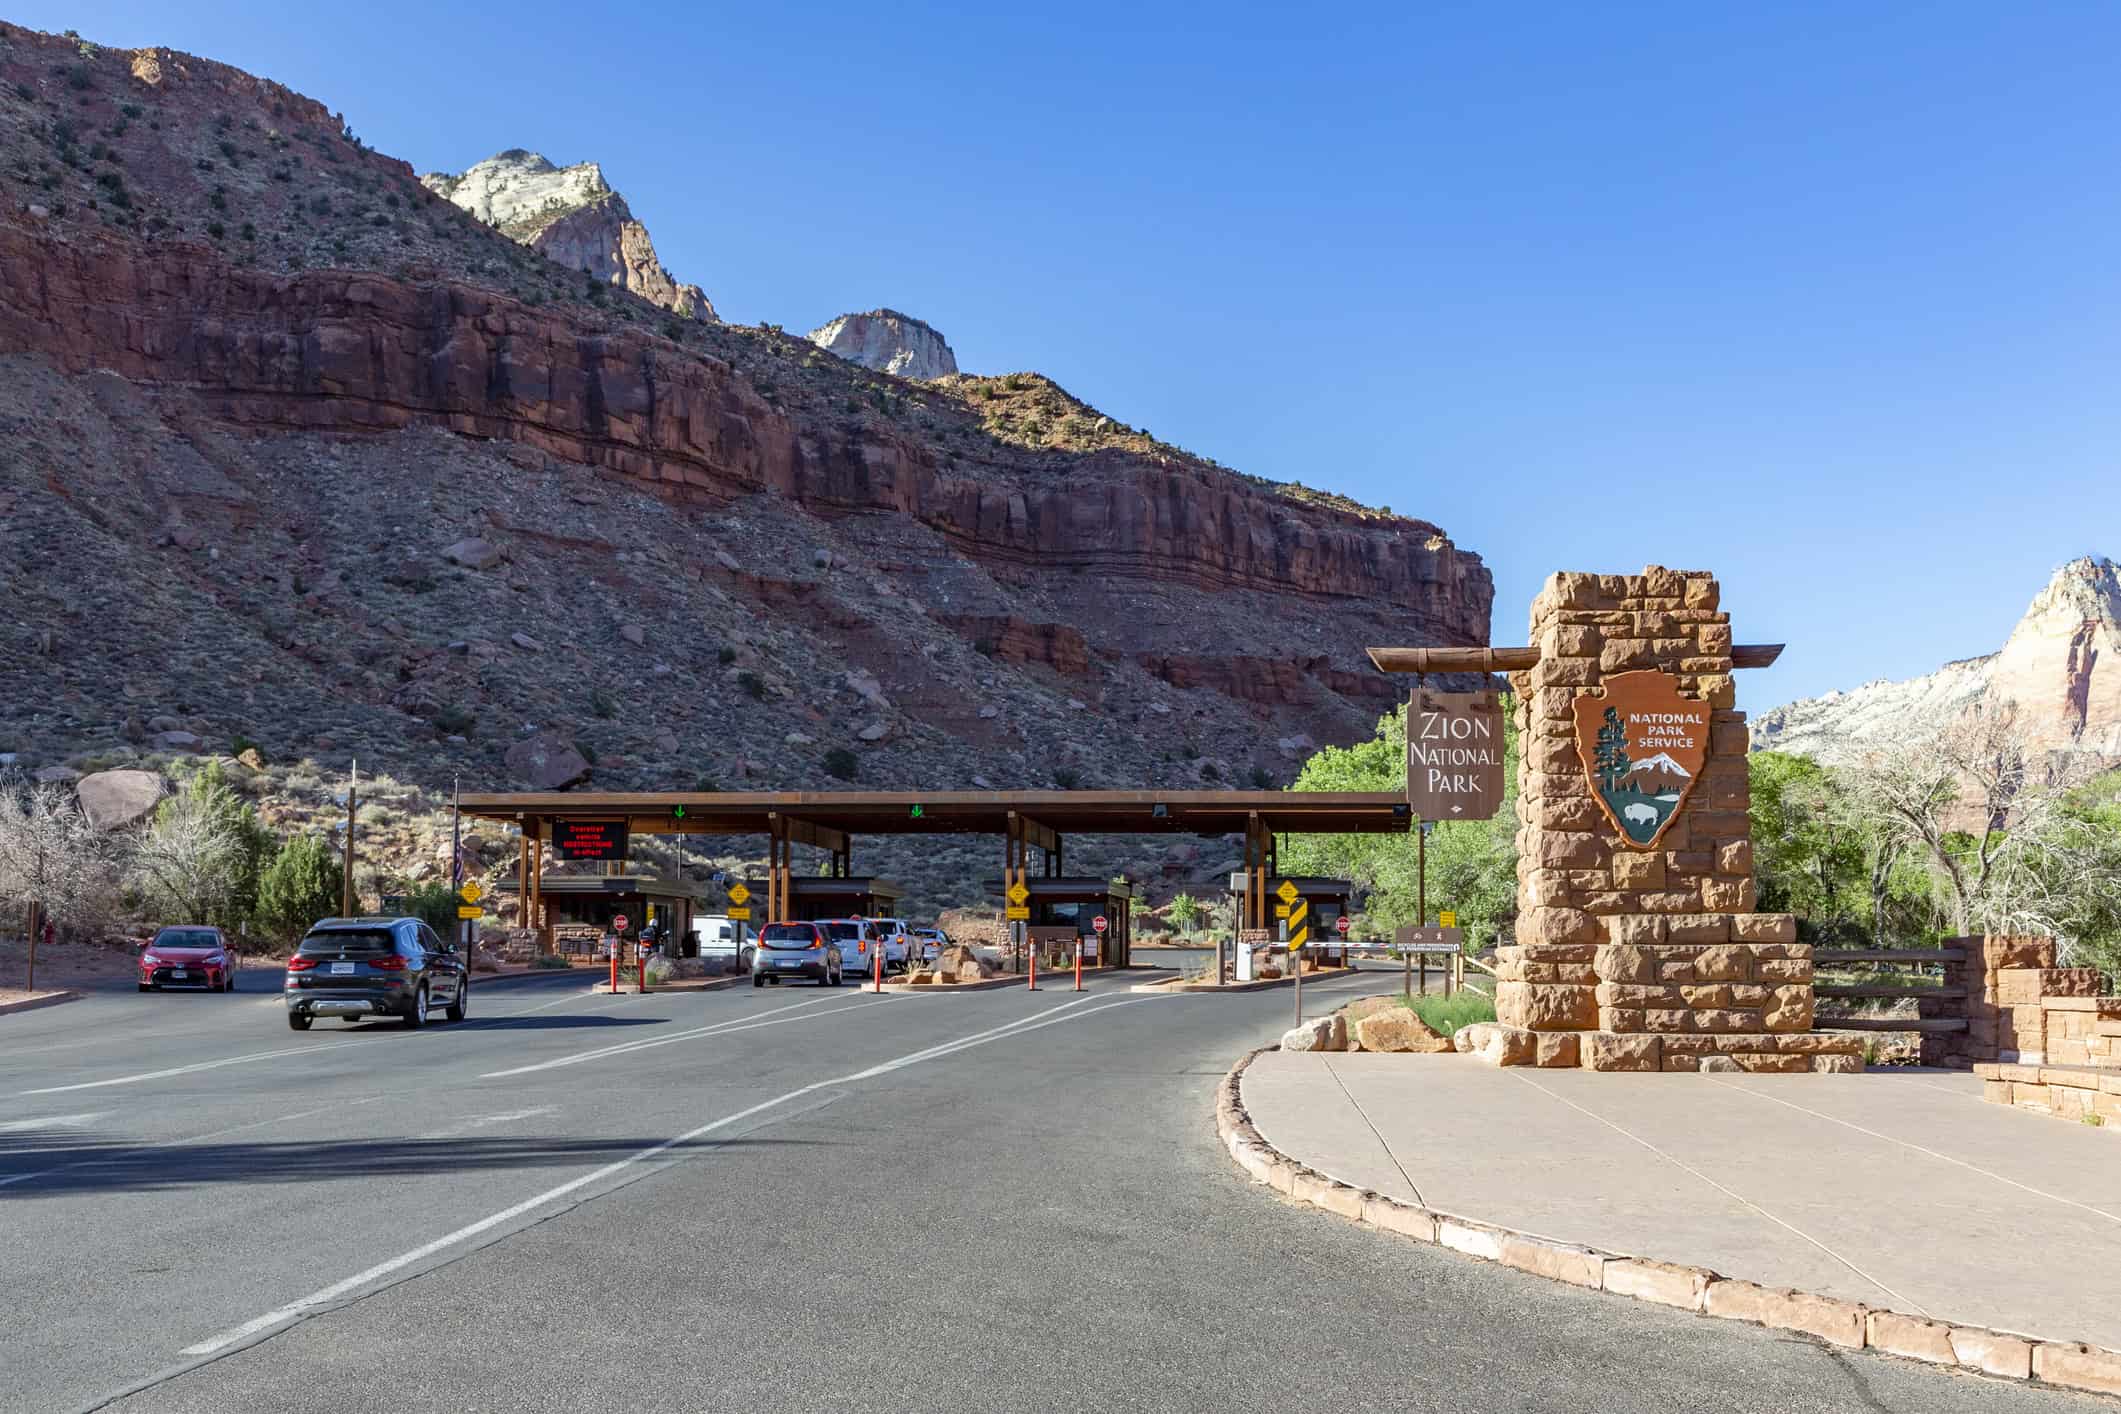
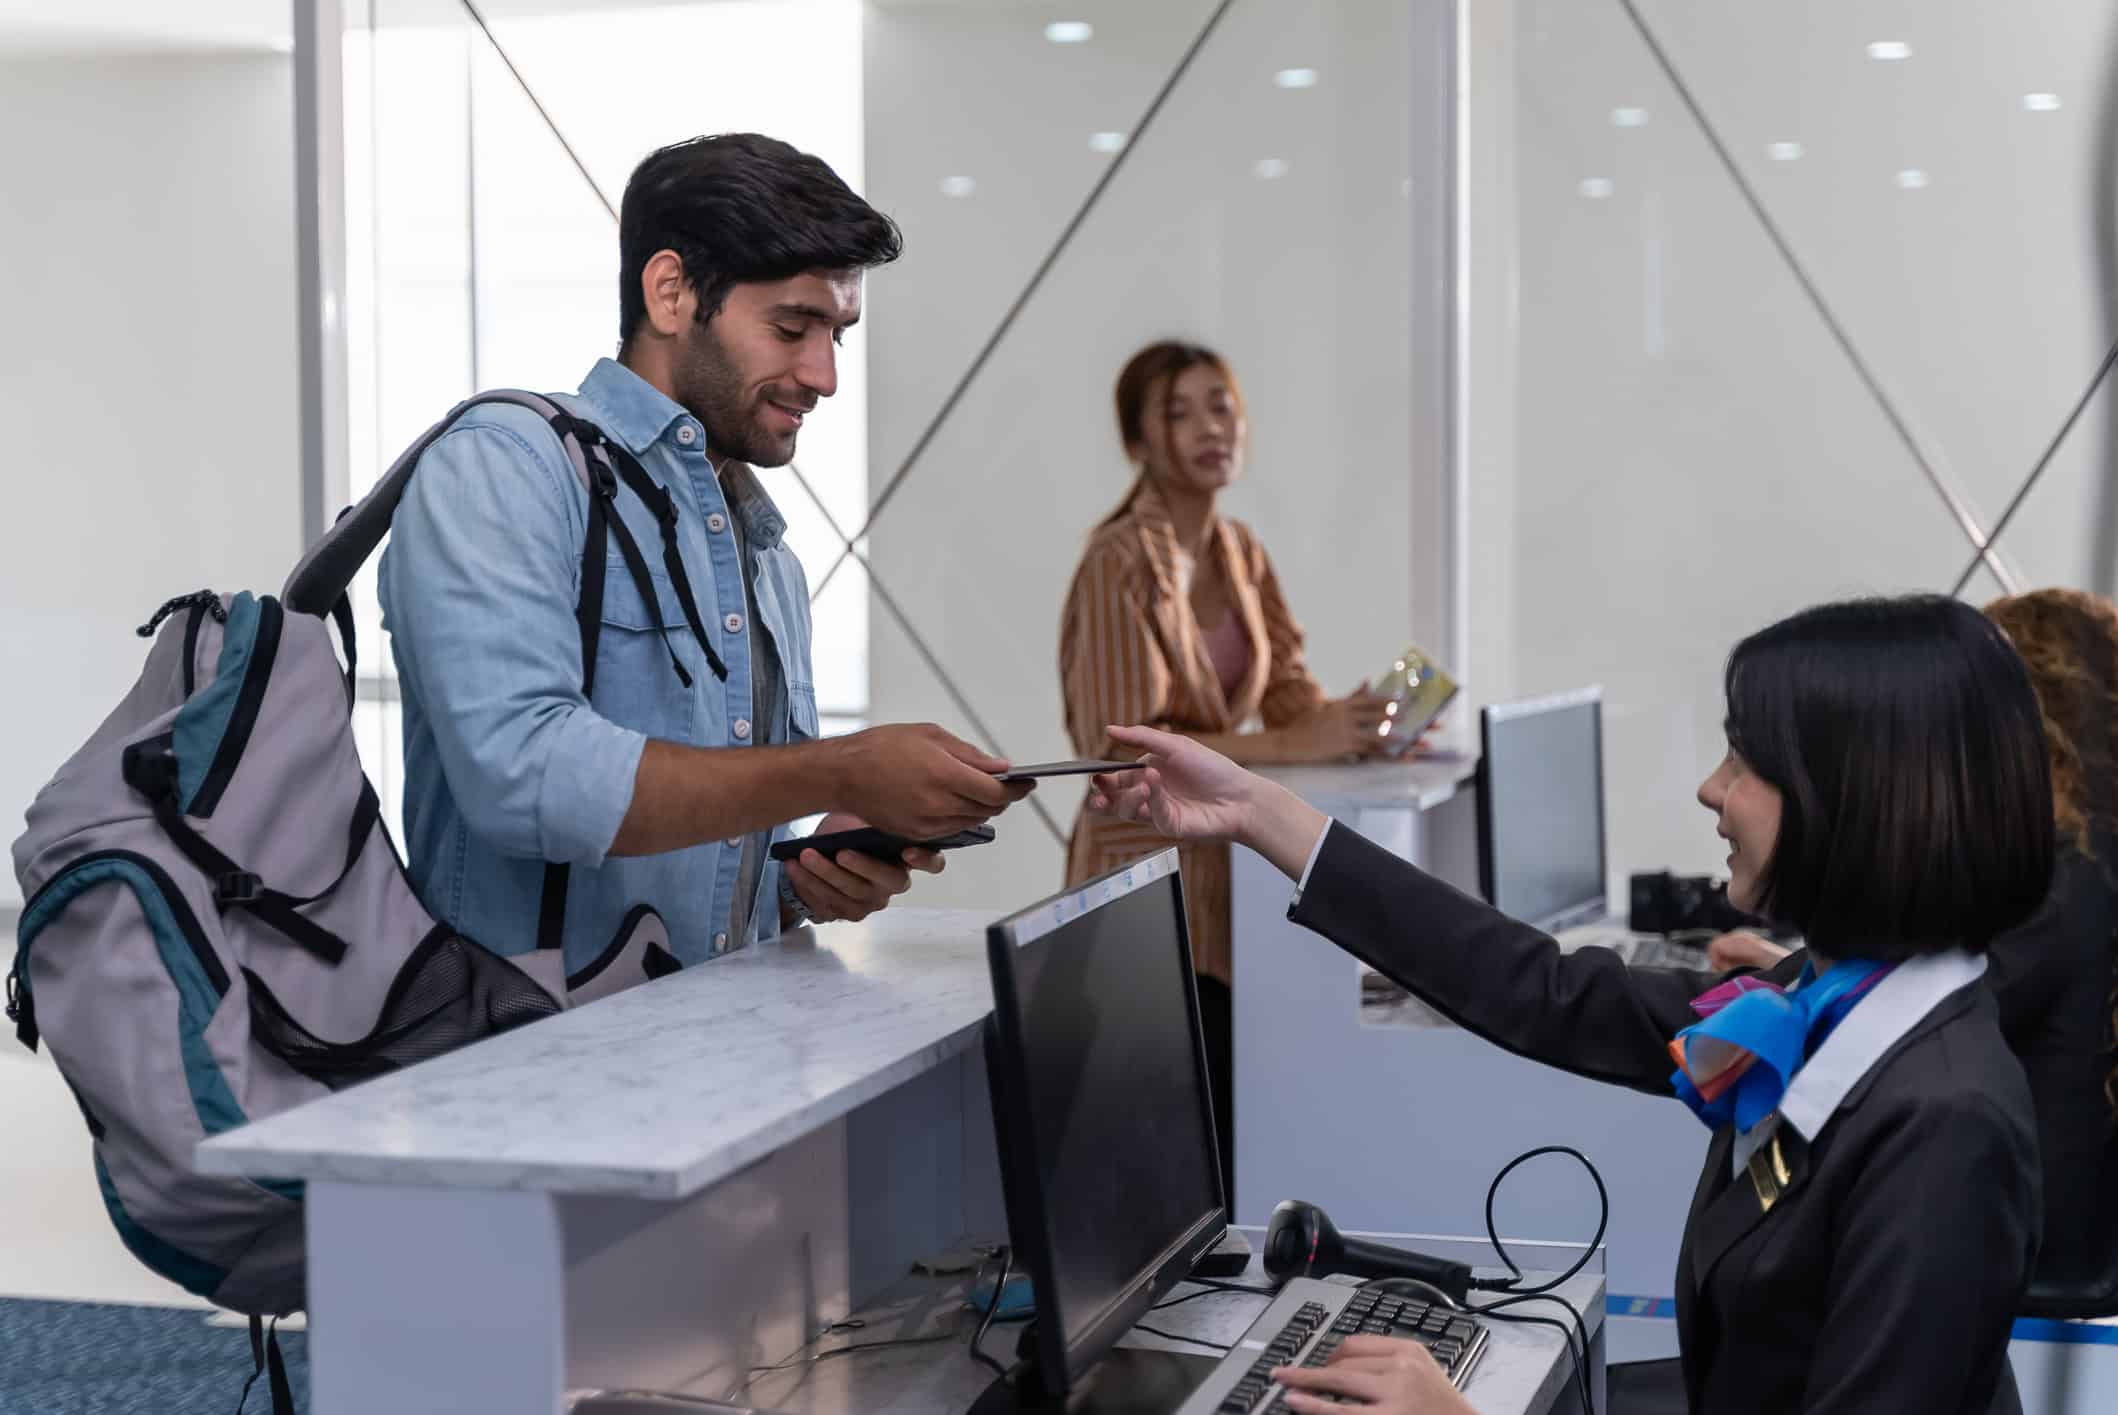
Book Important Transfers Early
Some transfers are best booked in advance, especially airport rides, long-distance buses, train seats, or day trips with fixed timings. Before arriving, compare airport transfers, train tickets, attraction passes, and local tours on platforms like Klook to understand pickup locations, prices, and schedules.
Keep your plan balanced-book only what matters most. Leave space for local choices after you arrive. This way, your trip stays planned but not too tight.
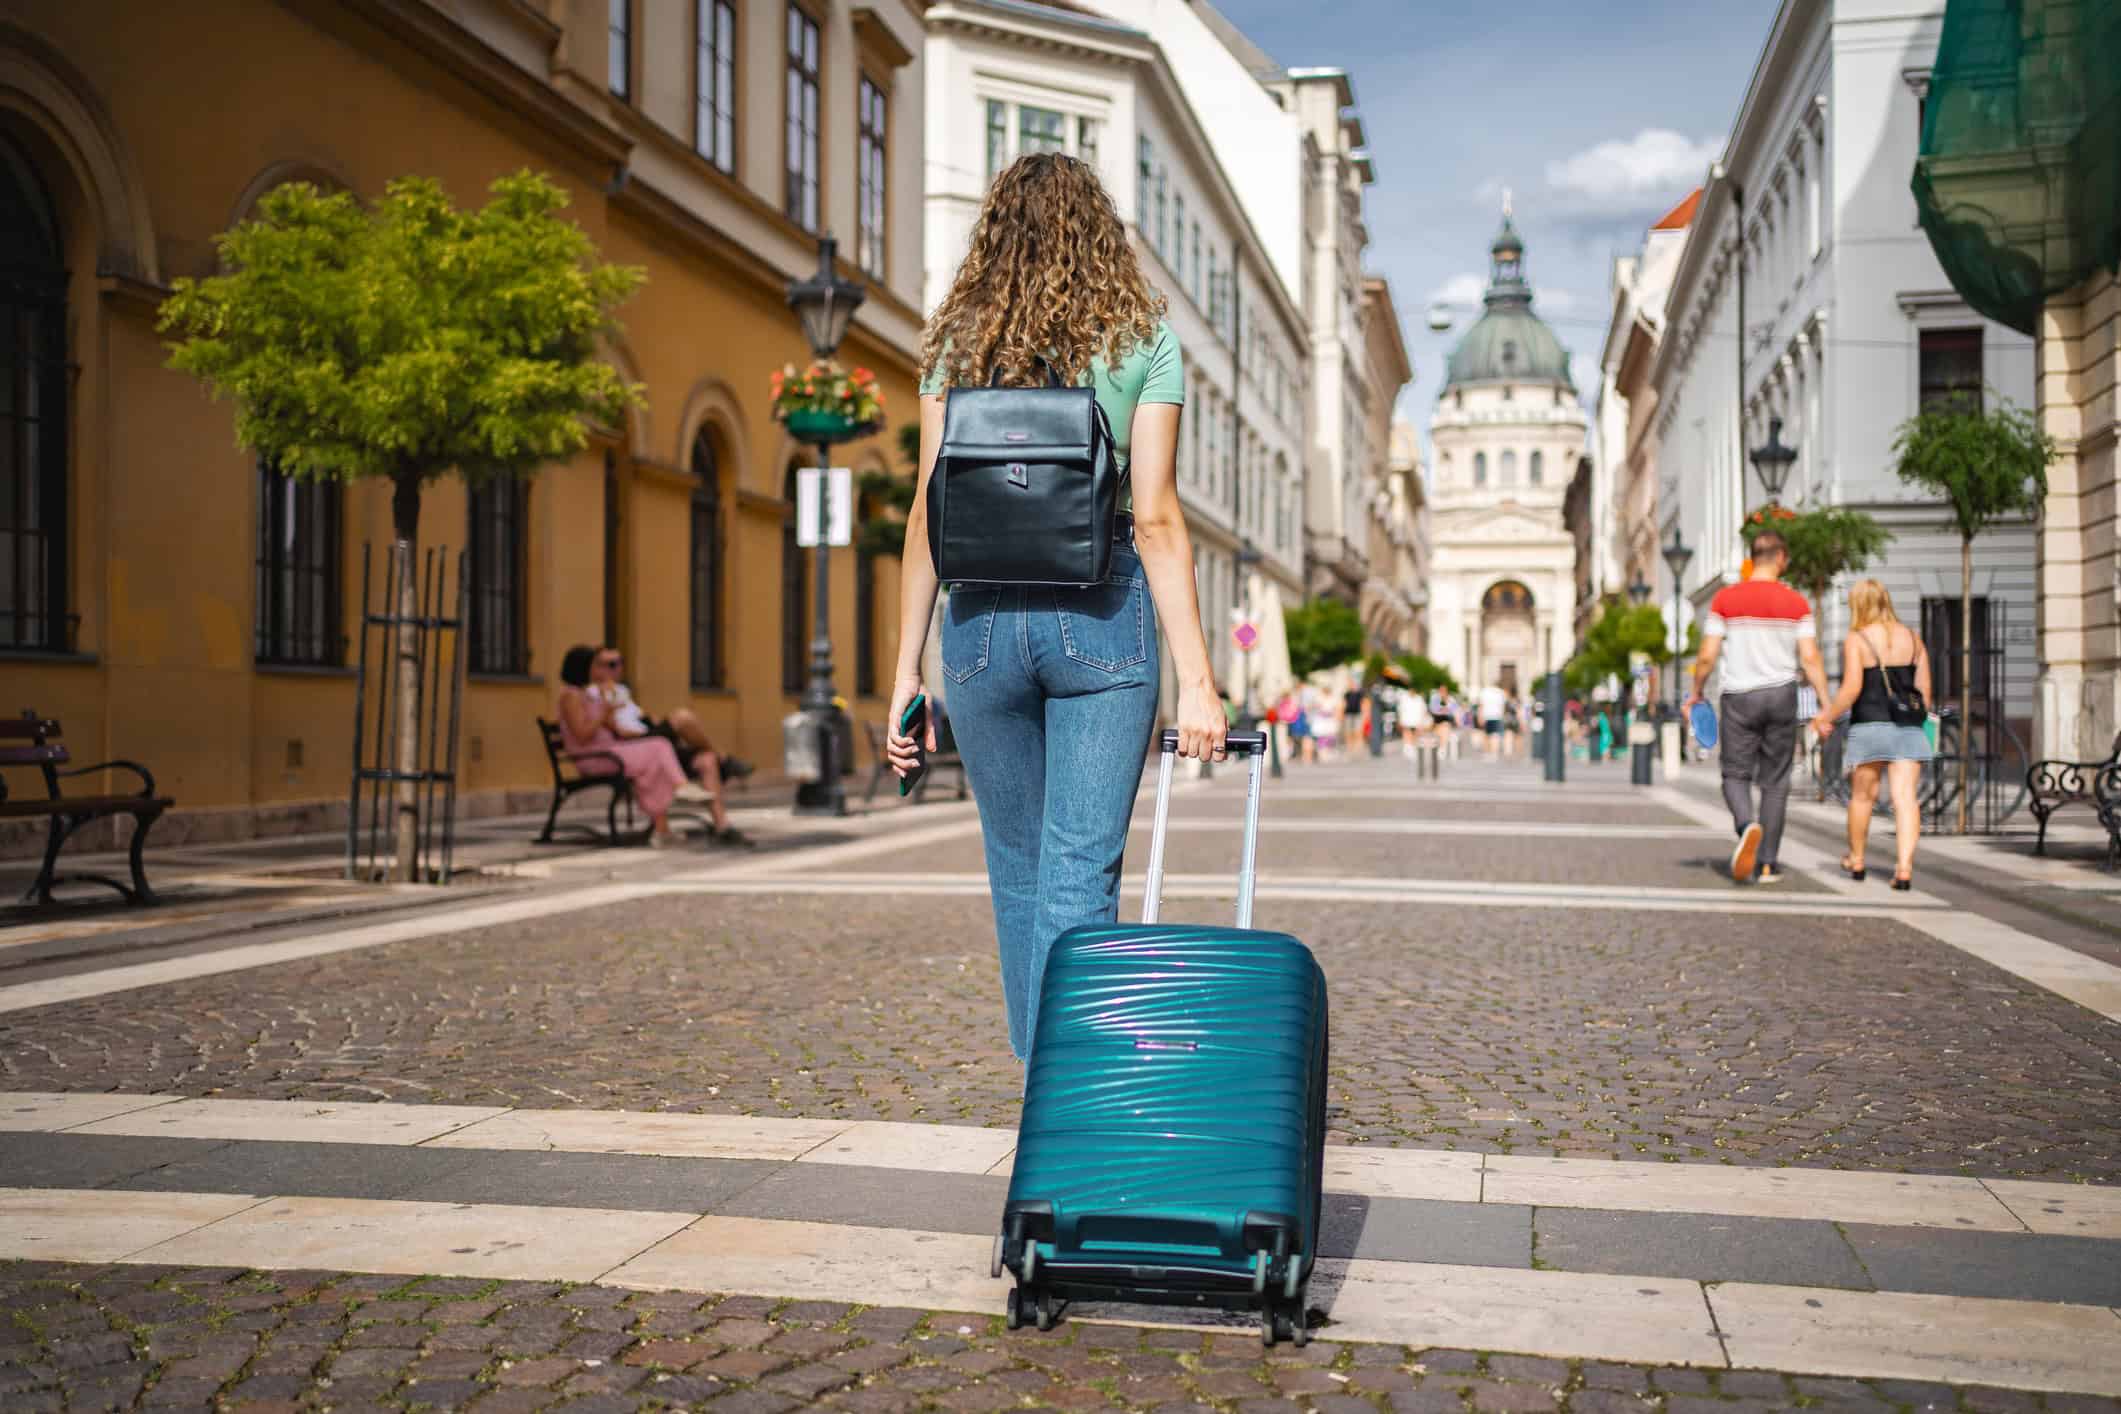
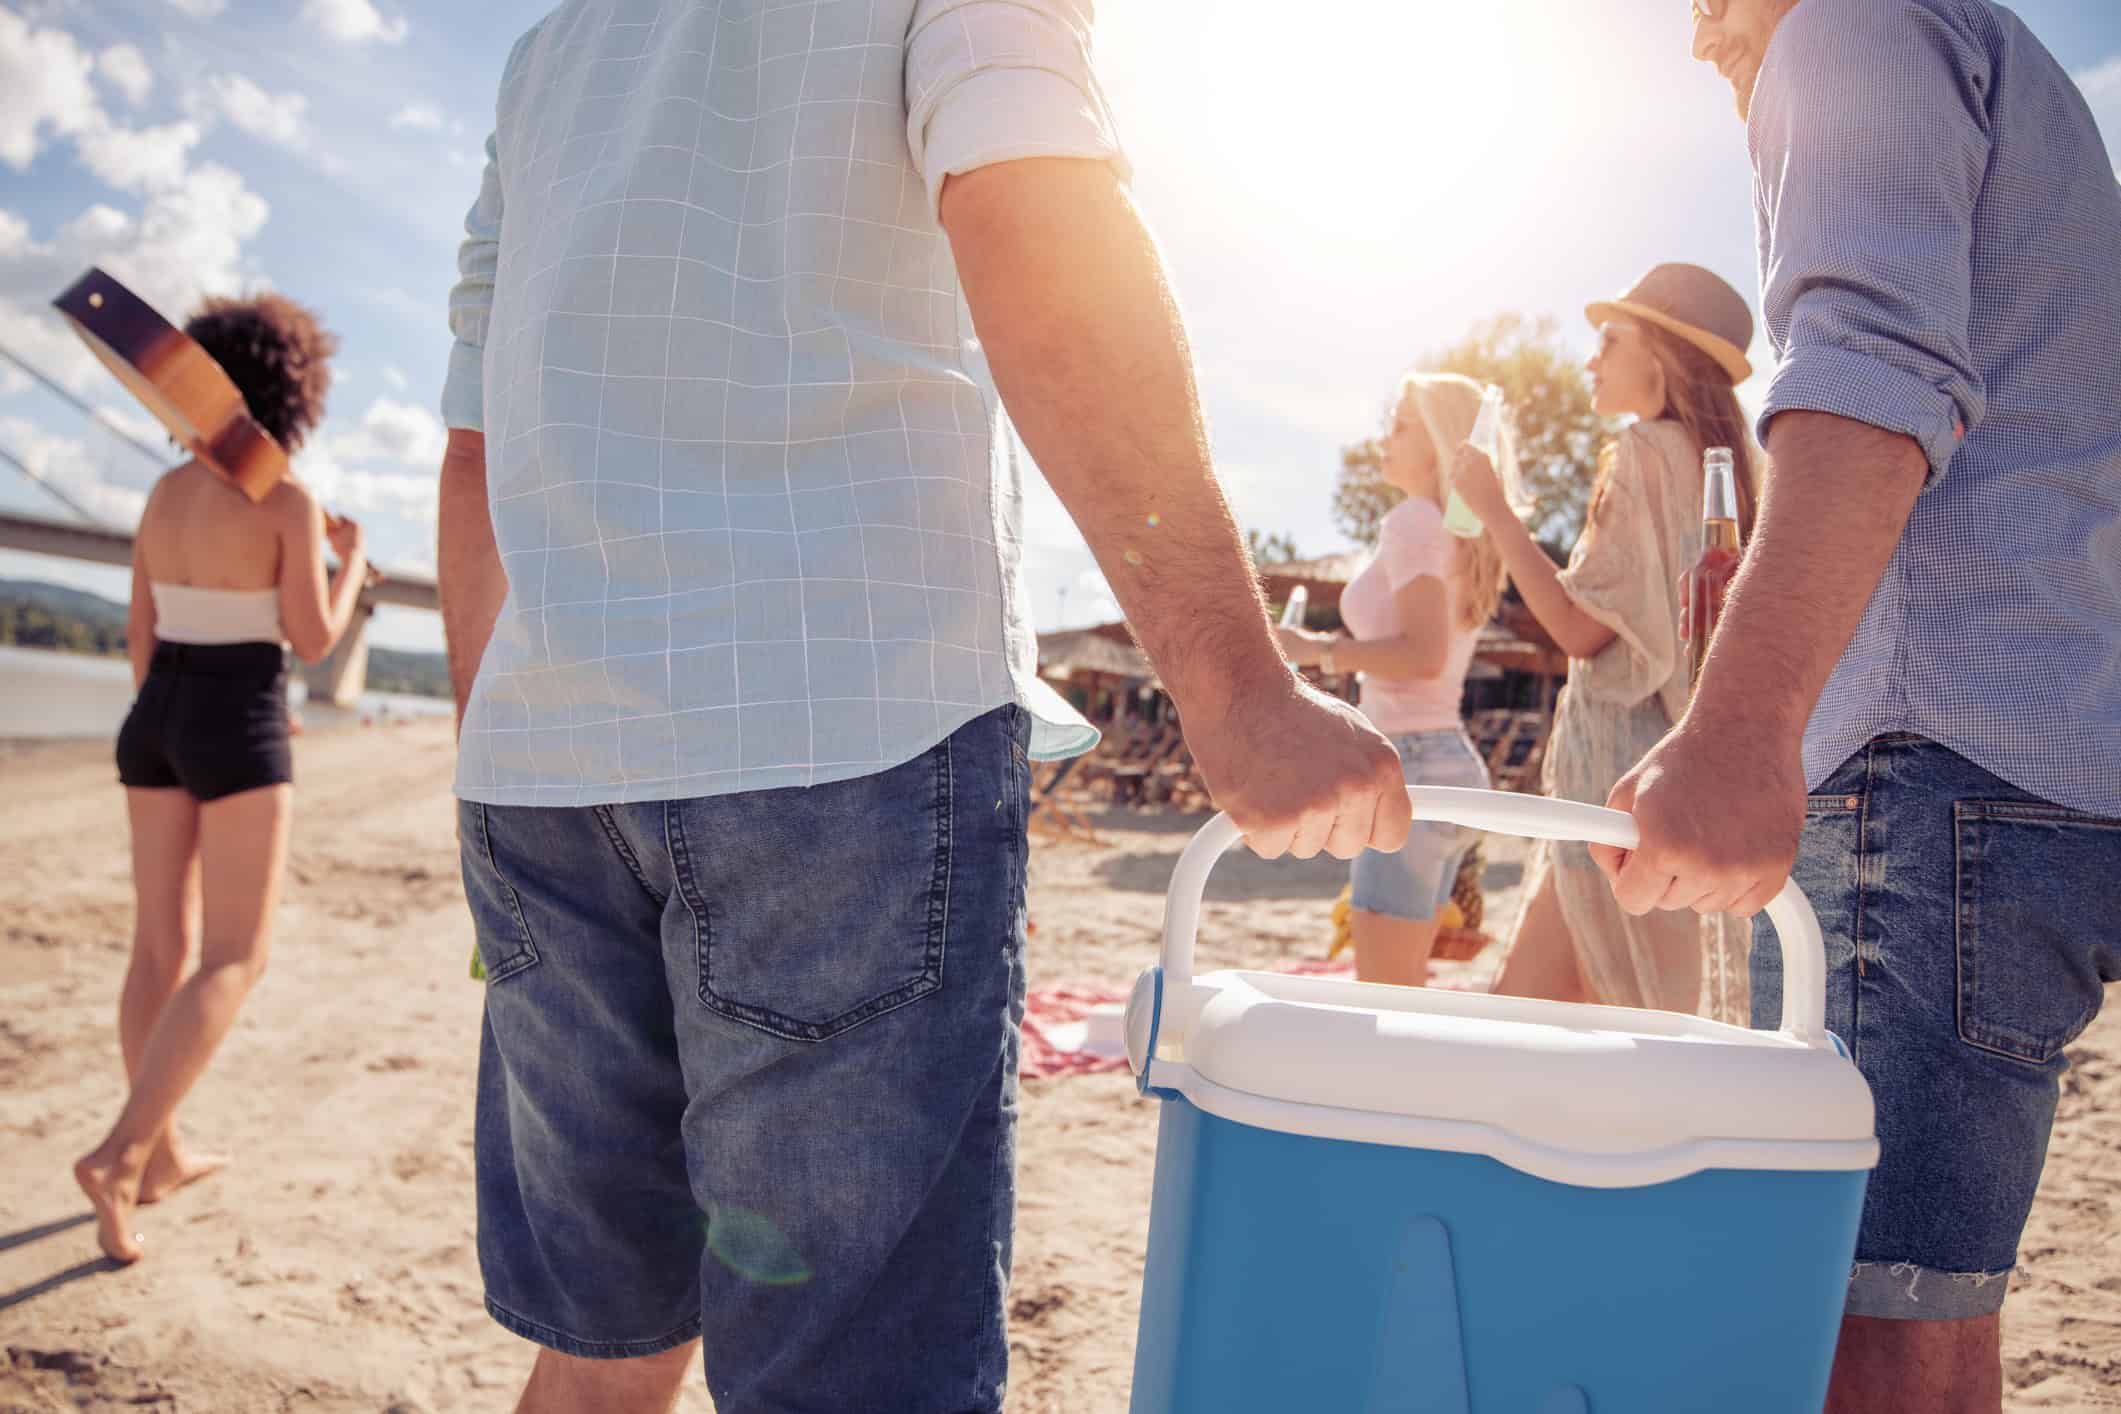
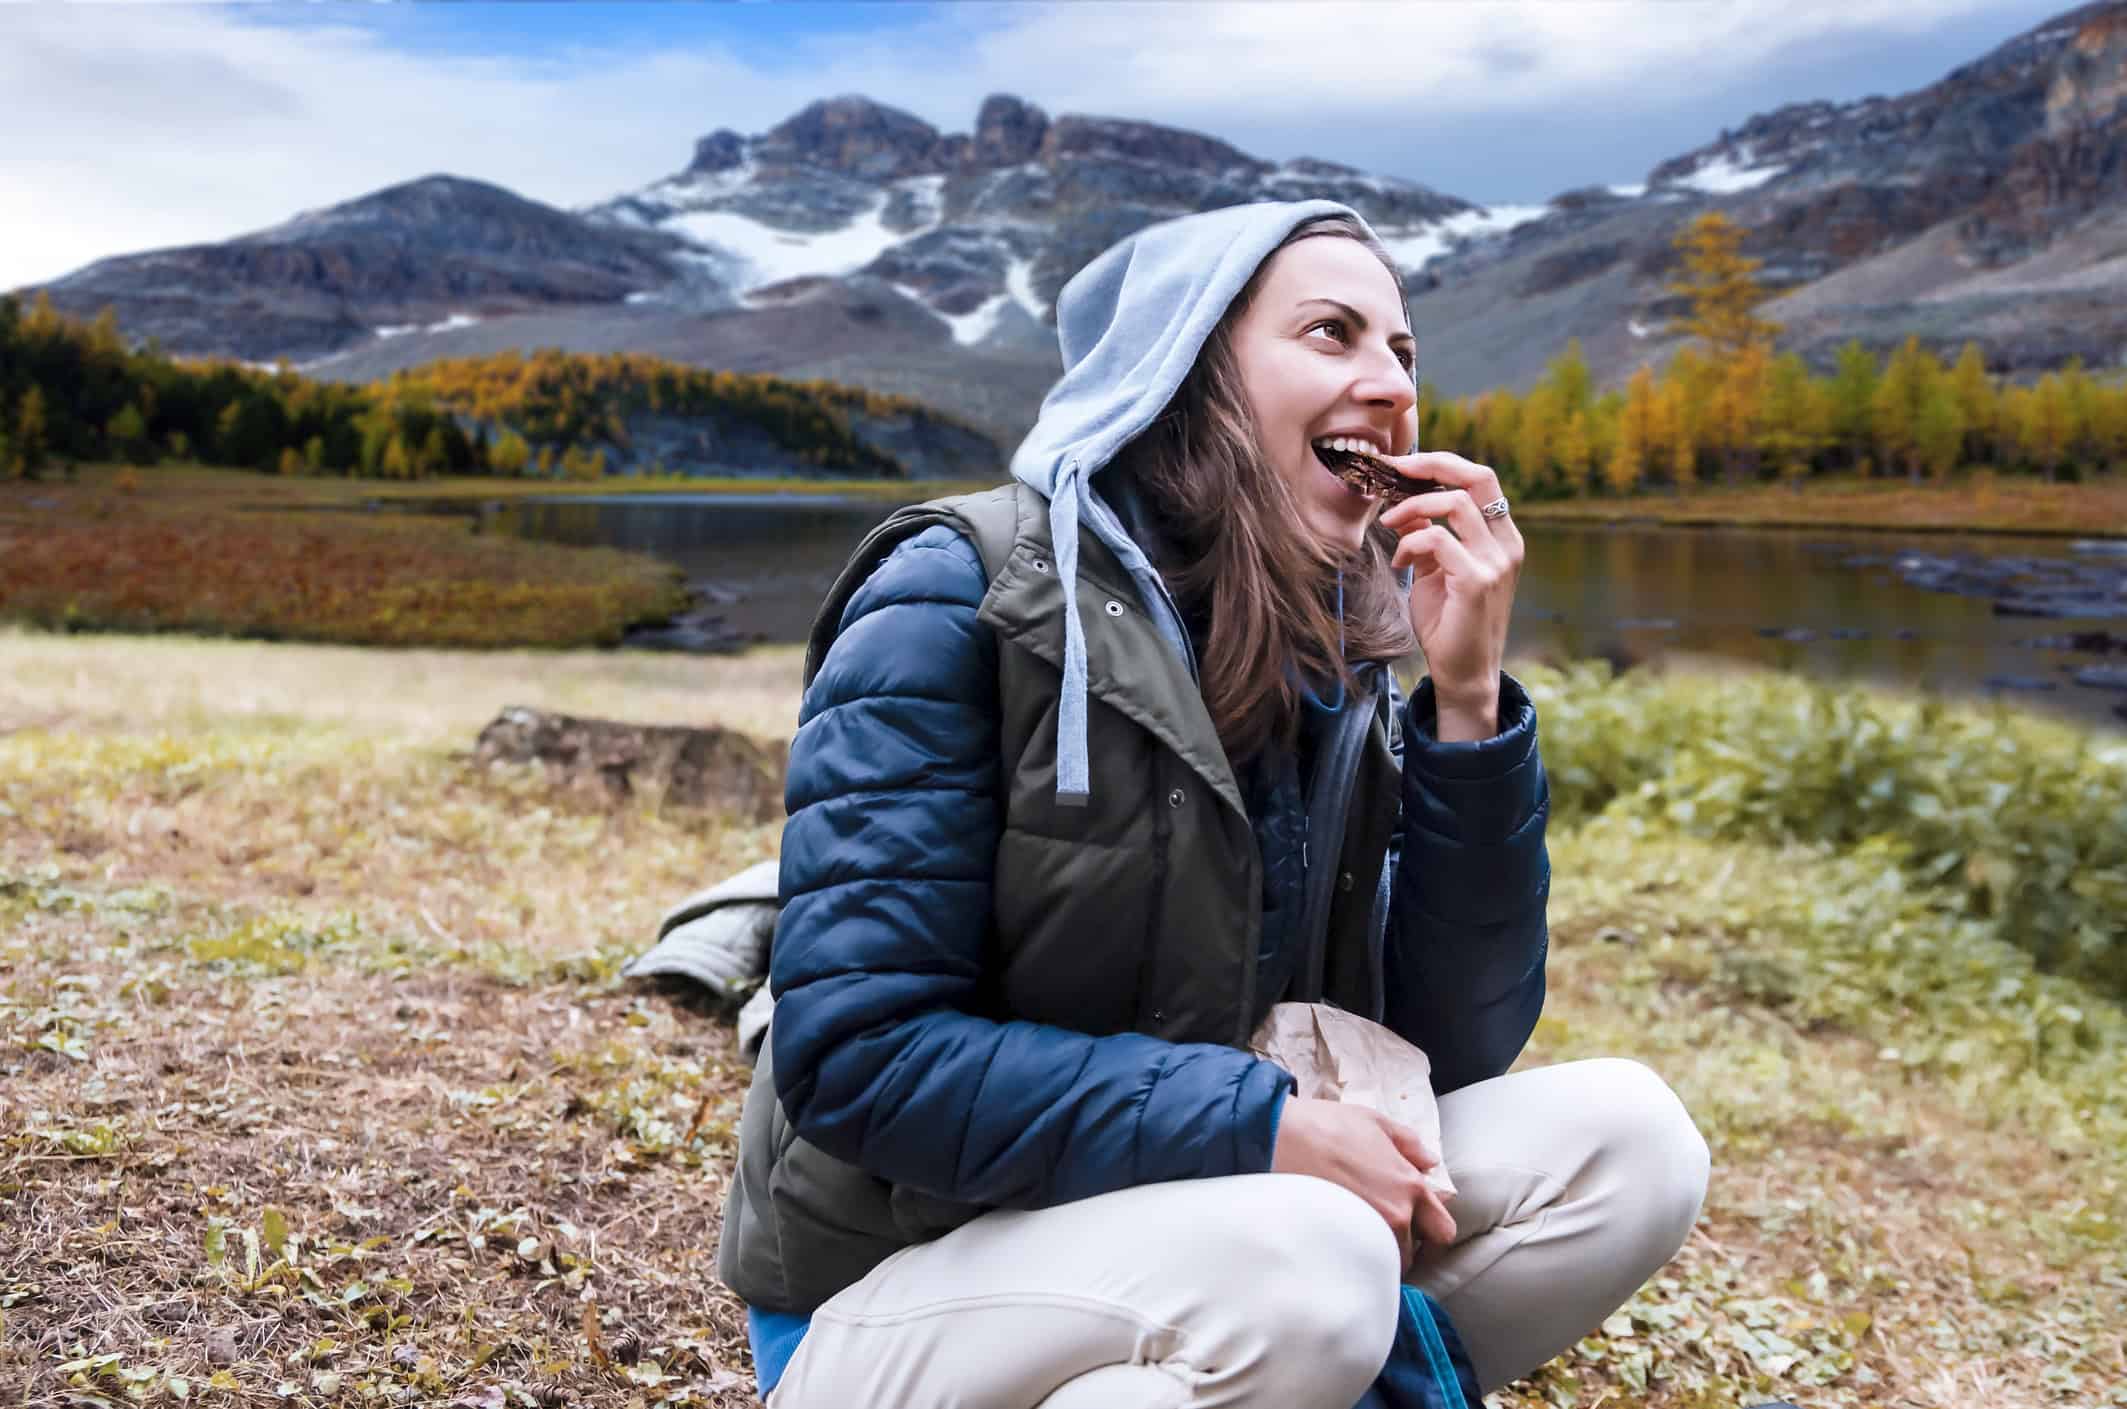
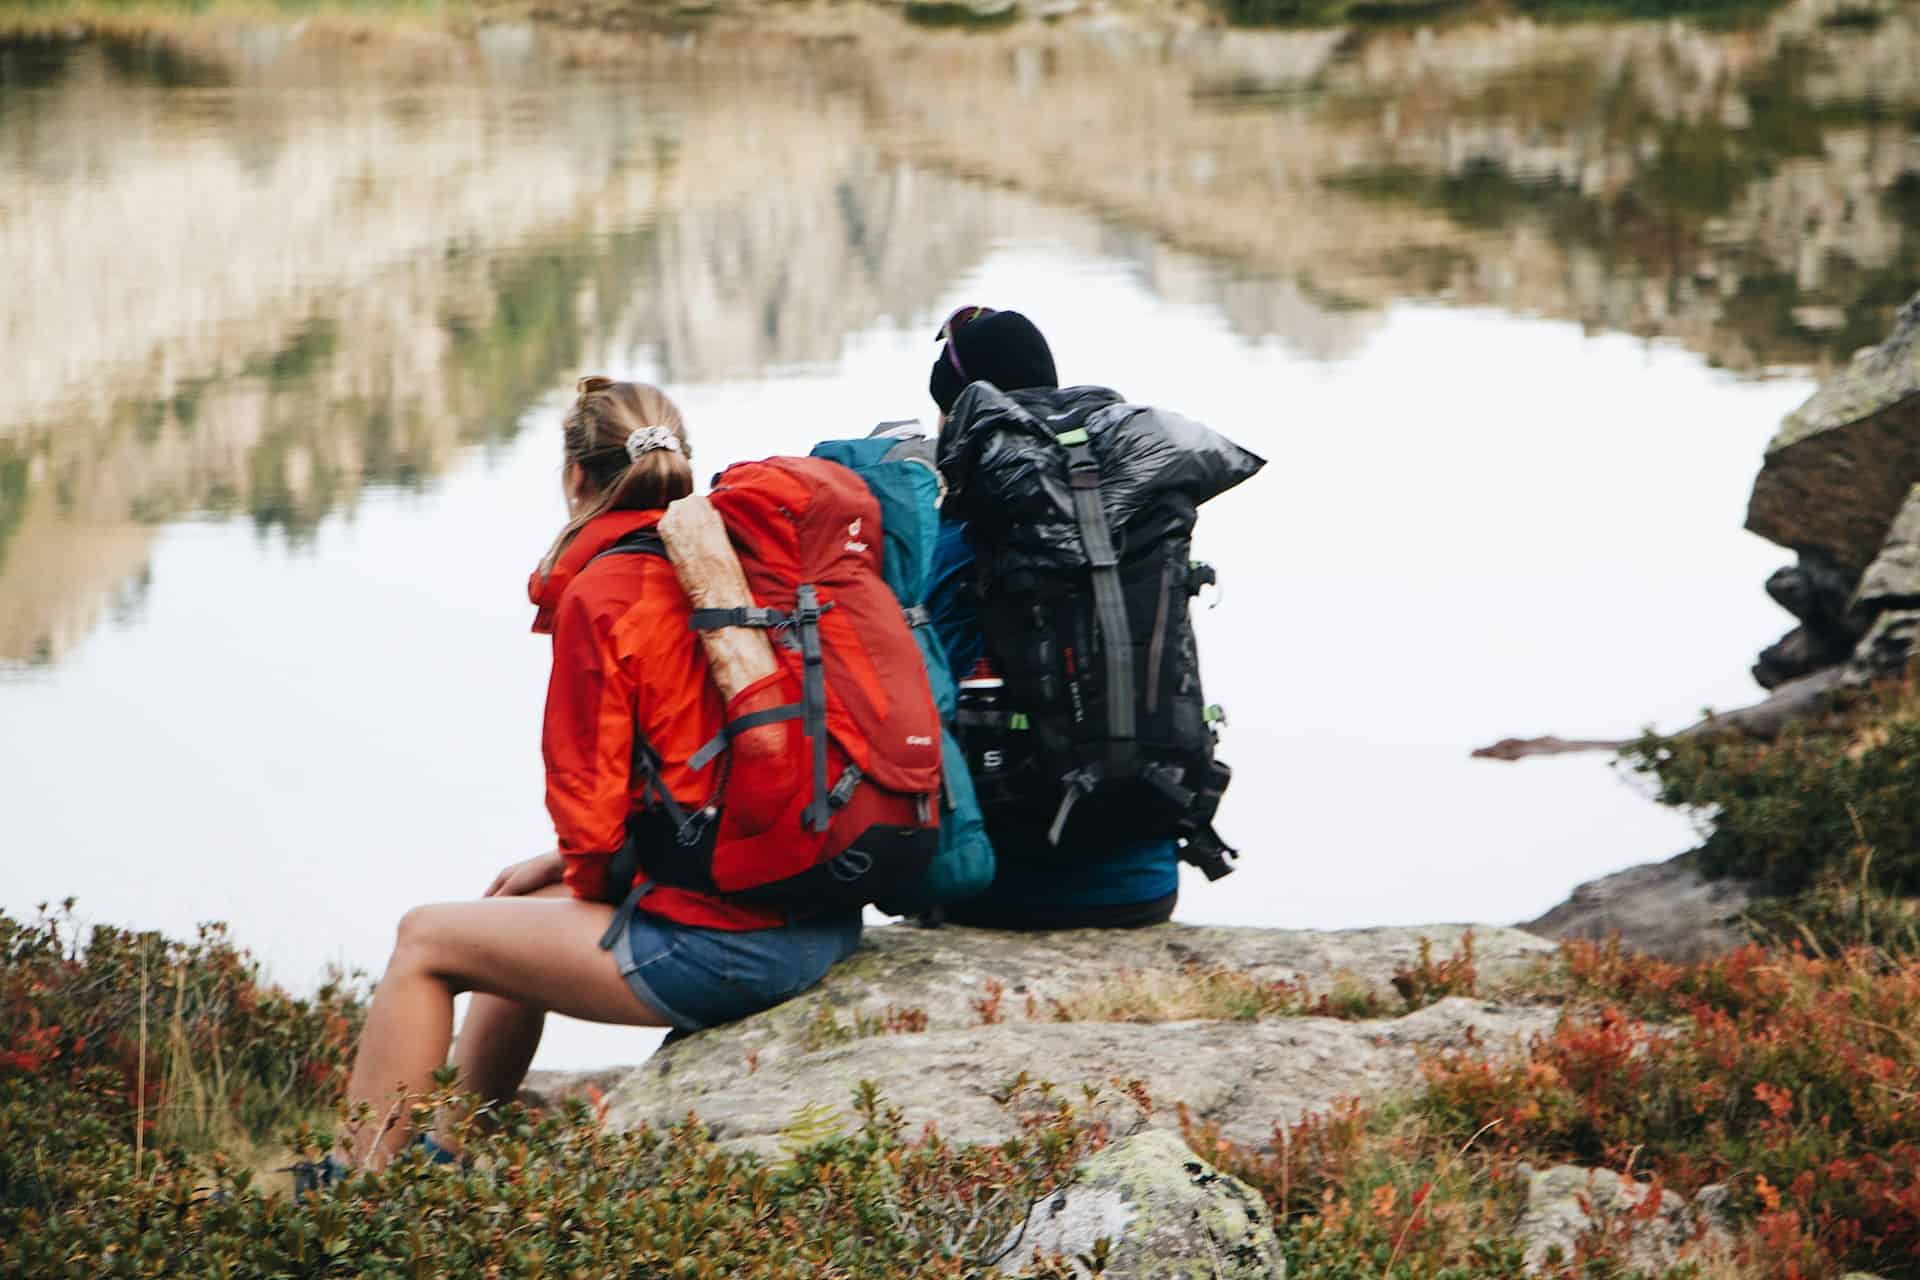
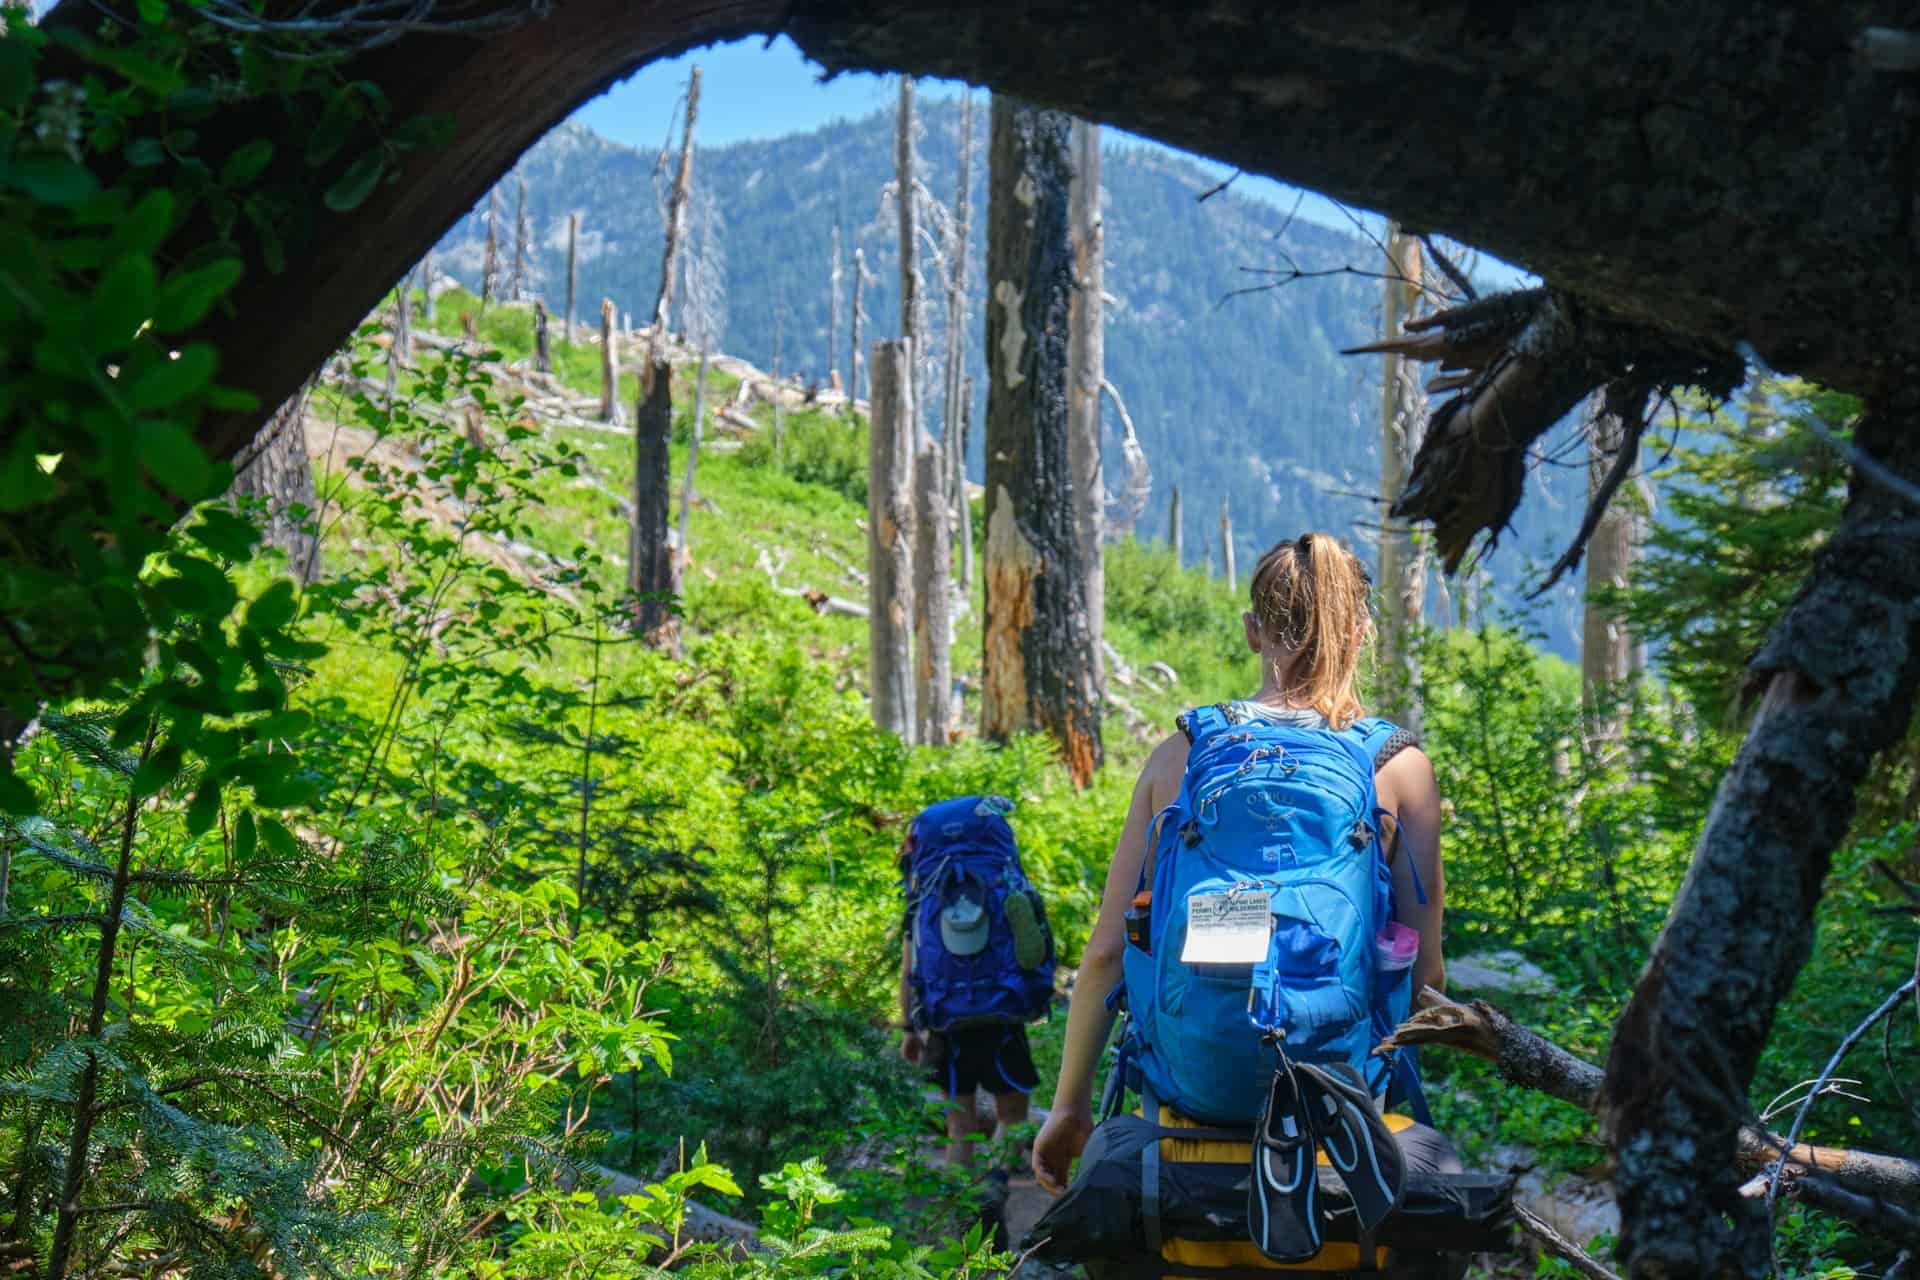
Pack Light and Think Smart
A backpacker's bag should be easy to carry. You will walk with it, climb stairs, enter buses, and move through stations. A lighter bag makes the trip easier to manage.
Carry Clothes That Mix Well
Pack clothes that can be used in different ways. Basic T-shirts, light trousers, one warm layer, and broken-in walking shoes are enough for many trips. Choose clothes that dry quickly and don't take much space.
Rolling clothes saves space in your bag. Keep daily-use items near the top and a small cloth bag for used clothes. These habits make packing and unpacking easier, especially when moving from place to place.
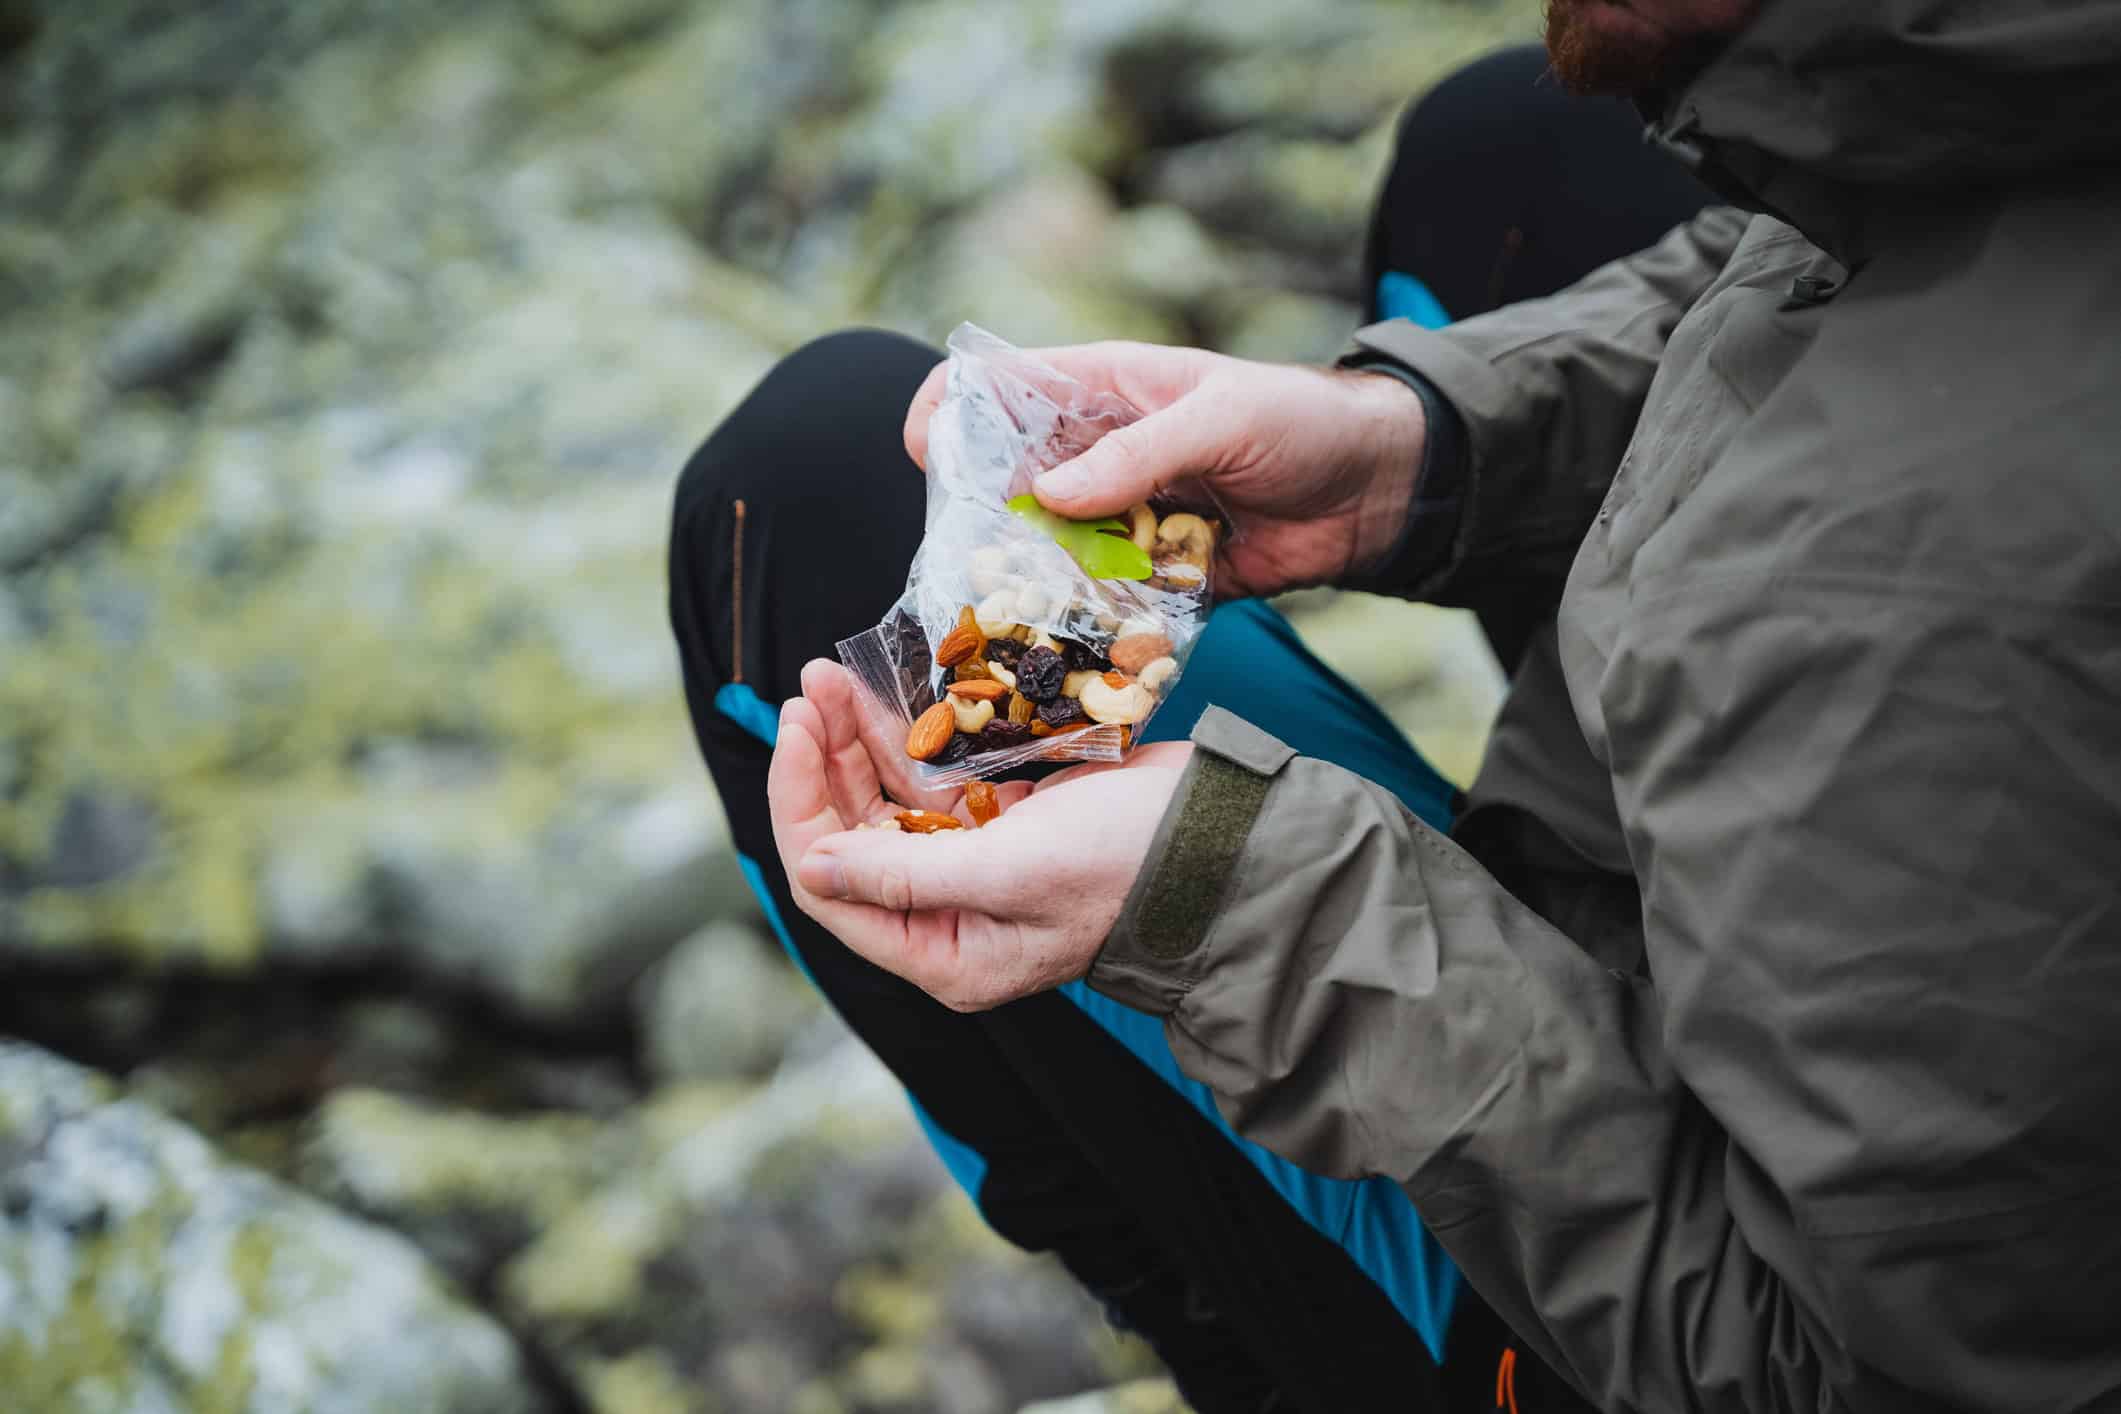
Keep Travel Basics Ready
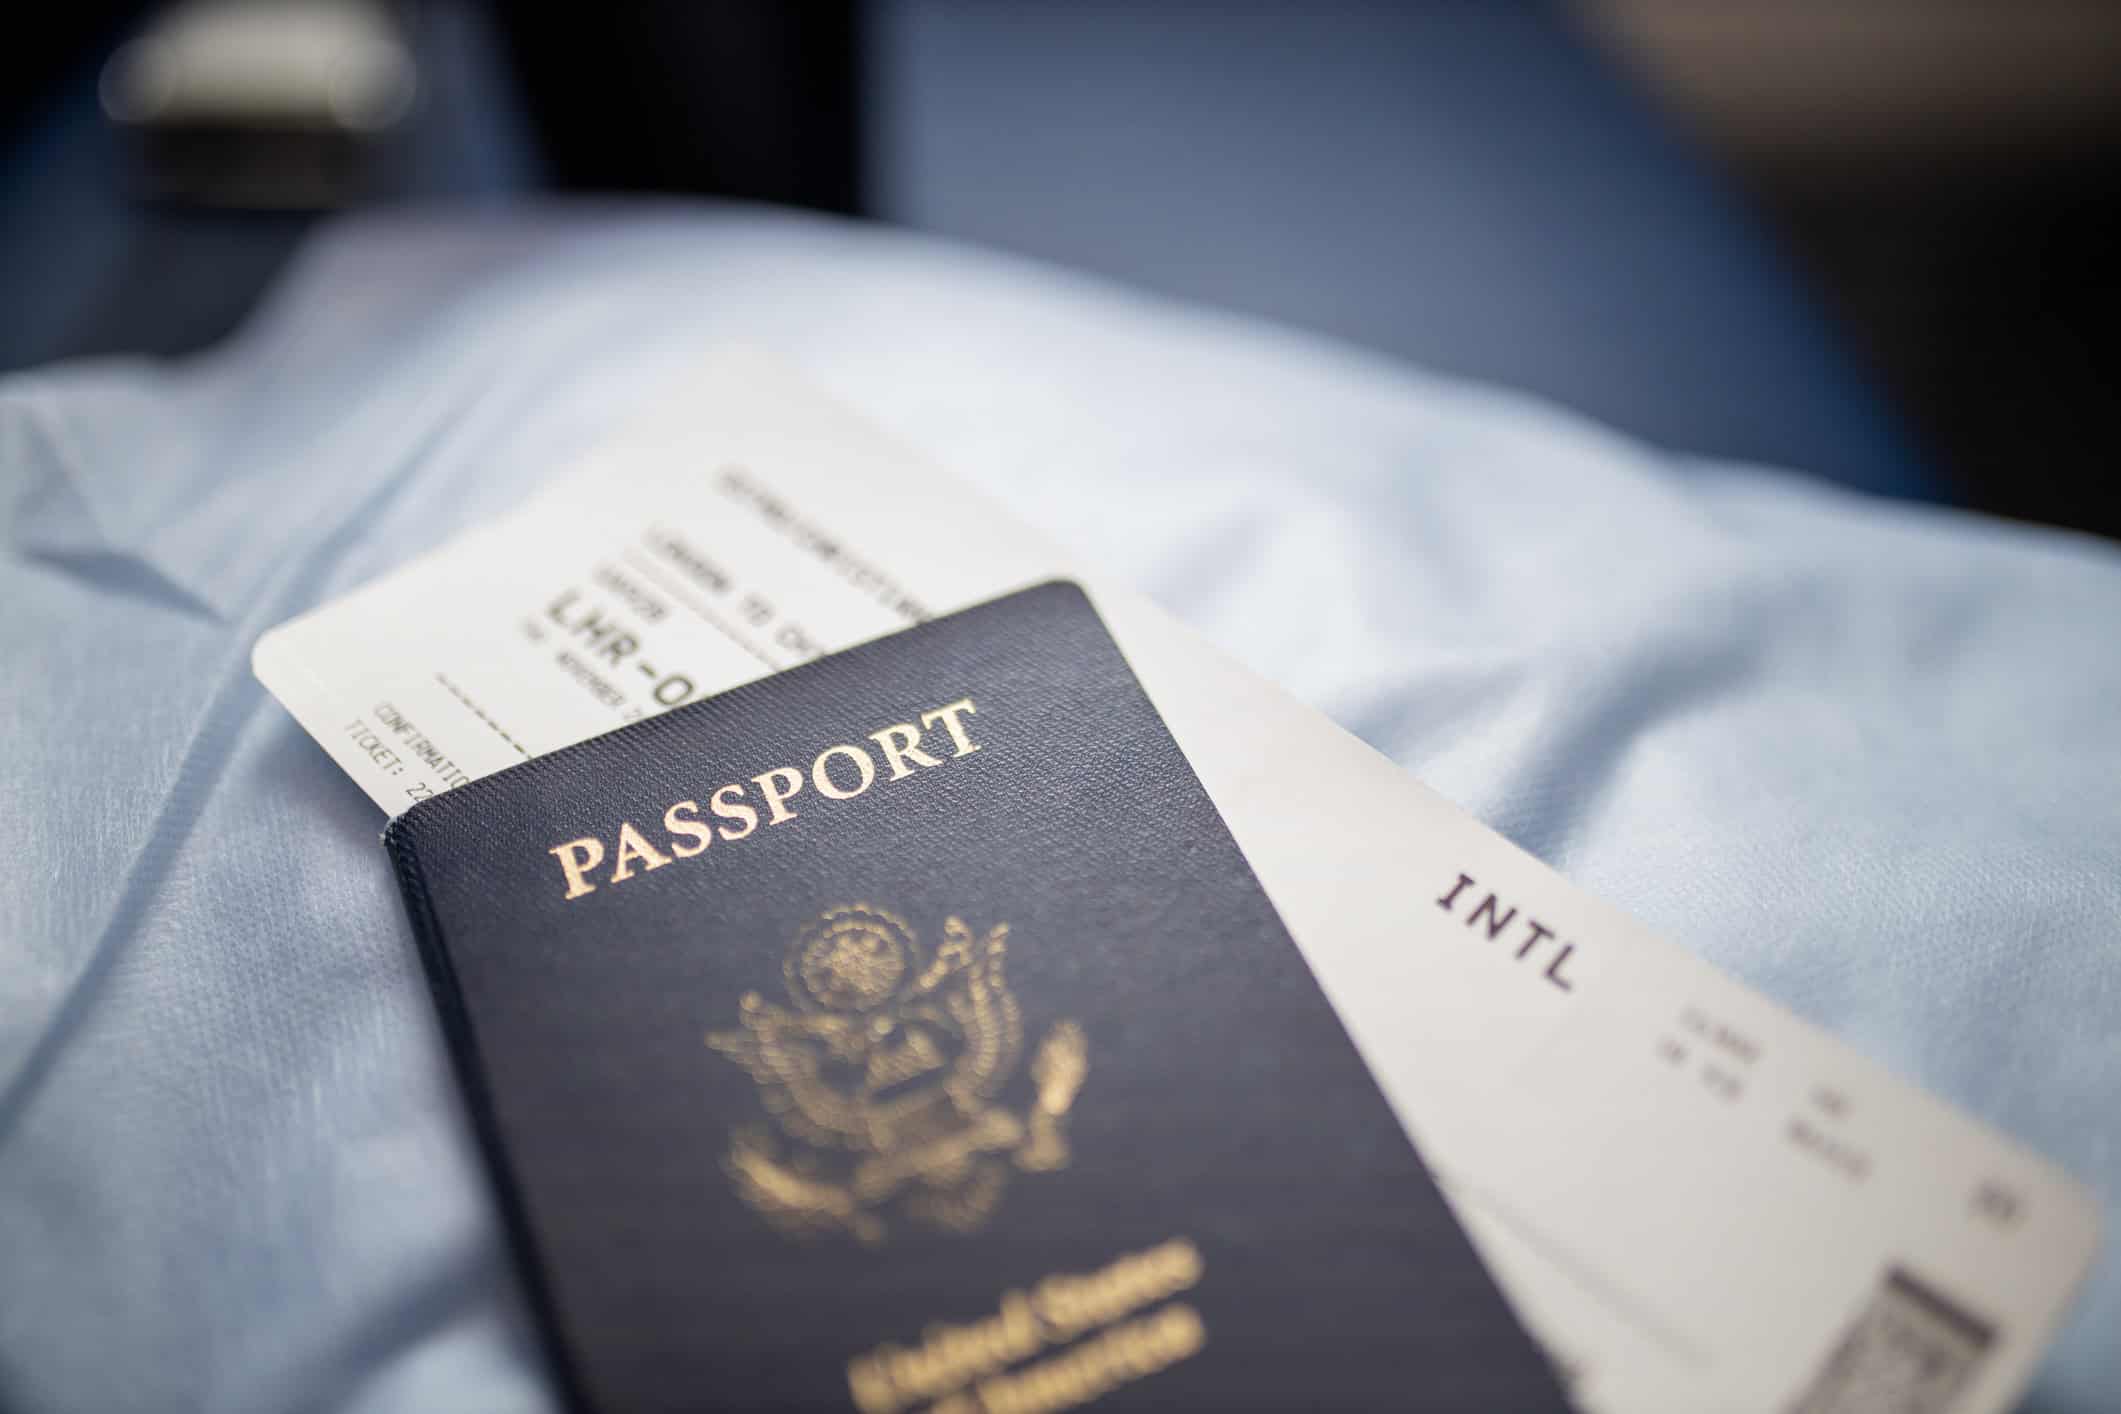
Some items are worth packing for almost every trip. A refillable water bottle, basic medicine, a charger, a power bank, a small lock, a travel towel, and copies of important documents make daily travel easier. To stay organized, keep your passport, ID card, tickets, and money in a safe pouch.
A small first-aid kit is important. Add essentials like bandages, pain-relief tablets as advised by a doctor, and any personal medication you need. With these basics ready, you stay prepared and comfortable on the trip.
Before traveling internationally, check the World Health Organization website for destination-specific health recommendations and travel advice.
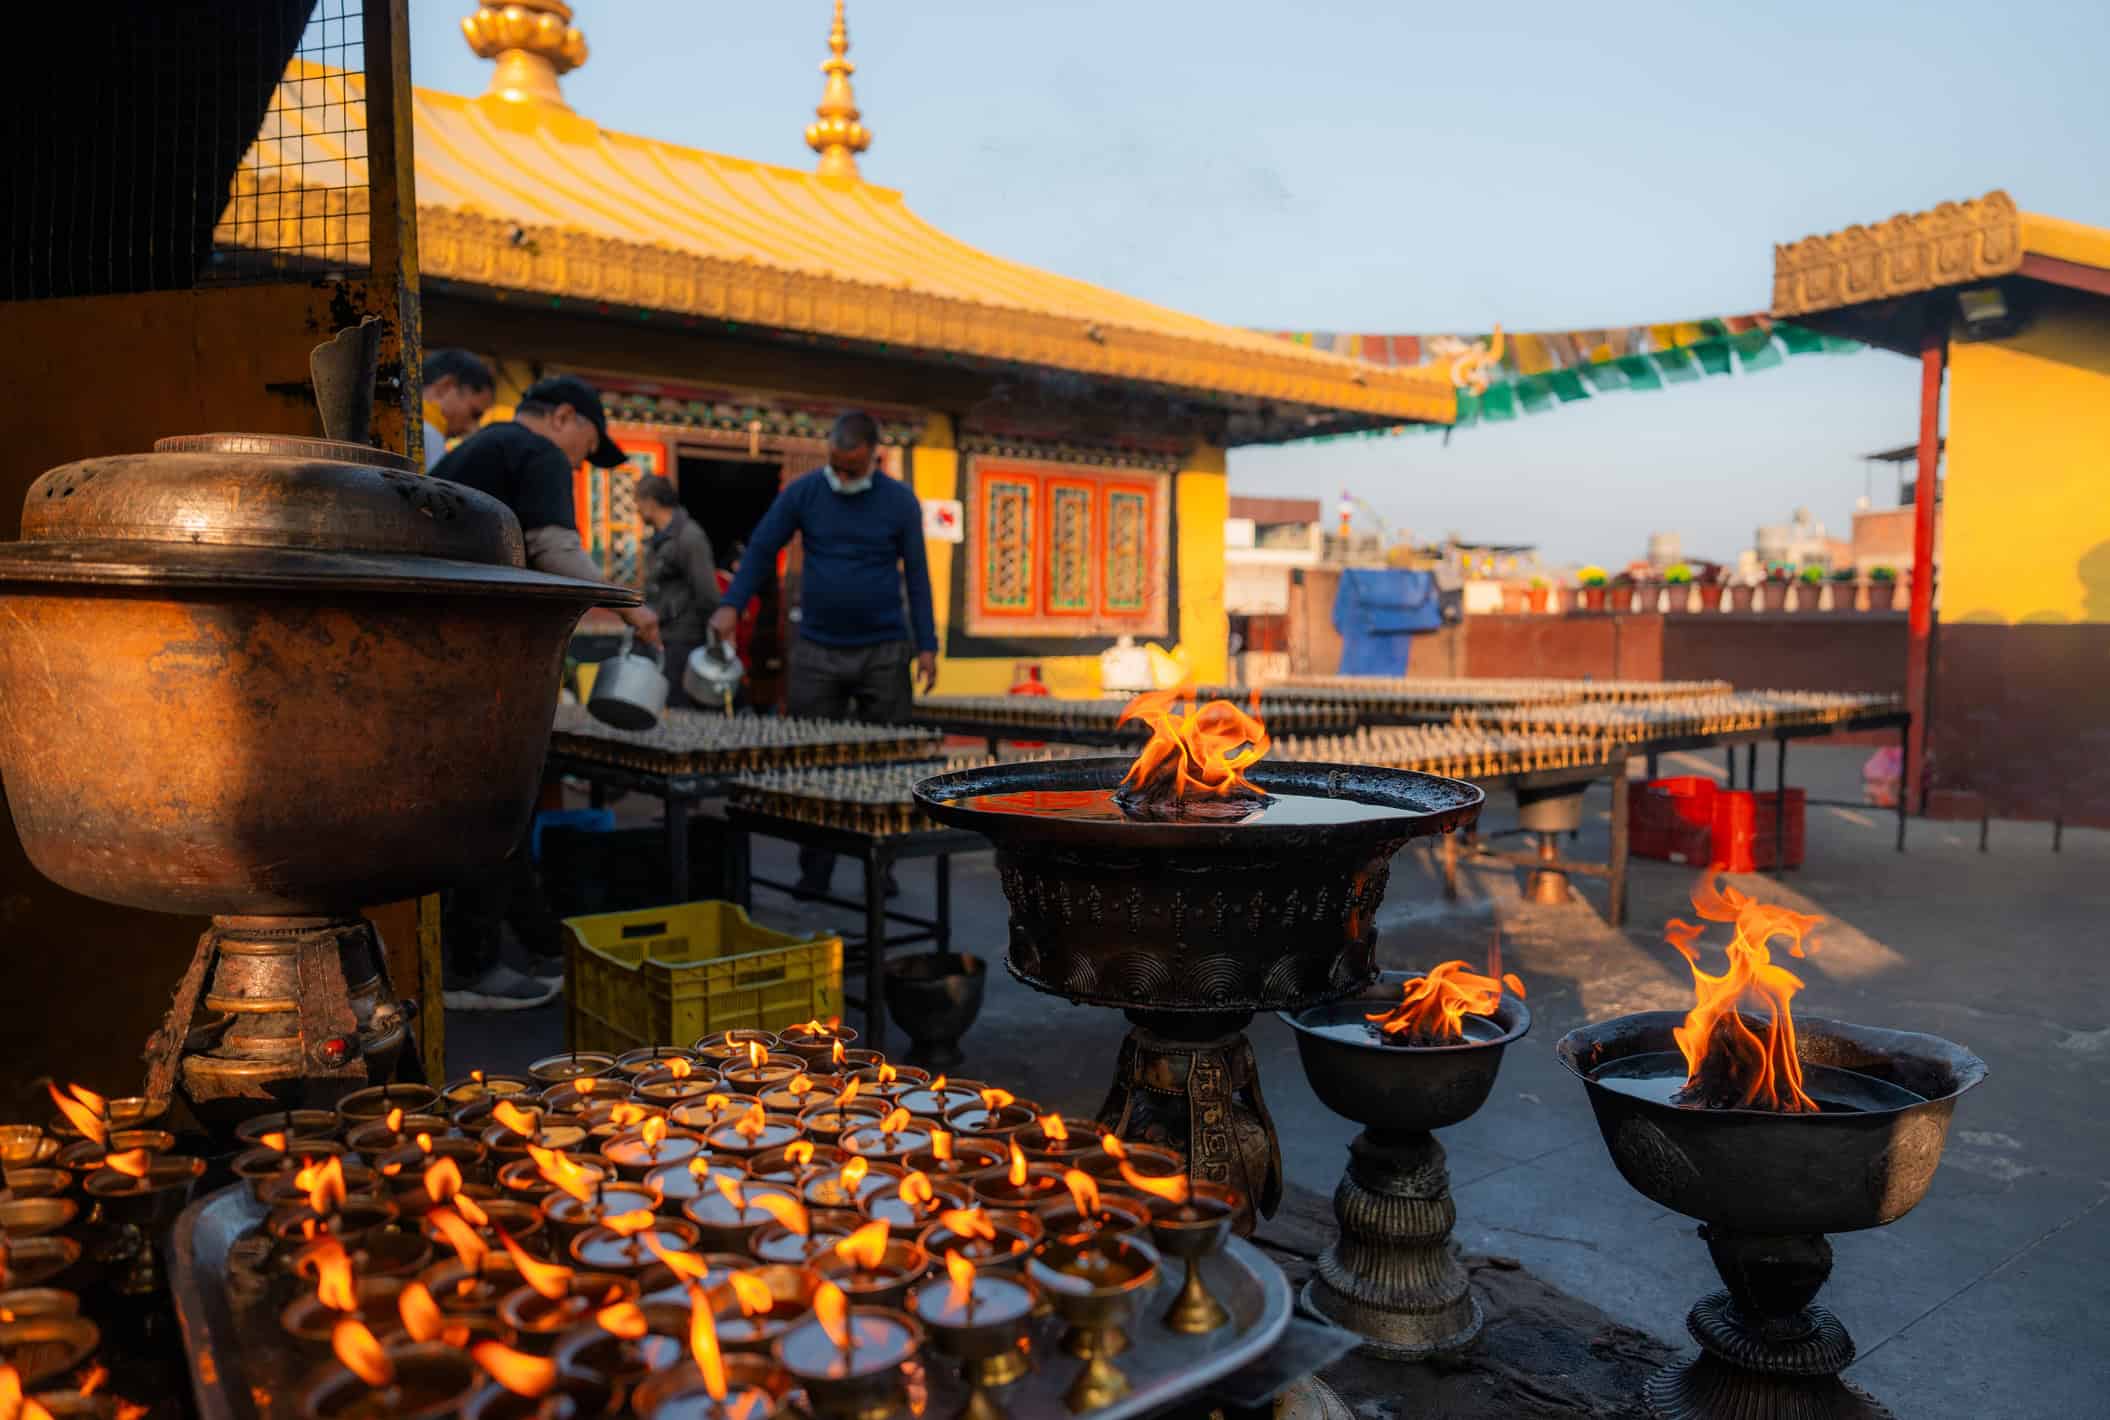
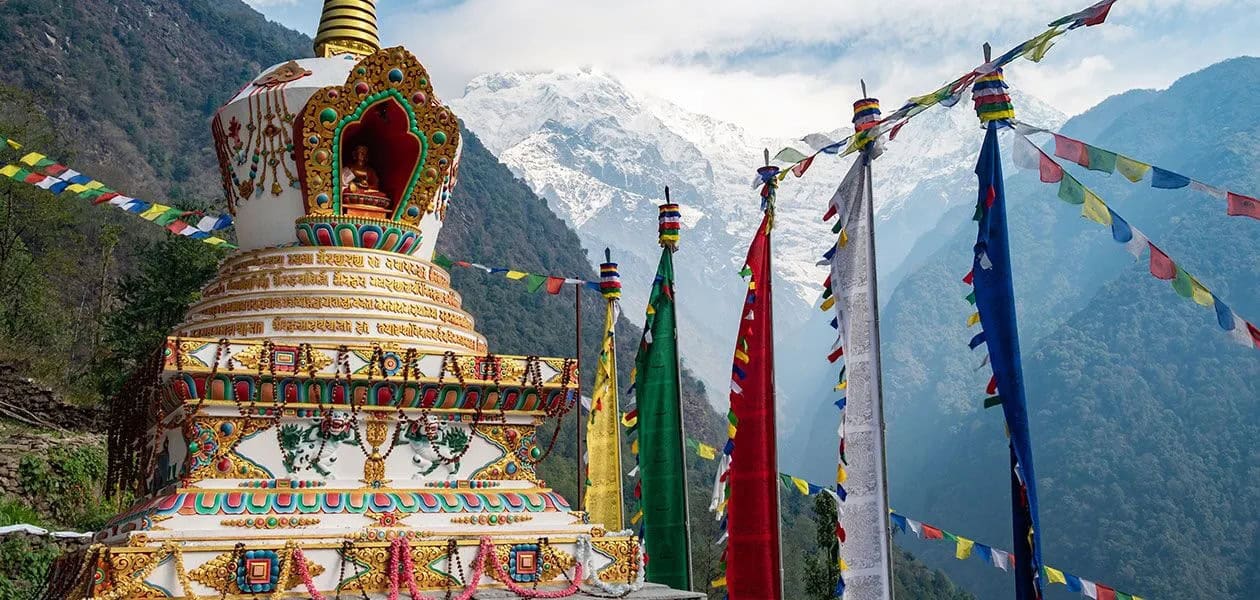
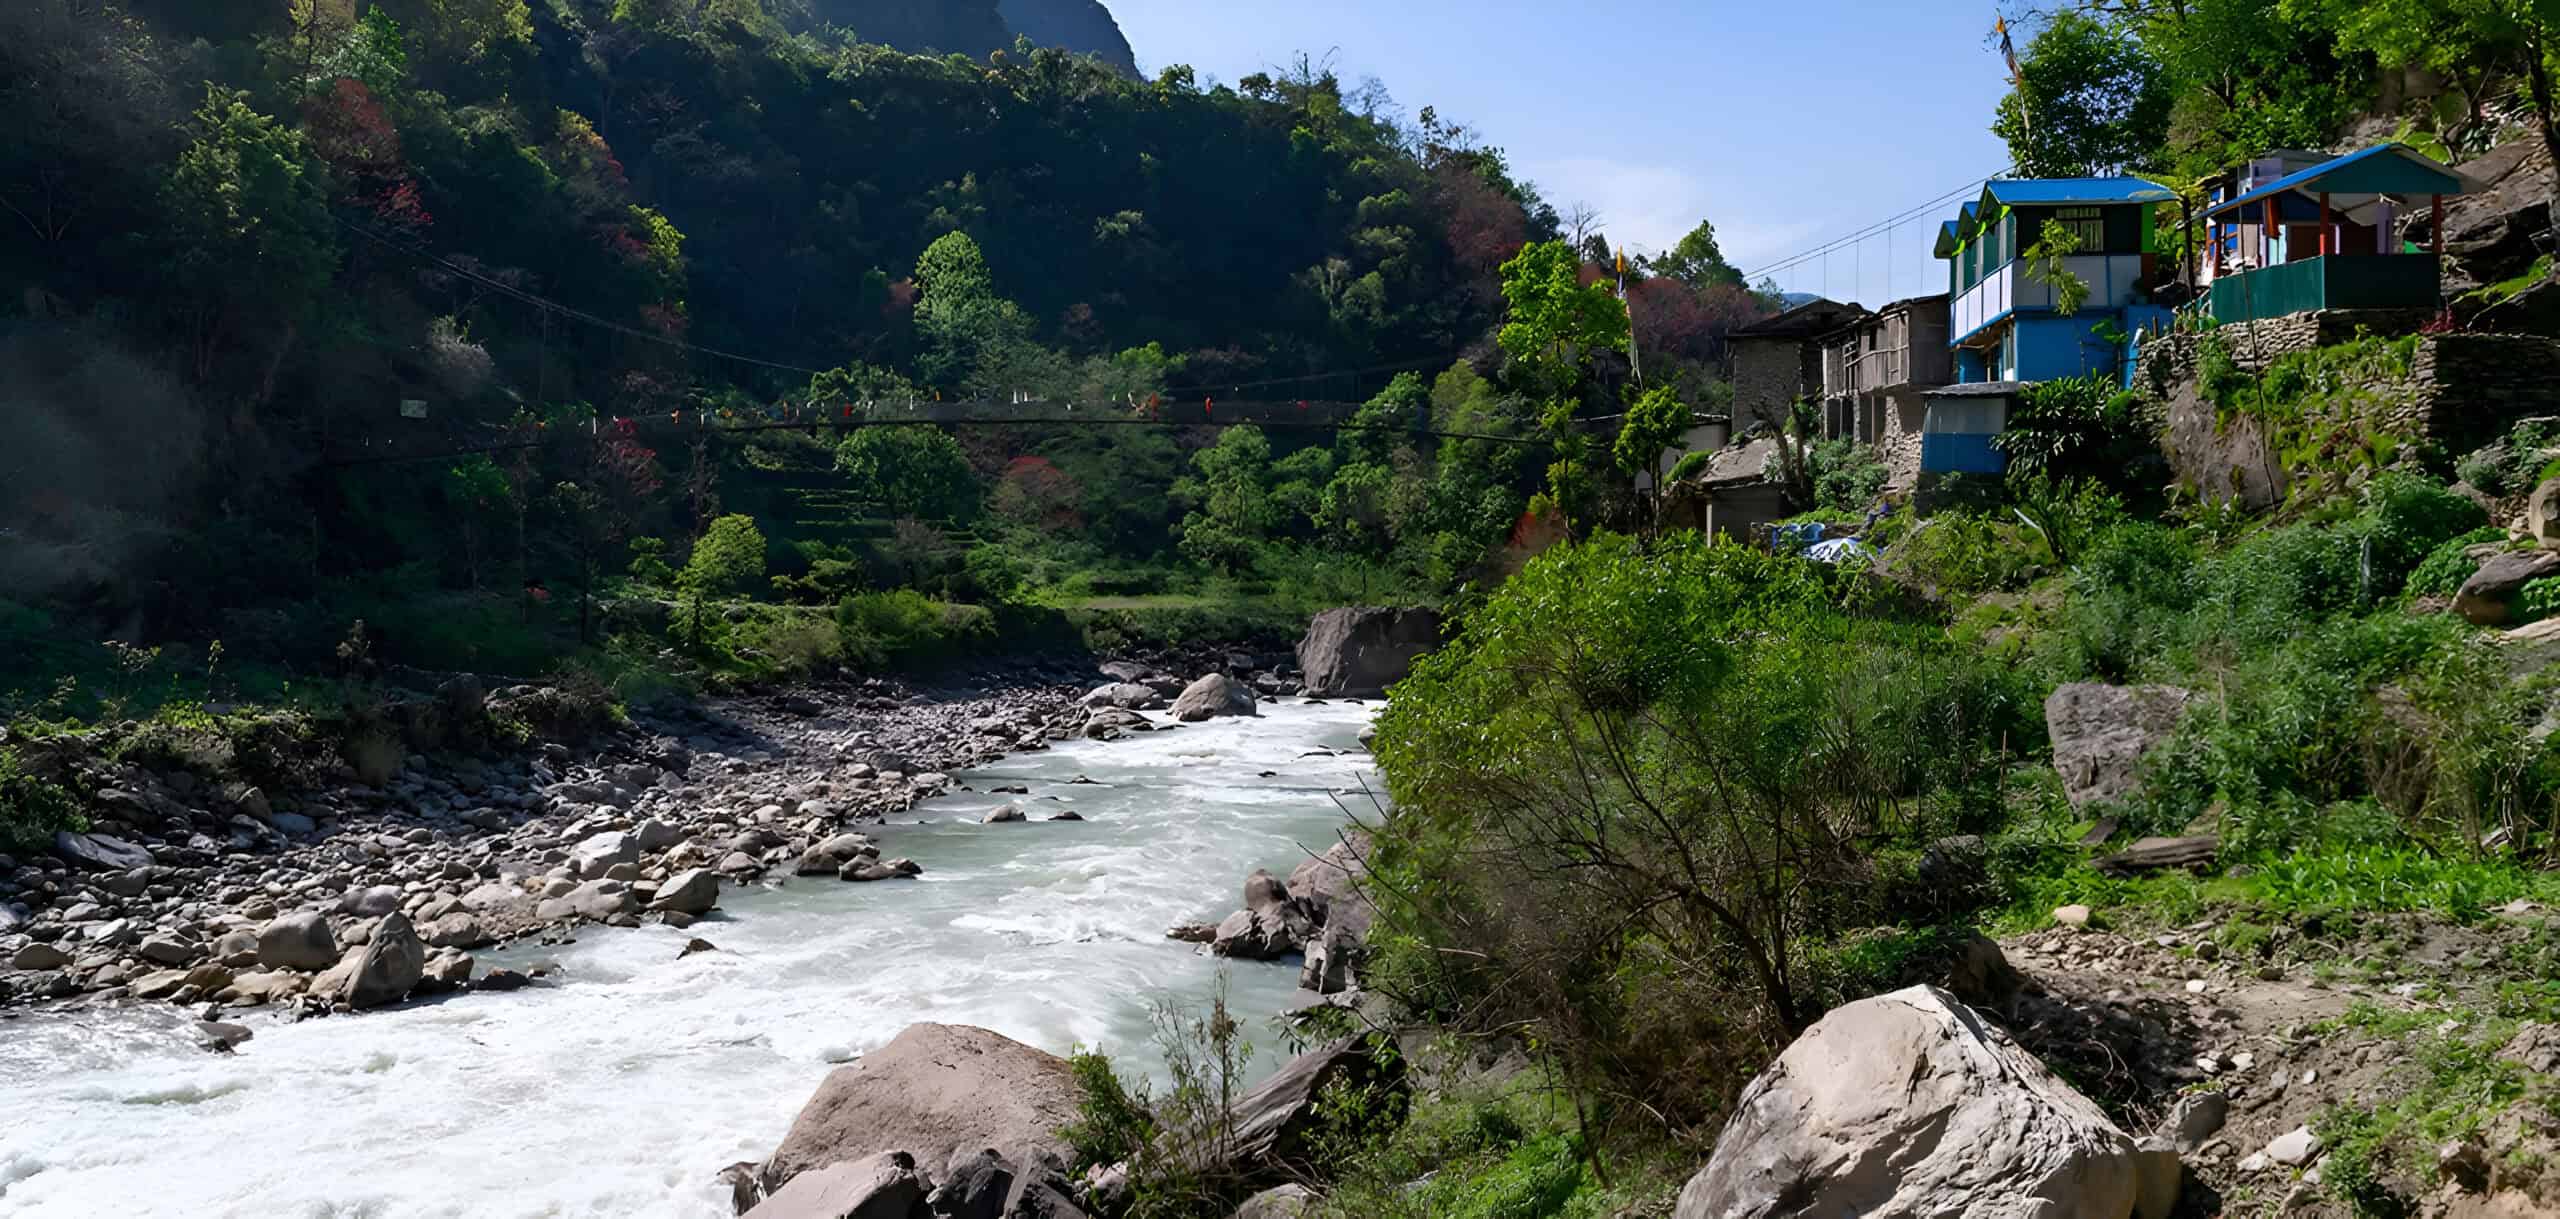
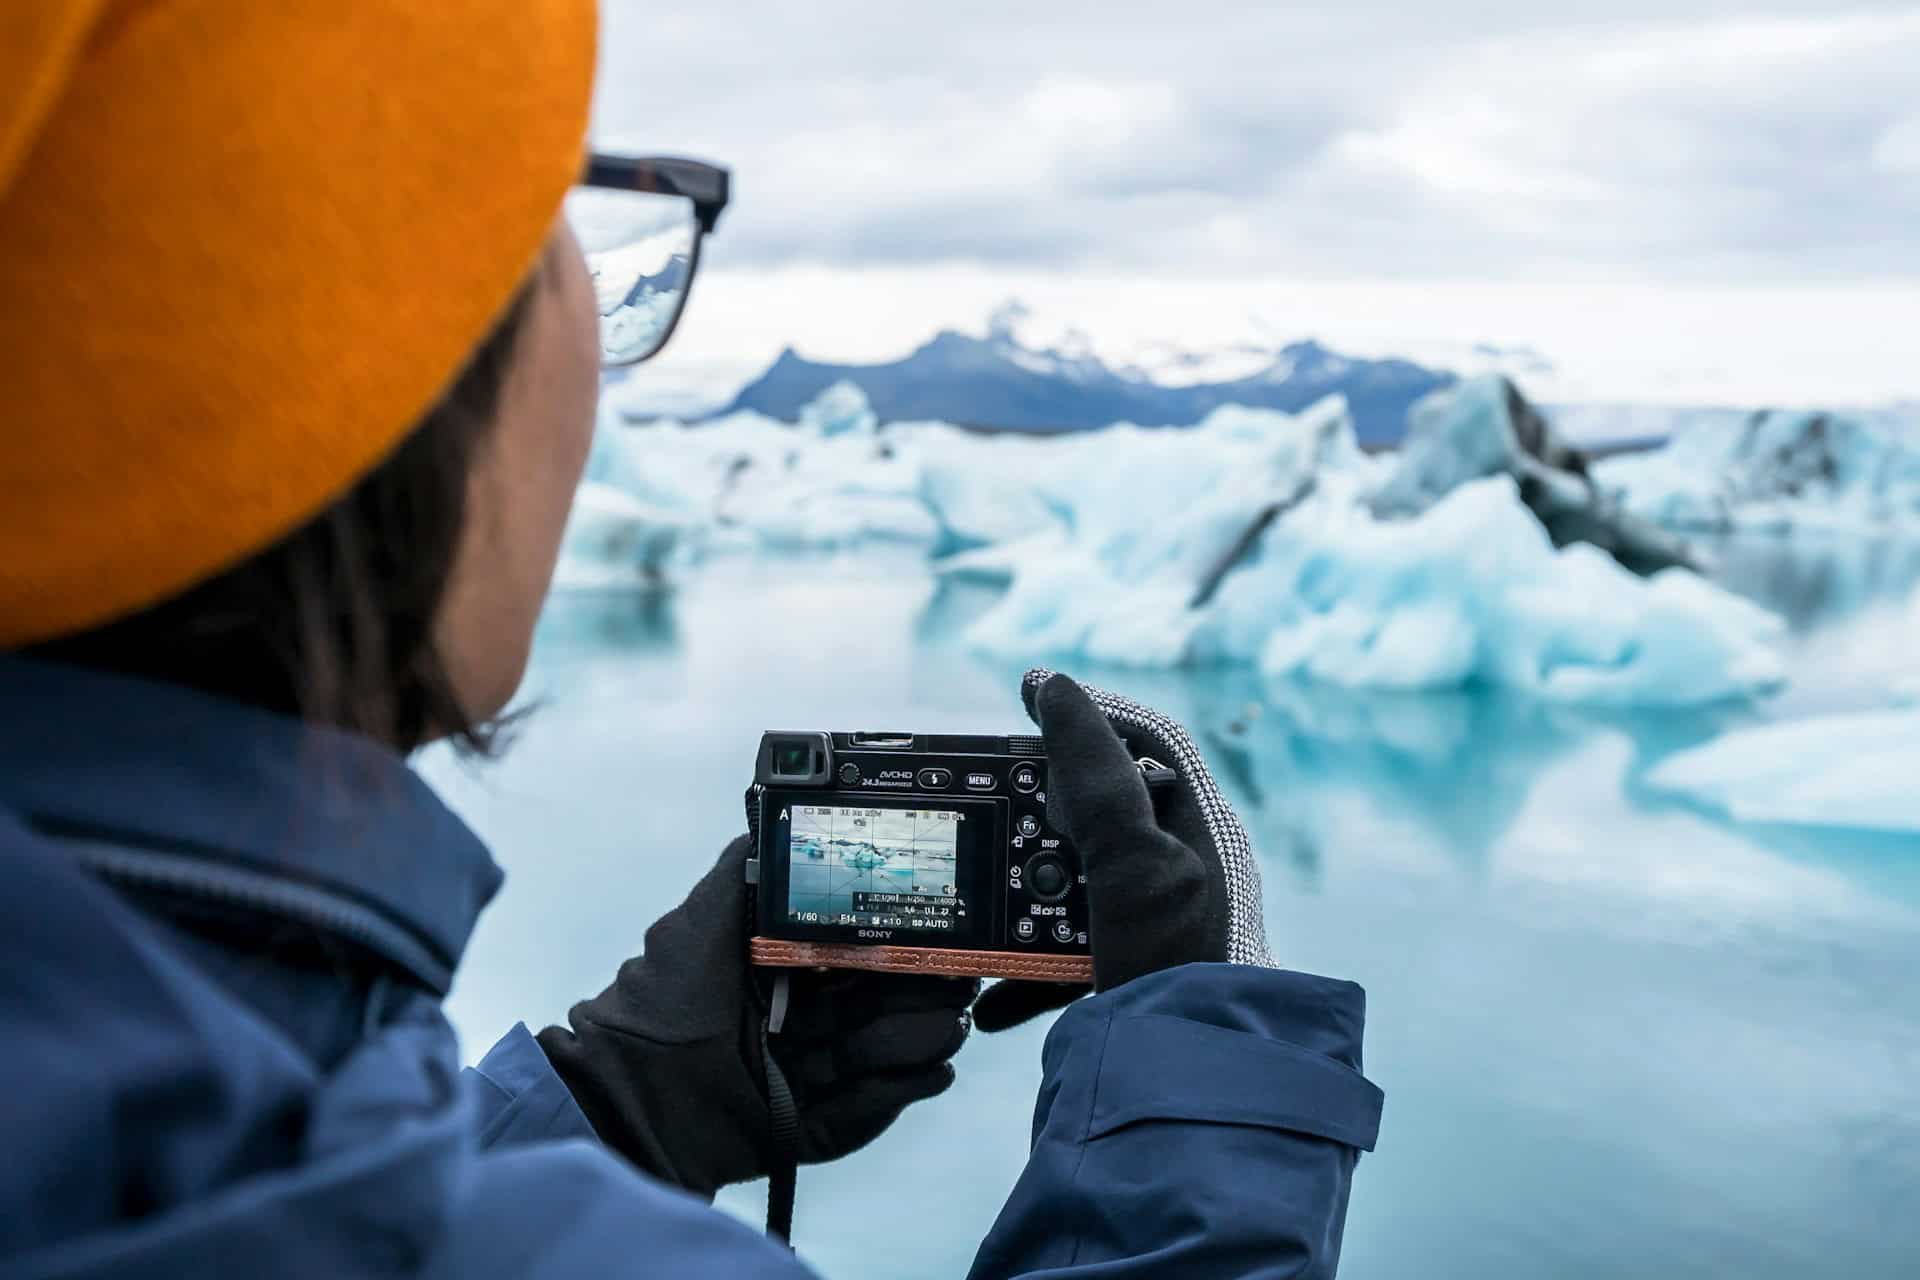
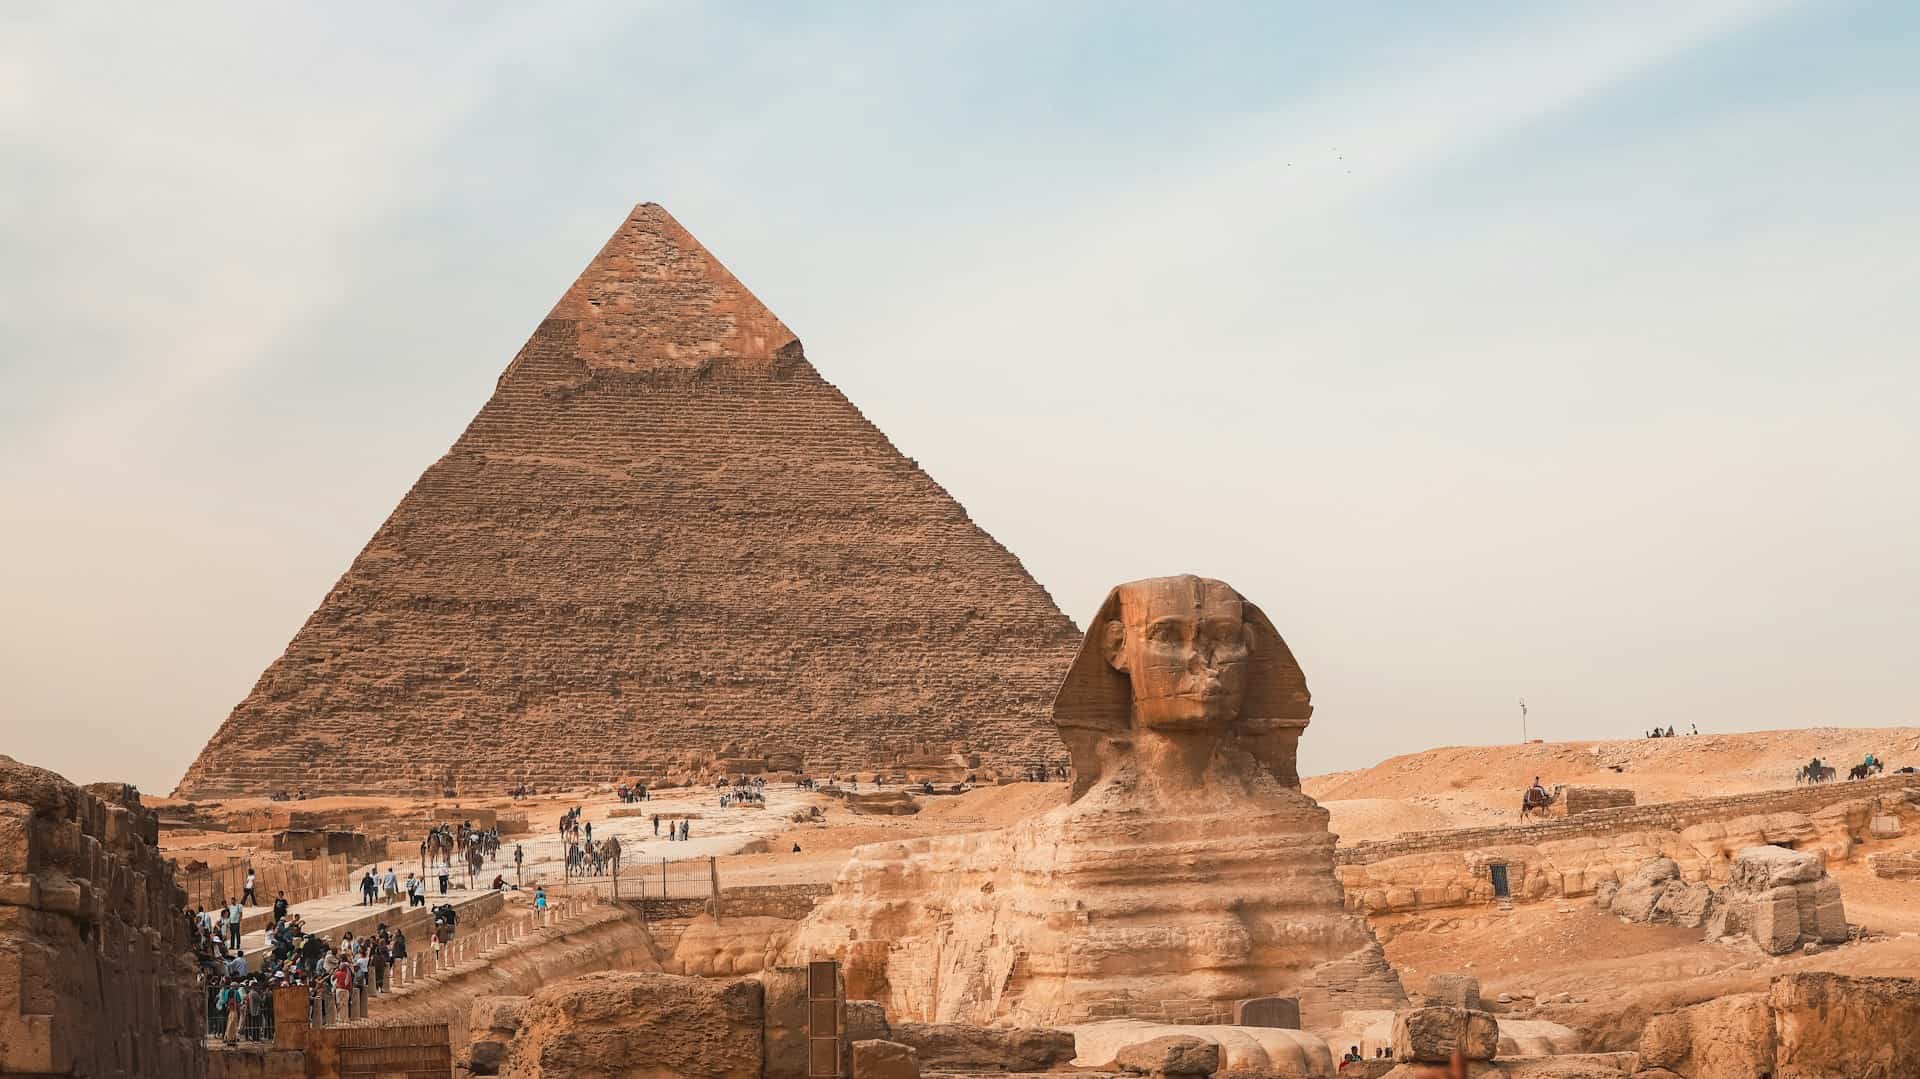
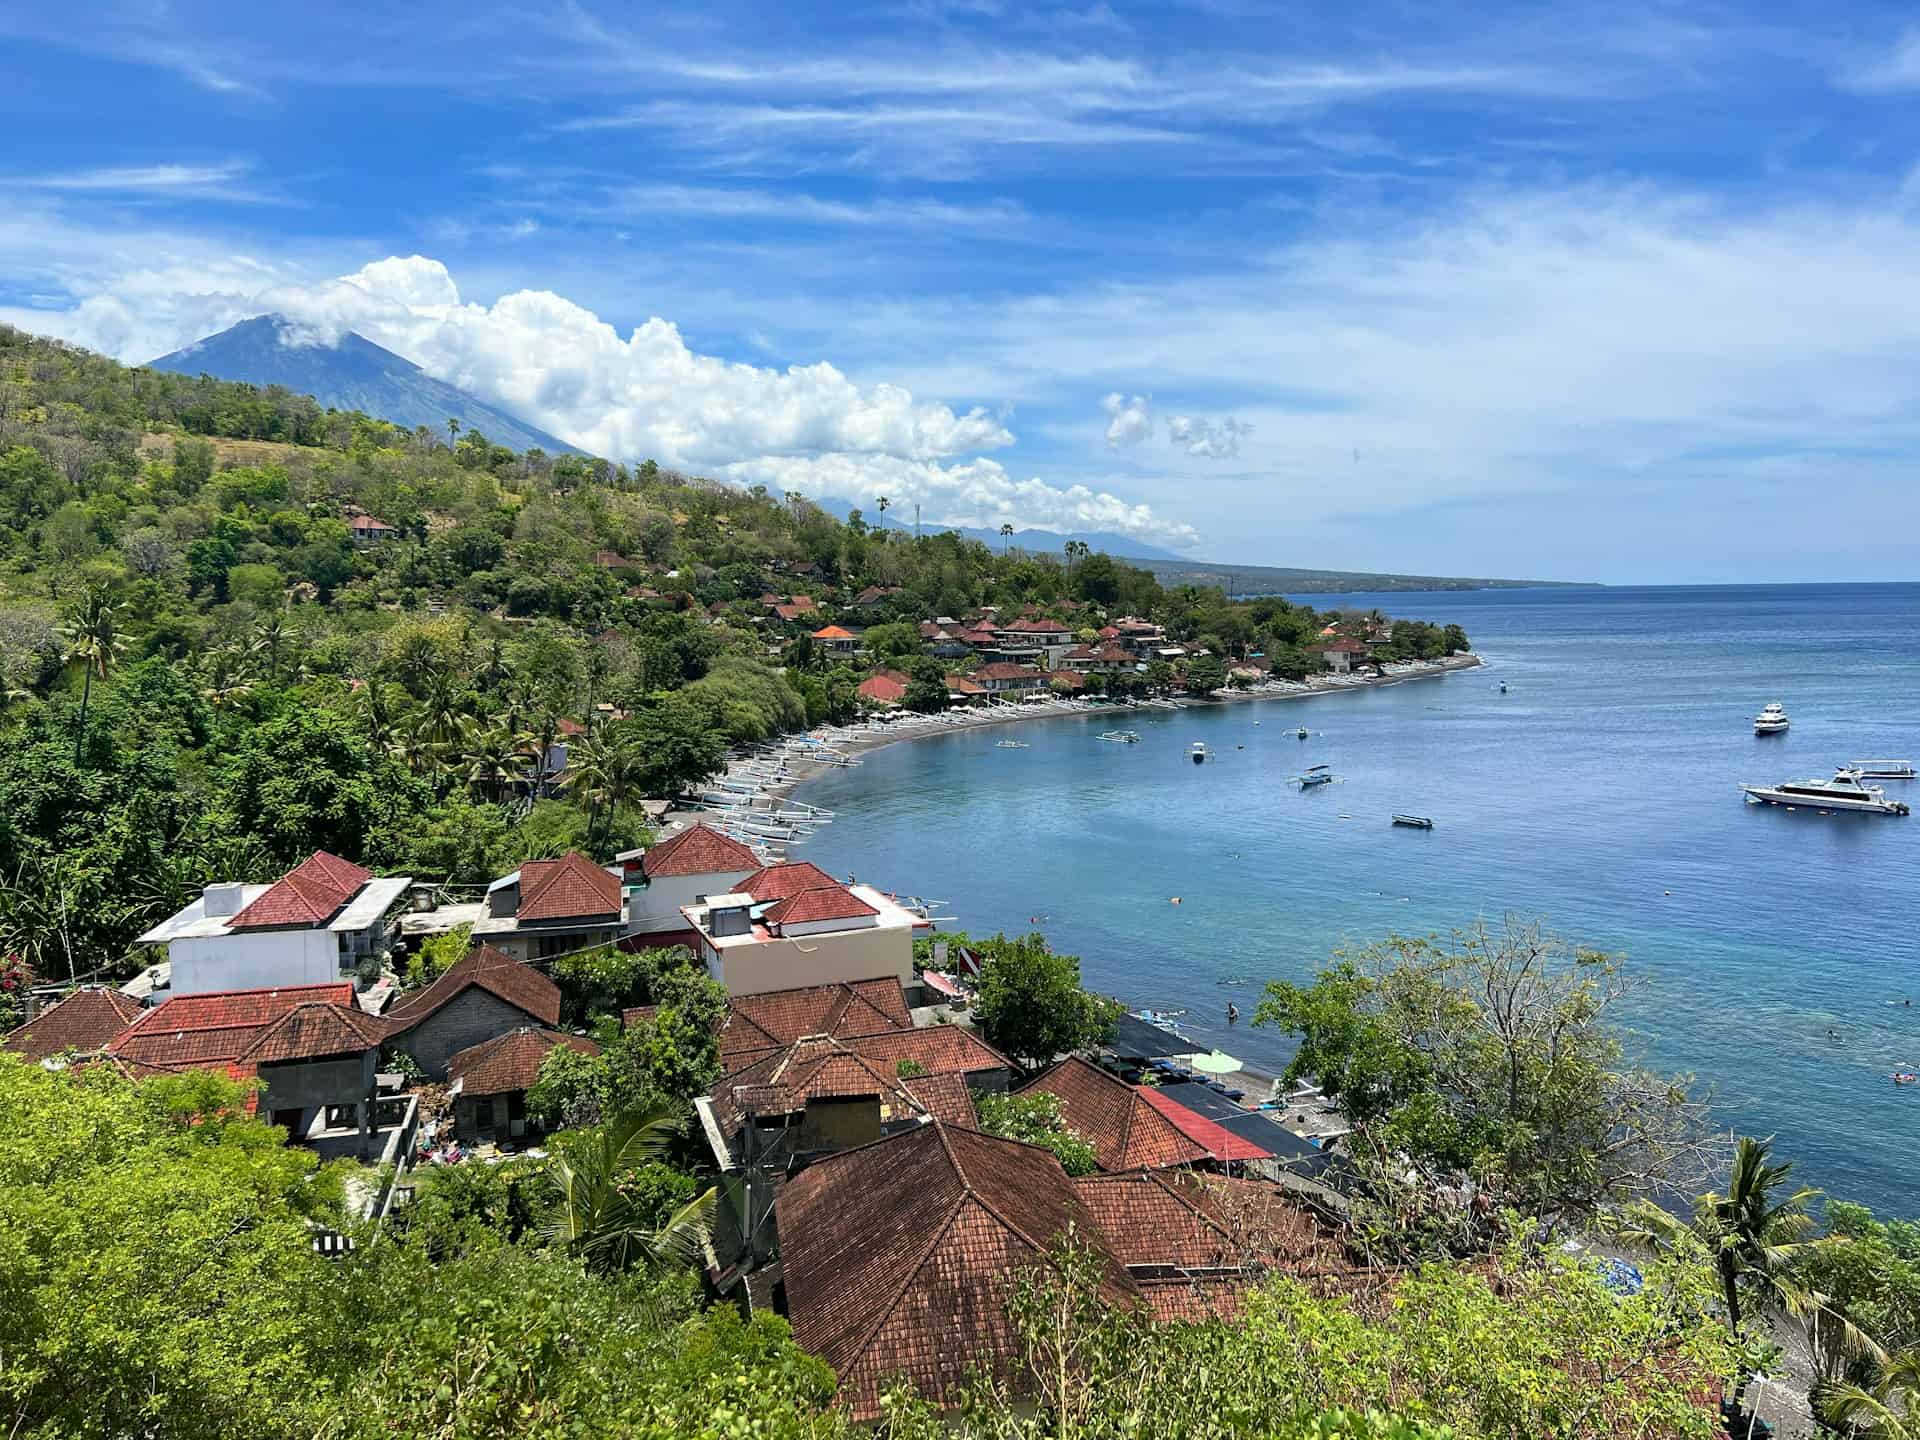
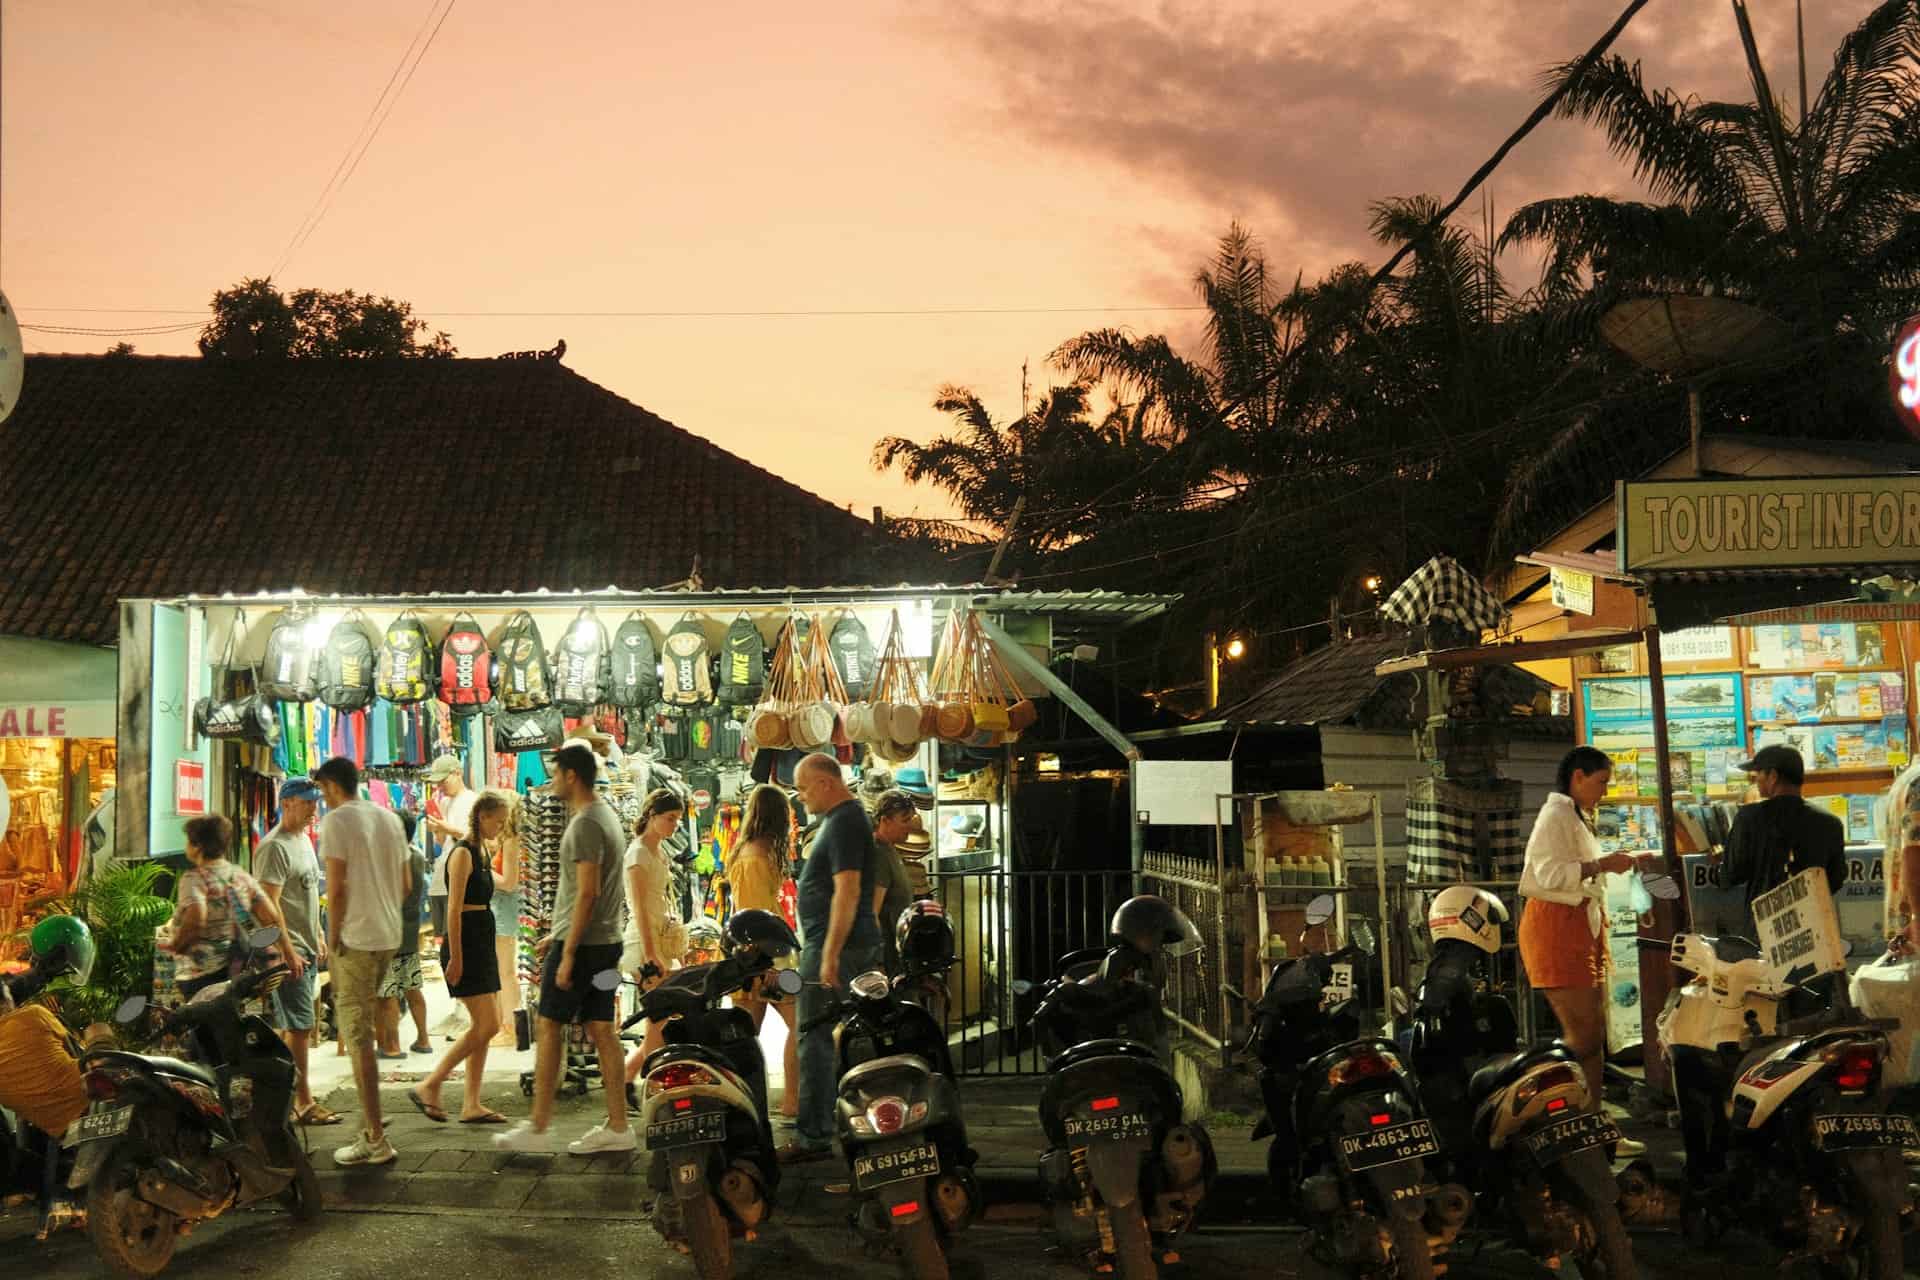
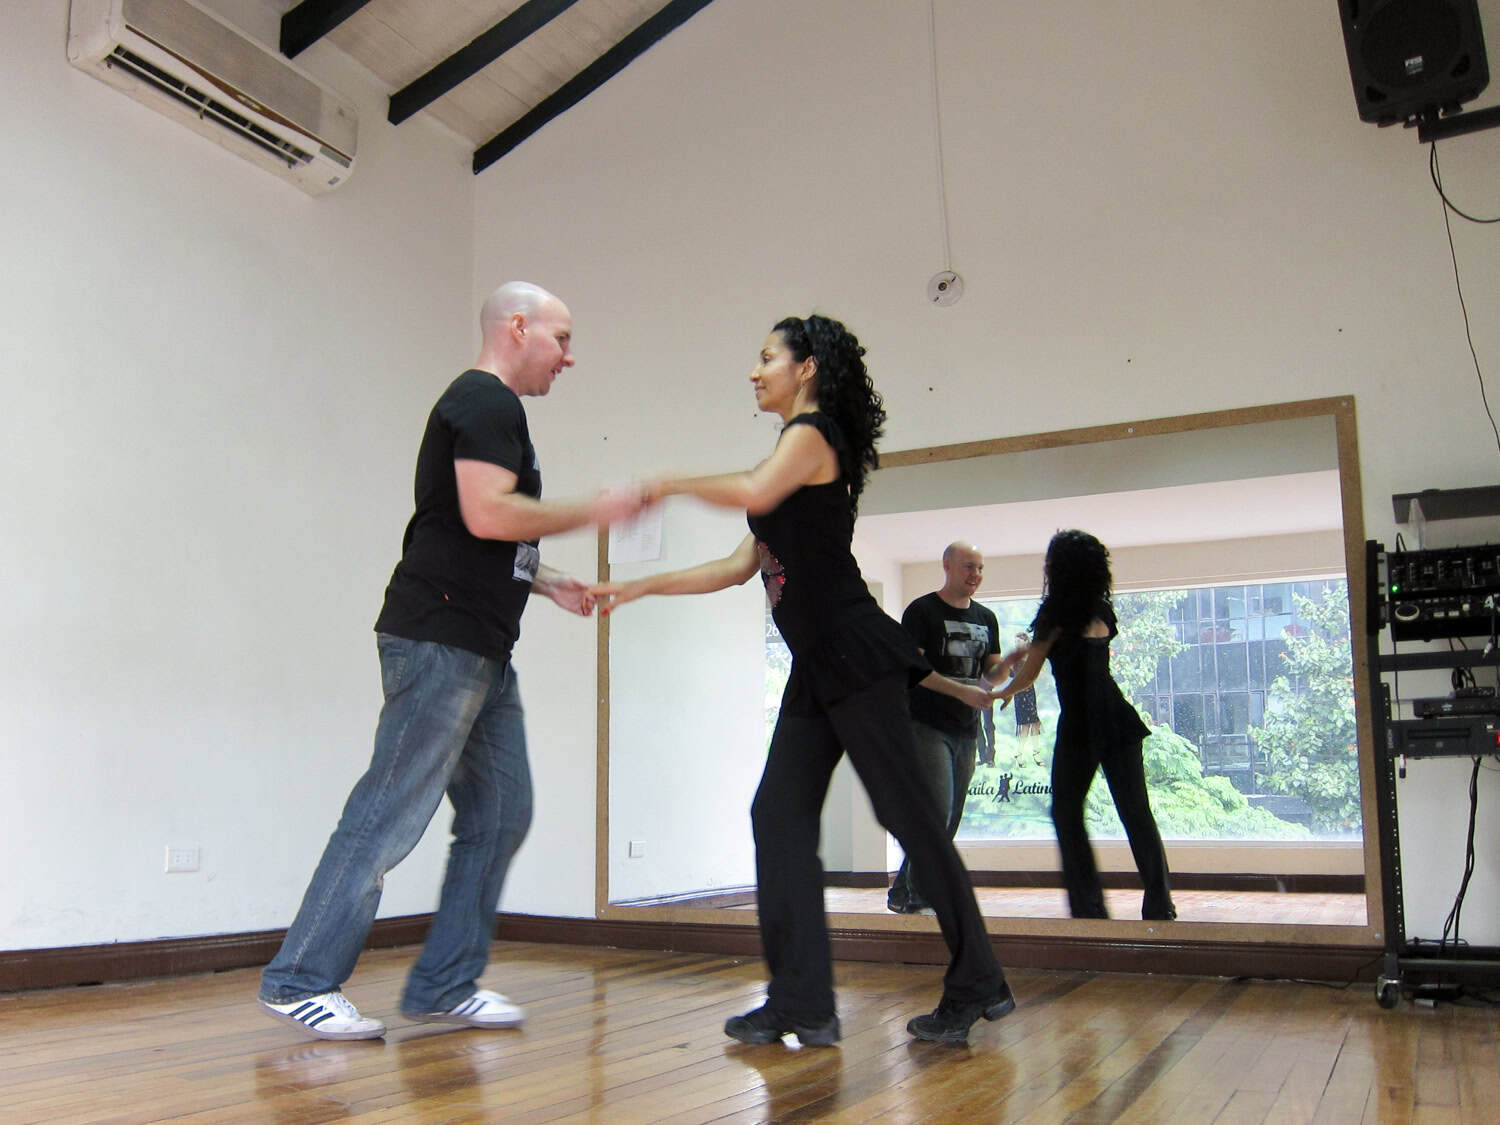
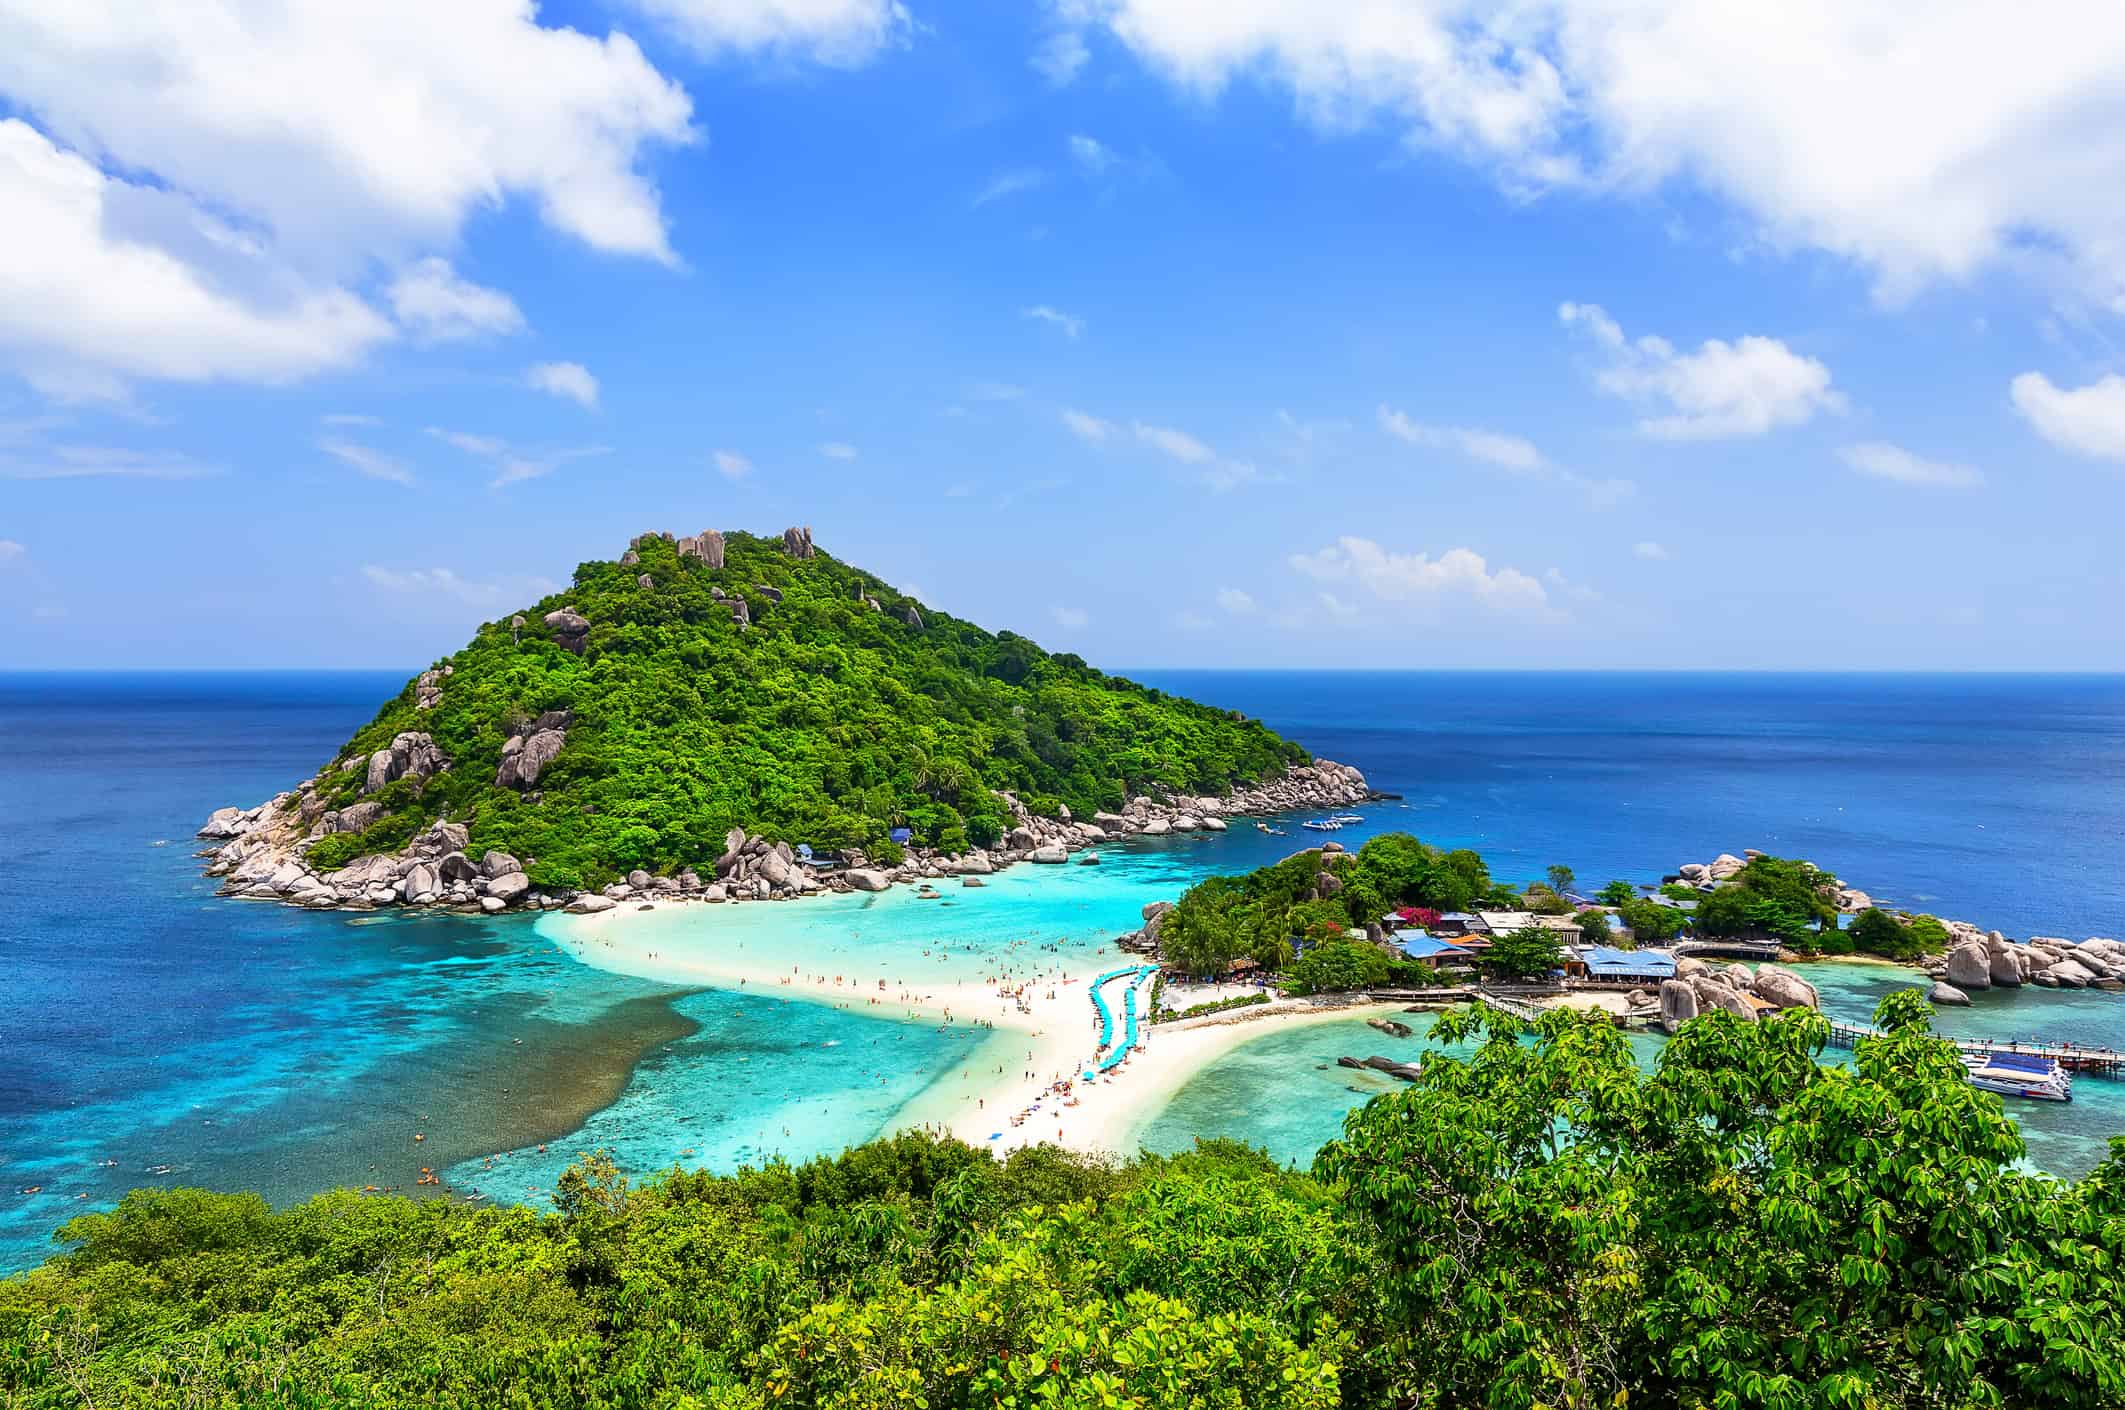
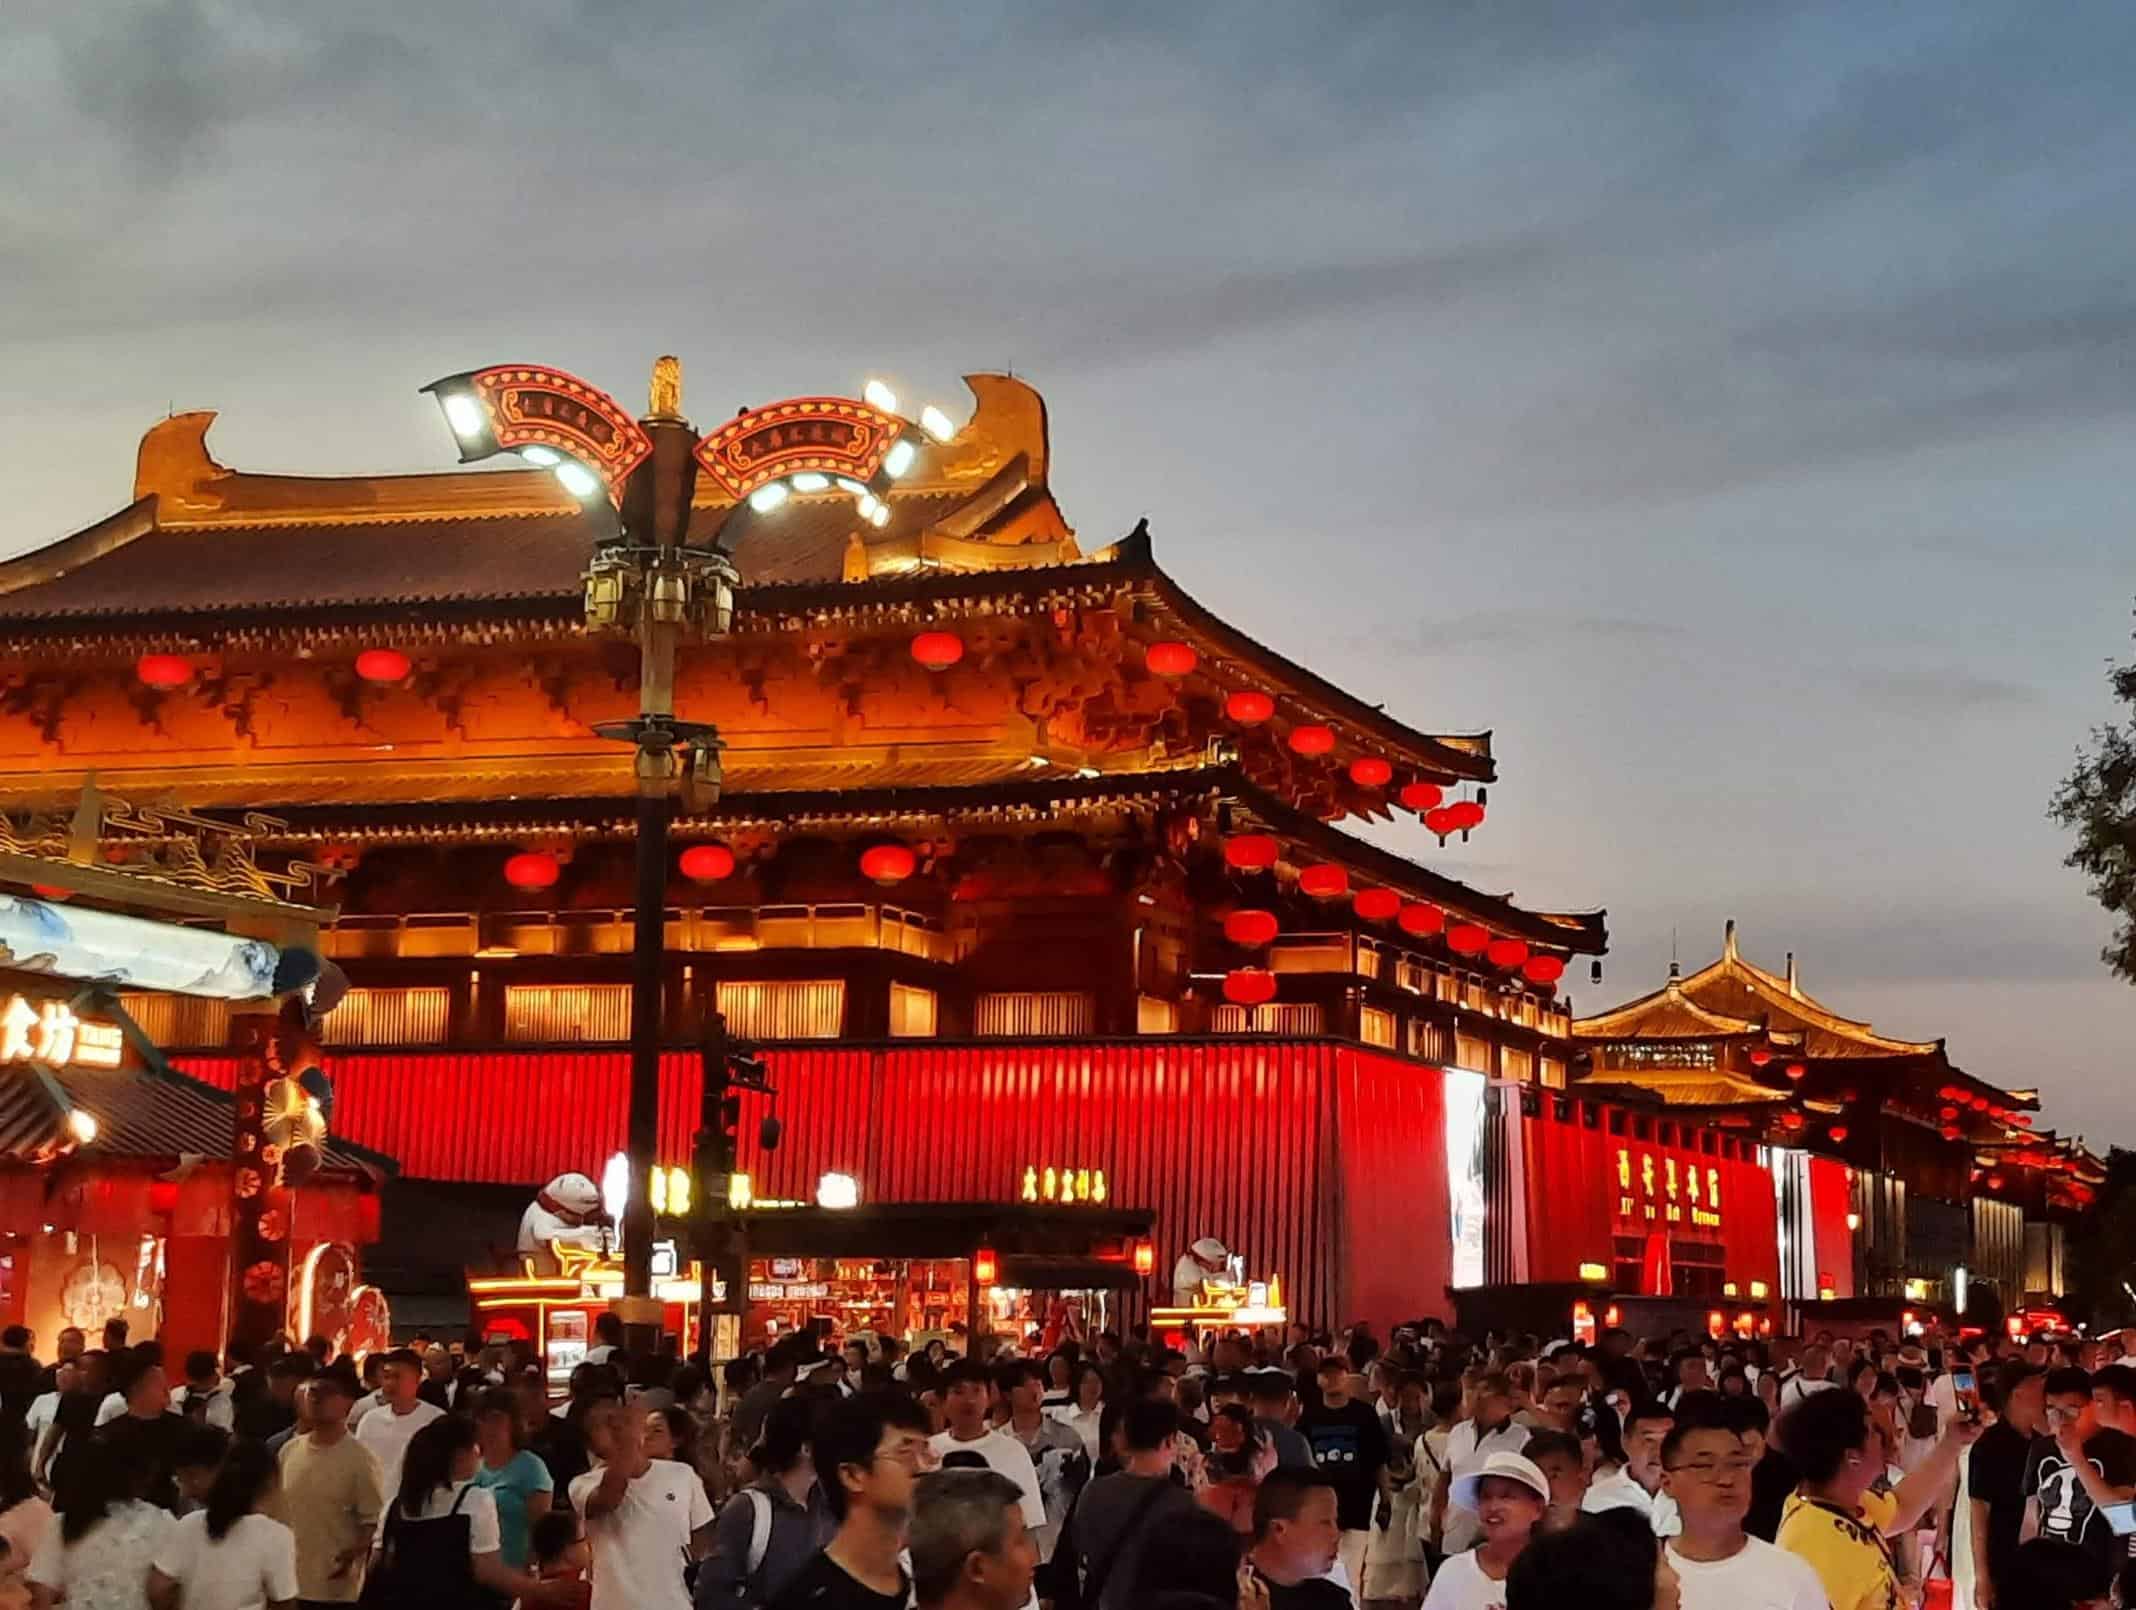
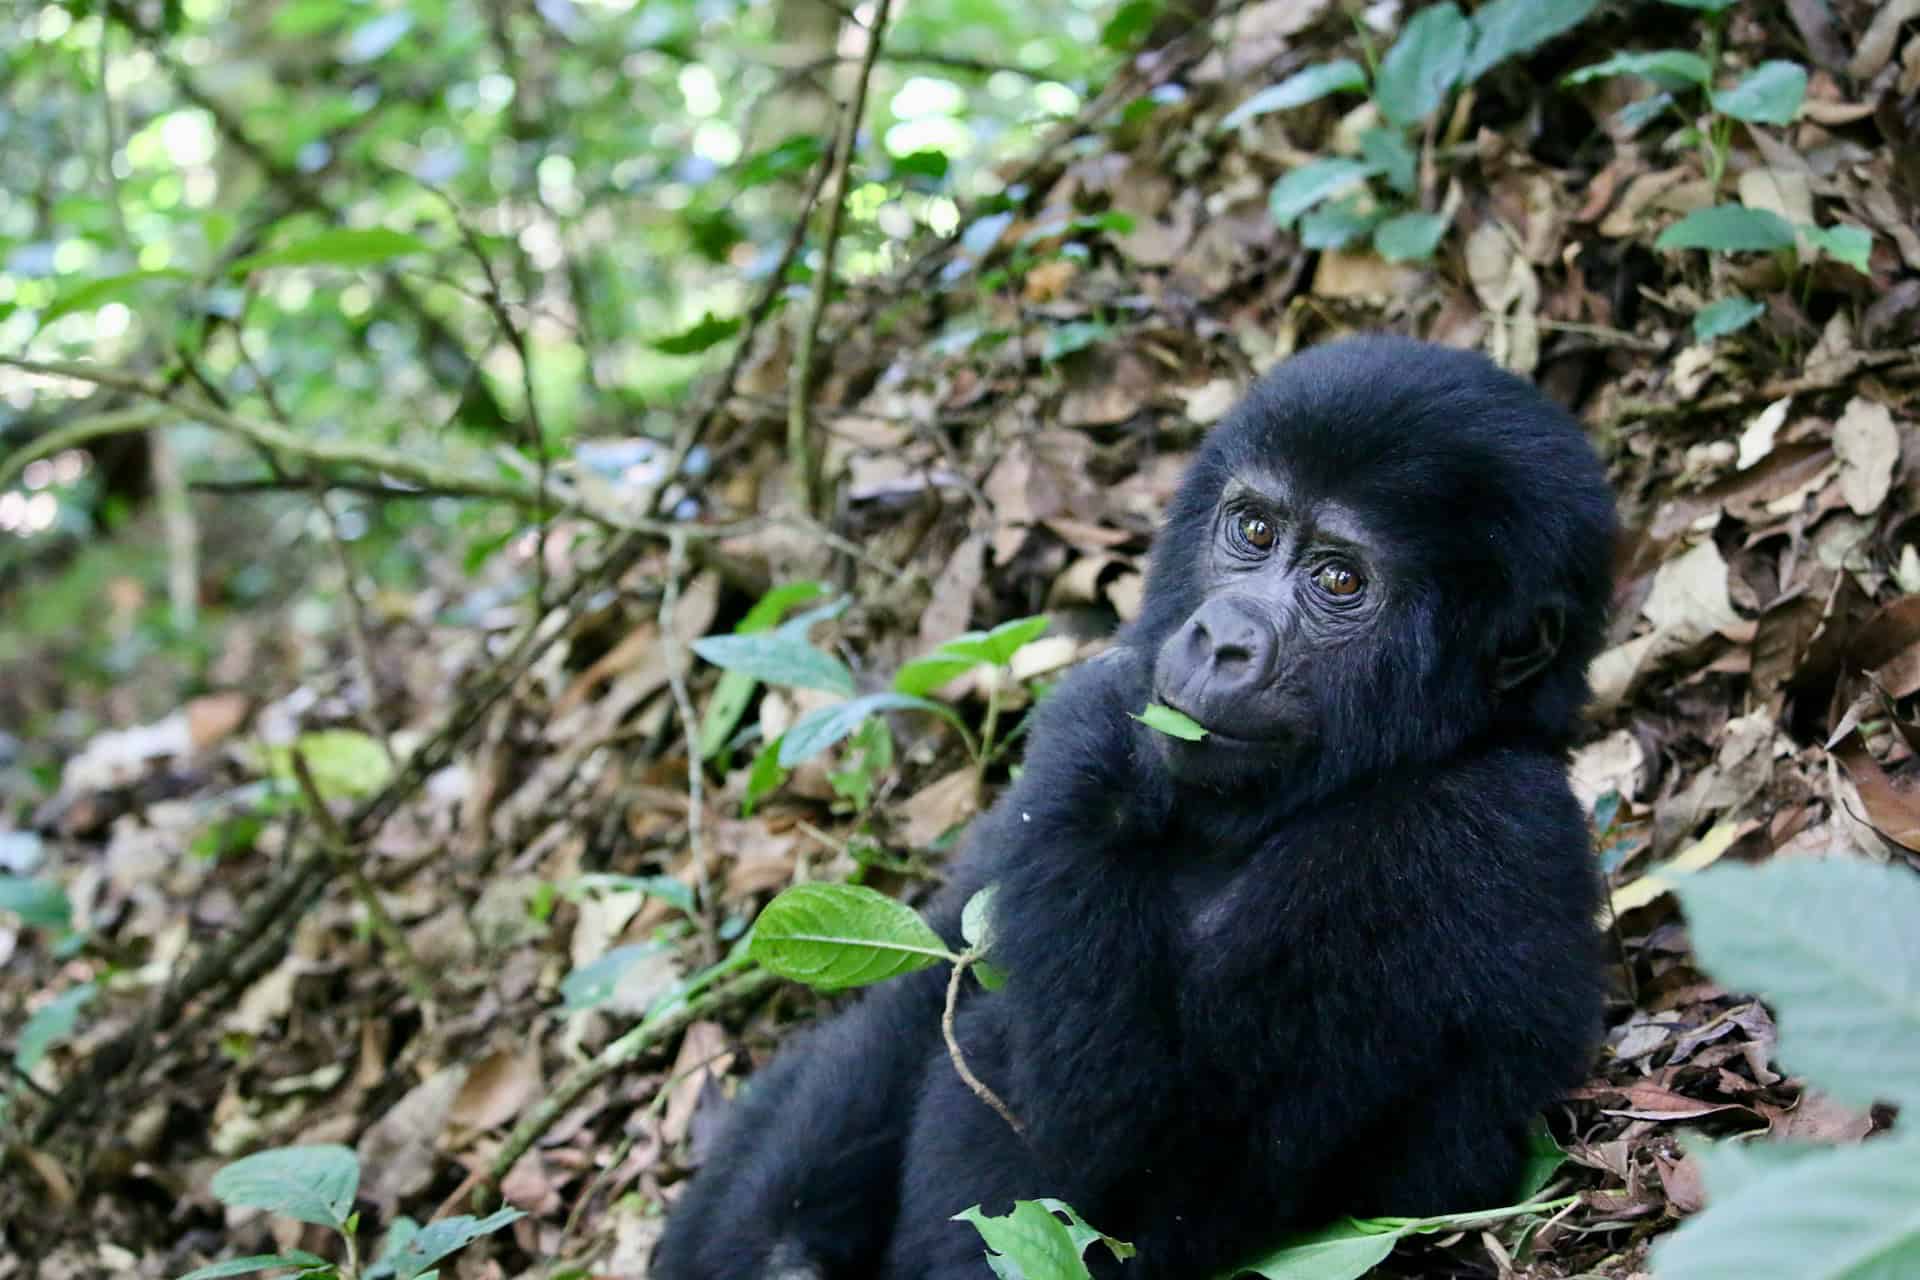
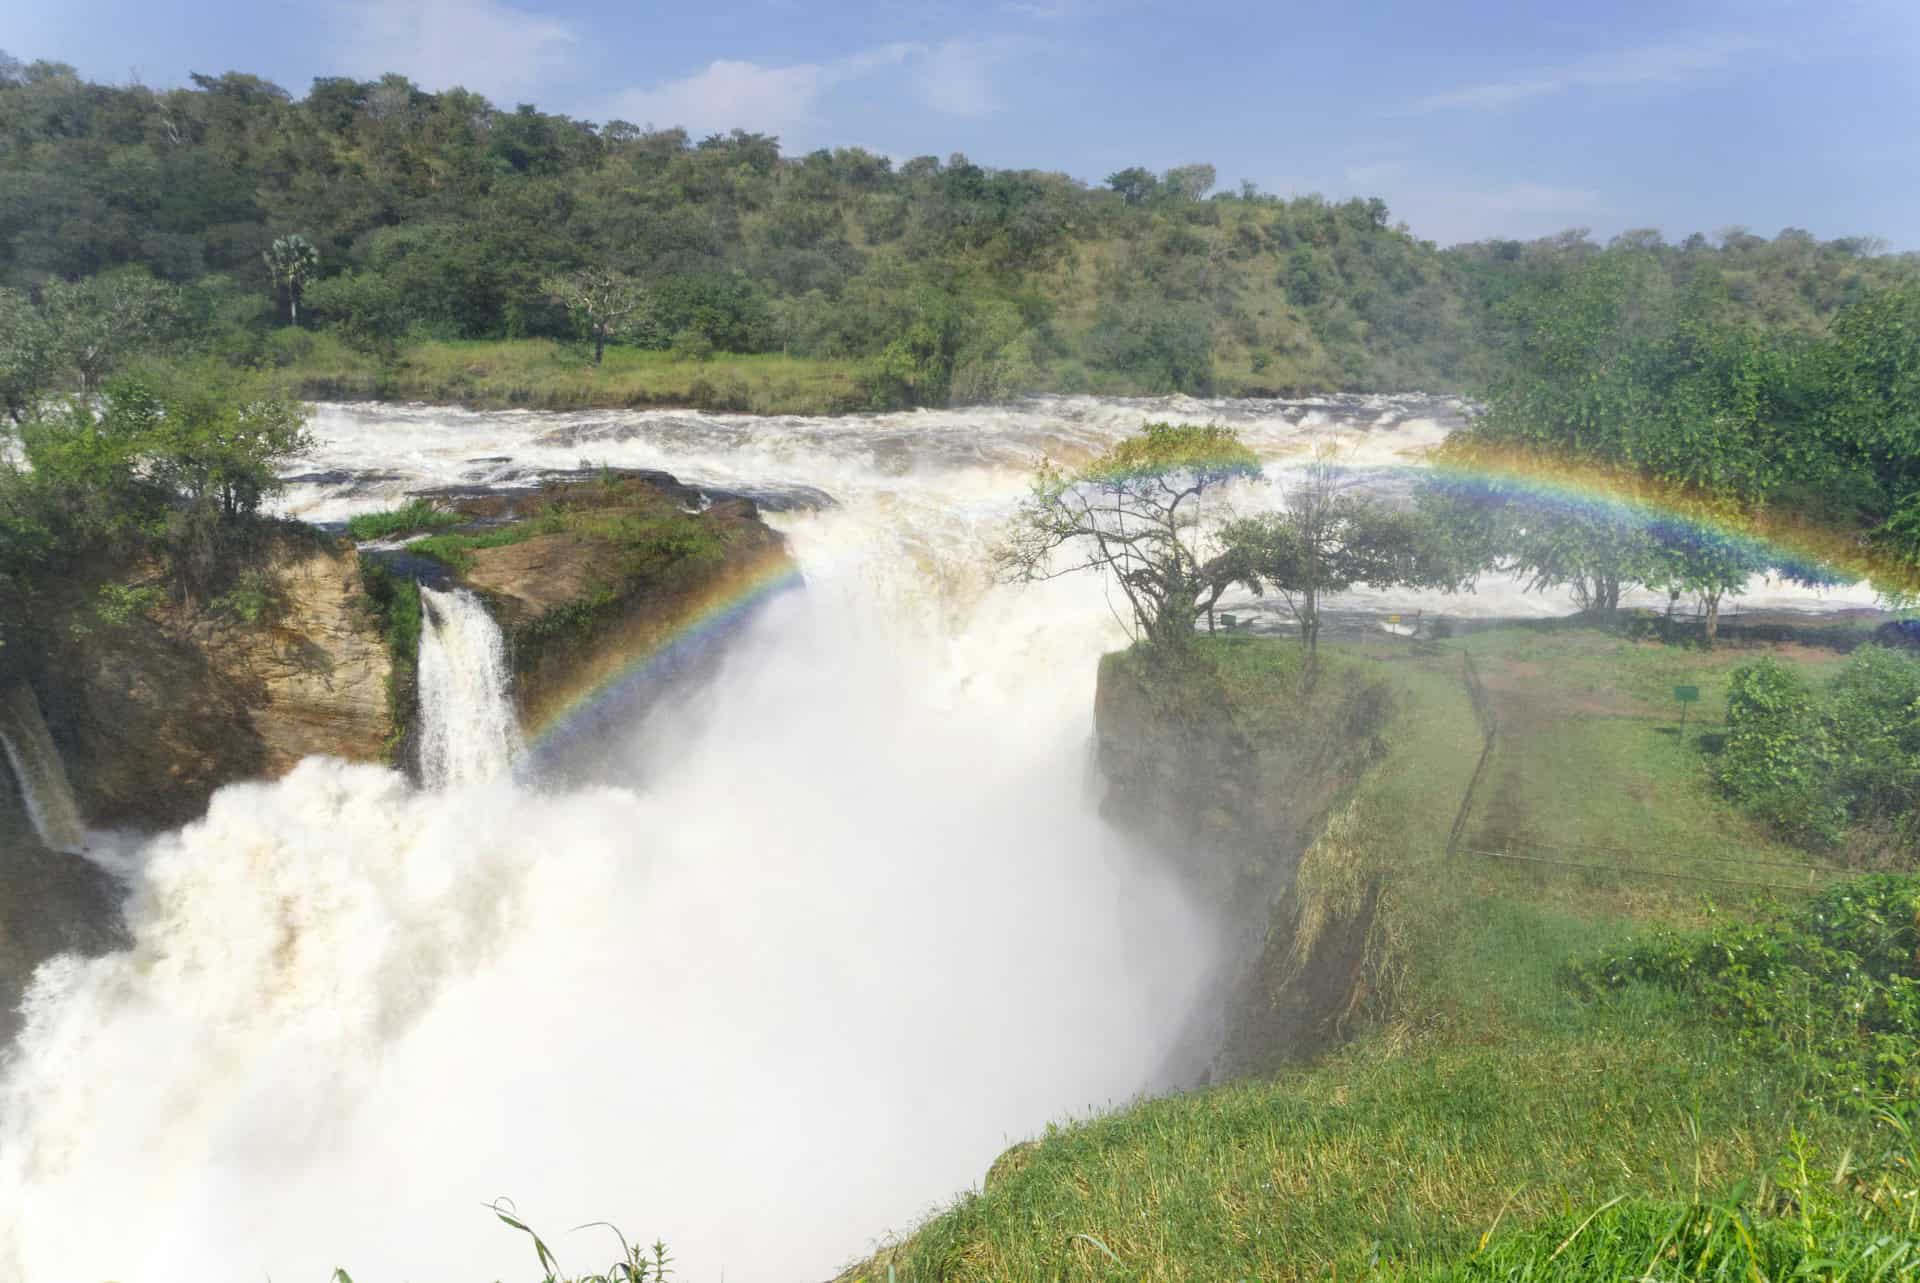
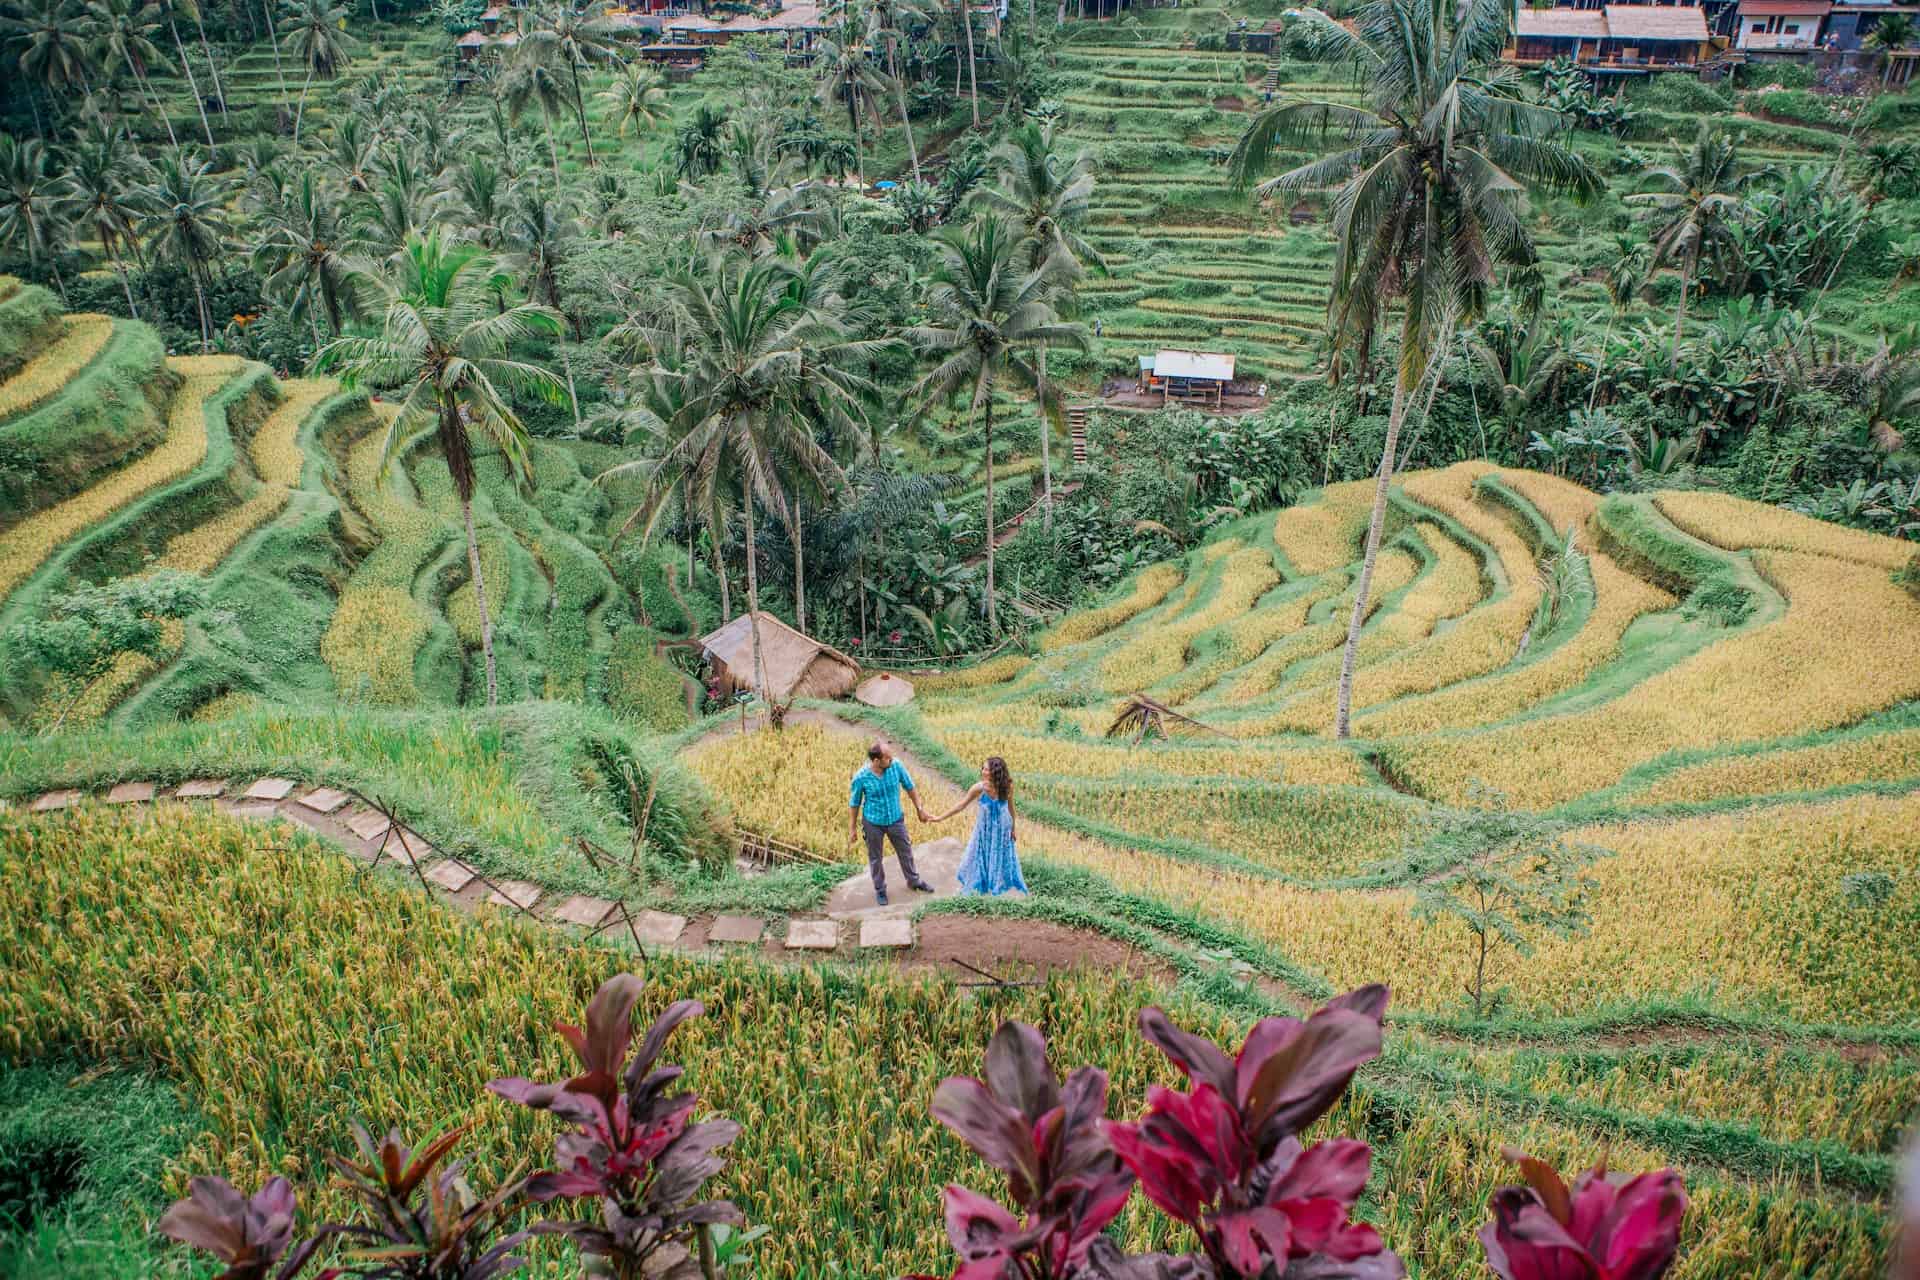
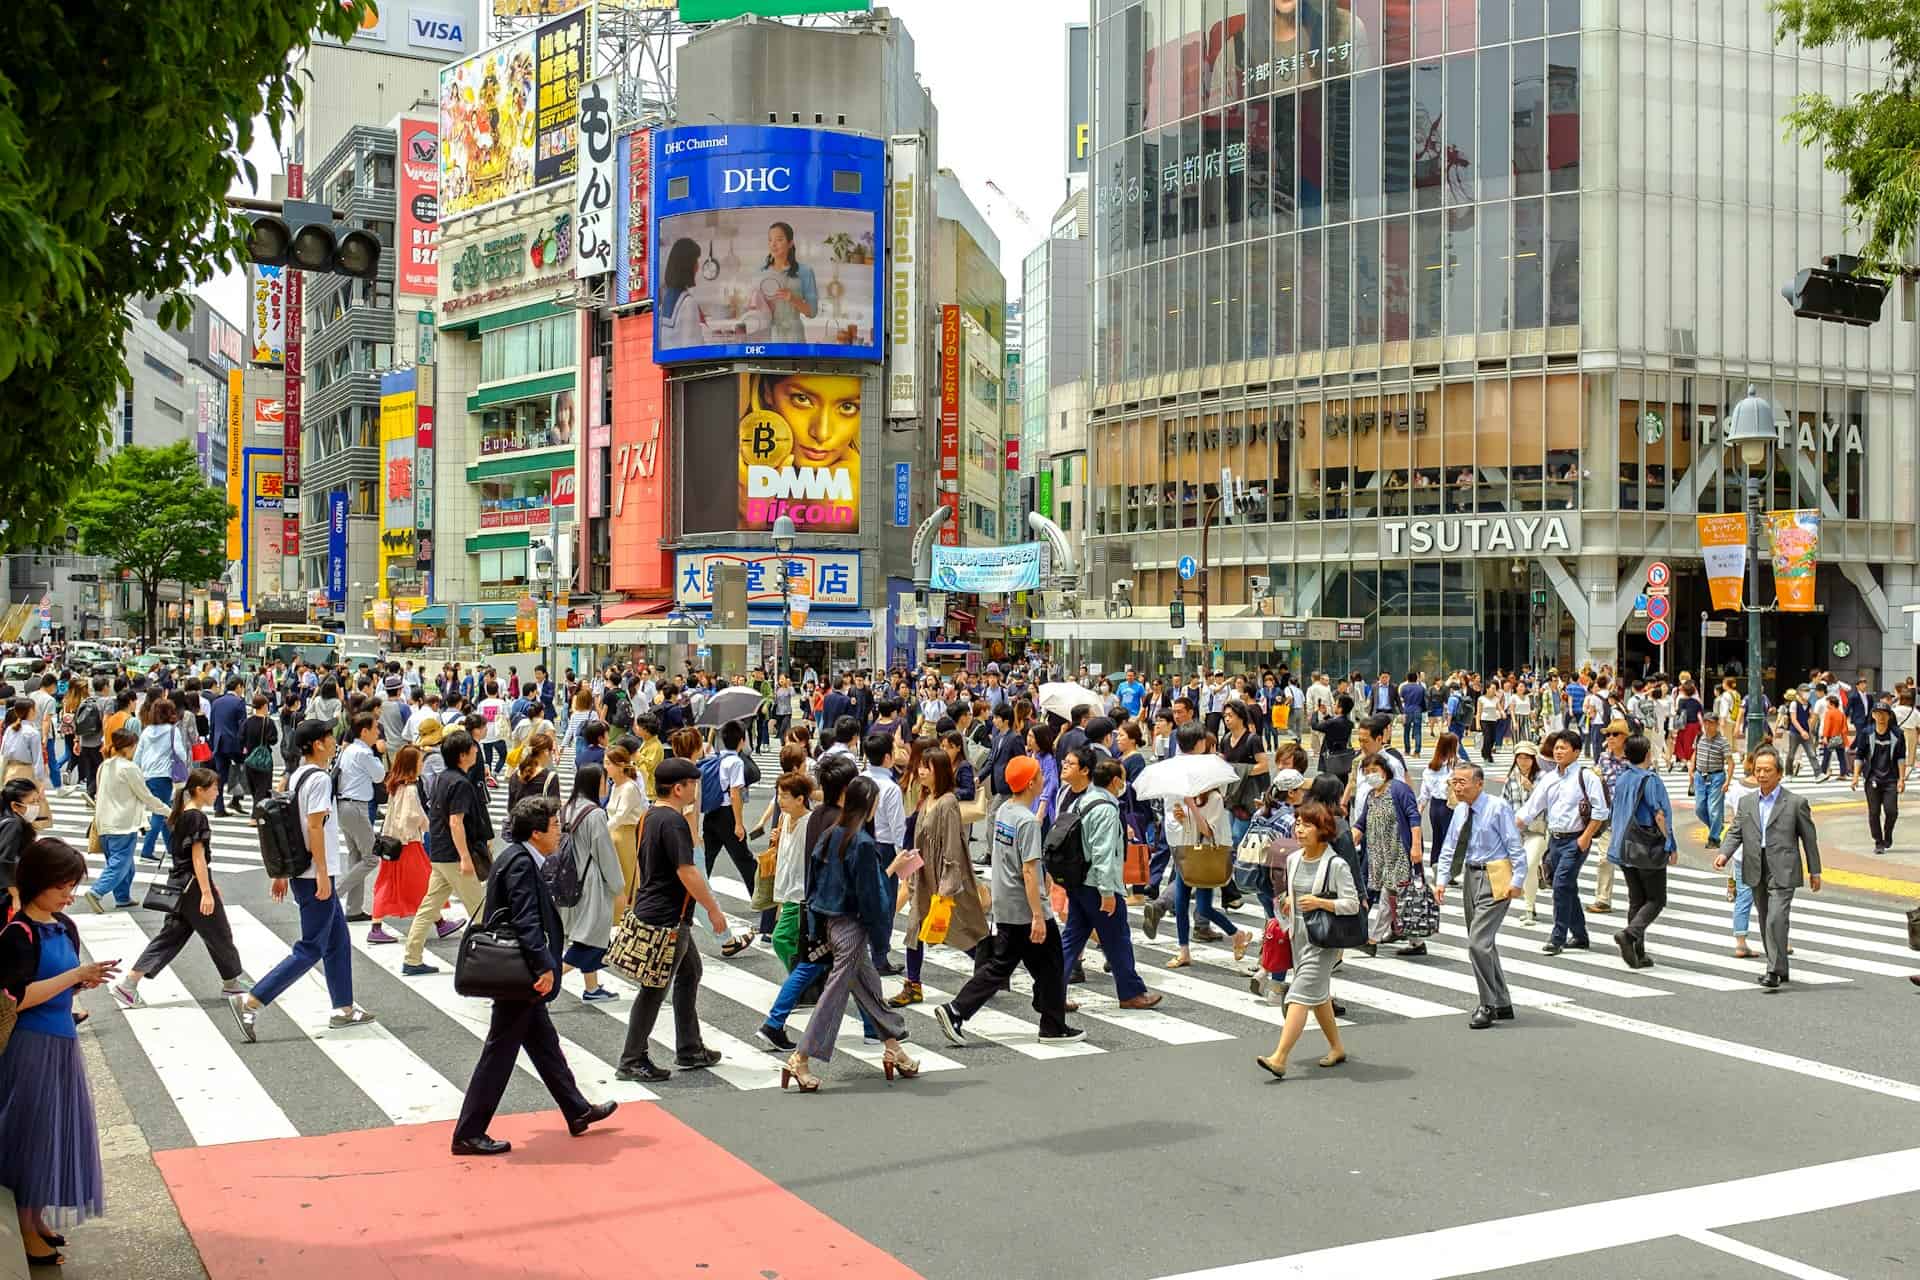
Stay Close To Local Life
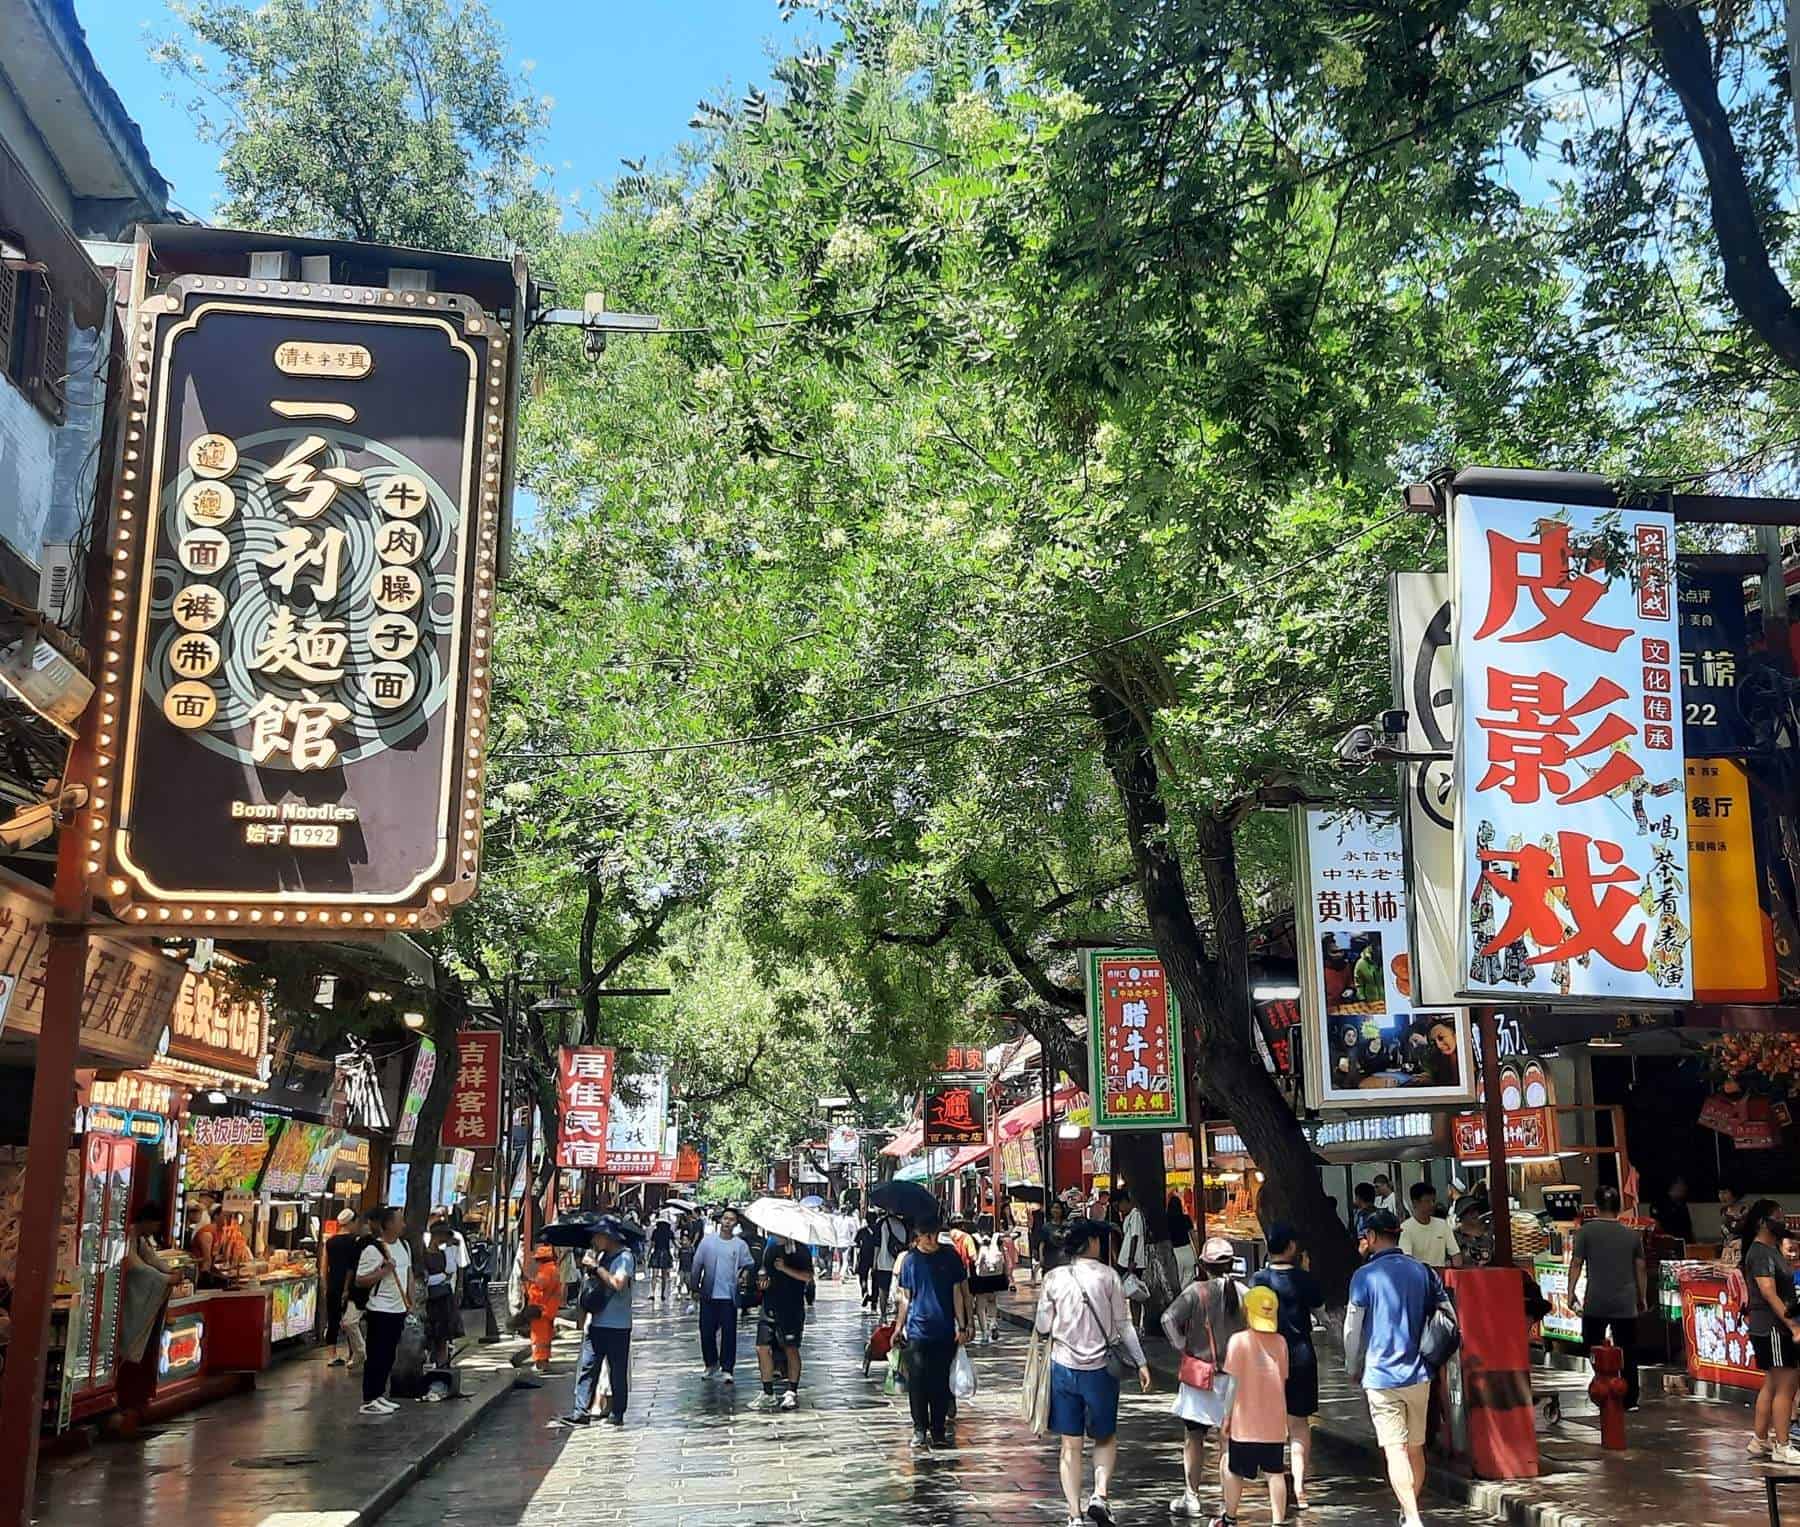
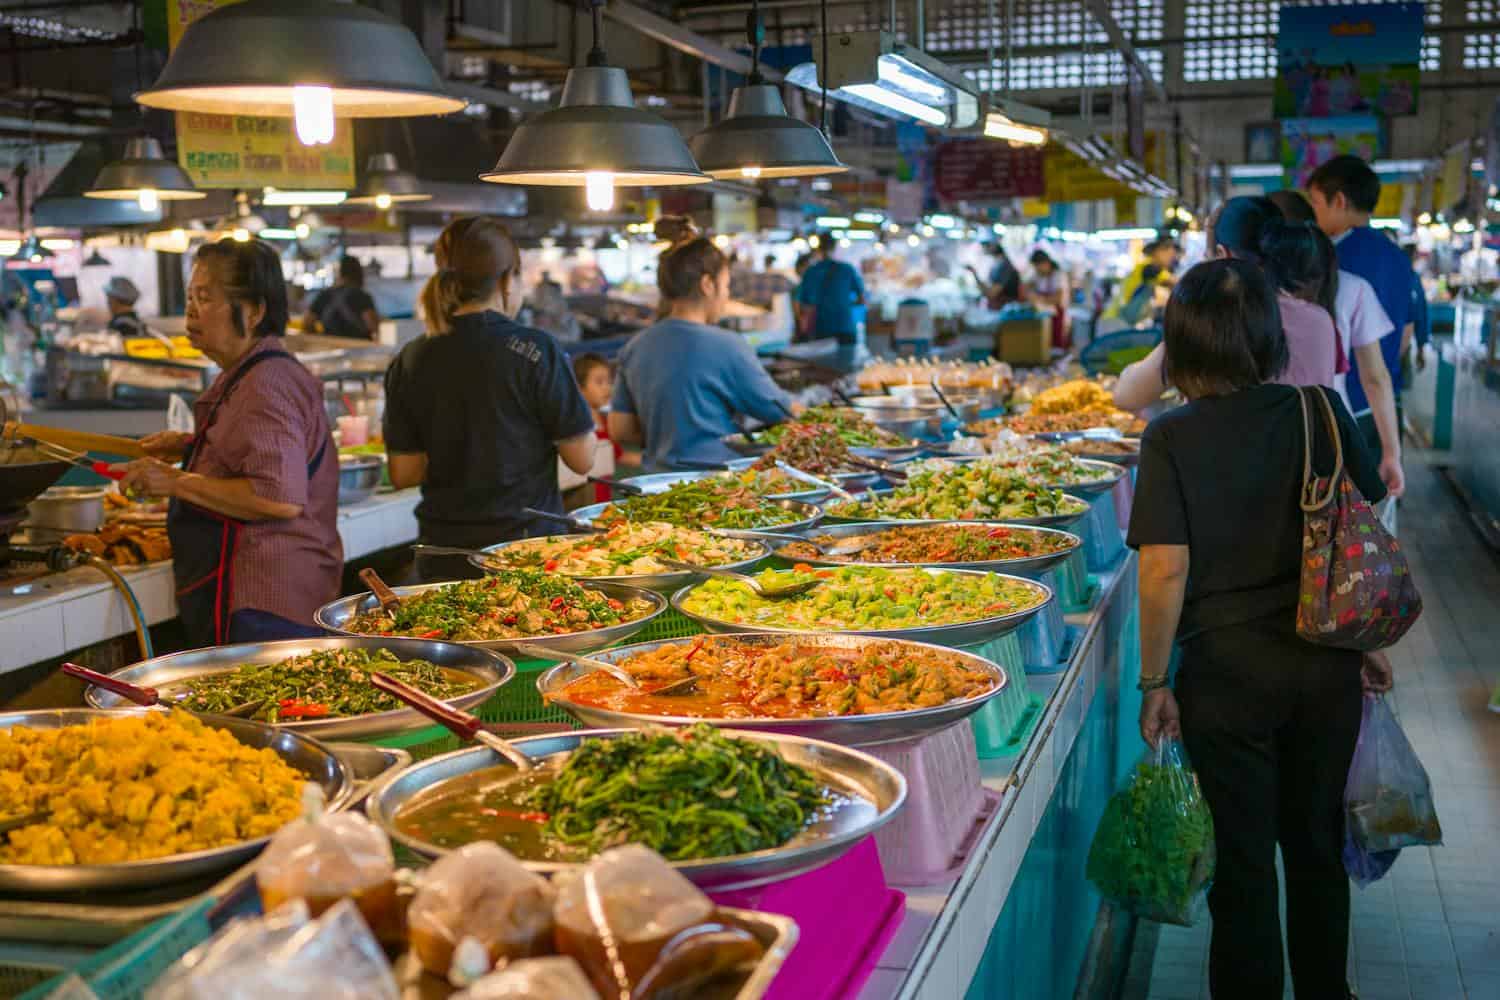
Backpacking is not only about reaching places. It is also about feeling the local rhythm. Food streets, small shops, morning markets, public parks, and local transport can teach you a lot about a destination.
Eat Where Local People Eat
Local food is one of the best parts of travel. Try meals from clean, busy places, especially those popular with local diners. A family-run restaurant or neighborhood café can provide a more memorable meal than a polished tourist spot.
Ask local people what they like to eat nearby. You may find a special dish, fresh snack, or family-run place with warm service. Try their recommendations to understand the culture better.
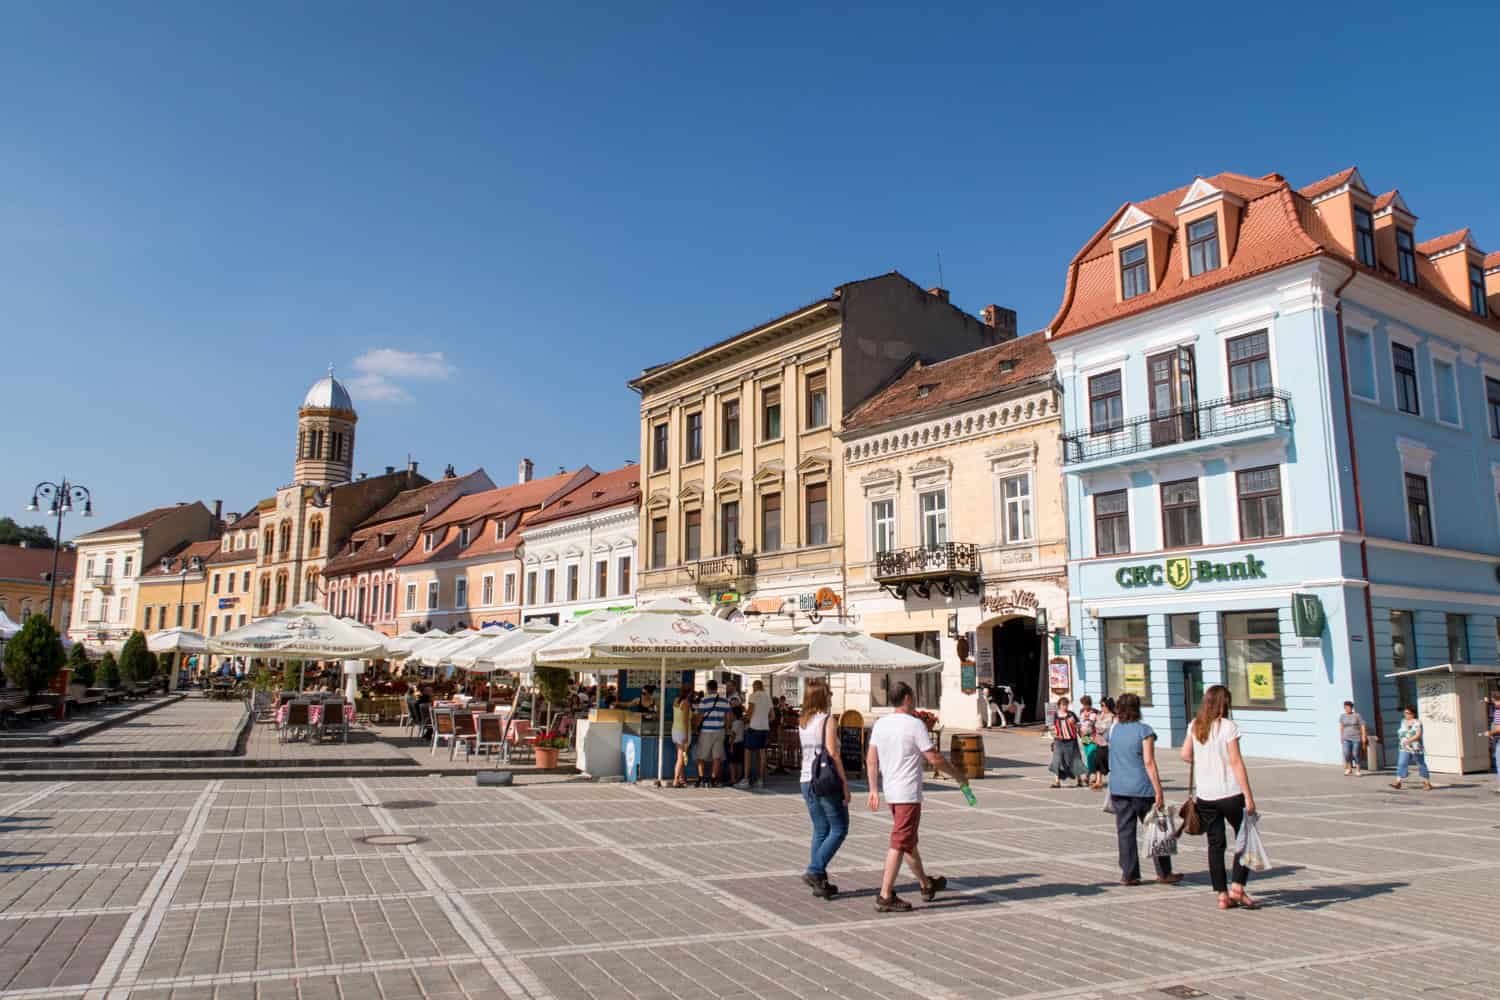
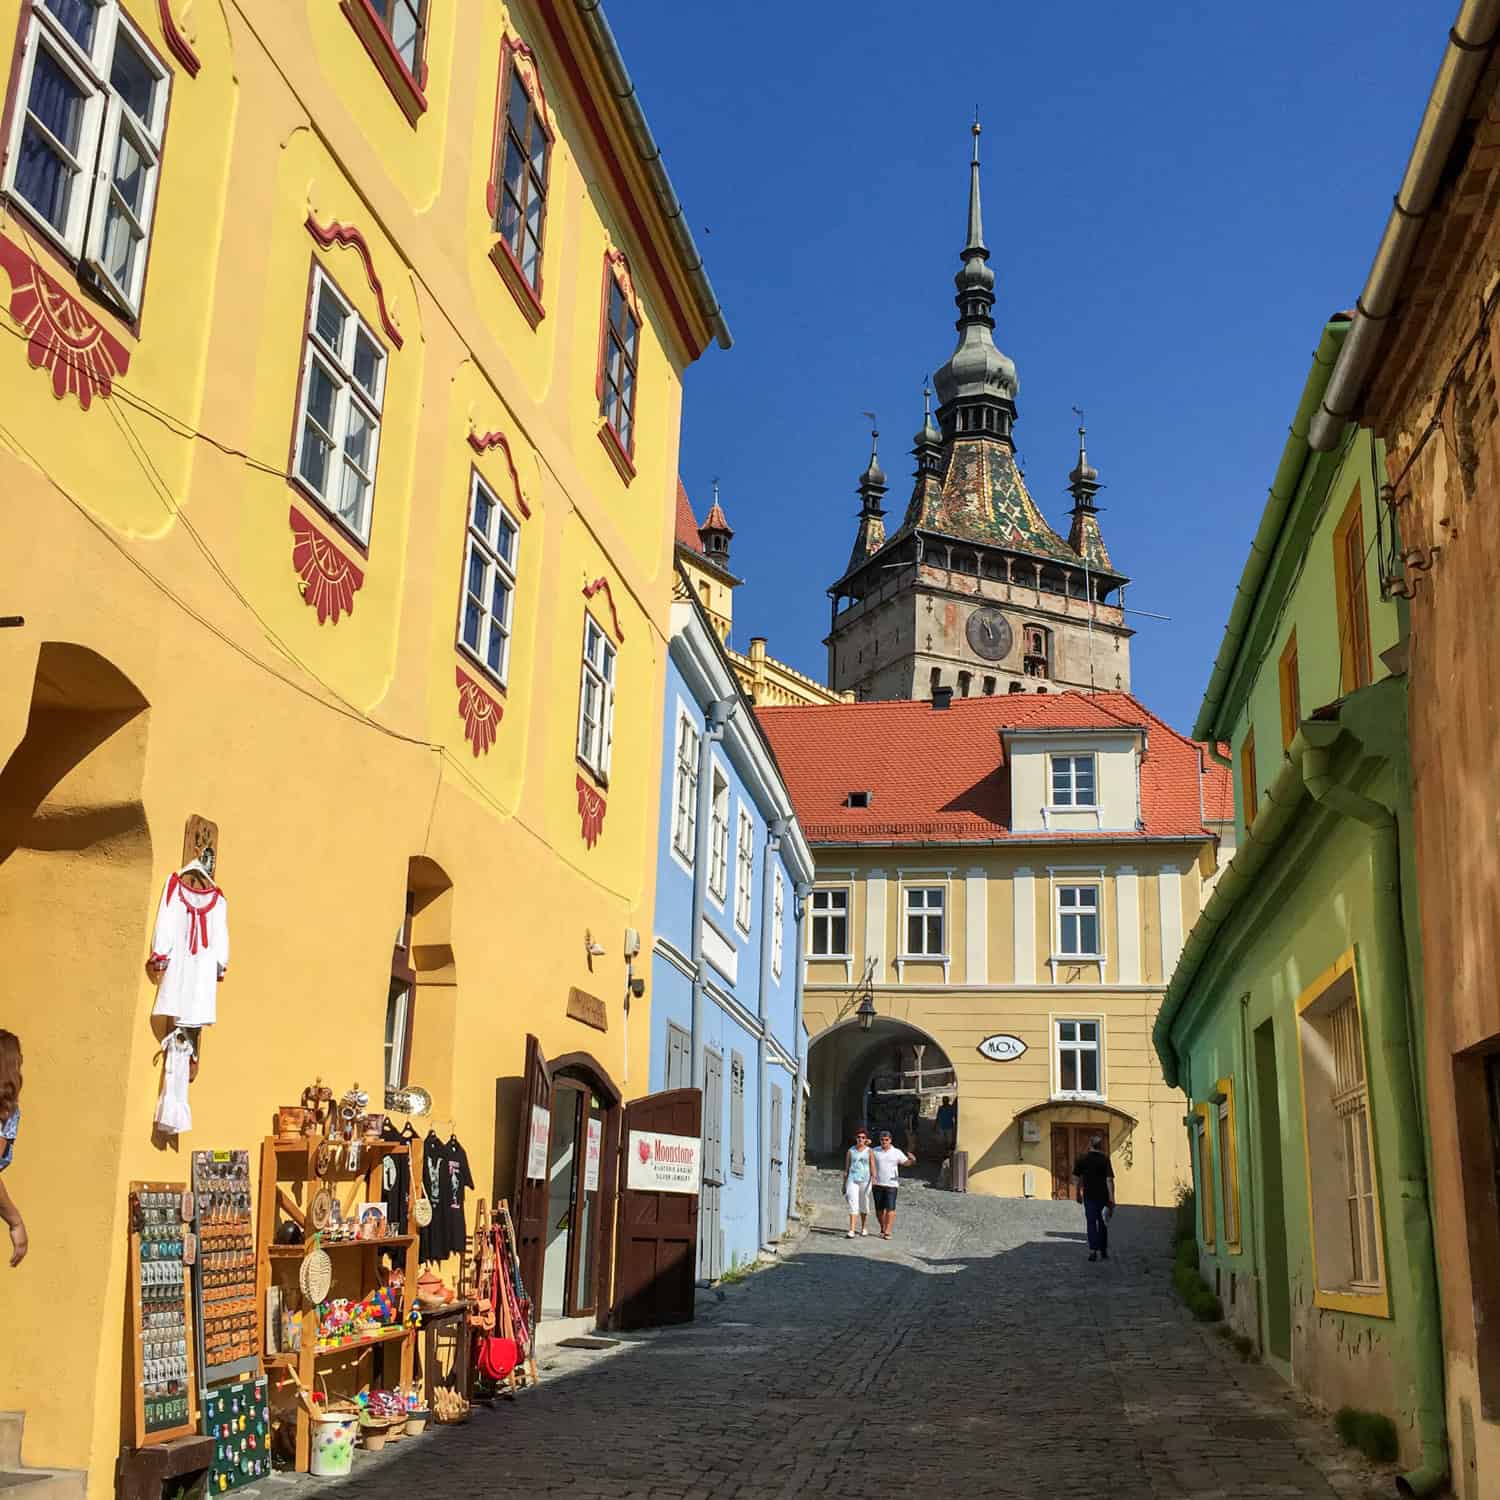
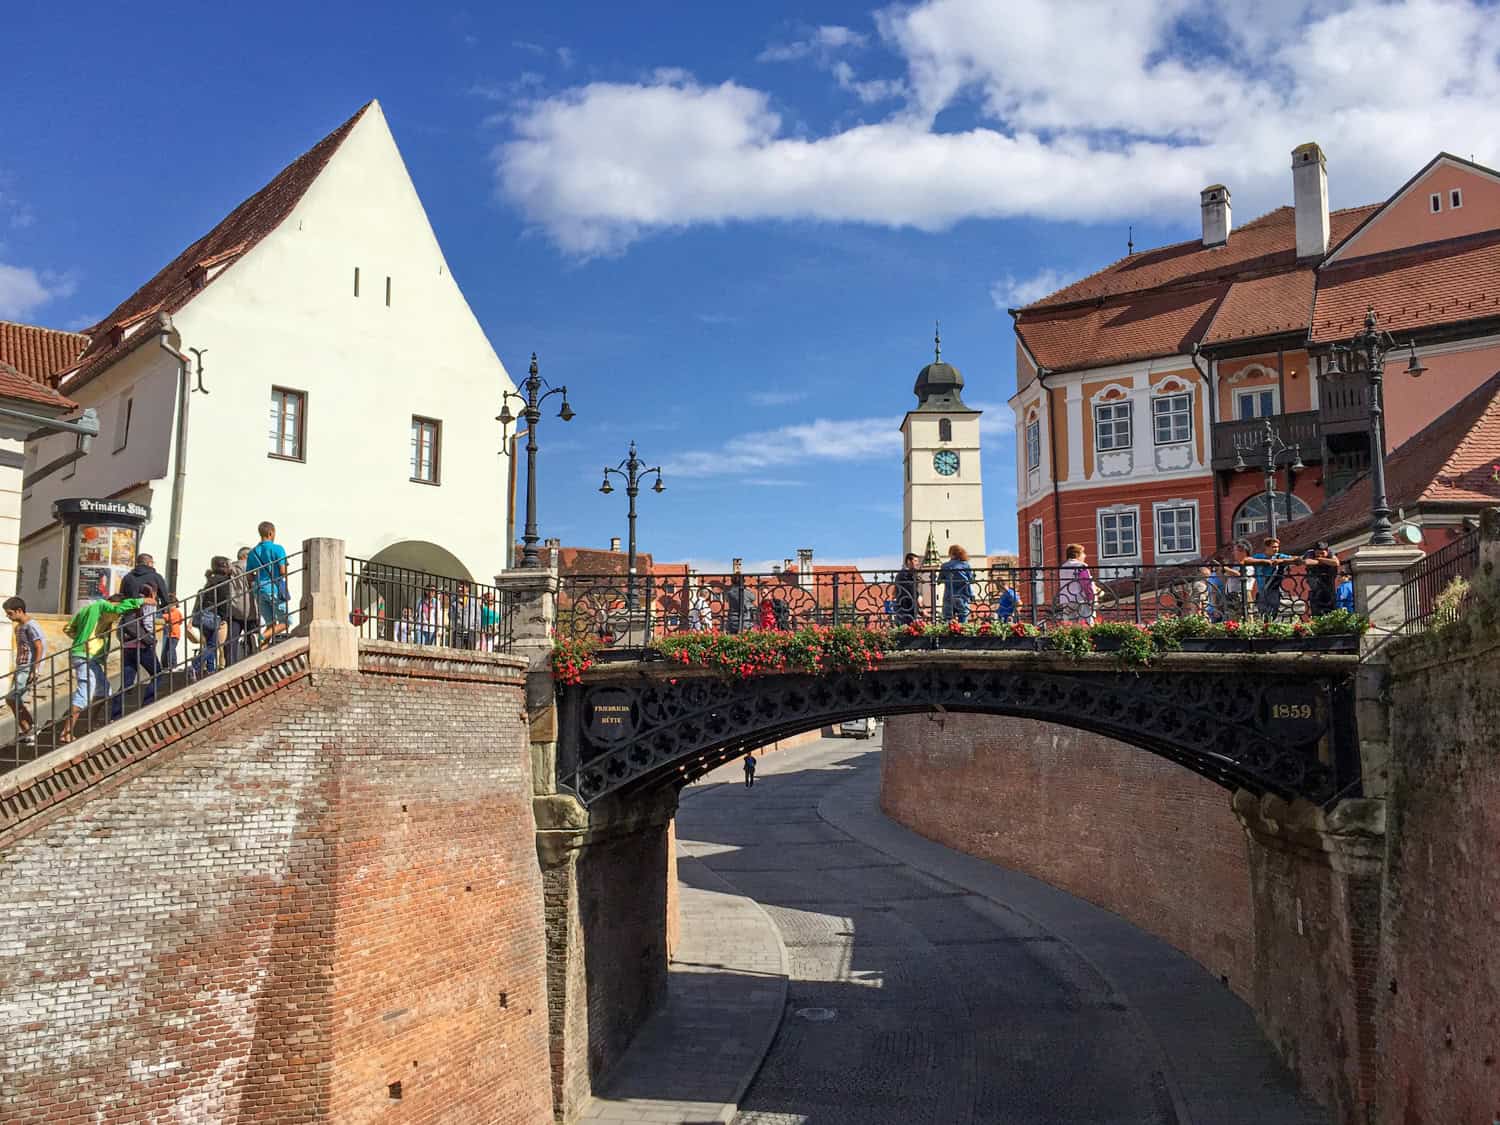
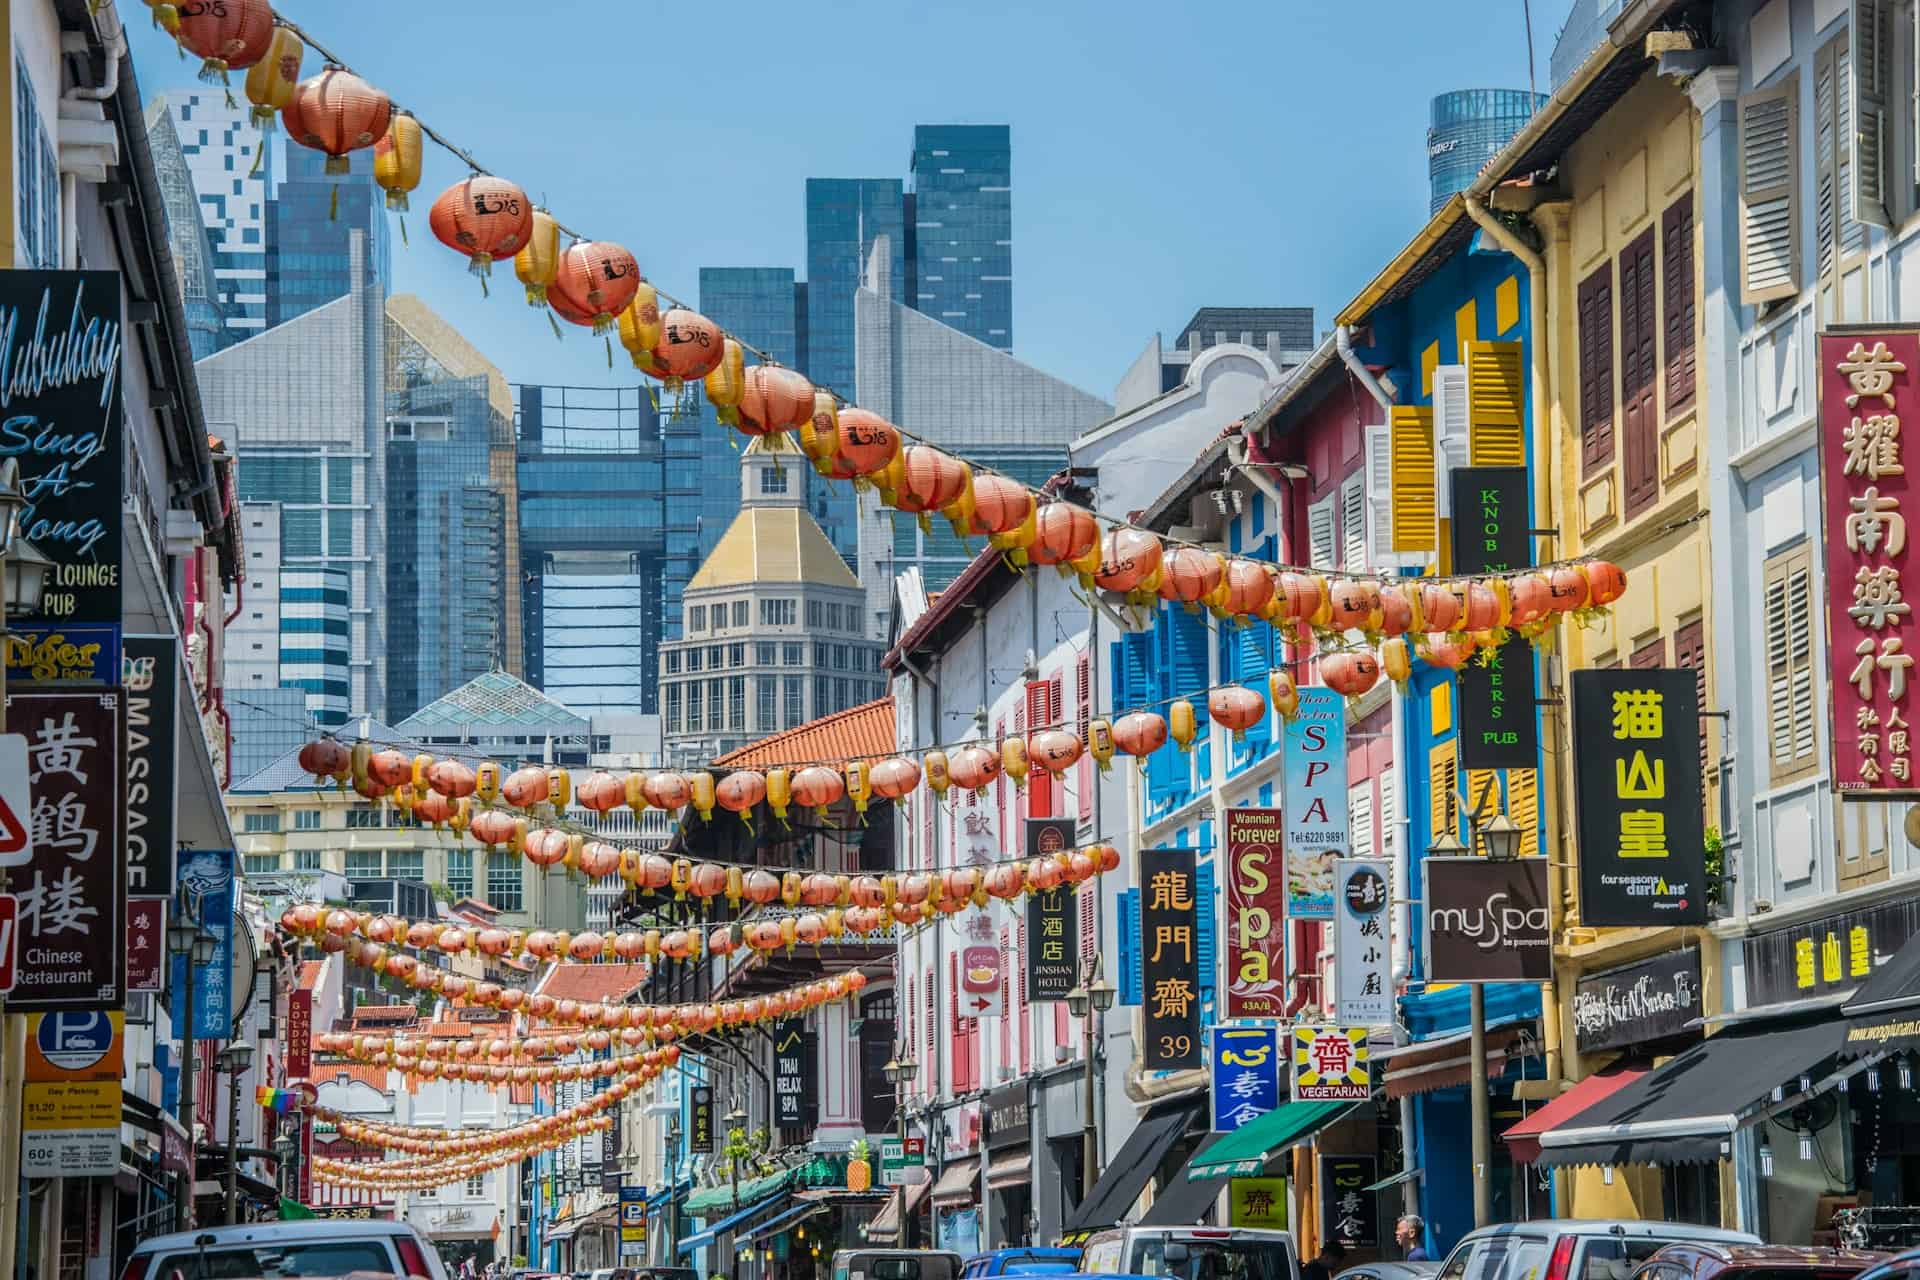
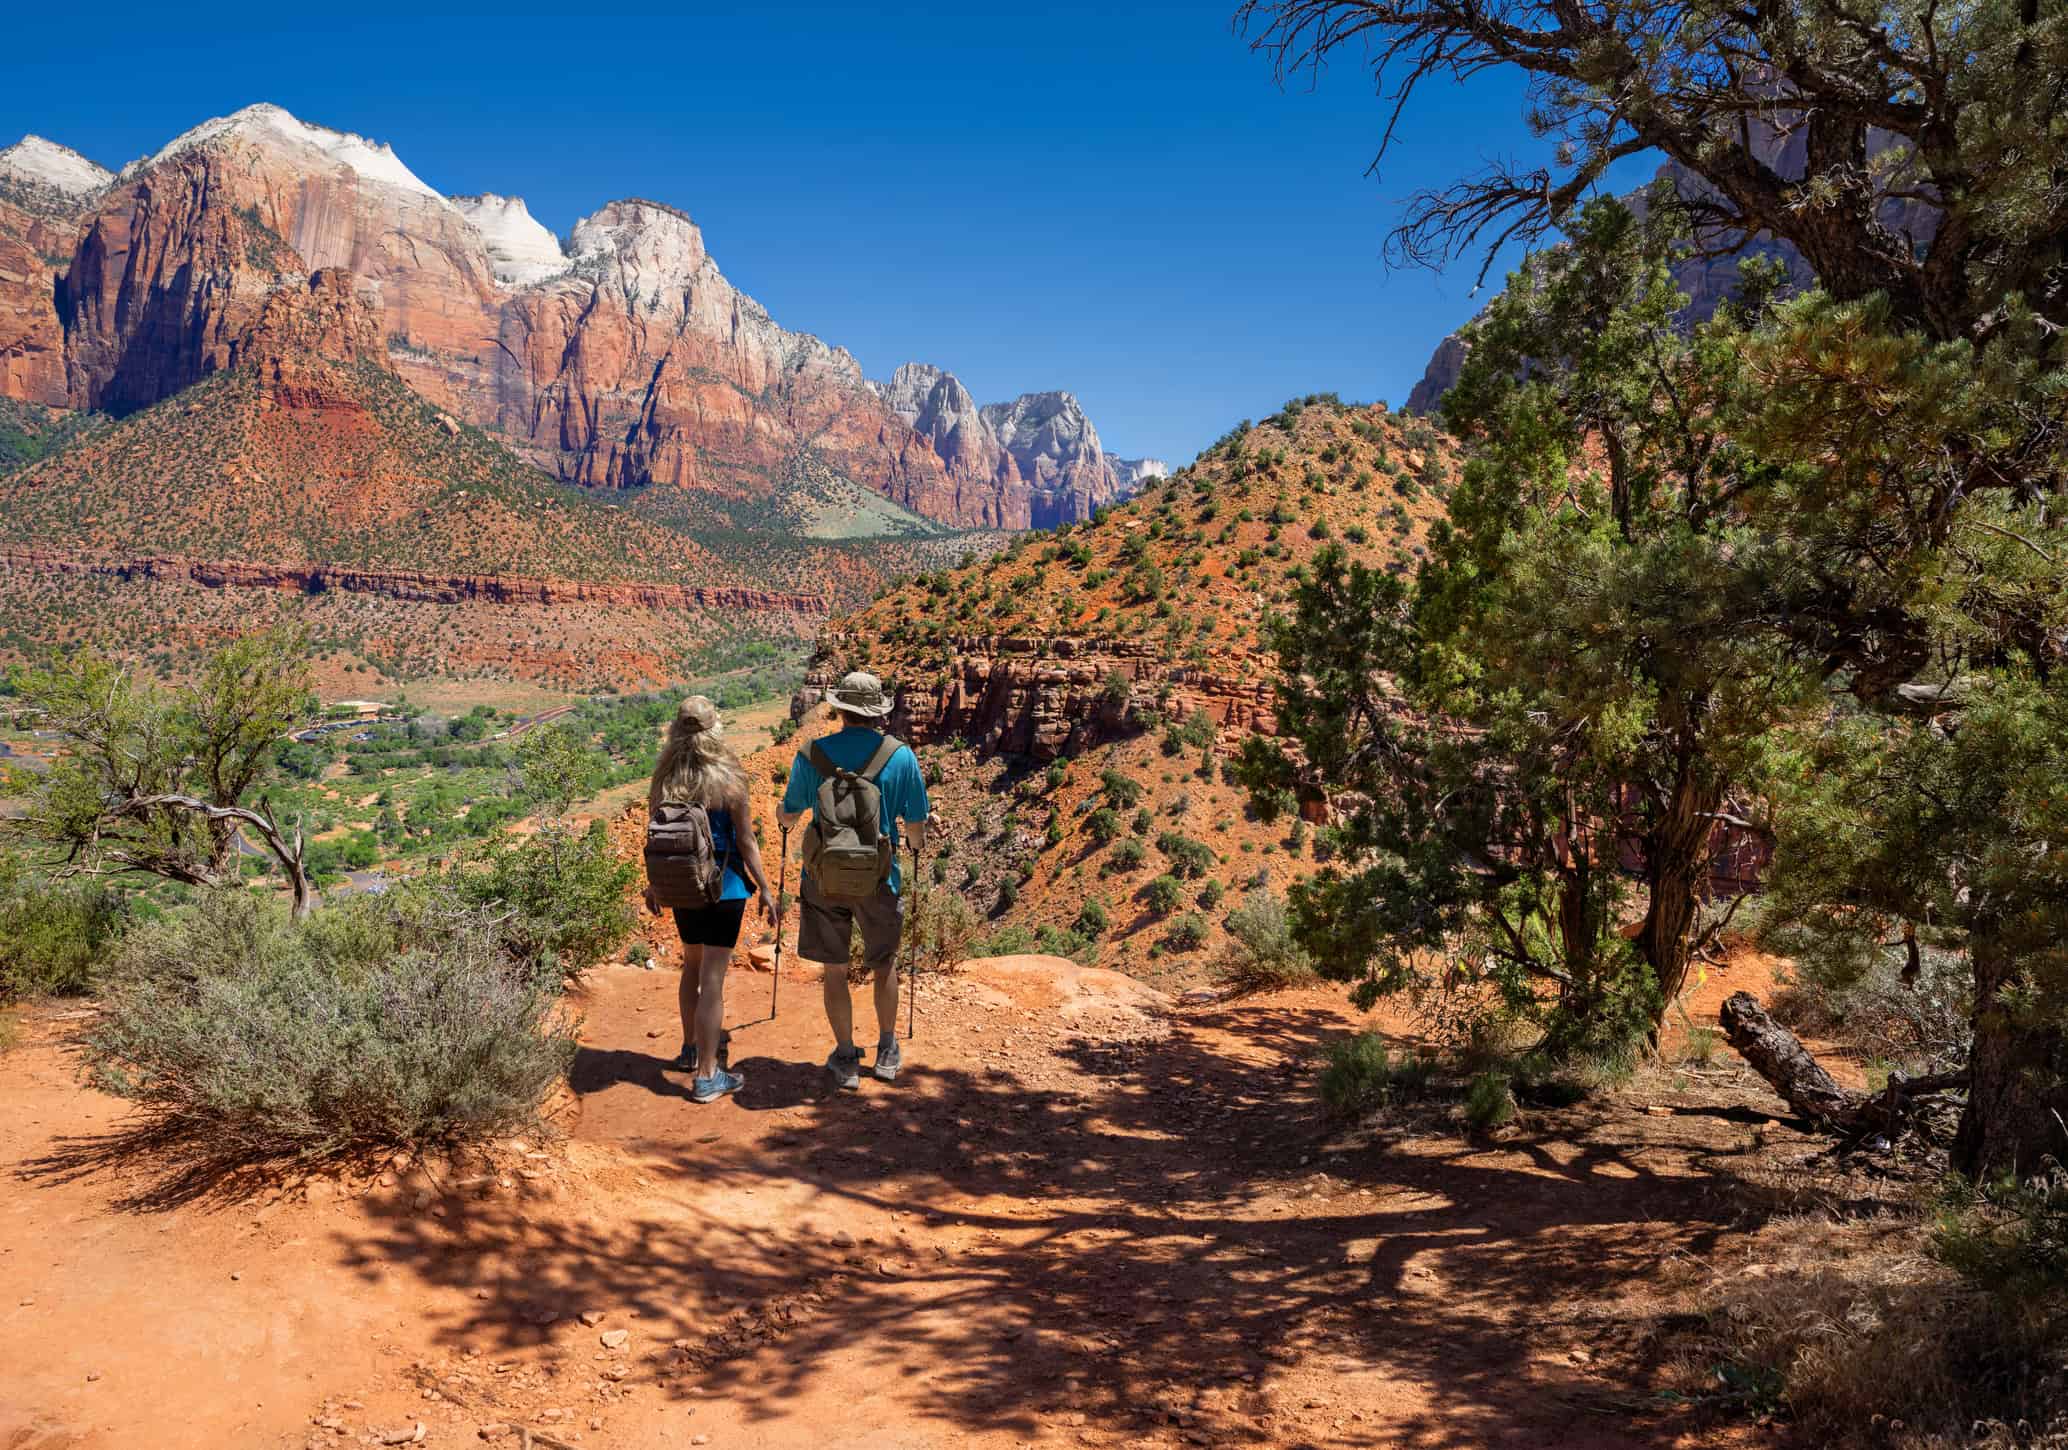
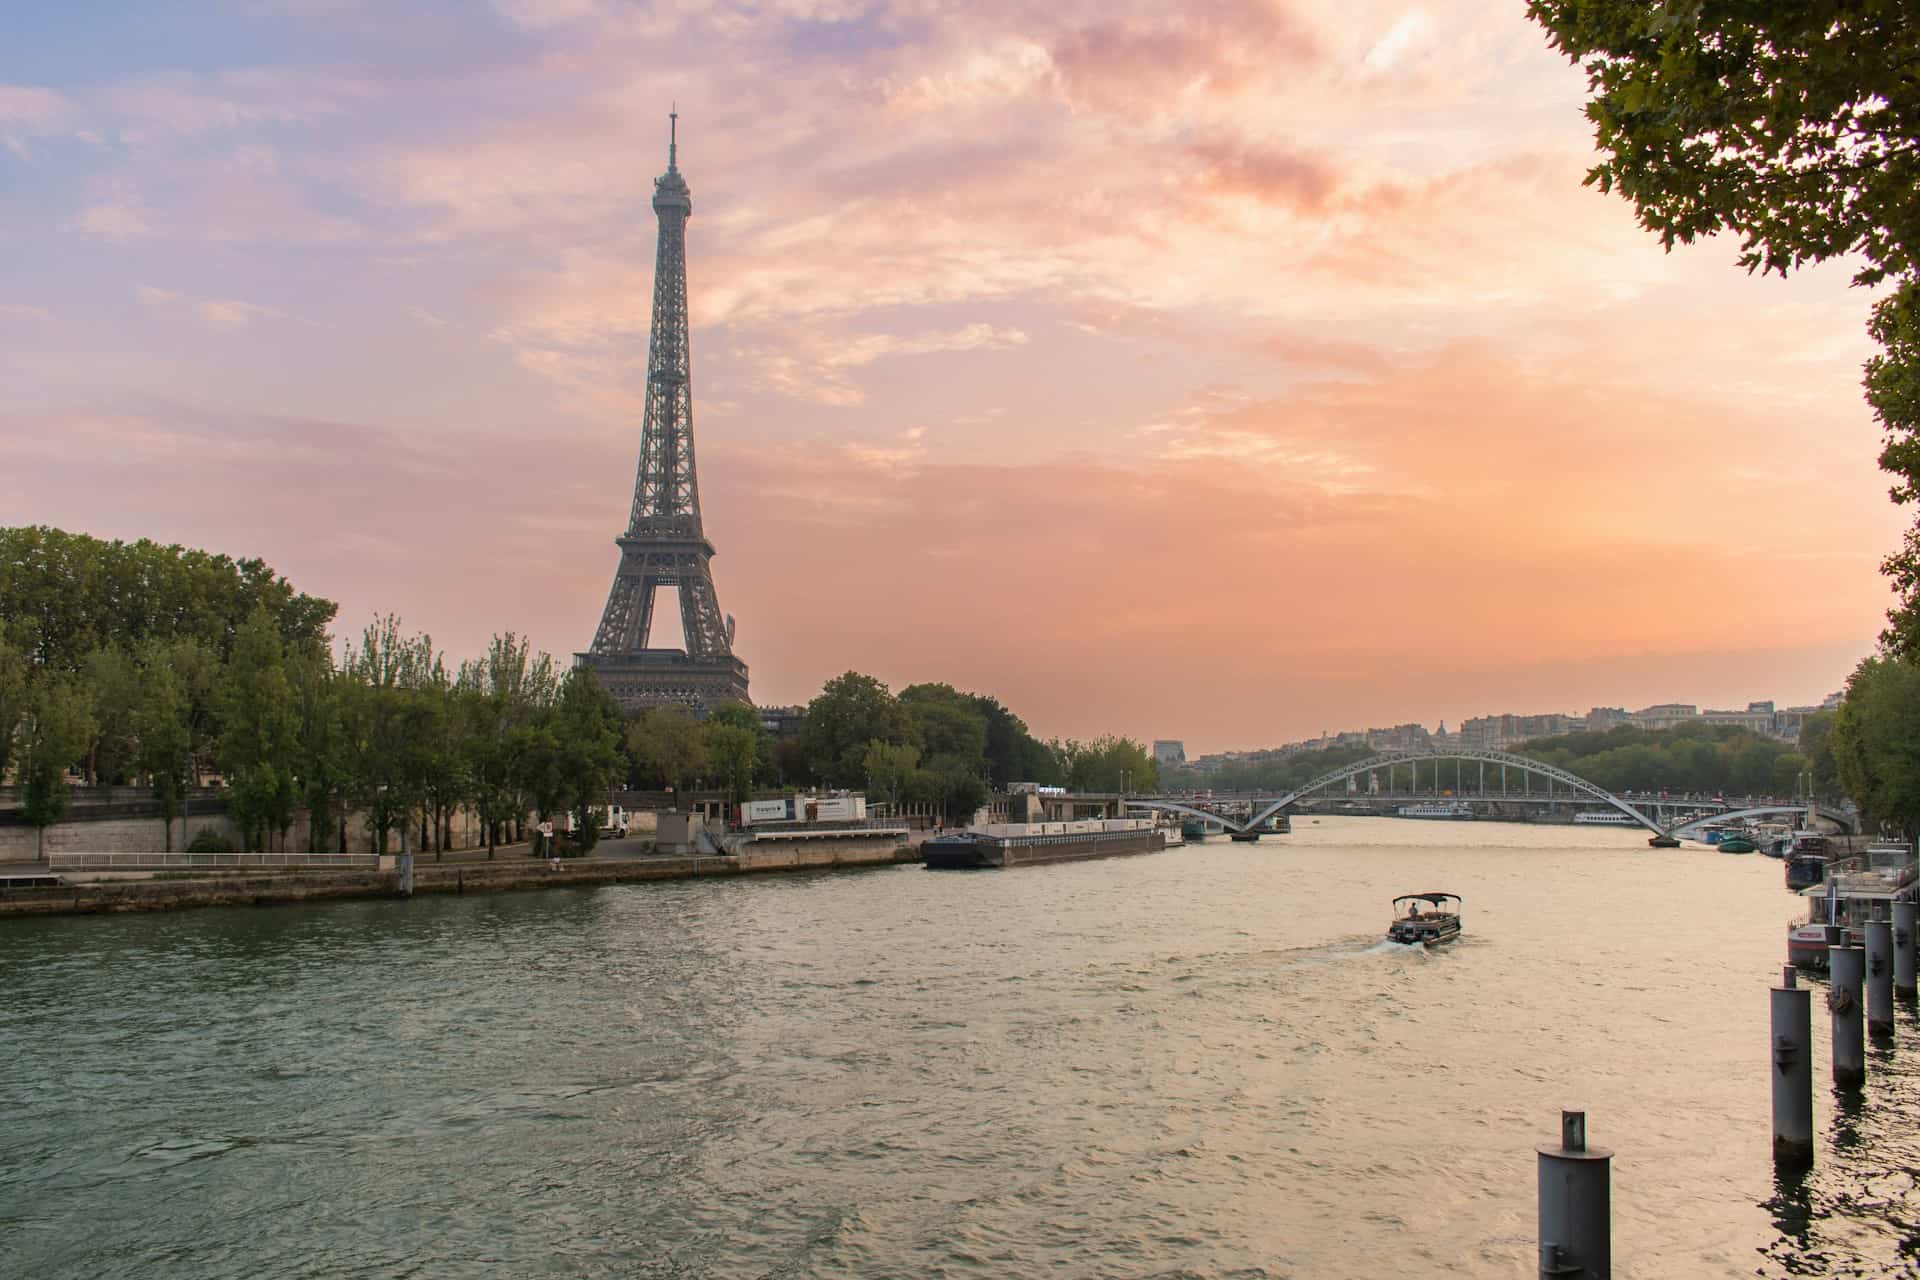
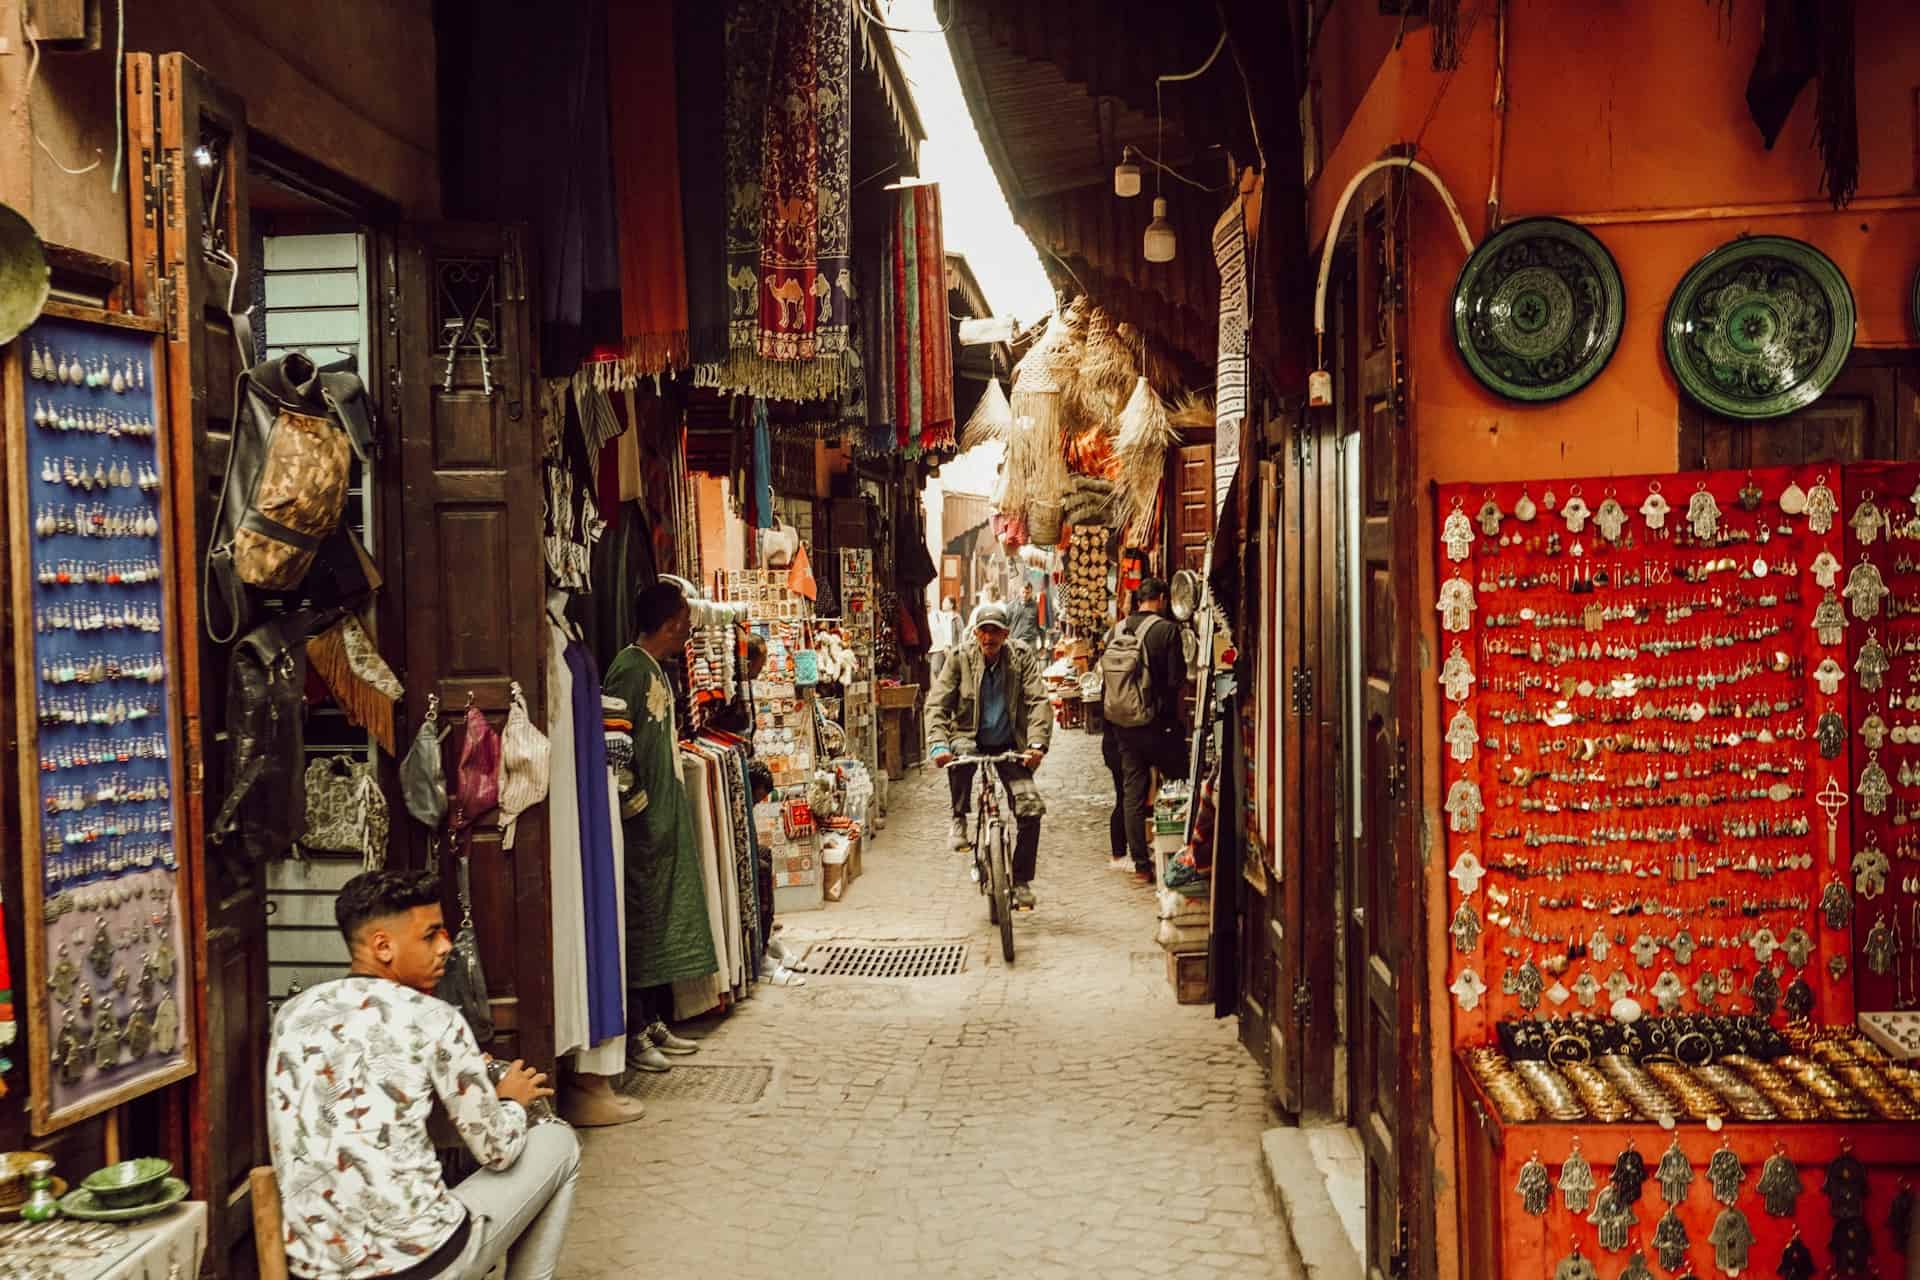
Walk Through Local Areas

Walking is often the best way to experience a destination beyond its major attractions. You'll notice neighborhood cafés, street art, local markets, historic buildings, and everyday life that you might otherwise miss.
Morning walks are pleasant. Streets feel fresh, shops open, and you can see the place waking up. Evening walks are nice near markets, food lanes, and waterfront areas.
Manage Money in a Simple Way
A clear money plan helps you enjoy the trip with peace of mind. You don't need a strict budget, but you should know your daily spending limit. This keeps your travel easy from start to finish.
Your Daily Budget
Divide your travel budget into categories such as accommodations, food, transportation, activities, and shopping. Tracking your daily spending in a notebook or on your phone makes it easier to stay within your budget without worrying about every small purchase.
Keep Some Cash for Local Use
Many places accept digital payment, but cash is still useful in local markets, small food stalls, local buses, and remote areas. Keep small bills in different places so you're prepared for markets, local buses, tips, or small purchases without carrying all of your cash together.
Don't carry all your cash in one place. Keep your main money secure and take only what you need for the day. Use this habit for comfort while moving around.
Respect Local Culture And Travel Kindly
Positive travel experiences come from good behavior. When you respect local people, places, and customs, your experience becomes warmer. Small, polite actions create nice memories and lead naturally to better interactions.
Learn Basic Local Words
Learn basic expressions like hello, thank you, please, and how much. Local people often smile when travelers try their language. Show respect and interest to start a friendly exchange.
You don't need perfect pronunciation. A little effort is enough. Use it to order food, ask for directions, and start small, friendly conversations.
Follow Local Dress and Behavior
Every place has its own way of living. In some areas, simple and modest clothing is more suitable. In religious places, follow local rules carefully so your behavior suits the setting.
Keep your voice relaxed in public spaces. Ask before taking close photos of people. Follow these steps to be a thoughtful traveler and connect more intimately with the place.
Conclusion
The best backpacking trips balance mindful planning with the liberty to explore. By keeping your itinerary simple, packing light, and leaving room for surprise findings, you'll spend less time worrying about logistics and more time making lasting travel memories.
This article was published in partnership with Klook.