You know the feeling. Fourteen hours on a night bus, a dusty walk from the terminal, and you finally push open the door of the guesthouse you booked three weeks ago.
The owner glances at a screen, smiles, and says, "Your room is ready." No confusion, no paper ledger, no awkward pause while someone checks if the room you paid for still exists. It feels like luck. It rarely is.

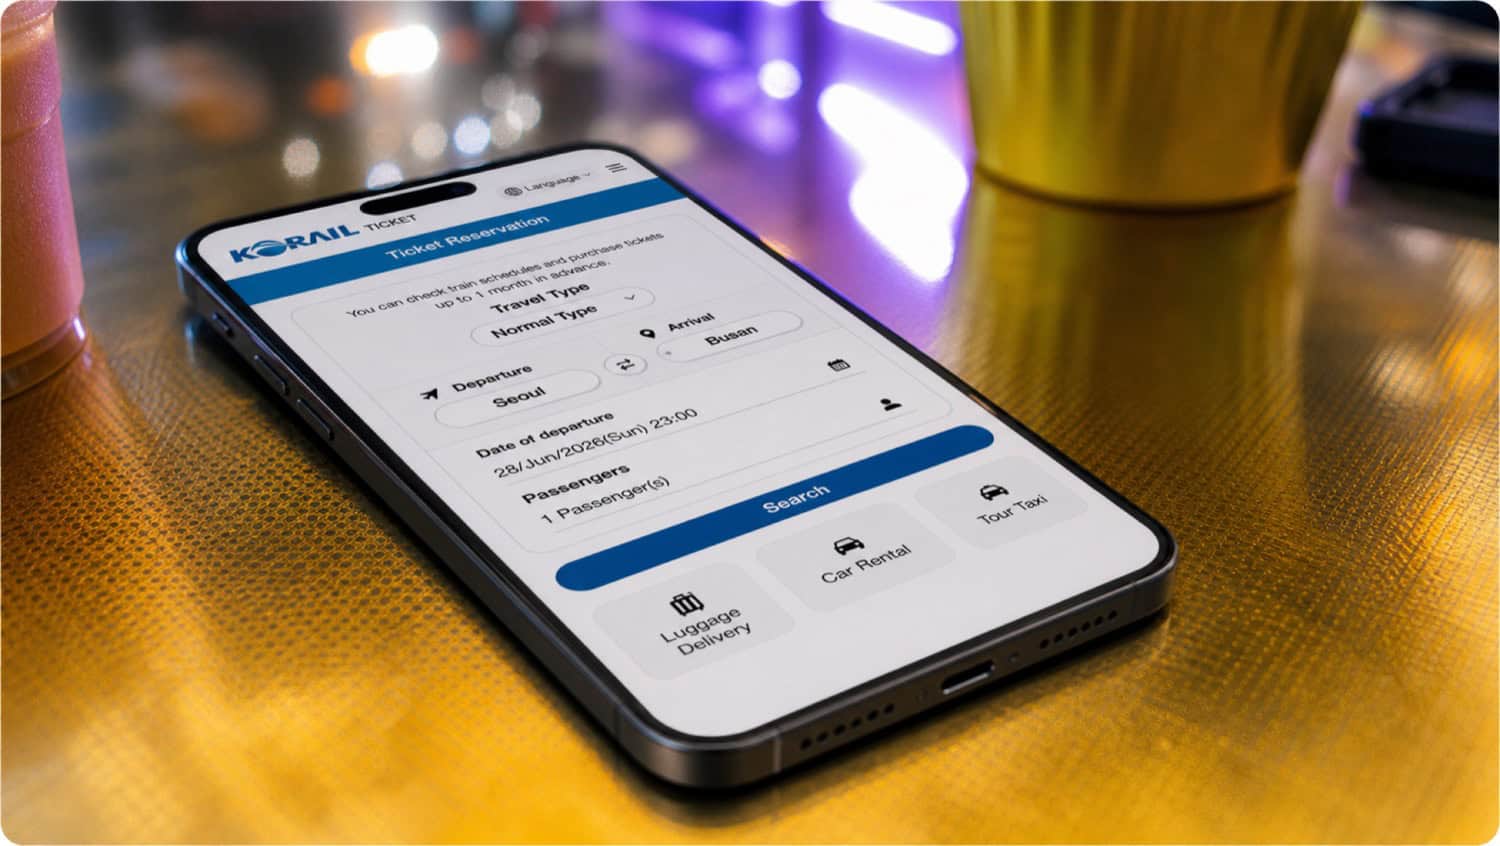
Behind that easy check-in is a piece of software most travelers never hear about, quietly matching every booking to a real bed. Guesthouse owners talk about it like mechanics talk about a good engine. Many name specific tools when asked what keeps their calendars honest, mentioning platforms such as Prostay.com, a hotel property management system (PMS) built around the daily reality of running a small property.
When that engine works, you never notice it. When it does not, you end up standing in a lobby at midnight while two strangers argue over who really owns Room 4.
Table of Contents
Where a Double-Booking Actually Comes From
Most travelers assume that a double-booking means someone was careless. Sometimes, sure. More often, it is a timing problem.
Picture a six-room guesthouse in Hoi An. Its rooms are listed on two big booking sites, a hostel platform, and its own website.
On a busy Friday evening, one traveler books the last available double through Site A. Ninety seconds later, someone else books the same room through Site B, which has not yet been told the room is gone.
Neither guest did anything wrong. Neither did the owner, technically. The listings simply were not talking to each other fast enough.
Multiply that across four channels, a stream of walk-in guests, and a tiny property with the best intentions, and it can sell one bed twice.
The Quiet Machine Behind the Front Desk
So what actually prevents that at places where it never seems to happen? The short version: a sort of PMS for hotels explained in one paragraph.
A property management system is the central brain of an accommodation business. Every room, rate, reservation, and guest name lives in it. When something changes anywhere, the system updates everywhere else.
Big chains have run hotel PMS systems for decades, usually as sprawling, expensive installations staffed by dedicated personnel.
What changed in the last ten years is that the same capability became affordable for the twelve-room guesthouse in Guatemala and the surf hostel in Portugal. Cloud tools lowered the price from tens of thousands of dollars to roughly the cost of a few nightly bookings per month.
What the System Handles While You Sleep
A modern setup at a small property quietly takes care of:
- Closing a room across every booking site the instant someone reserves it.
- Adjusting prices for weekends, festivals, and low season without manual edits.
- Storing your booking details so check-in takes two minutes instead of fifteen.
- Sending the confirmation and arrival emails you actually read on the bus.
- Tracking housekeeping, so the room is genuinely prepared when you arrive.
None of this is glamorous. It is the difference between a relaxed owner who remembers your name and a flustered one who apologizes for a mess that the software should have prevented.
Why Small Places Feel the Stakes Most
A double-booking hurts a guesthouse far more than a big hotel. A 300-room property can shuffle guests and upgrade someone. A family with six rooms has nowhere to put you. They eat the refund, pay for your taxi to a competitor, and absorb the one-star review.
That pressure is why PMS systems for small hotels have become their own category rather than stripped-down corporate software. The good ones assume the person at the desk also cooks breakfast and fixes the shower. They are built for owners who are not technical, cannot afford downtime, and live or die by their ratings on booking sites.
For travelers, this change has been quietly wonderful. The professionalism gap between a boutique chain and a family-run posada has narrowed to almost nothing in logistics. The charm stayed. The chaos left.

The Sync That Saves Your Reservation
The specific feature protecting your booking is called channel management, and it is the heart of small hotel PMS integration. Every booking site a property uses is a channel. Integration means all those channels feed into and pull from one live availability calendar.
When it works properly:
- A booking on any site removes that room from every other site within seconds.
- A cancellation instantly reopens the room everywhere, which is why last-minute deals appear.
- The price you see on the property's own website matches what the big platforms show.
If you have scored a great room the night before arrival, you likely benefited from a cancellation synced across channels in real time. That bargain was software doing its job.
What This Means for You at Booking Time
You cannot see a guesthouse's back office from a booking page, but it leaves fingerprints.
Here are a few signs the place has its systems in order:
- Instant confirmation rather than a "we will email you to confirm" message.
- Identical availability when you cross-check two or three booking sites.
- A pre-arrival message with directions, check-in hours, and payment details.
- Reviews that mention smooth check-ins along with zero booking mix-ups.
None of these guarantees a perfect stay. They suggest the owner runs the place properly, and that care usually shows in everything else, from clean sheets to honest answers about the bus schedule.
The Best Technology Is the Kind You Never Notice
The next time an owner hands you a key thirty seconds after you walk in, you will know what made the moment possible. Not luck or memory, but a small piece of software that keeps dozens of moving parts honest while humans focus on hospitality.
Travelers tend to romanticize the analog charm of small guesthouses, and they should. Just know that the places that consistently feel effortless earned it, one perfectly synced booking at a time.
This story was provided in partnership with Prostay.