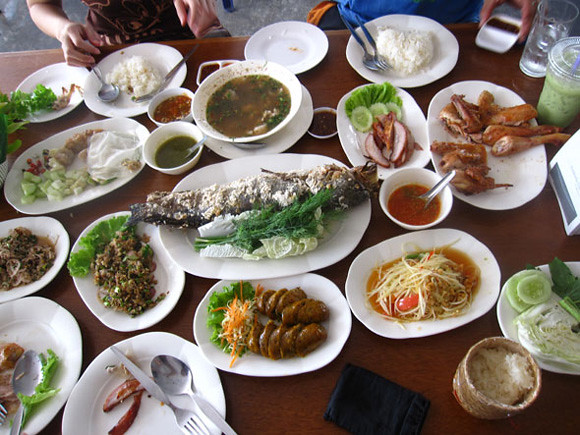

Kushikatsu is a popular and traditional Japanese dish comprised of battered and deep fried foods ("katsu") served on skewers ("kushi").
I stumbled across a restaurant, Copain, that specializes in Kushikatsu in Kyoto while I was walking along the same alley where I enjoyed the best sushi of my life the night before.

After taking a peek inside to make sure there were other people dining there, I walked in and took a seat at the counter facing the kitchen.
I was becoming accustomed to sitting in front of the chefs while they work in their open kitchens, and I kind of liked it, especially since I was mostly eating alone during my time in Japan.
I ordered the 12-piece omakase course (chef's selection).
The total cost for this option was 3,150 Yen ($38), and I had a feeling it'd be money well spent to discover a new style of Japanese cuisine.
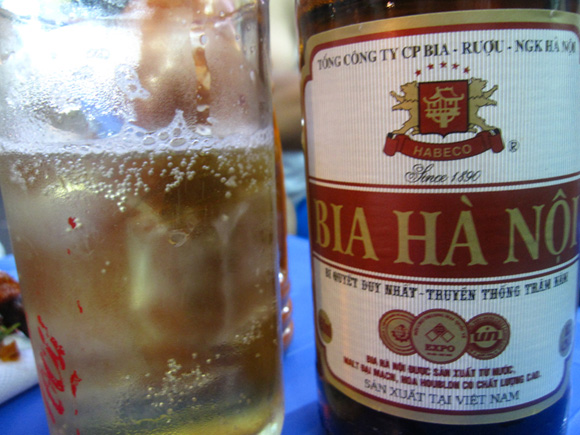
Before we got started, I also ordered a Suntory draft beer.

The chef nearest to me presented a plate with chopsticks and four dipping sauces.
Each time a course would be given, the chef would advise me which sauce would compliment it best.
[Editor's Note: Unfortunately, I lost my detailed notes of the ingredients comprising each course, so I can only offer a general recollection.]

The first course was a glass of tea, which was followed by a giant prawn, and a simple yet colorful salad of cabbage and tomatoes.
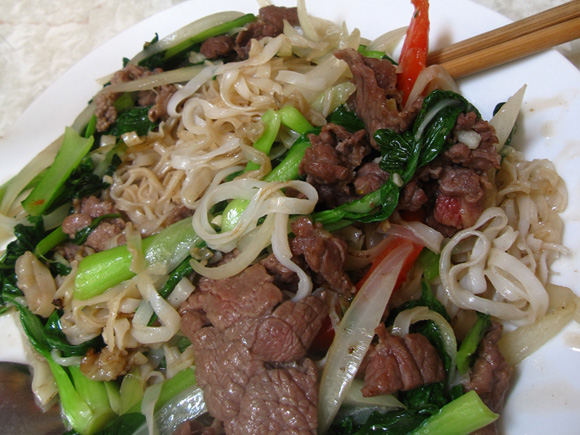
This was followed by 5 Kushikatsu featuring various ingredients.
The central element was deep-fried, however, there was almost always a sauce or secondary element on top as well, plus the various dipping sauces.
Tofu soup was course number 9, followed by three more breaded delights.
You might think a 12-course meal of deep fried food bits is a little unhealthy, however, the sign outside the restaurant explaining the cuisine also indicated that they have a healthier house batter in use.
I remember it tasting light, for whatever that was worth to my cardio system at the time.

Upon finishing my last course, I noticed a guy across the counter from me was being served up an exceptionally good-looking course.
I asked the chef about it, and he said it was a [blank] topped with foie gras.
I knew I had to have it, and ordered one for myself.
It turned out to be one of the most picturesque courses, as well as one of my favorites from a flavor perspective.
To see photos of every course, watch the slideshow below. Bon appetite!


")


: prawn, salmon, tuna, fatty tuna, salmon belly")