I'm going to introduce you to some of the most incredible national dishes from Southeast Asia.
This region of the world is so diverse when it comes to cuisines. It's a real treat being able to live and eat here. Prepare to become hungry. Let's dig in!
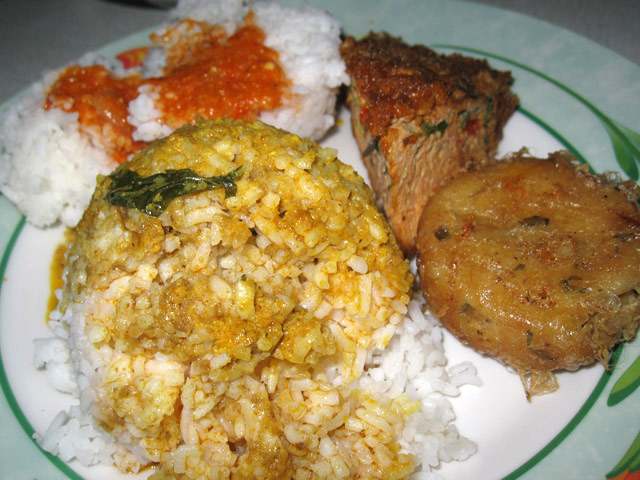
Table of Contents
The Countries
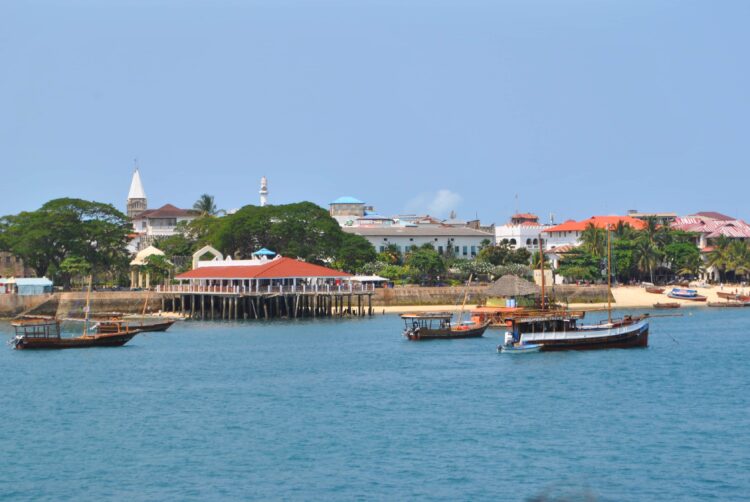
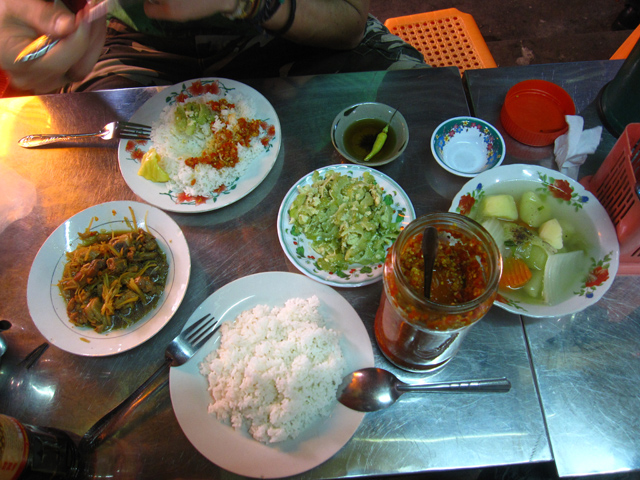
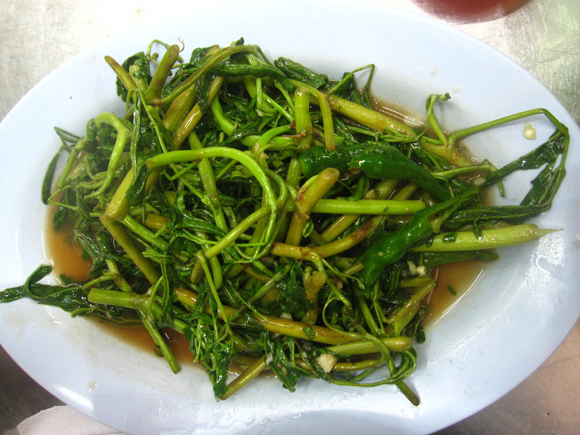
1. Indonesia - Nasi Padang
Due to the vast spread out archipelago of Indonesia, it's almost impossible to label a real national dish for the entire country.
I've just gone ahead and mentioned a normal everyday meal of Nasi Padang that consists of a plate of rice topped with a choice of dishes.
When I was in Indonesia, I would often get fish curry, some kind of green vegetables, a little bit of soybean cake (tempeh), and a big scoop of sambal chili sauce!

2. The Philippines - Adobo
Among the many comforting Filipino dishes like sizzling pig's face or sour sinigang soup, adobo still remains one of the most widely available and popular dishes.
Normally pork or chicken are cooked with a combination of soy sauce, oil, vinegar, garlic, and ginger to create a rich salty and slightly sour sauce.
A bowl of pork adobo goes exceptionally well with a hot plate of steamed rice!
Planning a trip to Southeast Asia? Search Travelocity for flight deals.

3. Brunei - Ambuyat
When it comes to Brunei's national dish, sticky is an understatement.
When I traveled to Brunei just for a single day, it was my mission to devour some of the local dishes, and ambuyat was what I came across.
The dish is made with sago palm starch that is cooked into a glue-like substance and eaten along with sour fermented sauce and an arrangement of vegetables and soup.

4. Singapore - Chicken Rice
Singapore, though a small nation (and city), is very proud of its vibrant cuisine.
People are passionate about eating, and their mix of cultures has created a pretty awesome food culture.
Simple boiled chicken, sliced and placed over rice is a ubiquitous meal in Singapore.
The key to the chicken and rice lies within the red chili sauce served alongside.
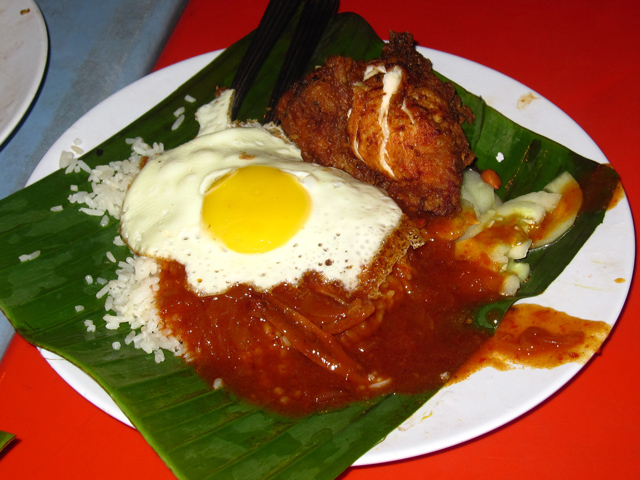
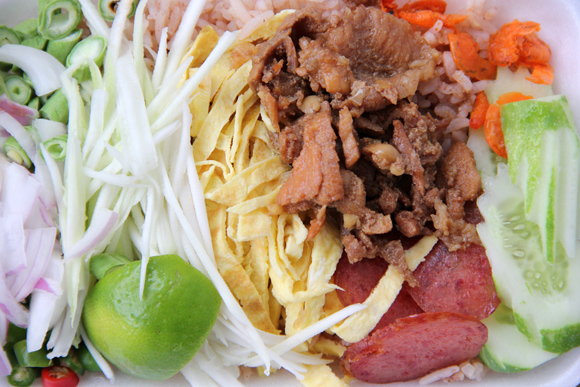
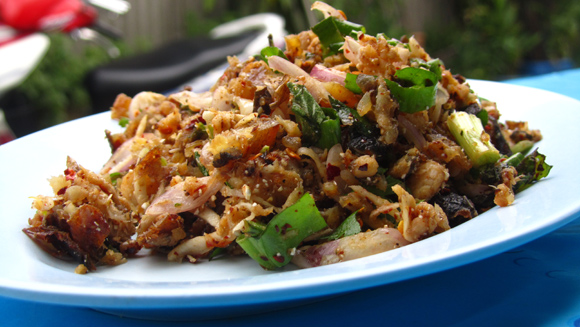
5. Malaysia - Nasi Lemak
Nasi Lemak is messy, saucy, fatty (nasi lemak actually translates to "fatty rice" in Malay) and ultimately delicious.
As a country that is passionate about their Malaysian food, you better believe nasi lemak is a hit!
The dish consists of coconut rice and a mix of other ingredients served in a banana leaf.
The one pictured above was served with a piece of fried chicken, a half-cooked fried egg, and a crazy amount of some of the best-tasting red sauce I've ever had in my life!
Related: Top 9 Malaysian Foods to Die For
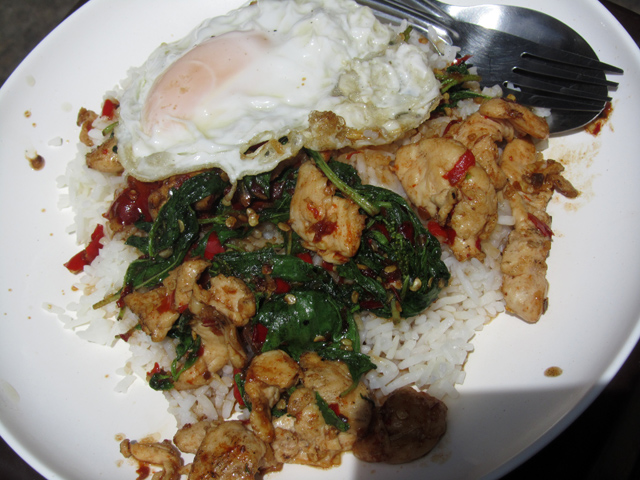
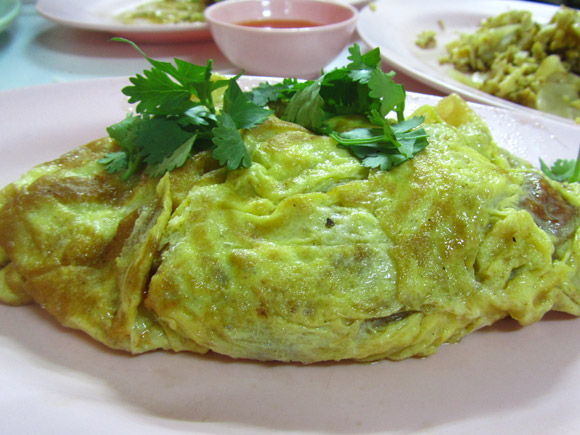
6. Thailand - Pad Ga Pao
It's hard to choose a national dish of Thailand as the culinary culture is so incredibly rich and diverse.
There is however a Thai food that almost all Thais revert to when all else fails, or they don't know what else to order: pad gra pao moo kai dao.
A choice of meat is stir fried up with garlic, chilies, and holy basil. It's then placed over rice, and a fried egg is added on top.
7. Cambodia - Amok Fish
Amok, which is a coconut-infused steamed fish cake, is one of the national treasure dishes that Cambodia is well known for.
The standard procedure is to wrap the fish, spices, and coconut cream in a banana leaf and steam it to perfection. It's best eaten with rice and chili sauce.
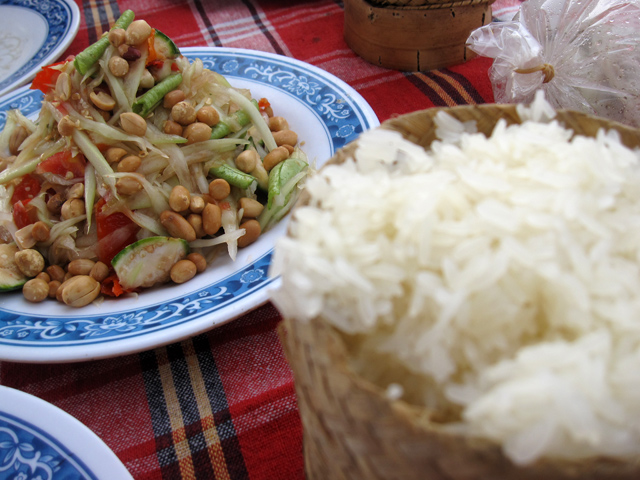
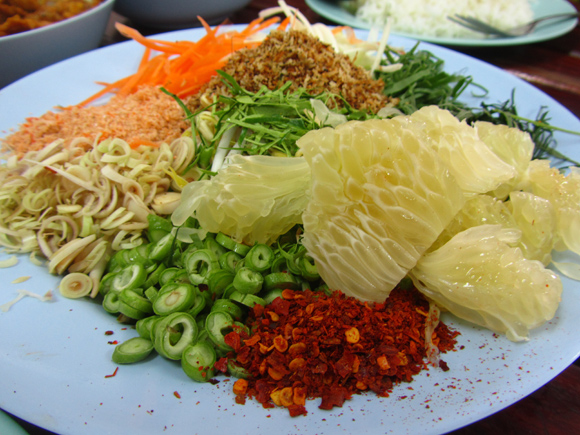
8. Laos - Somtam, Sticky Rice
Green papaya salad (somtam) and sticky rice are a combination that is genuinely Laotian.
Som tam is made with shredded green papaya that is tossed in a couple of different versions, some containing fermented fish sauce, while other variations are just dressed with lemon juice.
The typical procedure is to dip a ball of sticky rice into the dressing for flavor.
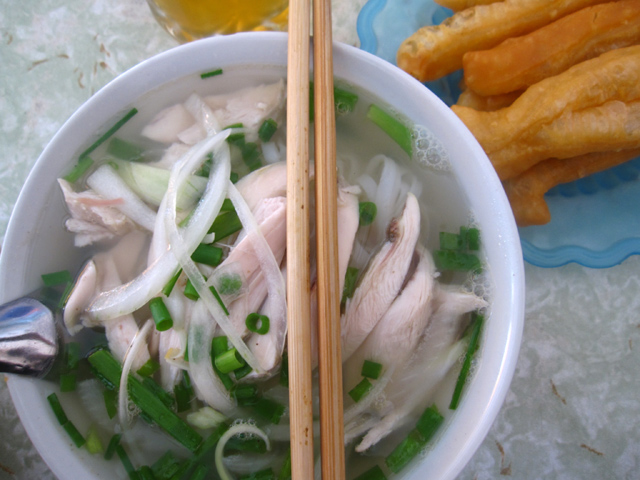
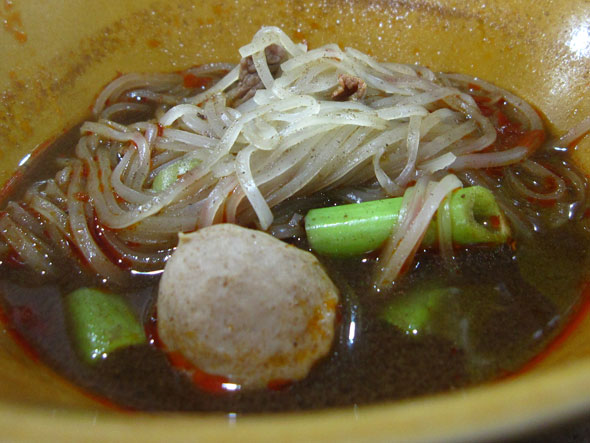
9. Vietnam - Pho
Vietnamese food, in general, is well known for its freshness and heavy use of herbs.
One of the national dishes from Southeast Asia I want to introduce you to is Vietnamese rice noodles in a bowl of broth made from either chicken or beef.
The noodles are normally lightly seasoned with a few herb sprigs and a scoop of chili paste. Pho is found all over the streets of Vietnam.
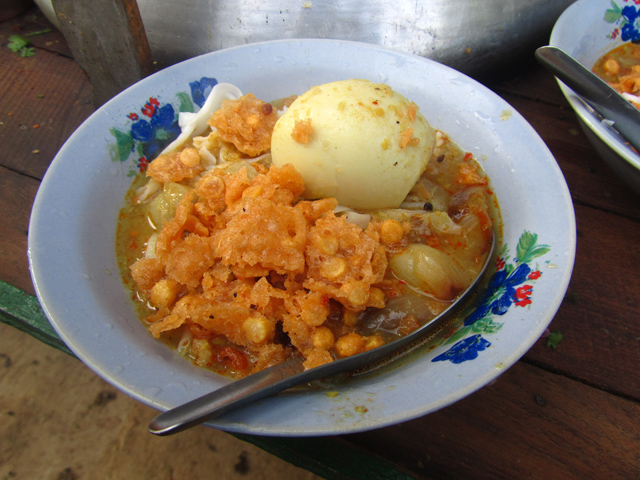
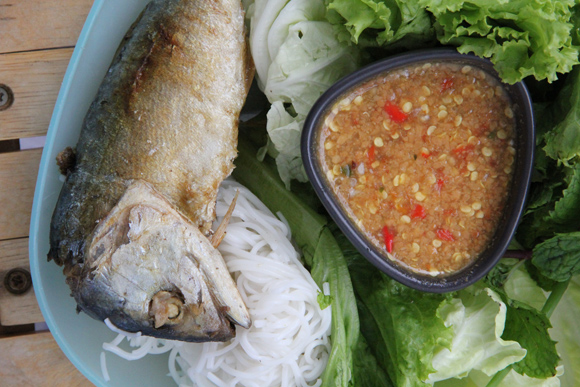
10. Burma - Mohinga
One of the most popular dishes in Burmese cuisine is a bowl of rice noodles known as mohinga.
Instead of thin clear soup, mohinga is more of a thick creamy fish stew that is filled with rice noodles and topped with deep fried fritters and sprinkled with a squirt of lime juice.


")


 with coconut rice")