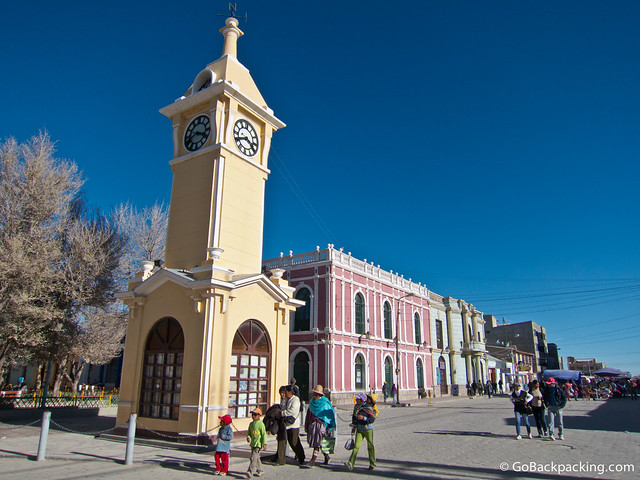
I arrived in Nuestra Señora de La Paz (Our Lady of Peace) with little time to spare.
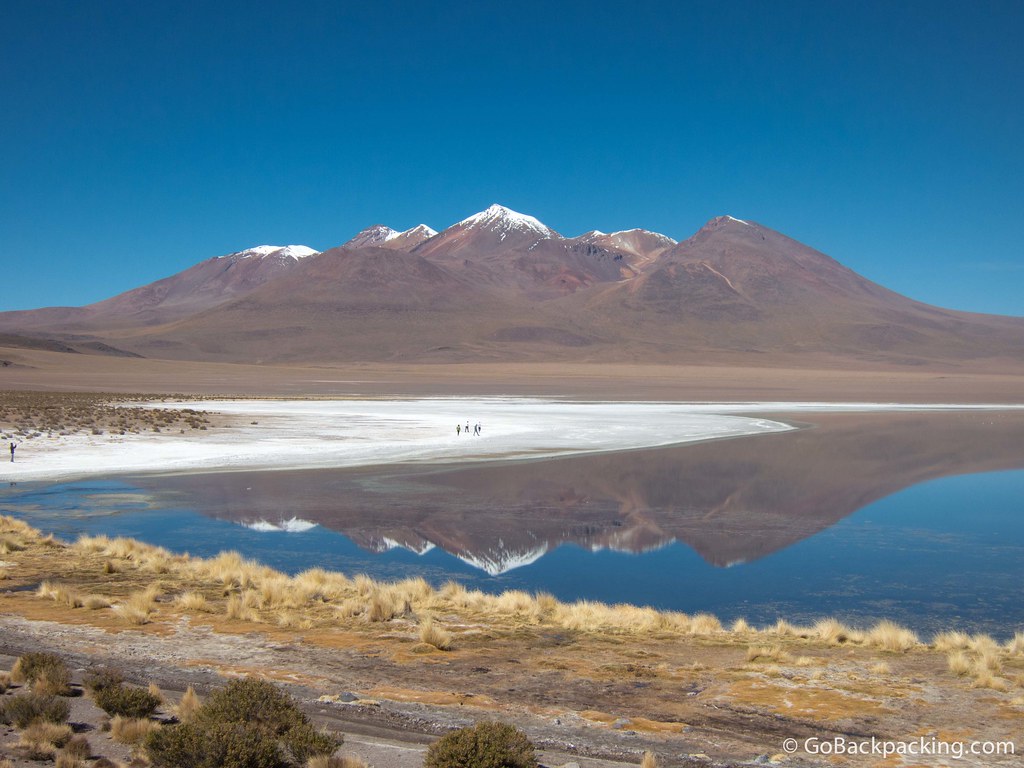
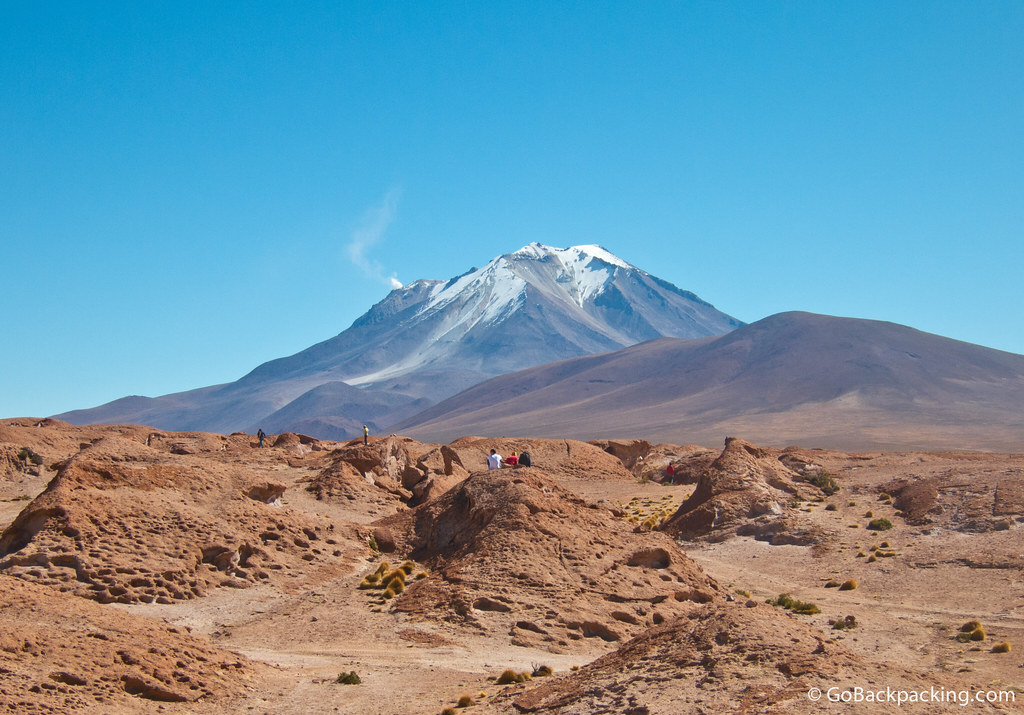
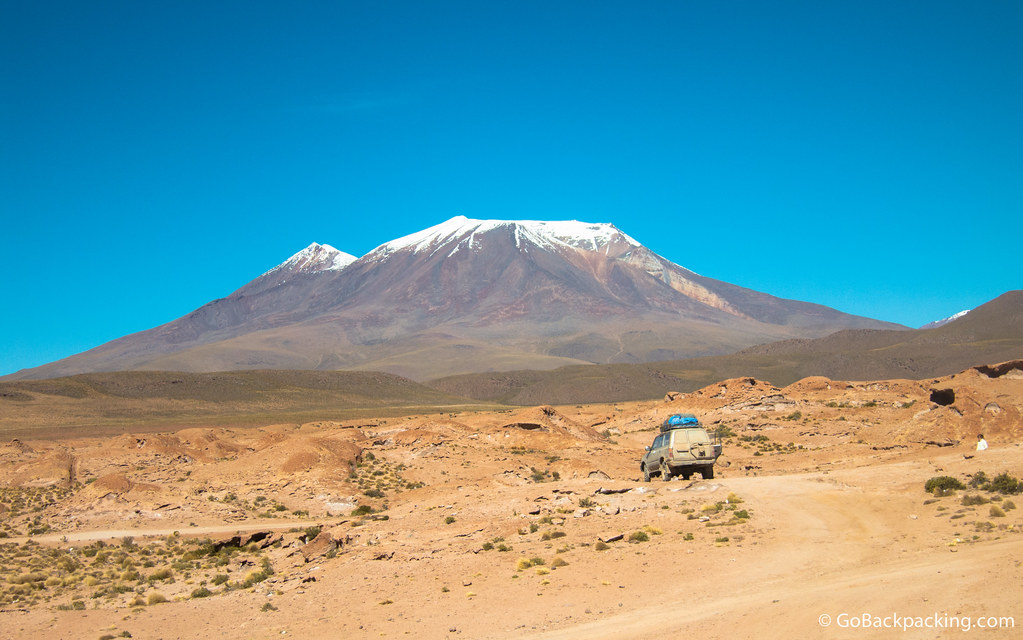
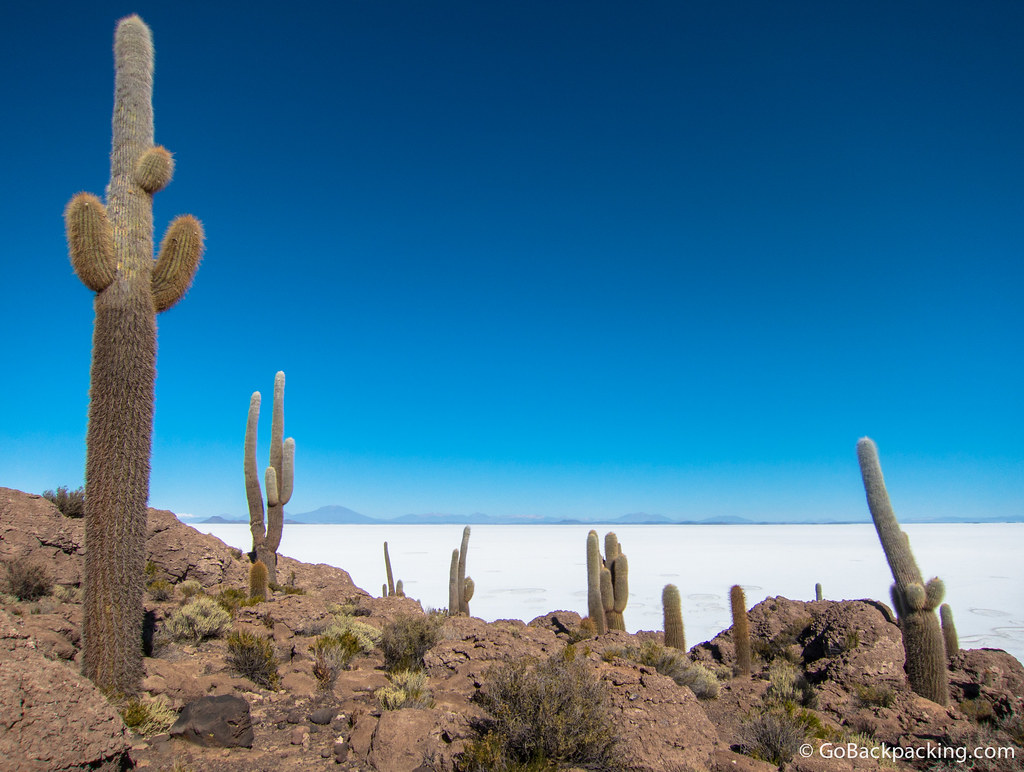
My journey across South America, from Uruguay through Argentina, Chile, and Bolivia, was drawing to a close.
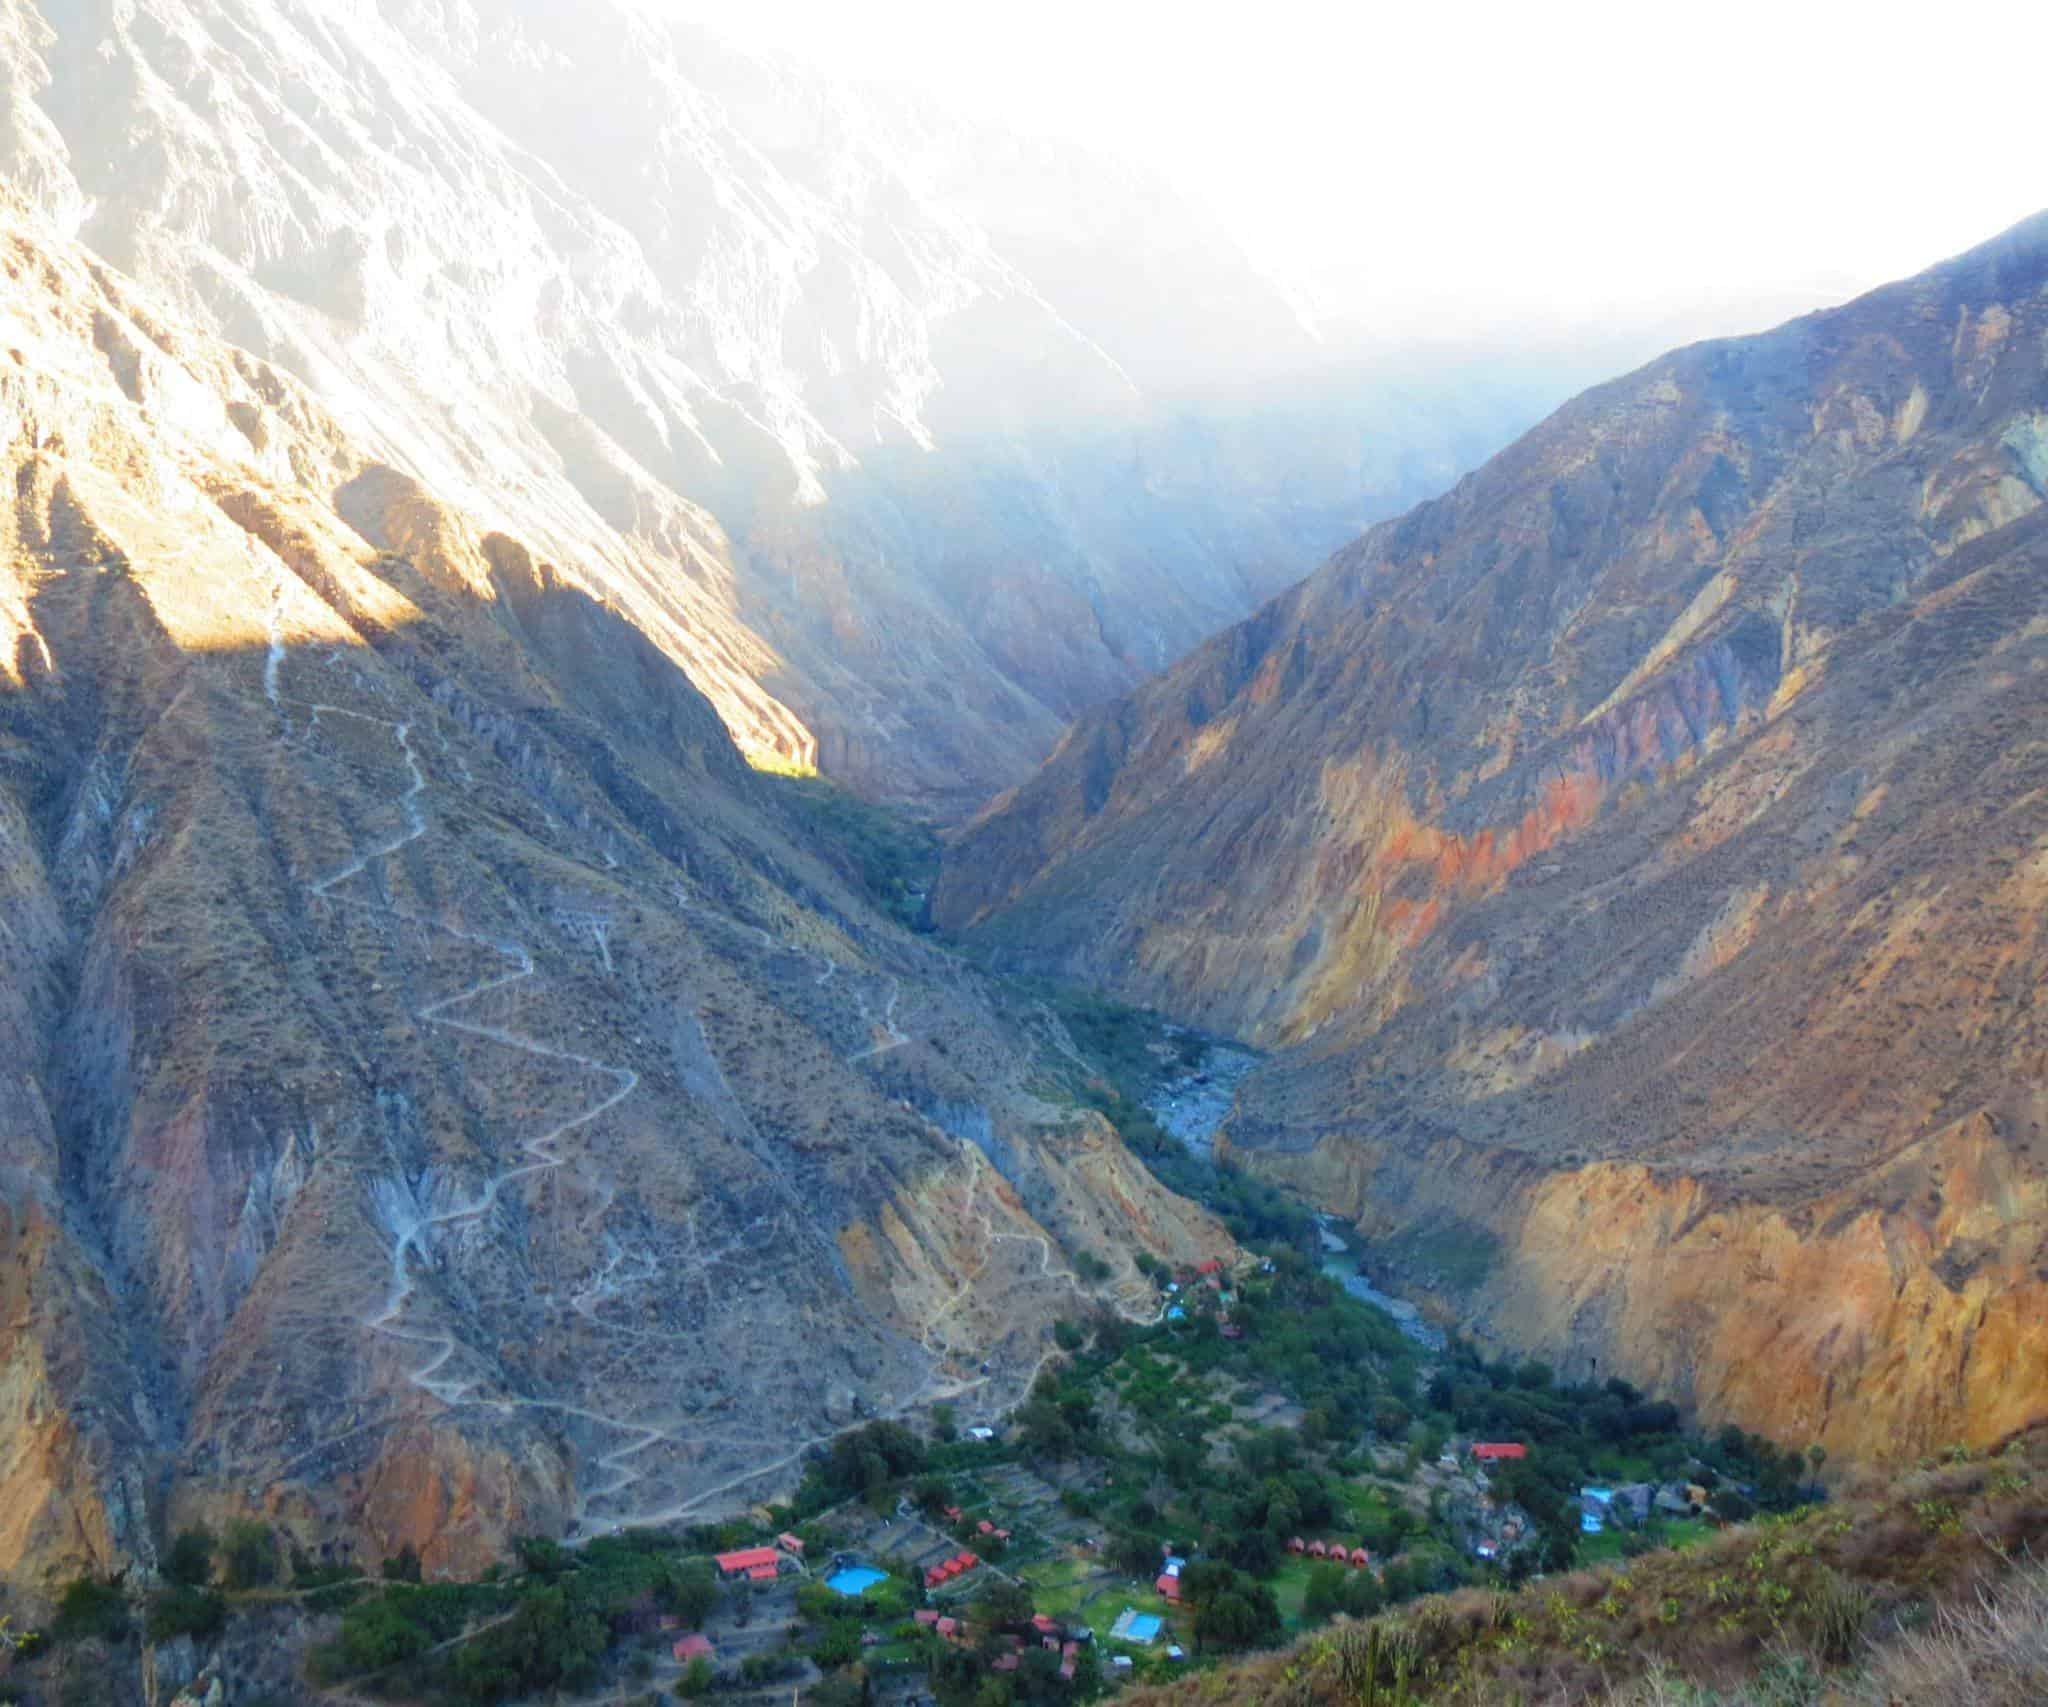
The time crunch was due to a scheduled trip into the Peruvian Amazon.
Before leaving the semi-tropical warmth of Santa Cruz de la Sierra, I posted a message on Facebook asking friends what I should see and do during my less than 24 hours in the Bolivian capital of La Paz.
More than one suggested I find a way into San Pedro Prison, an idea I was willing to entertain given I trusted the two friends offering it, but more on that later.
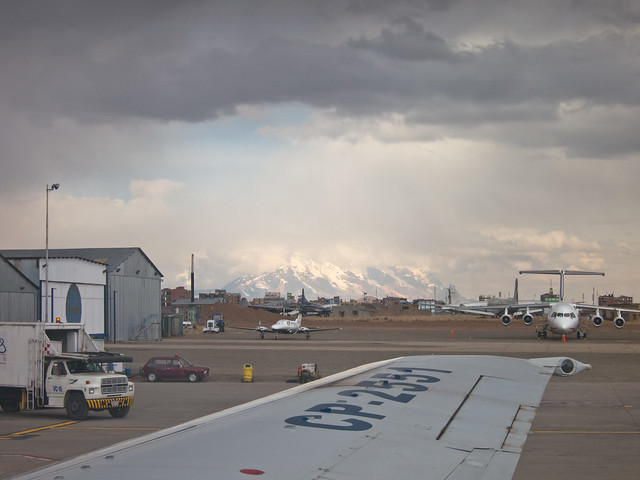
Table of Contents
Flying Into La Paz
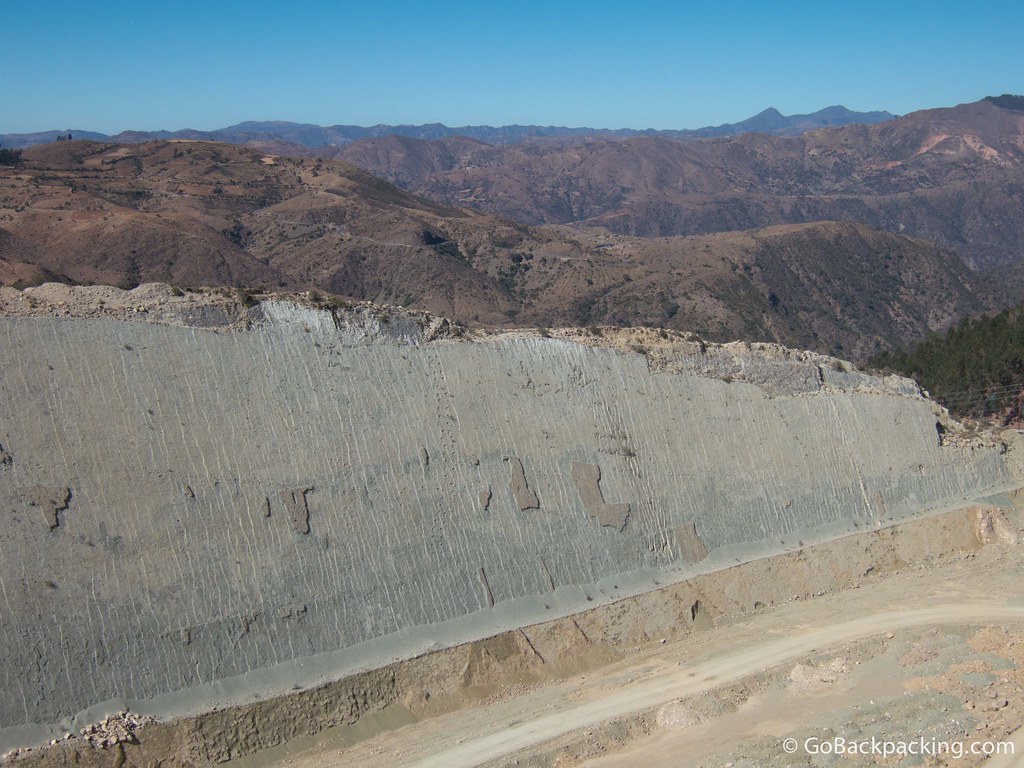
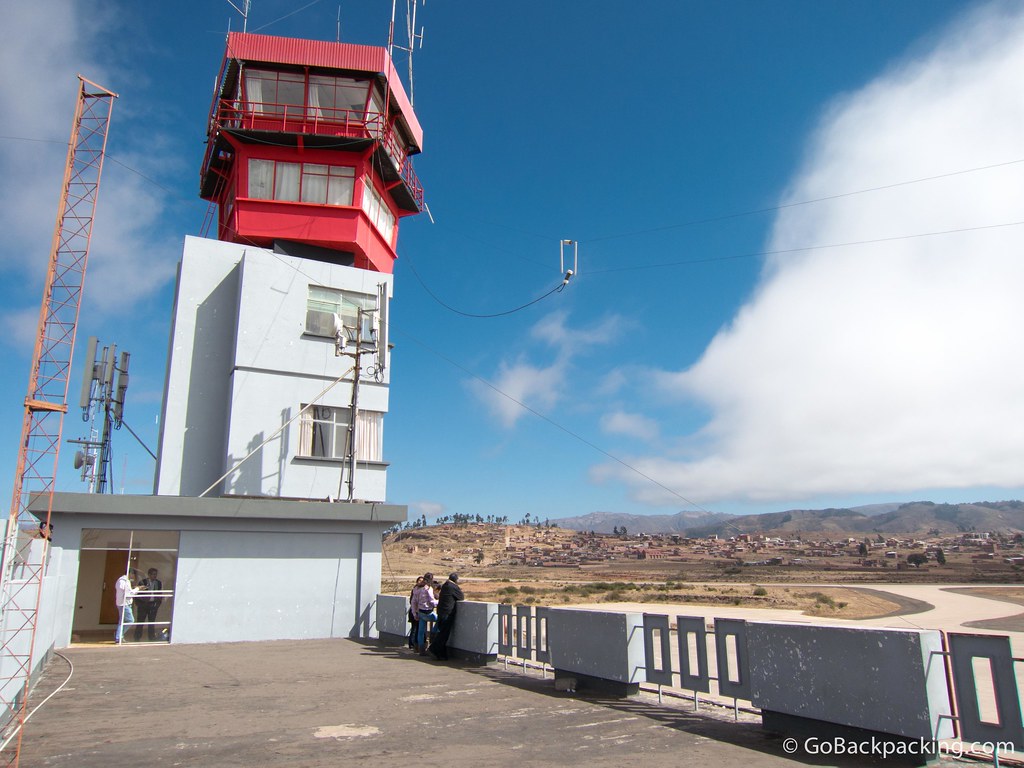
I flew into La Paz's El Alto International Airport (4,061 m / 13,325 ft), the highest international airport and the fifth-highest commercial airport in the world, on Boliviana de Aviacíon, arriving mid-afternoon.
Due to the thinner air at such a high altitude, the runway is much longer than you'd find at a typical airport.
It took a noticeably longer amount of time for us to land.
The brief and inexpensive flight saved me one to two days' worth of bus rides on what I read were terrible roads.
The city of La Paz is located 8 km away from the airport, down in a valley.
The good news is the altitude is slightly less when you're in the city center than at the airport, but given I was coming from Santa Cruz, which was close to sea level, a few hundred meters wouldn't make a big difference to my body.
I knew I had a few hours' worth of adrenaline and energy to work with before the elevation would wear me down.
I acquired a taxi, and we made our way down to the city center.
I had decided to stay at Wild Rover Hostel as it had the highest customer rating on Hostelworld. Unfortunately, that's not saying much.
There are no stand-outs for hostels in La Paz, so despite it being a party hostel, I decided to grin and bear it for a night.
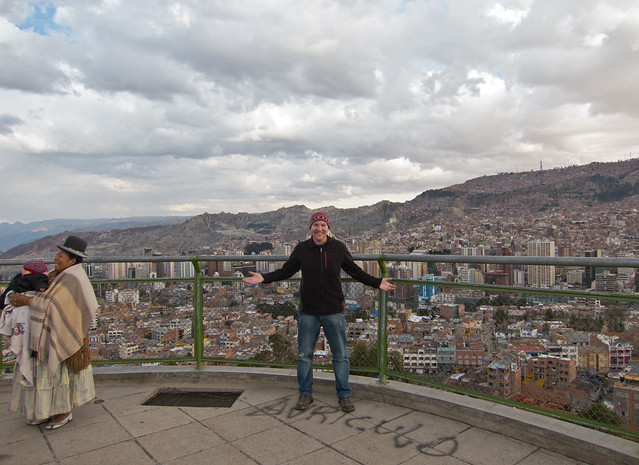
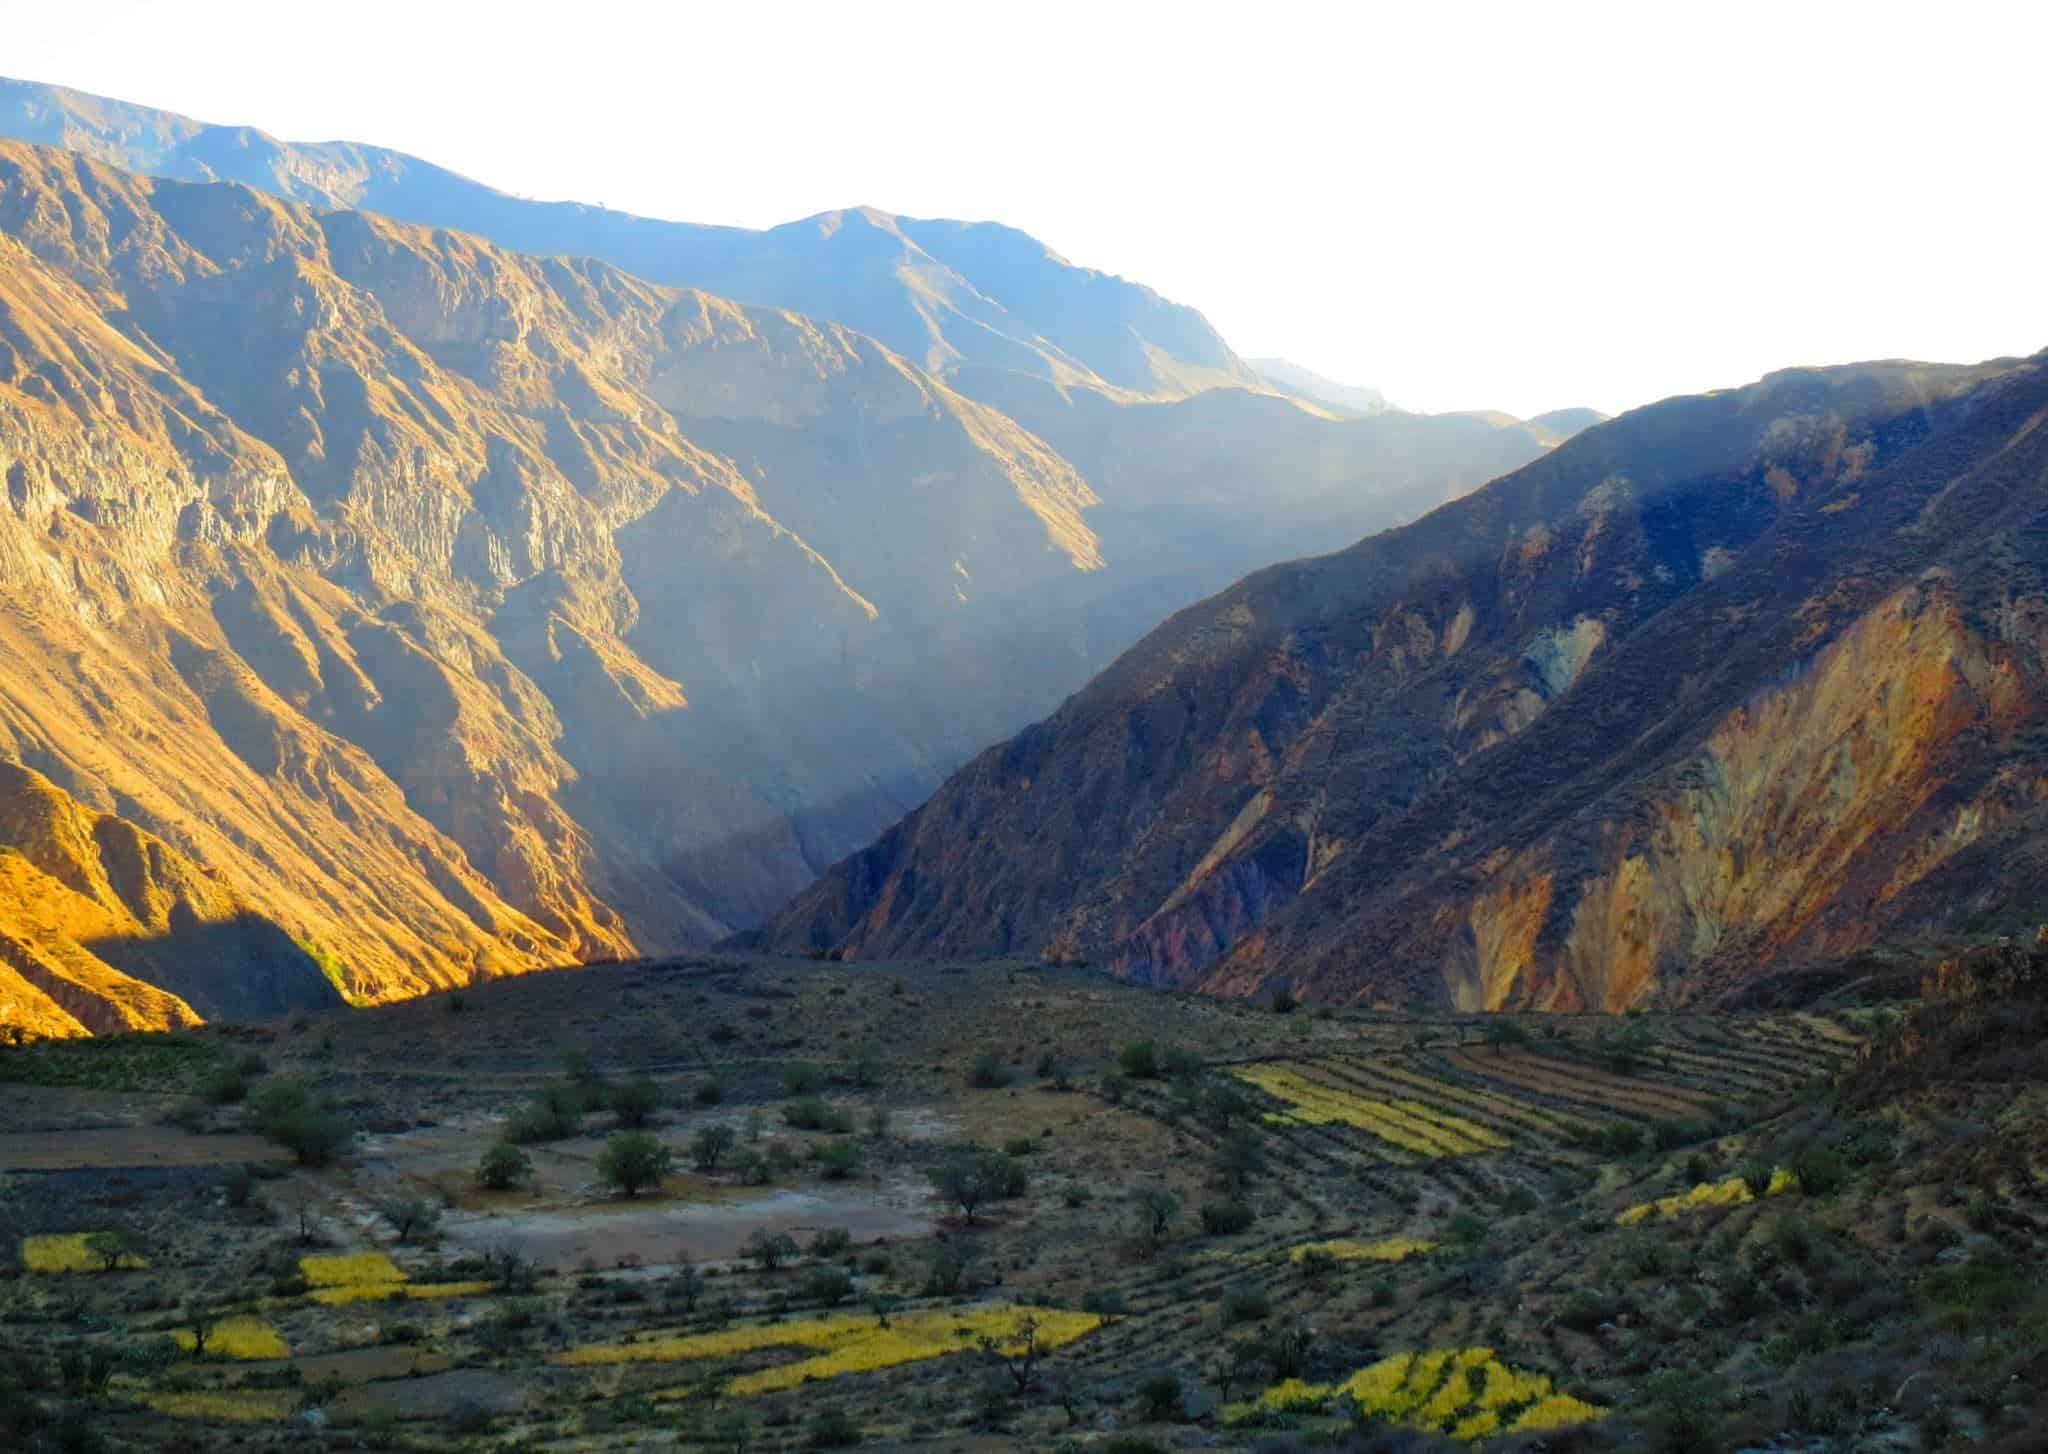
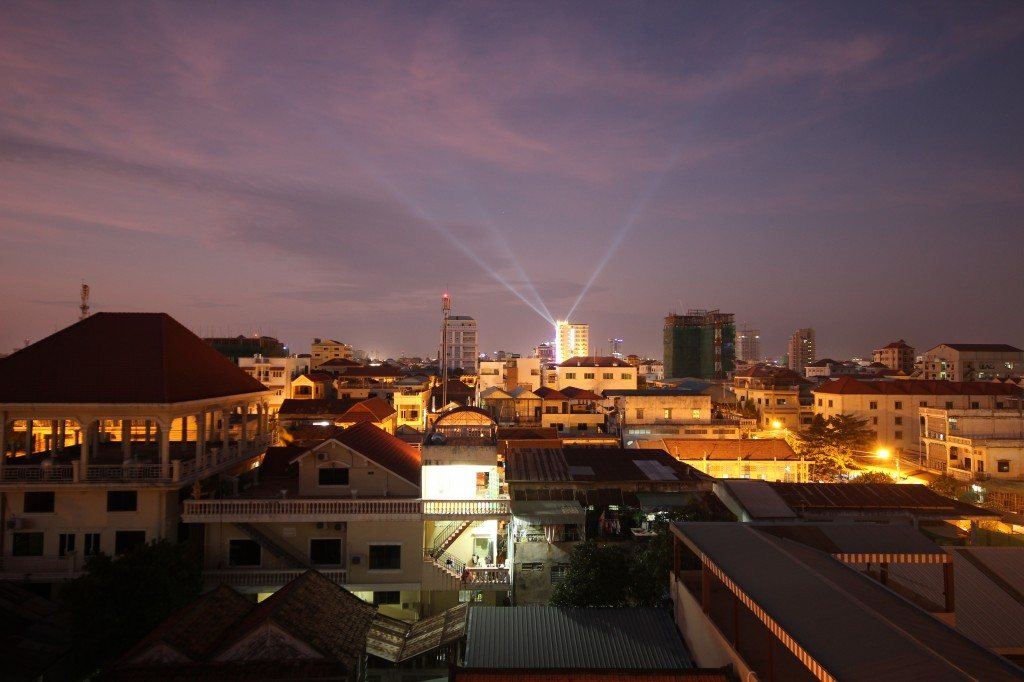
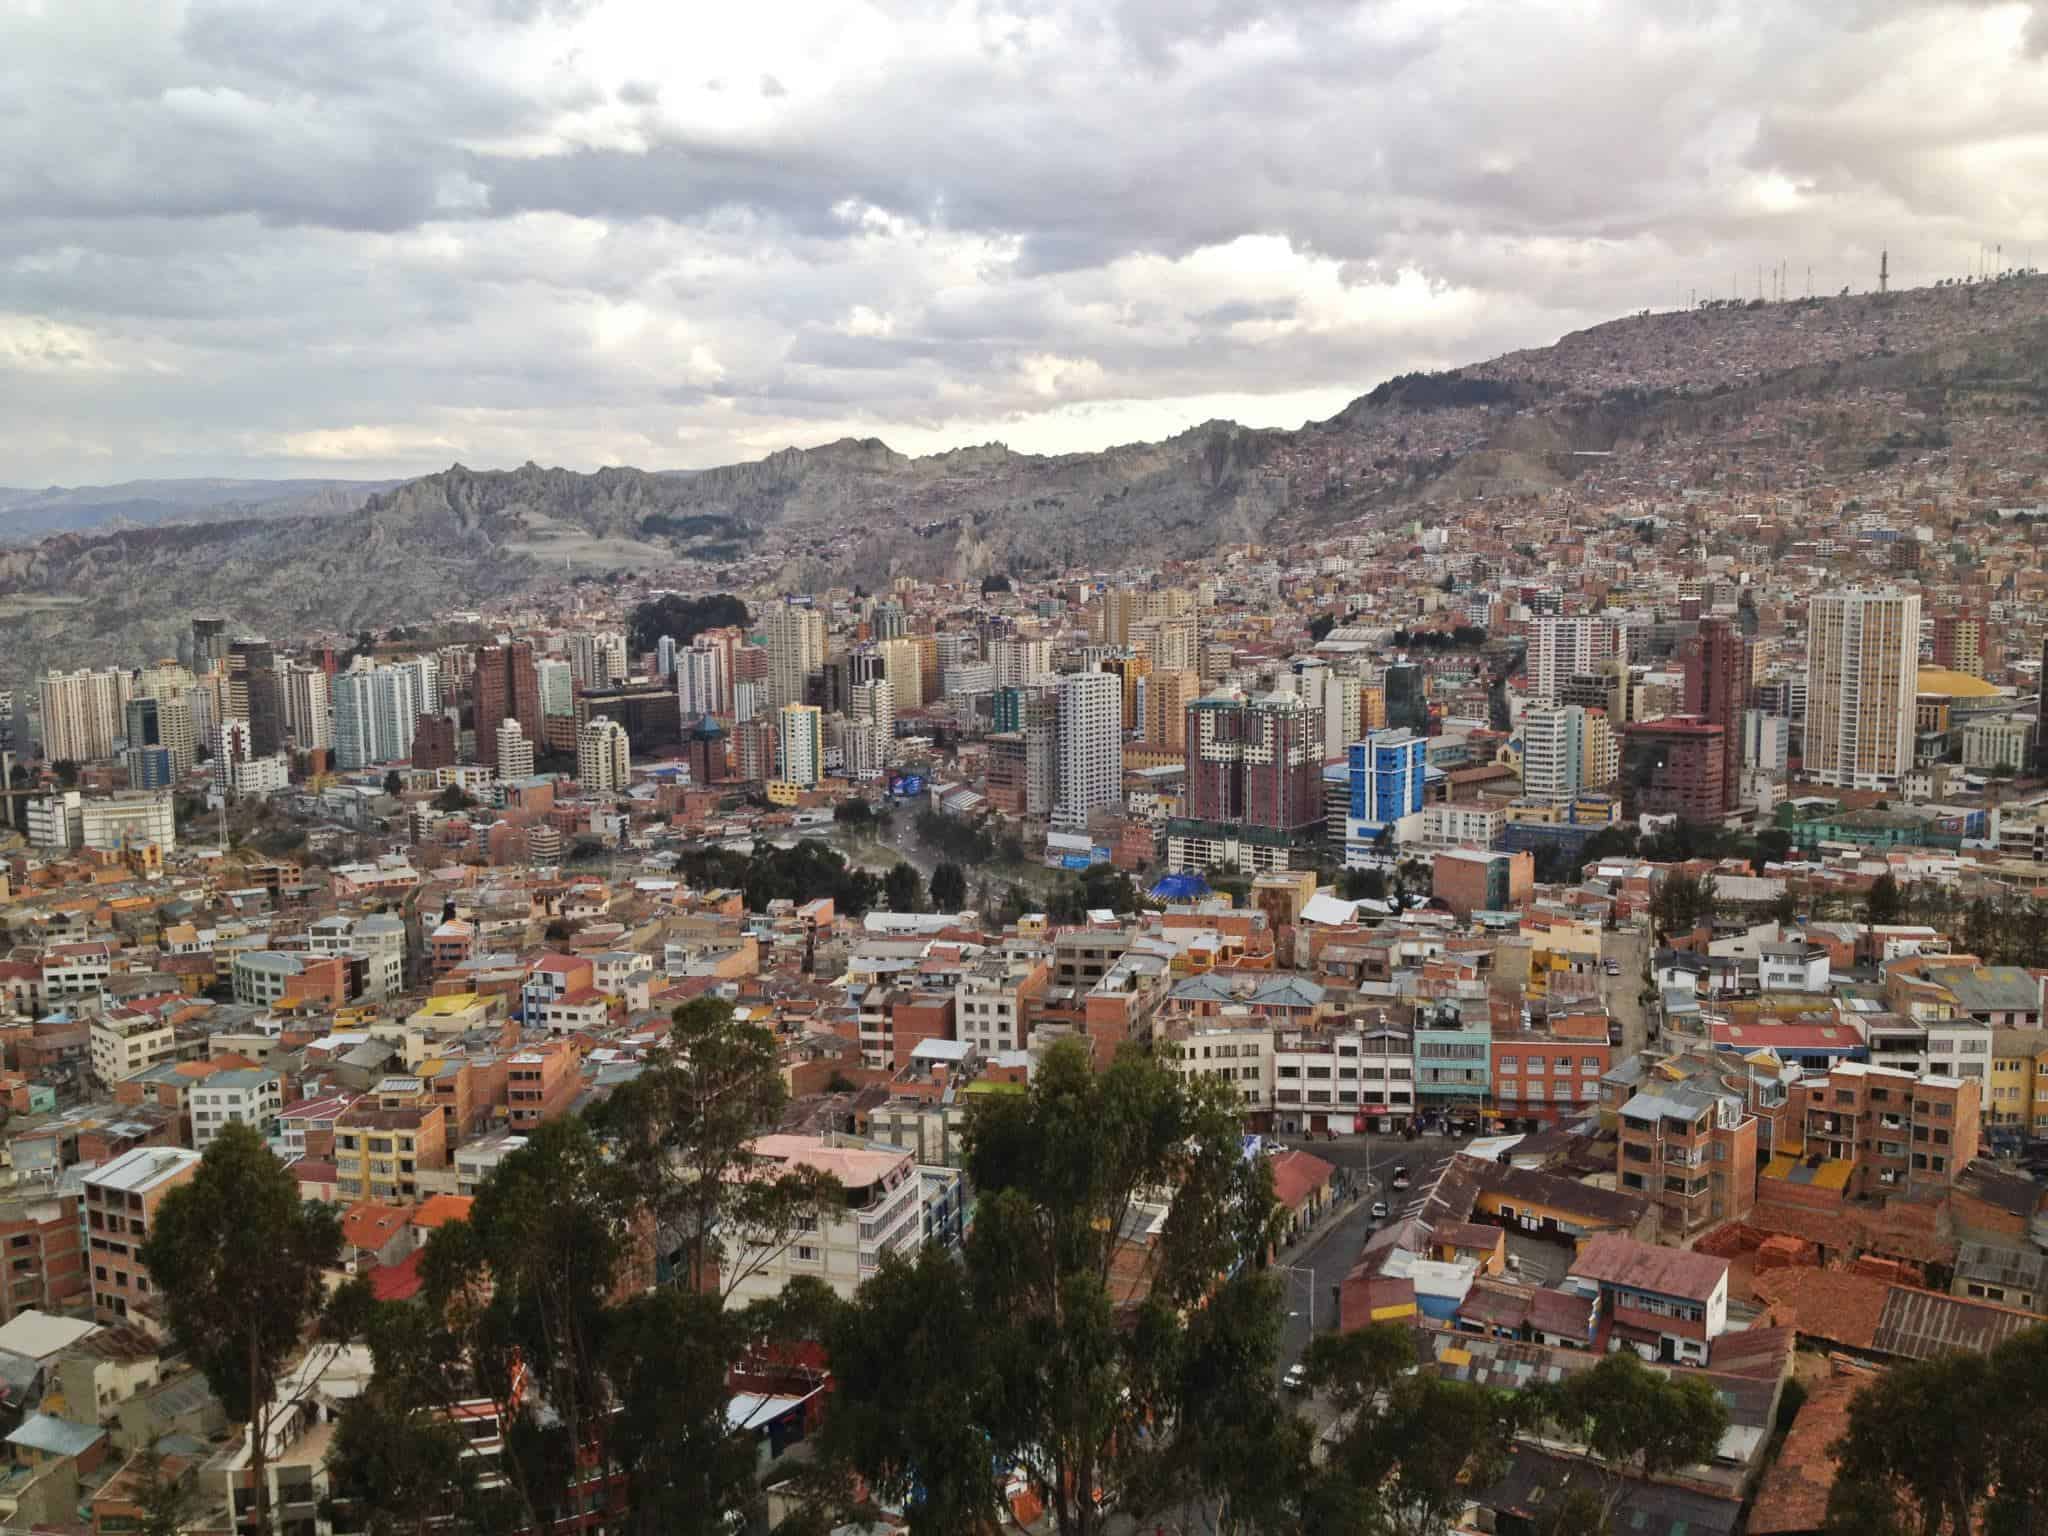
City Views
I dropped my belongings off in a small dorm room at the Wild Rover. It was time to make the most of the few hours of daylight that were left.
I flagged down another taxi and asked him to head for the scenic outlook point.
My priority was some macro shots of the city as a whole.
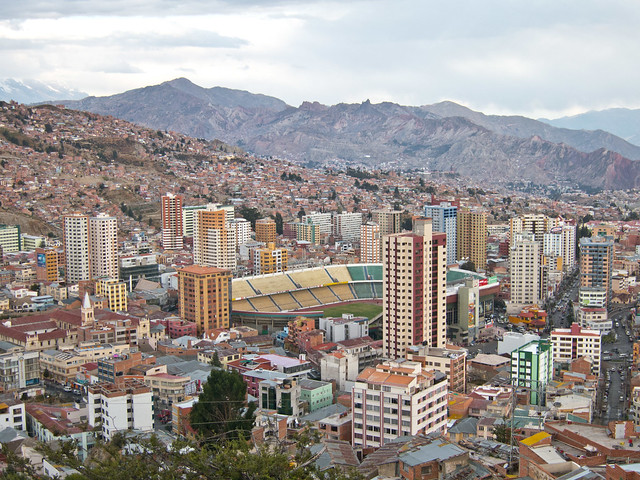
The lookout point offered precisely the kind of views I was after, and while the skies were overcast, there was still enough light left to get some decent photos.
It was interesting to see how the more modern apartment buildings had been erected around the soccer stadium.
It was one of the wealthier parts of the city.
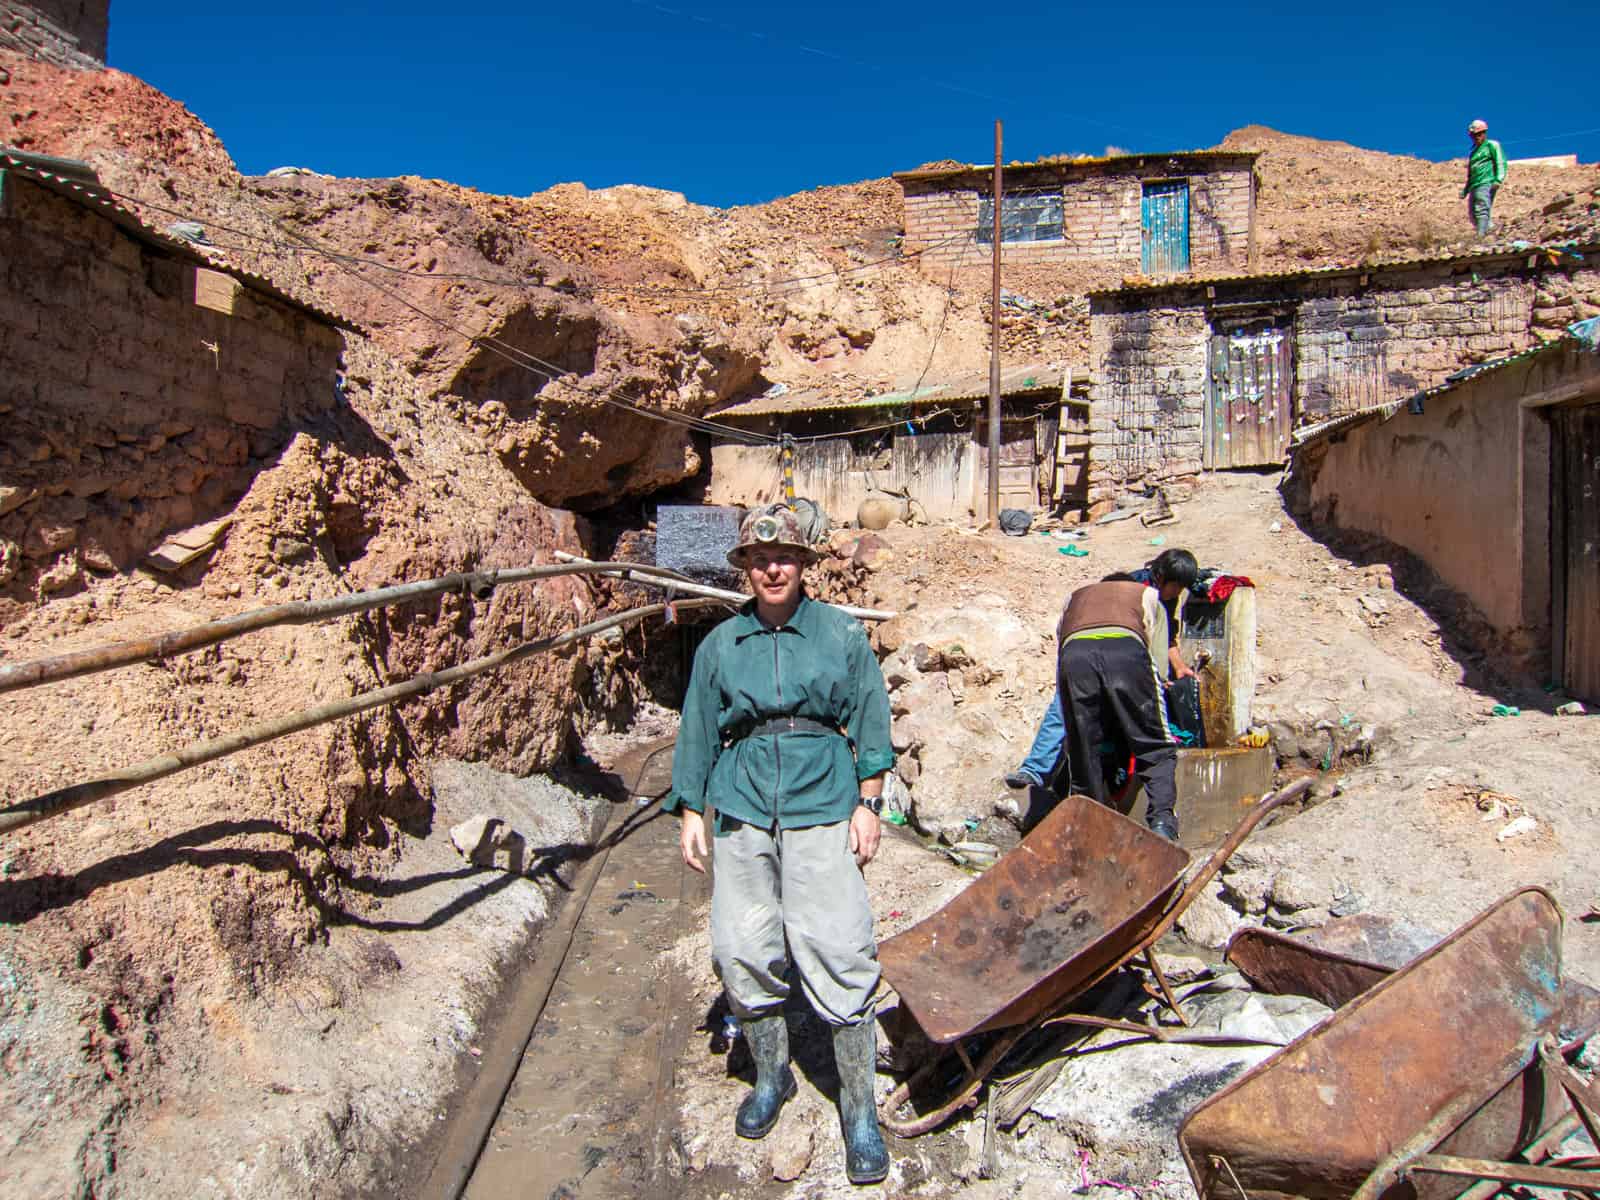
San Pedro Prison
Returning to the same taxi, I directed the driver to San Pedro Prison.
He dropped me off in a small, unassuming park across the street, where I didn't quite know what to do with myself.
To read about why I wanted to visit South America's most notorious prison and what happened when I tried that afternoon, check out my review of Marching Powder.
Related: Zanzibar's Prison Island
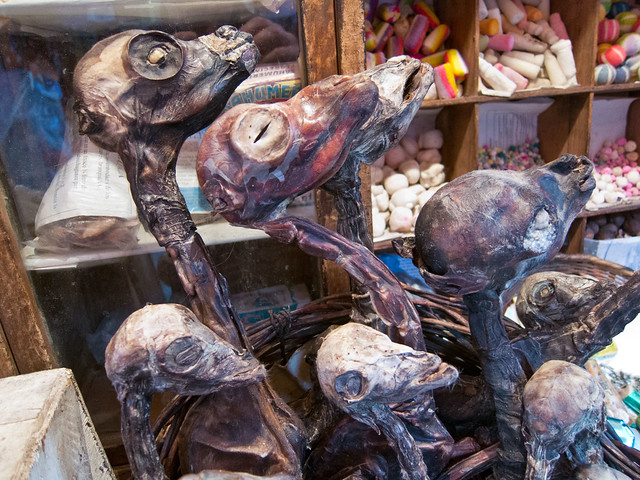
Witches' Market
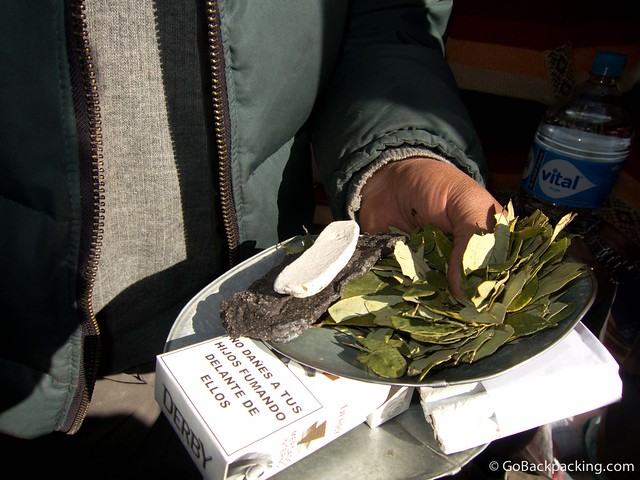
Drawn by the knowledge that you can find dried llama fetuses there, I headed to the La Paz Witches' Market.
It sounds ominous, but the market is nothing more than a collection of shops selling herbal remedies, and yes, llama fetuses to be used as offerings in religious ceremonies.
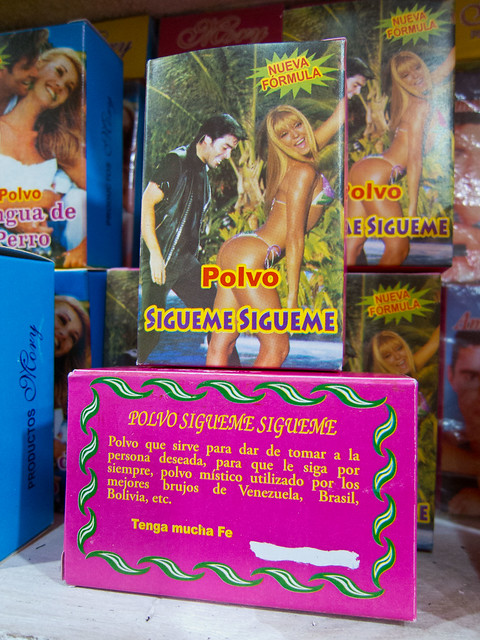
On the comical side of the product spectrum, these shops also sell what's marketed as a variety of different dusts with magical properties.
The cartoonish imagery and colors on the boxes reminded me of when I was a kid, and you'd see special "x-ray" glasses for sale in the back of Mad Magazine and other such children's magazines.
But, given the amount of money the vitamin and supplement industry is making in the US these days, who am I to question Bolivians' desire to improve sexual function.

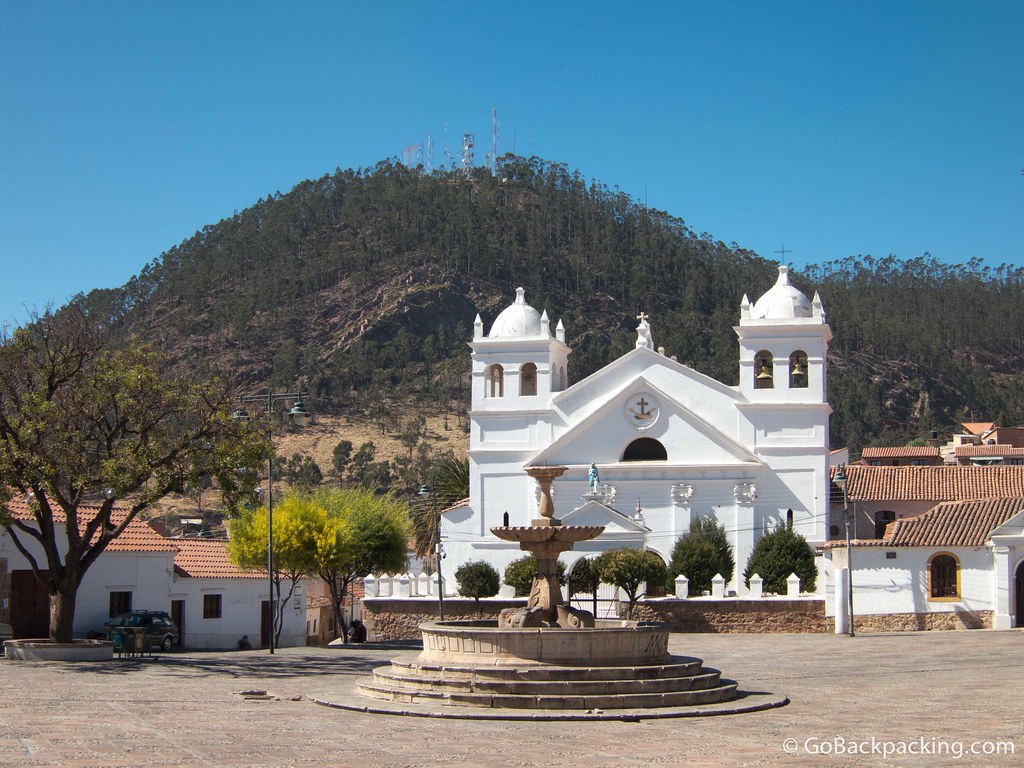
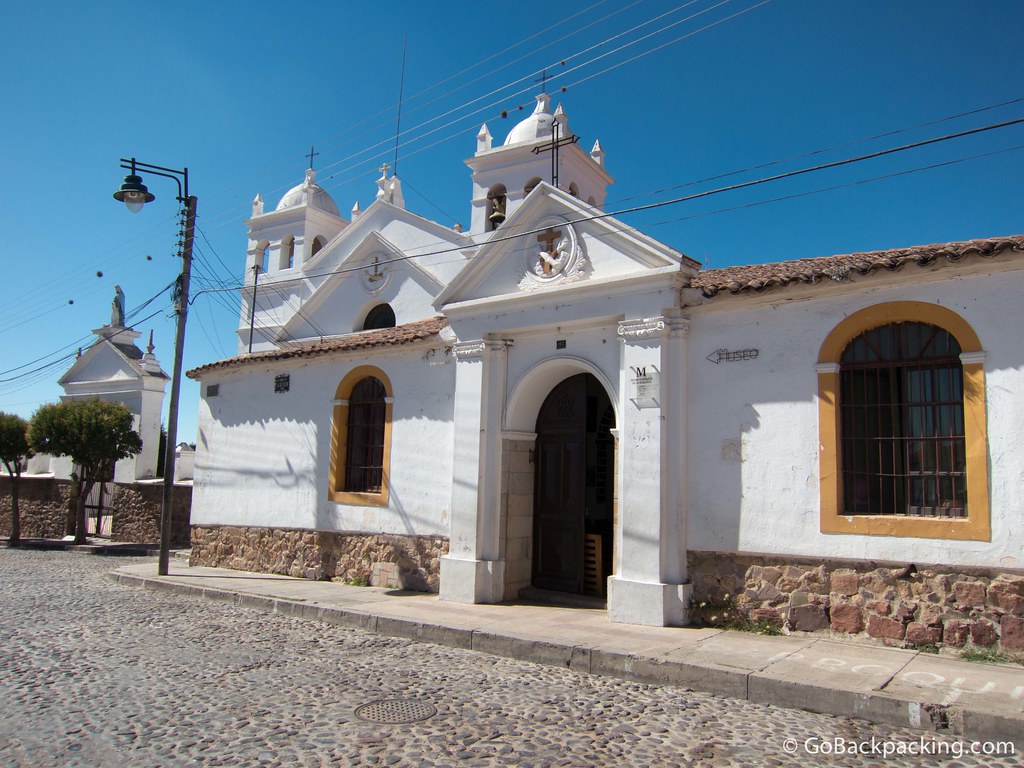
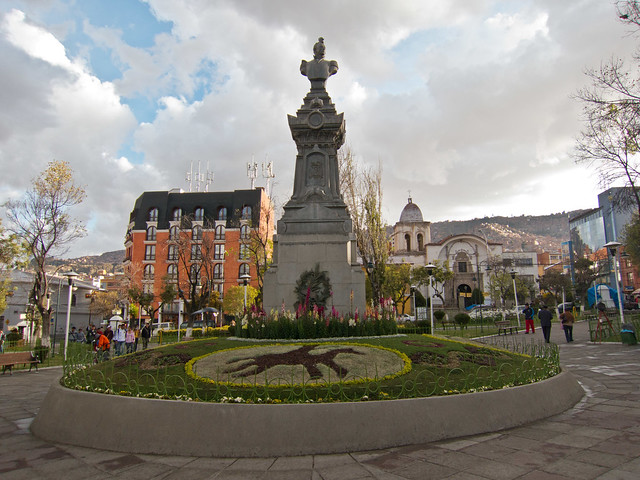
Iglesia de San Francisco
I walked down to Iglesia de San Francisco from the Witches' Market, a Catholic church built between the 16th and 18th centuries.
Luck was on my side, as the historic church in La Paz opens at 4 pm daily.
I was able to take a quick peek inside (it's pretty dark) before stepping back out onto the busy plaza for additional photos.
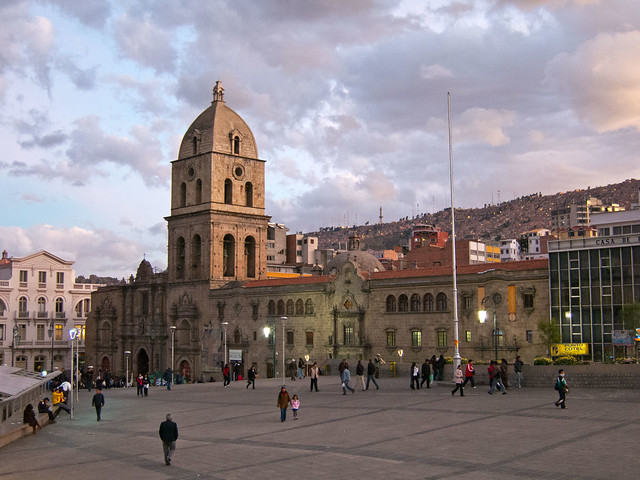
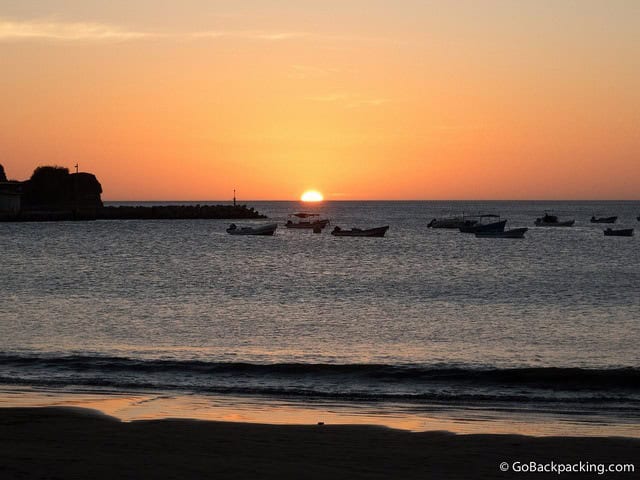
The sky was changing colors as the sun began to set. I watched as rush hour unfolded around me.
Nightfall was near, and while I didn't want to be wandering around without reason, I pushed onward to squeeze in a few more historical sites in La Paz before calling it quits.
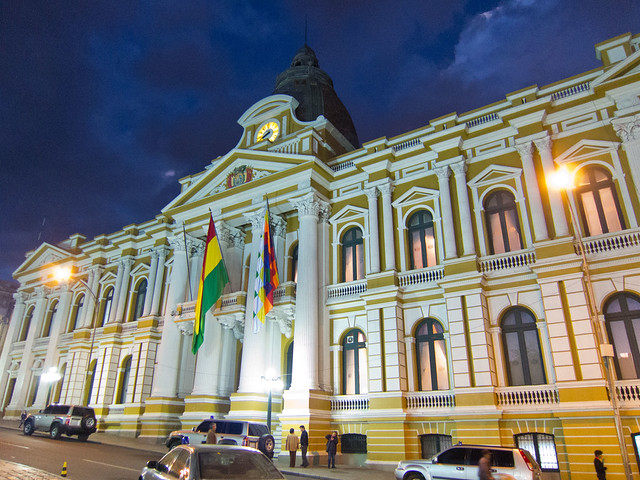
Presidential Palace
The yellow and white Presidential Palace looked grand lit up at night.
Across the street is a park, which offers the opportunity to get wide photos of the facade.
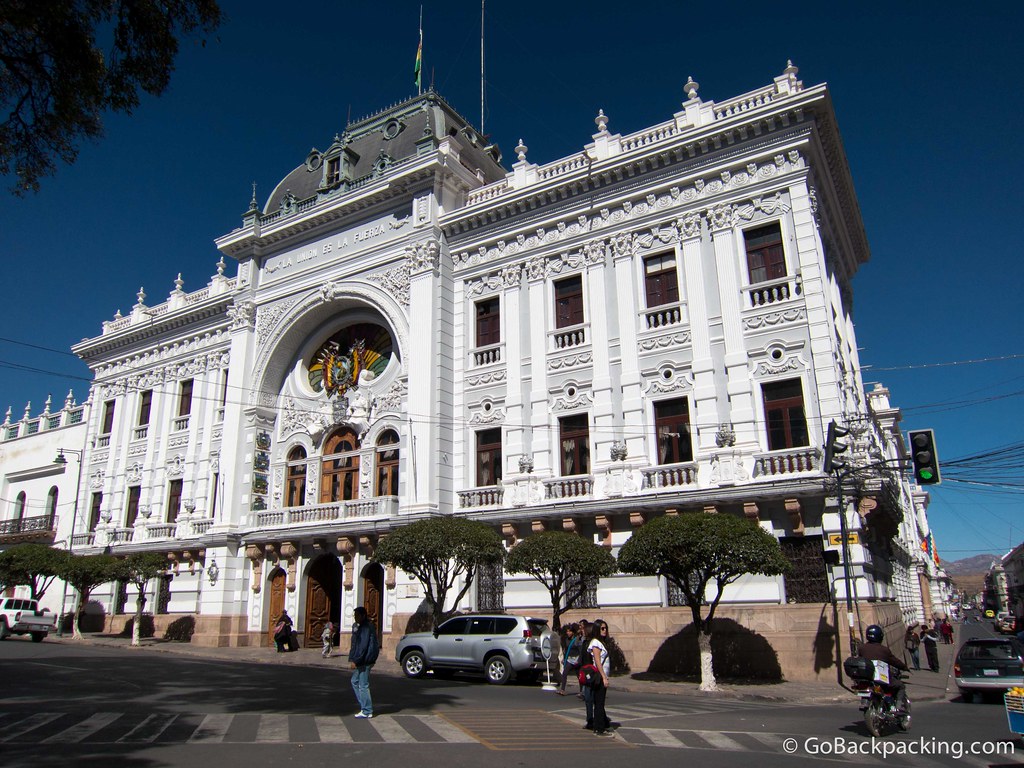
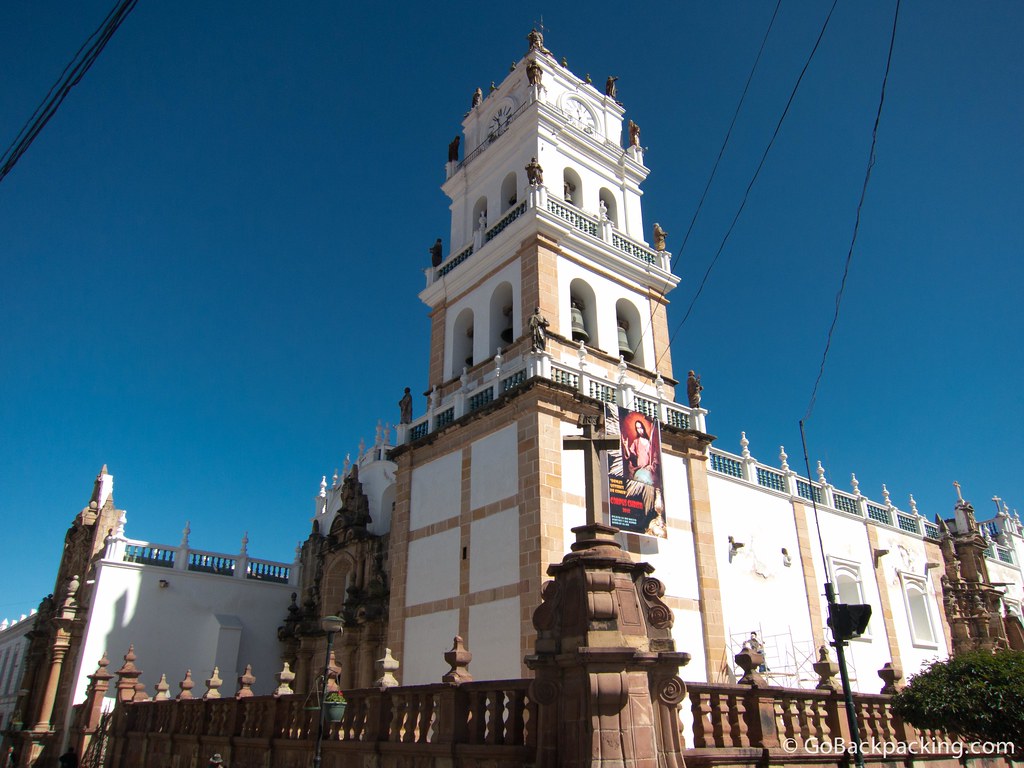
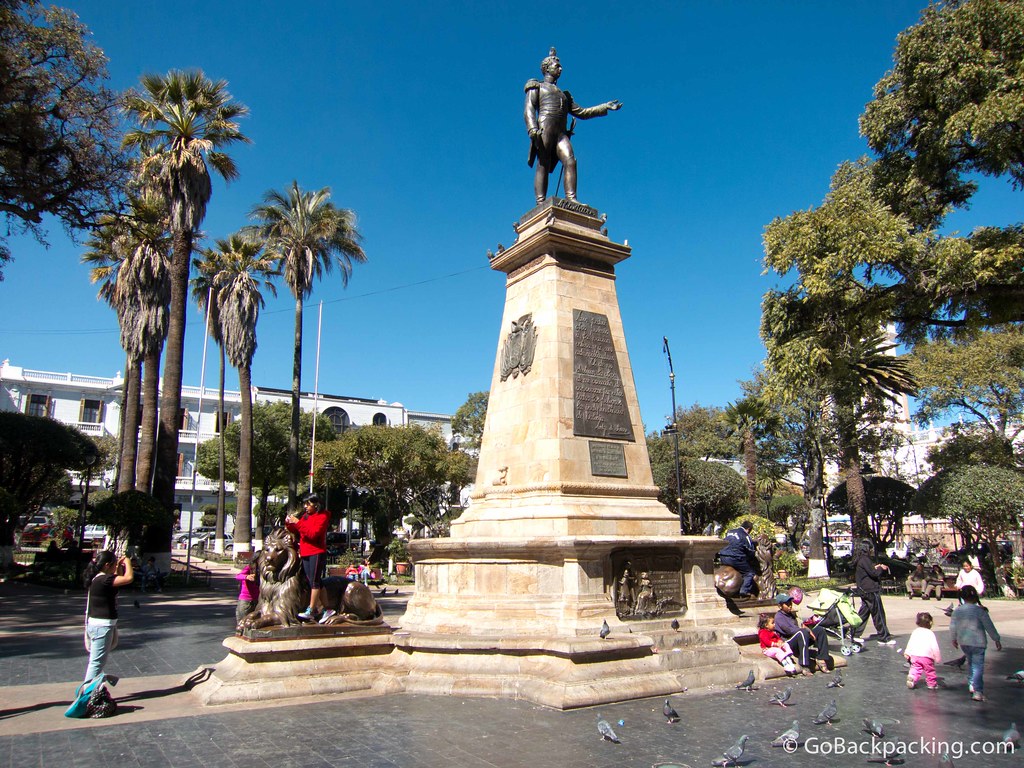
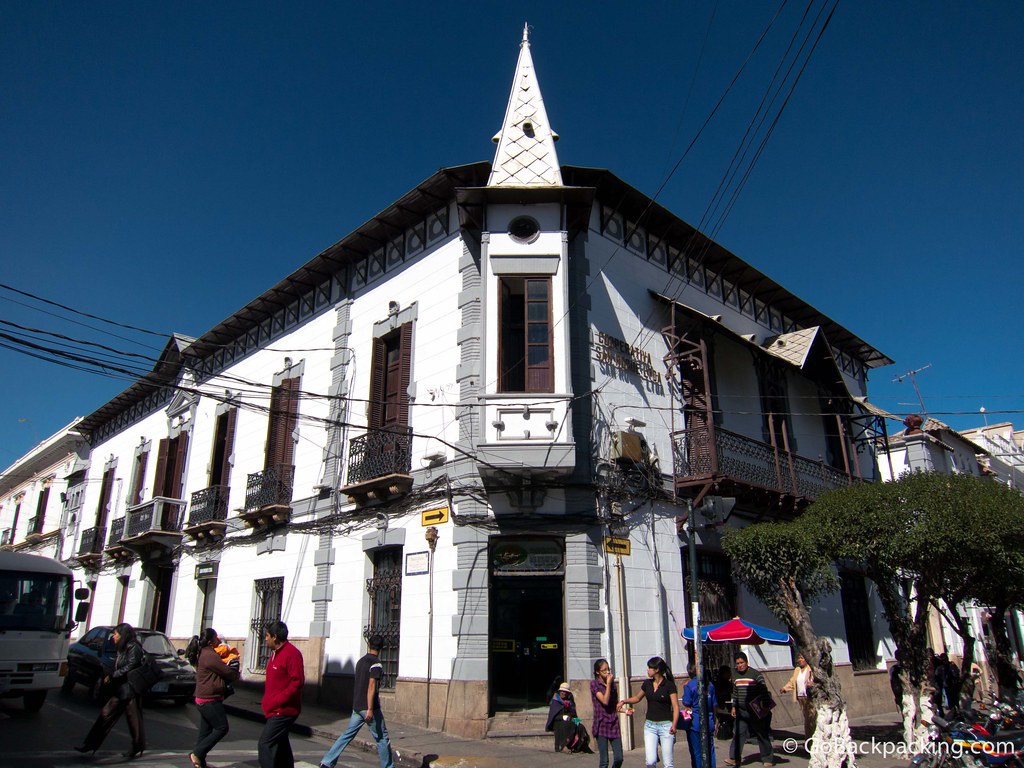
Related: Sucre, Bolivia's Constitutional Capital
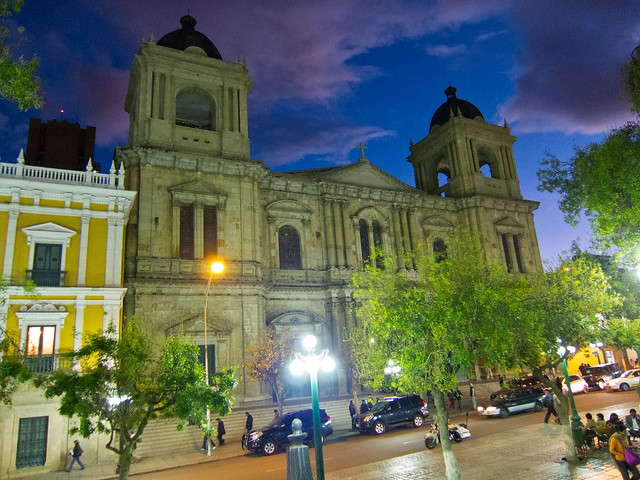
There's also a church next to it, the photo of which I love given the color of the sky at that moment.
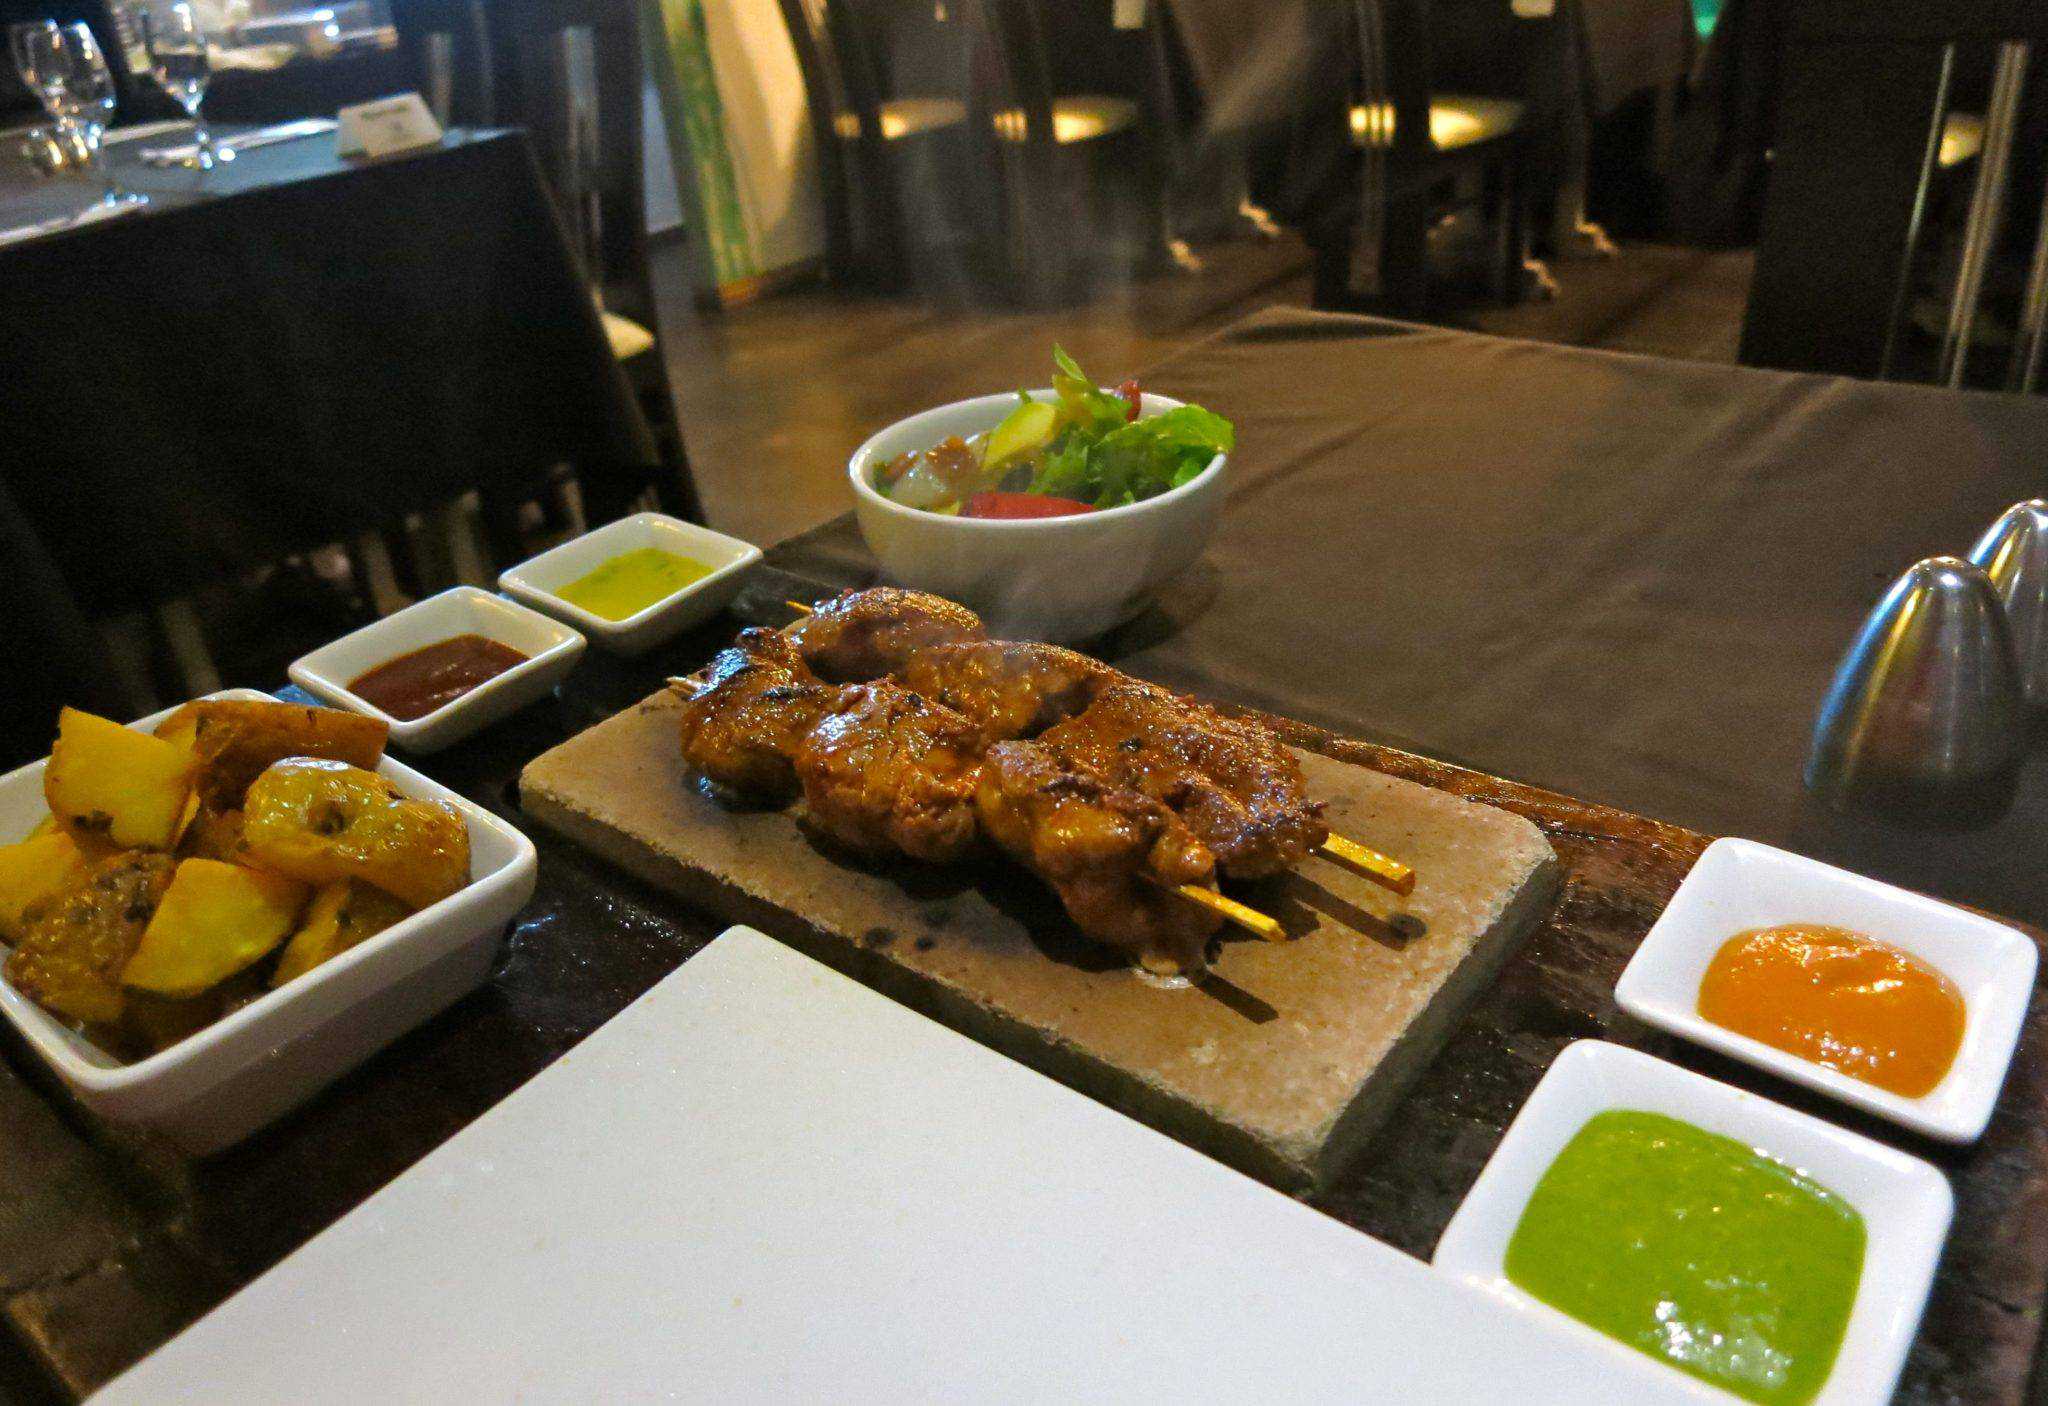
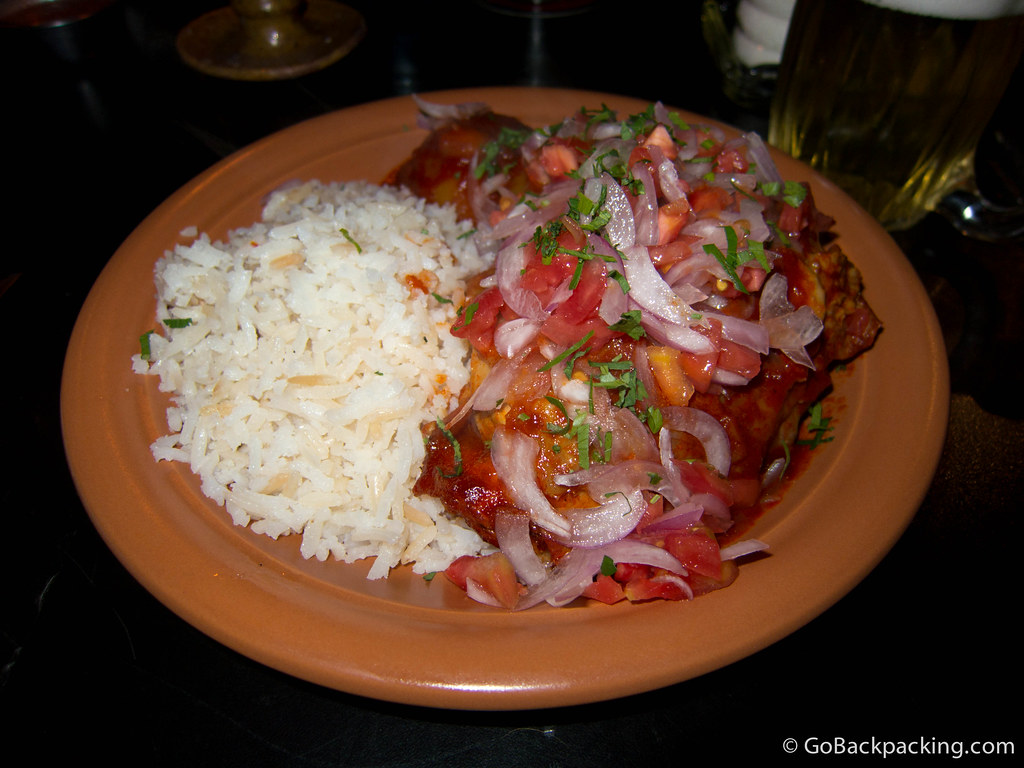
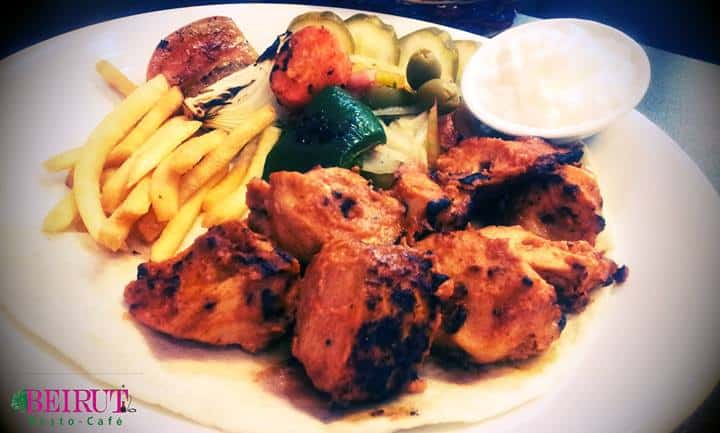
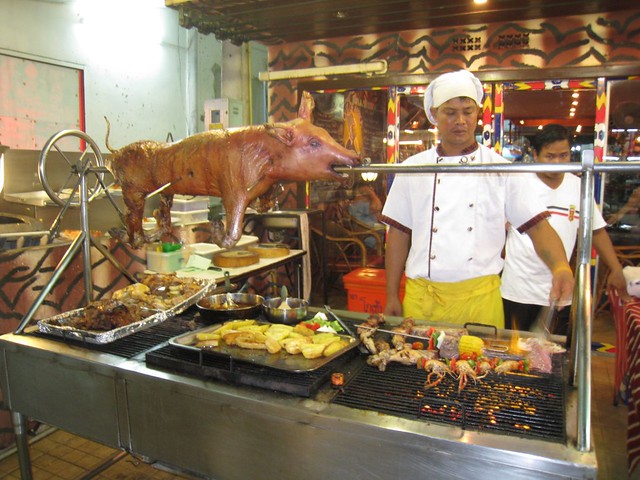
Dinner at La Casona
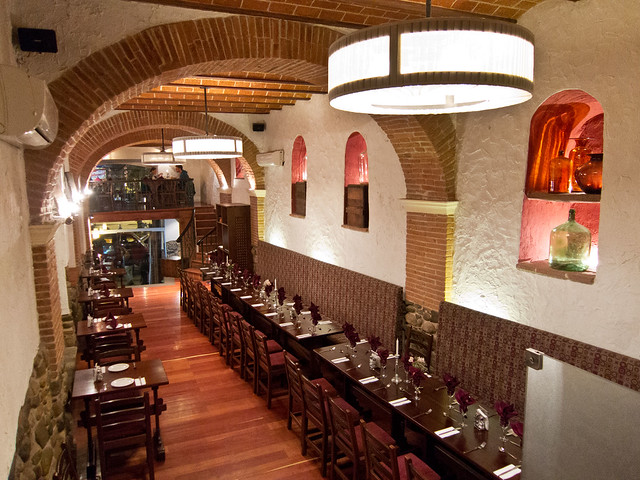
Before heading back to the Wild Rover hostel, my last stop of the night was La Casona (938 Mariscal Santa Cruz), a restaurant housed in a former monastery.
If I was only going to eat one dinner in La Paz, I wanted it to be at one of the best places known for serving traditional Bolivian cuisine.
I began by ordering a local craft beer called Saya.
The menu offered plenty of traditional dishes, including wild trout and chicharron, but I knew what I was ordering once my eye caught the llama.
I'd eaten alpaca several times in Peru and wanted to see if there was a difference.
In this case, it was grilled and served with a bordelaise cream sauce.
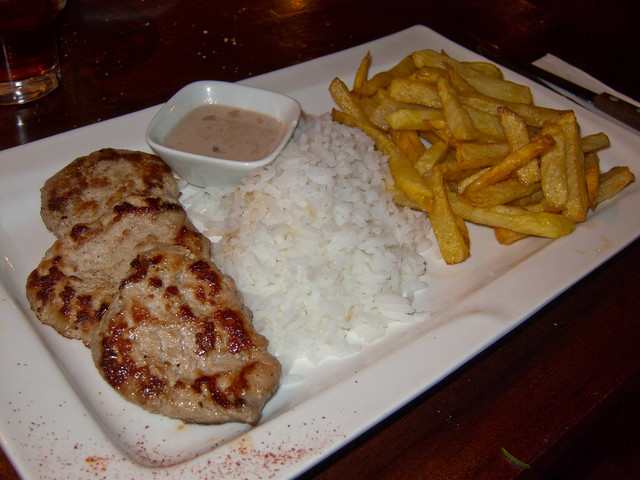
I wasn't blown away by the presentation, along with white rice and fries, but the meat itself tasted fine.
Feeling good about my last night in Bolivia, I finished the dinner with an ice cream sundae.
The total bill, including a soup of the day I'd ordered as an appetizer and a bottle of water, was $18.
See their listing on TripAdvisor for more current reviews.
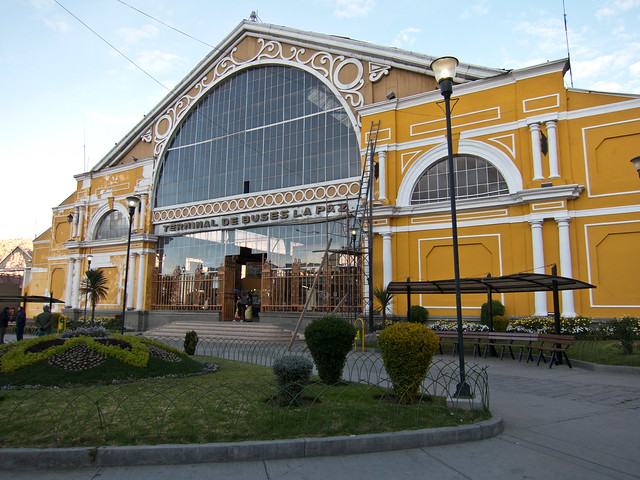
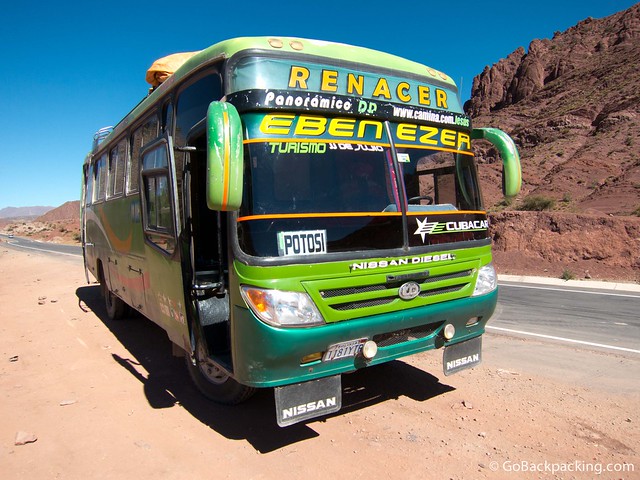
Departing La Paz
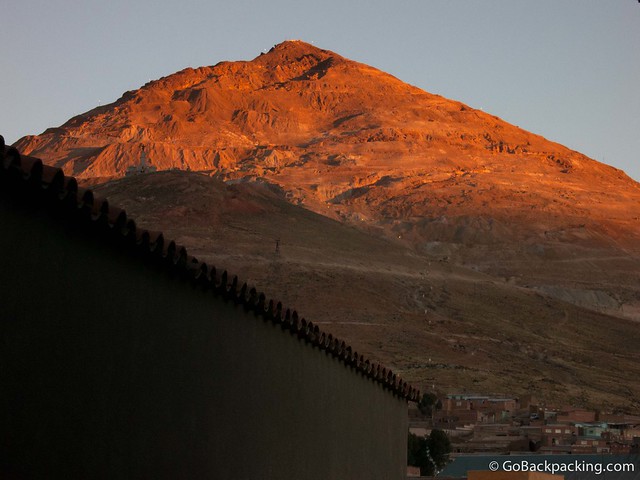
The following day I was up at sunrise. I showered and hailed a taxi to the unheated La Paz bus terminal, where I caught my two-day bus back to Lima.
It would be the longest bus ride of my life, leaving me tired, sick, and with what would turn out to be an excruciating back injury upon arrival in the Peruvian capital.
If you have more time than I did, check out these additional tips for things to do in La Paz.