Seventeen years ago last month, I walked into the CareerBuilder.com headquarters in Reston, VA, thinking it'd be another ordinary day at work. Only on this day, there was an all-staff meeting in the break area with the heads of our parent companies.
Over the next two days, everyone was laid off (with severance, thankfully). I'd been with the company for over three years, ridden the rise of excitement as we IPO'd and subsequent disappointment as our stock price dropped. We were eventually acquired. And now, our parent companies were firing us.
I was angry, confused, thousands of dollars in debt with my credit cards, burdened by $500/month car payments for my new VW Jetta, and free to sit around my apartment thinking about it all for months while I looked for a new job.
As upsetting as it was to feel this loss of control, it was the best thing that ever happened to me. Five and a half years later, I was on an Air Tahiti Nui flight to Tahiti in French Polynesia, my first stop on a dream trip around the world. Unbeknownst to me then, it was also the beginning of my new career as a travel blogger and entrepreneur.
While it's been 13 years since I started blogging on Go Backpacking, it's now been 20 years (March 21, 1999) since I bought the gobackpacking.com domain name and first shared my travel experiences online. I will share my origin story to mark the occasion and bring new readers up to speed on how I turned my passion for travel into a career as a successful travel blogger.
My definition of success in terms of career has been the ability to do the kind of work you want, with the freedom and flexibility to live where you want and set your schedule. I hope sharing my journey will help some of you take risks and go after what you want.
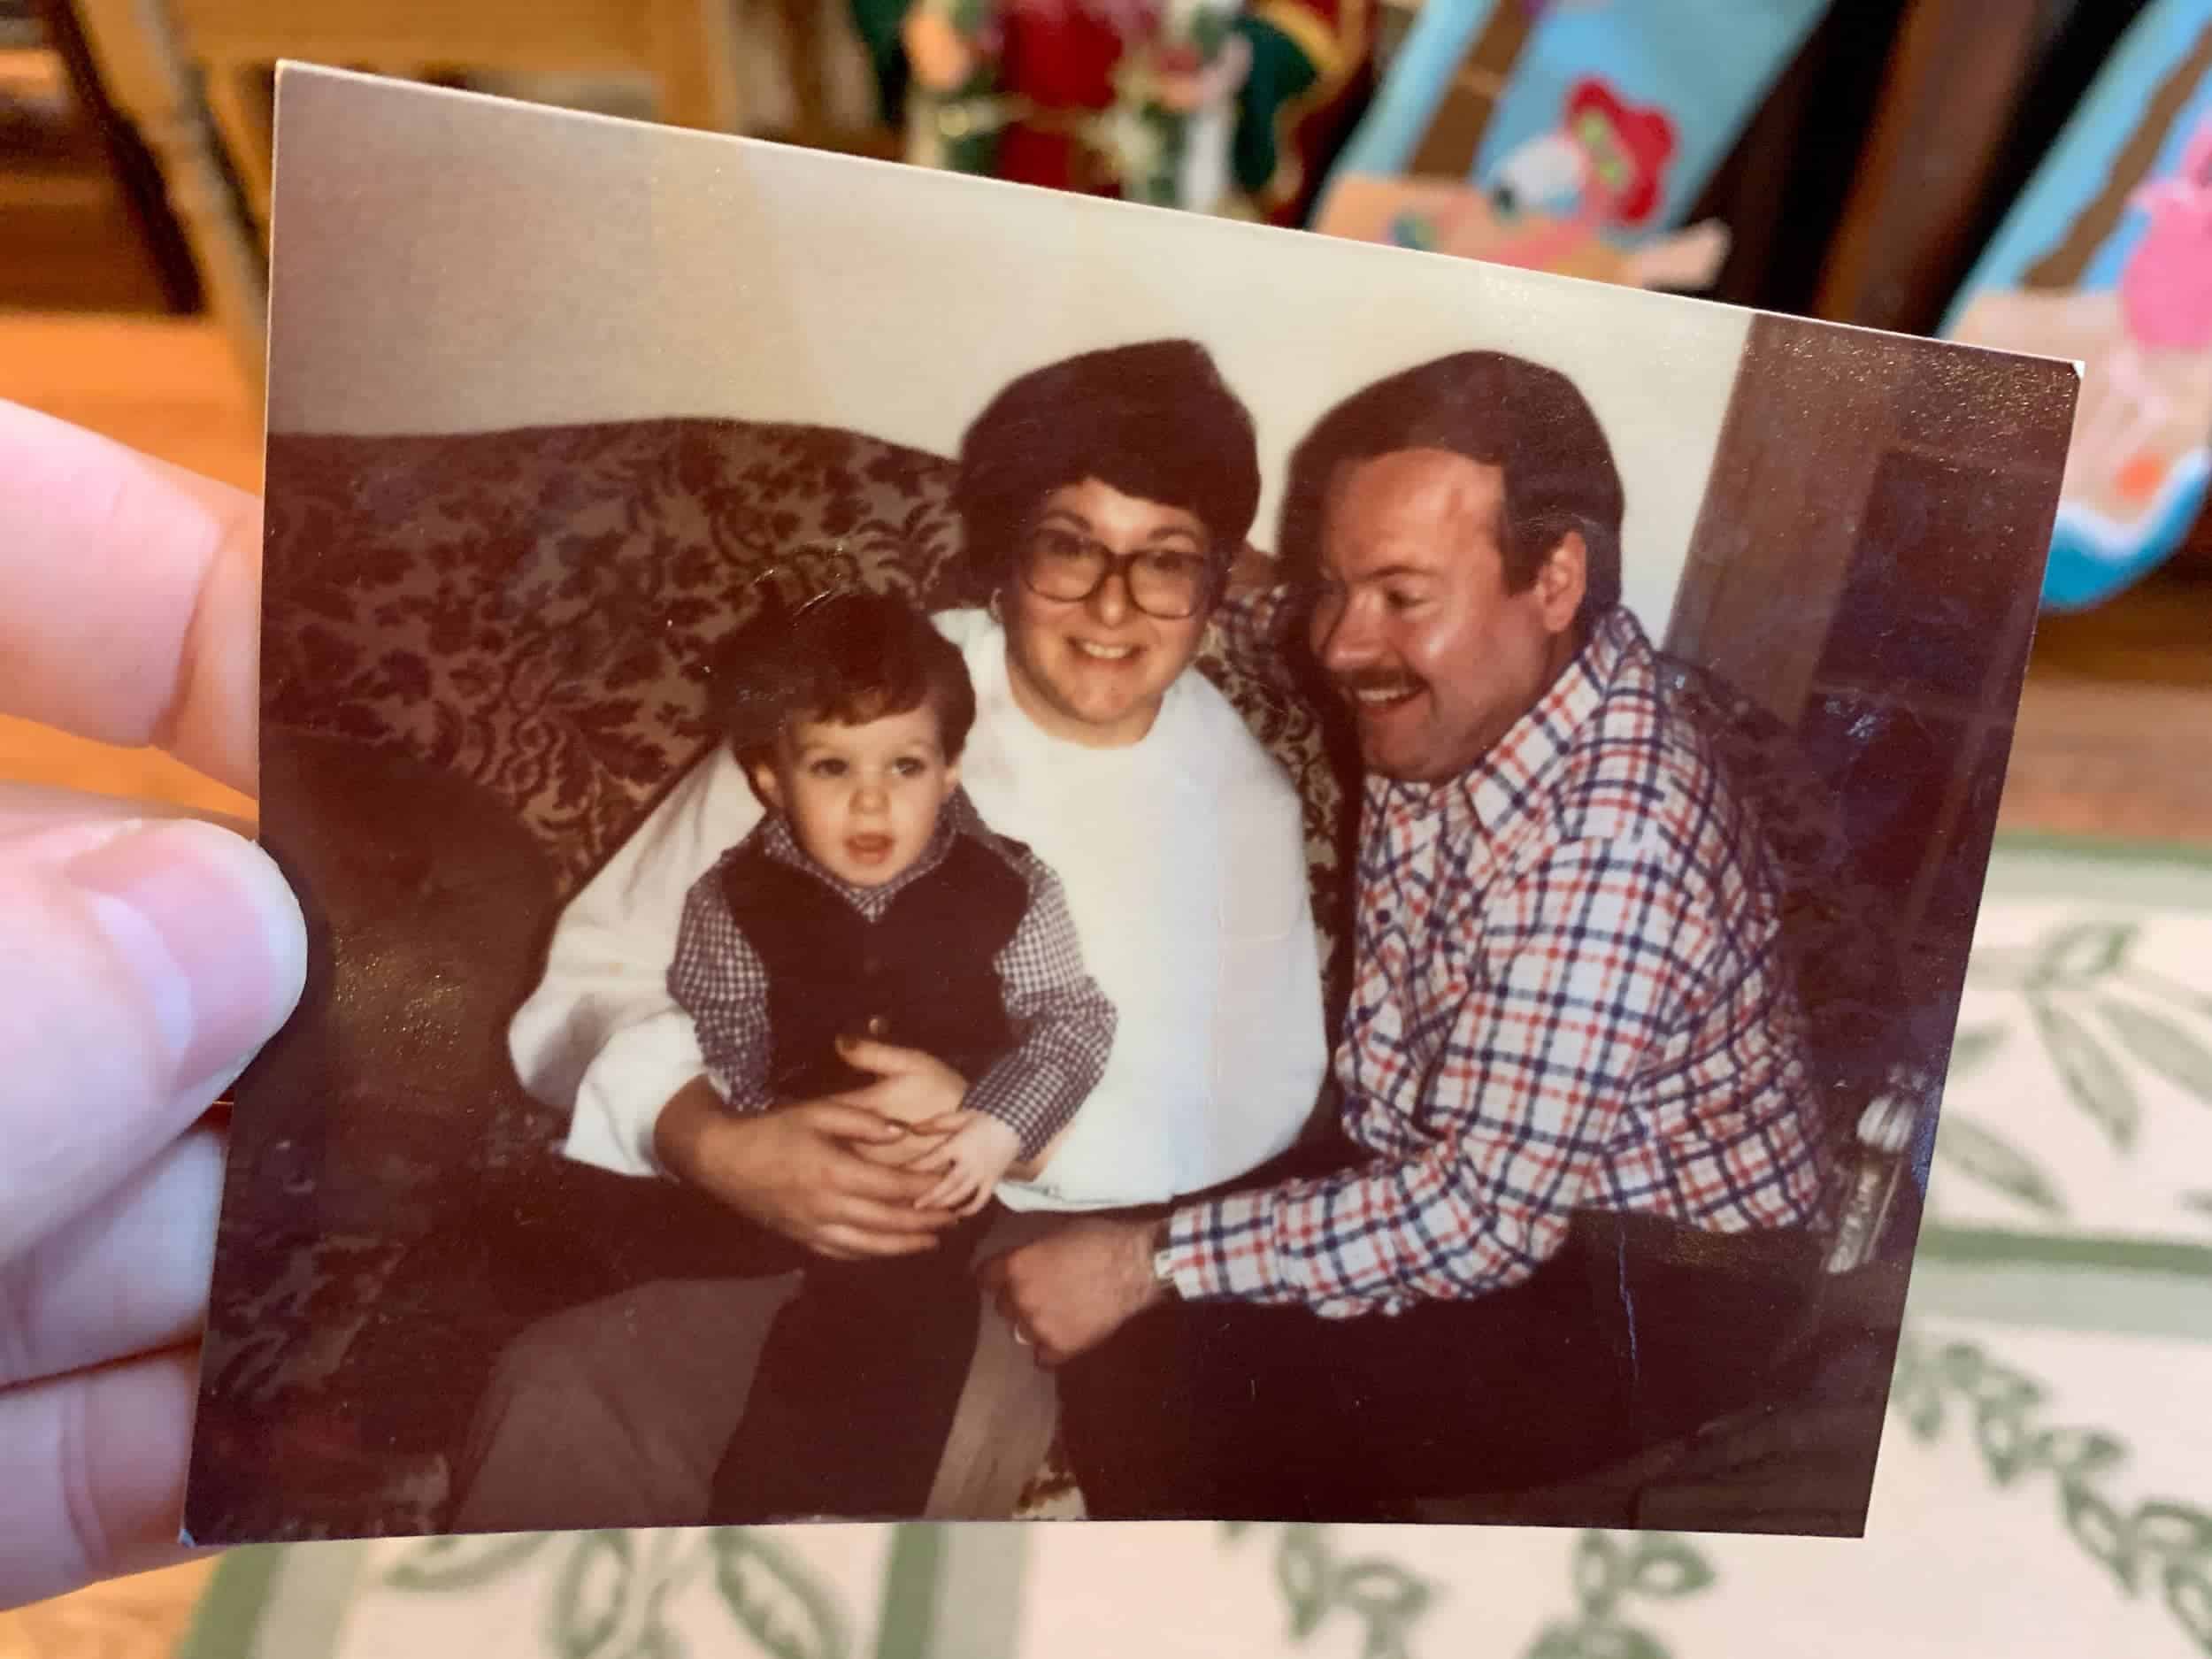
Table of Contents
- Early Influences
- My First Backpacking Trip (1998)
- Office Space - How I Spent My 20s (1998-2006)
- Writing on the Road (2007-09)
- Arriving in Medellin, Colombia (2009)
- Going from Broke to Self-Sufficient (2009-10)
- Expat Life and World Travel (2010-16)
- In Search of Stability - Returning to the USA (2016-)
- Keys to Being a Successful Travel Blogger
Early Influences
I was born into a white upper-middle-class home, the older of two children. Being a straight white man alone gave me inherent advantages growing up (and still does as an adult). However, that can only get you so far. I wouldn't be where I am today without a willingness to take significant risks and work toward my long-term goals.
My Mom was a frequent traveler in her twenties before she met my Dad. My Dad didn't even have a passport before he met her. The two of her souvenirs I remember best from childhood were a handsome wooden boomerang from Australia and a black wooden spear from Fiji. Seeing these foreign items hanging on the walls of our home evoked a sense of wonder in me as a kid.
Family Vacations
I grew up in suburban New York, New Jersey, and northern Virginia. When I was seven, my parents took my younger brother and me on family vacations. Here are the highlights that still stick out 30+ years later.
DisneyWorld (1983)
My first big trip was to Walt Disney World in Florida. I remember being scared to death riding the indoor Space Mountain roller coaster (to the point of tears). We returned a few years later and rode the outdoor Magic Mountain roller coaster. More tears.
(Side note: In my twenties, I made it a point to overcome my fear of roller coasters, starting with the old wooden Cyclone at Coney Island in NYC. I then rode a larger steel coaster in Hershey Park, PA.)
Club Med at Ixtapa, Mexico (1986)
When I was 10, my parents booked a vacation for us at an all-inclusive Club Med in Ixtapa, Mexico. It was my first international trip, though I never left the resort. I remember it was super hot, the beautiful pool, geckos, and paying for drinks and snacks using plastic beads worn as bracelets.
There was an air-conditioned room with computers and a game I liked where you swung from vine to vine like Tarzan across the screen. I recall spotting a cute girl I hoped would be there every time I returned (she wasn't).
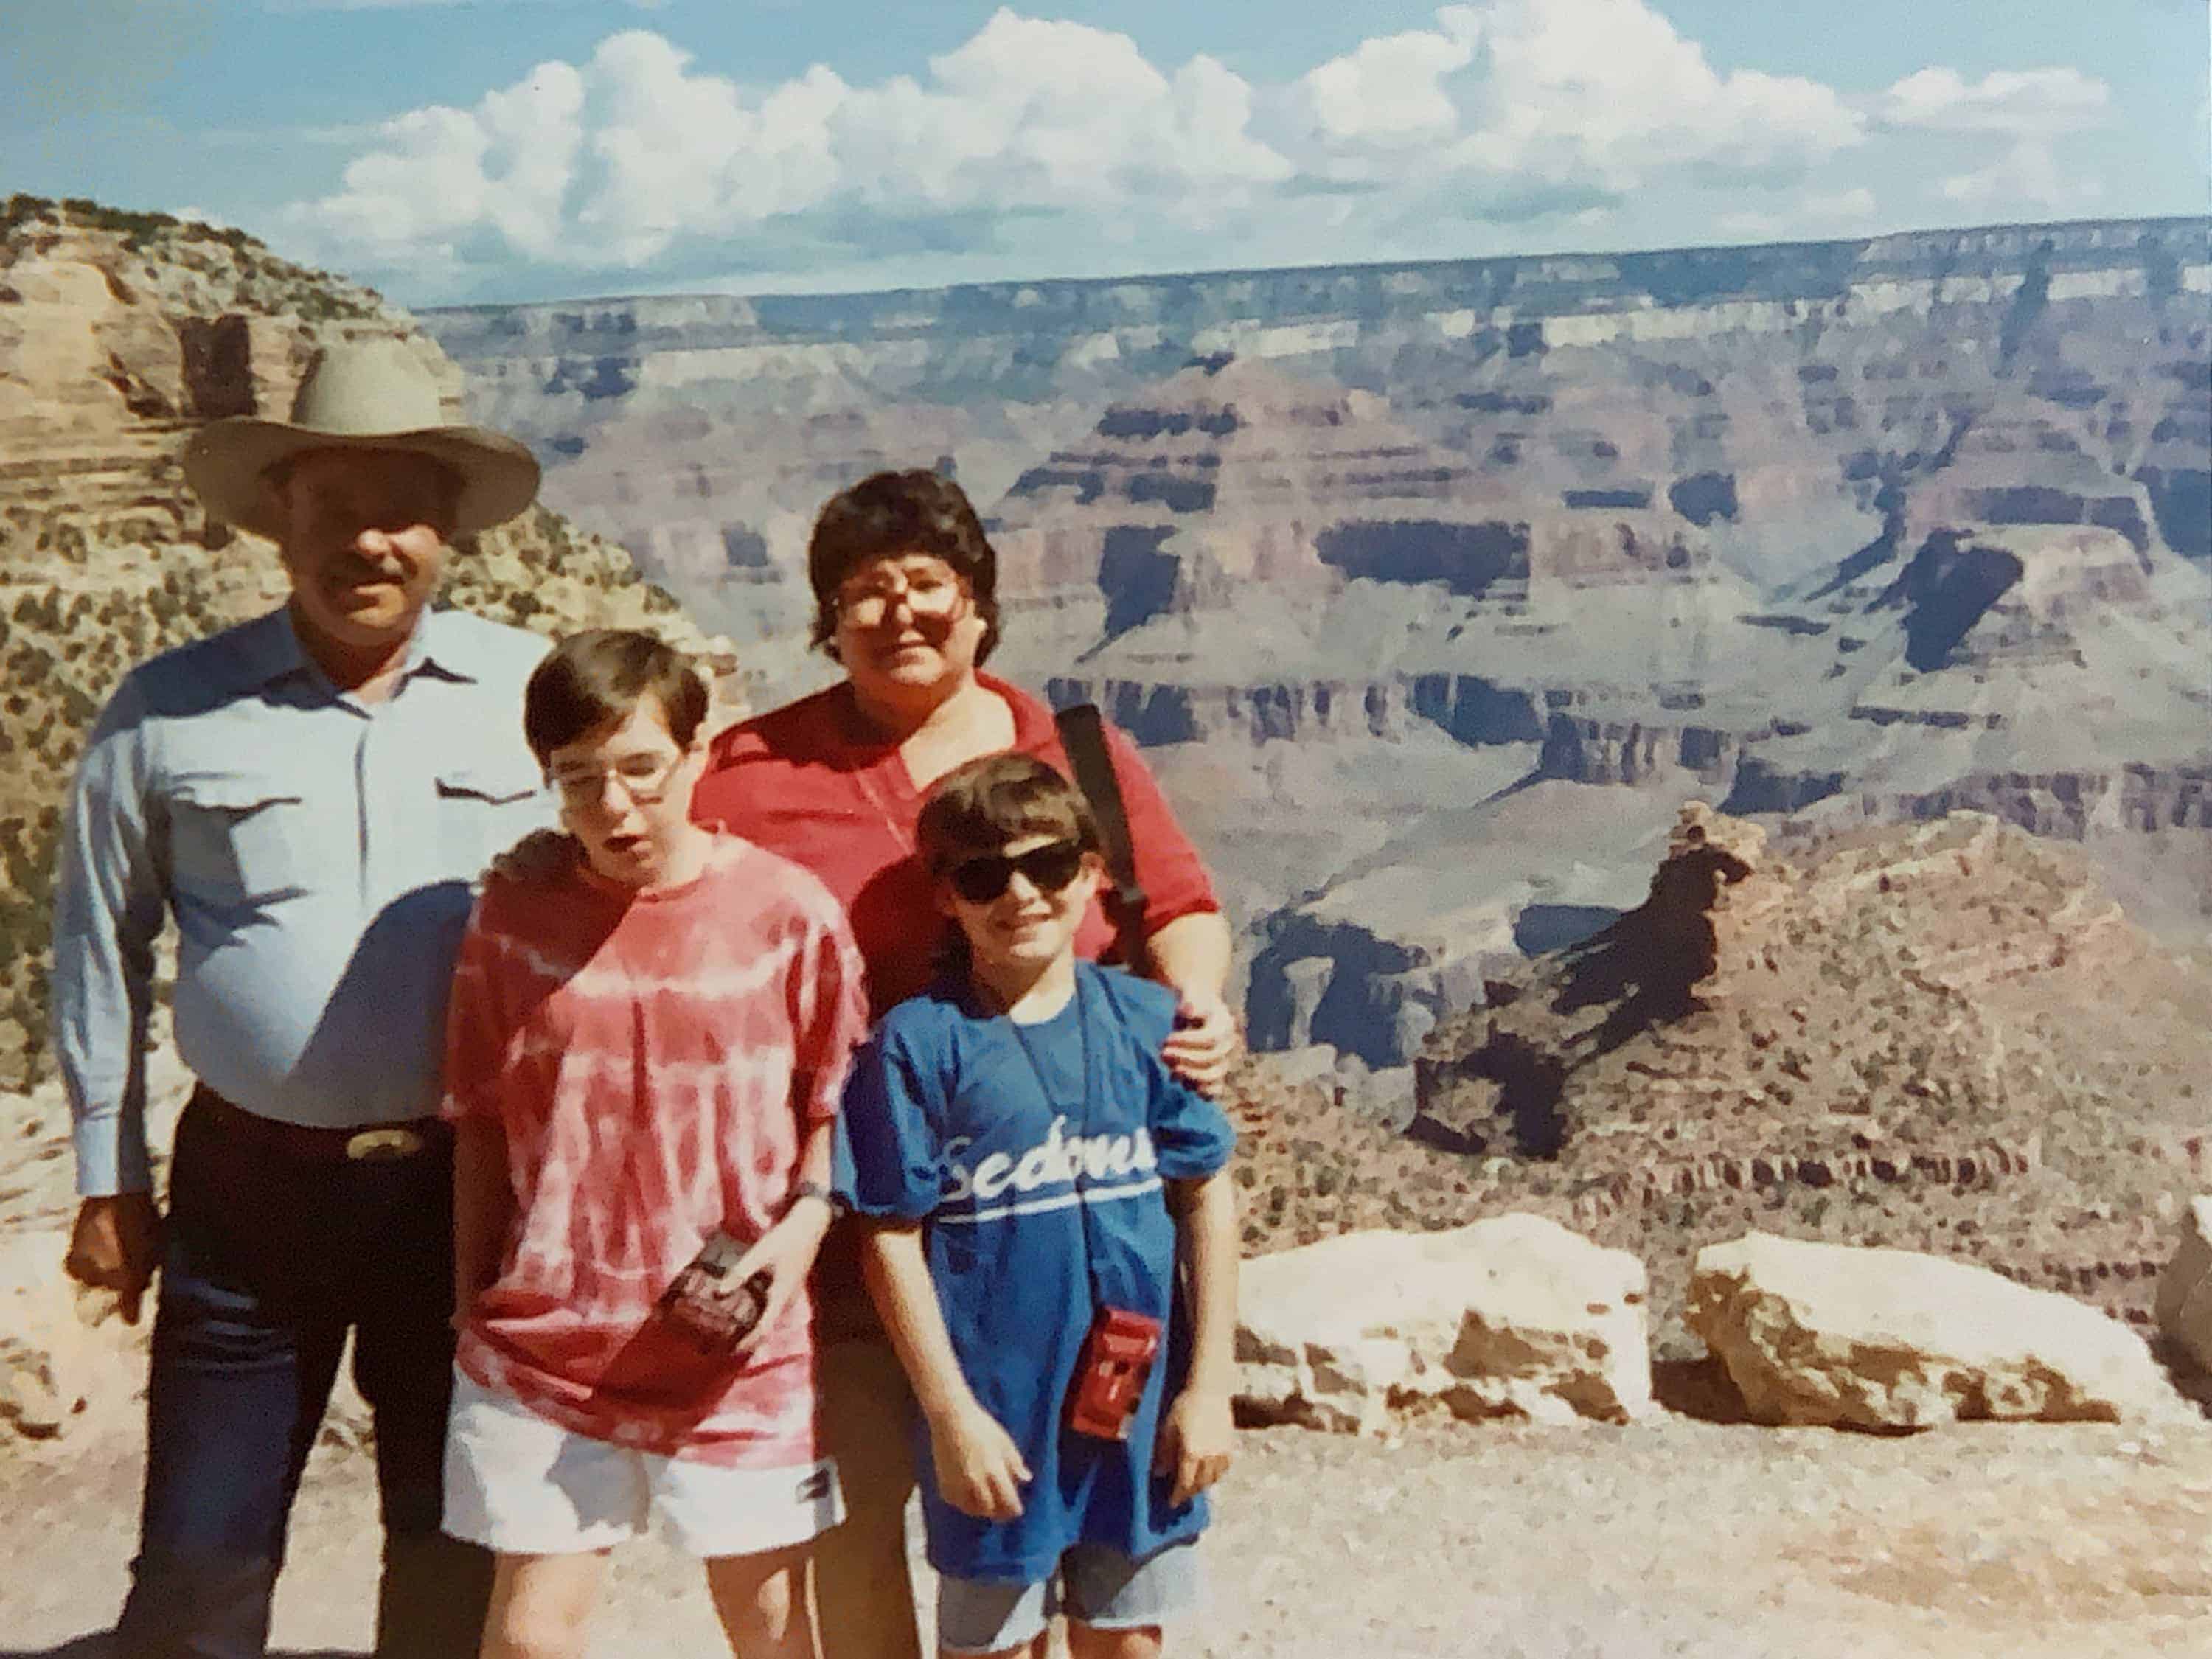
Arizona and Las Vegas (1988)
When I was 12, we went to Arizona and visited my uncle, Andy. I remember the triple-degree temps in Phoenix, driving through the Painted Desert and briefly peering over the Grand Canyon.
Then we drove north to Las Vegas, where I was in heaven playing arcade games on the upper floor of Circus Circus while my parents tried their luck gambling on the main floor below. To this day, I've never been back to Vegas, though I remain curious to check it out as an adult.
Hawaii (1990)
At age 13, we went on my all-time favorite family vacation - a two-week trip to Hawaii. I surfed for the first time on Waikiki Beach, parasailed on Maui, got up close to molten lava from an active volcano, and tasted the juiciest pineapple ever at a Dole factory. I used my Mom's 35mm camera to take pictures.
England (1993)
At 16, we took our other international vacation together. We headed to England for two weeks, touring London, Bath, Oxford, Stonehenge, and a town called Brereton (associated with my middle name, which dates back 900+ years in our family history).
This was our last big one as a family before I headed to college. I spent the coming summer and winter breaks working to save money for the semester ahead.
Rebellious Music
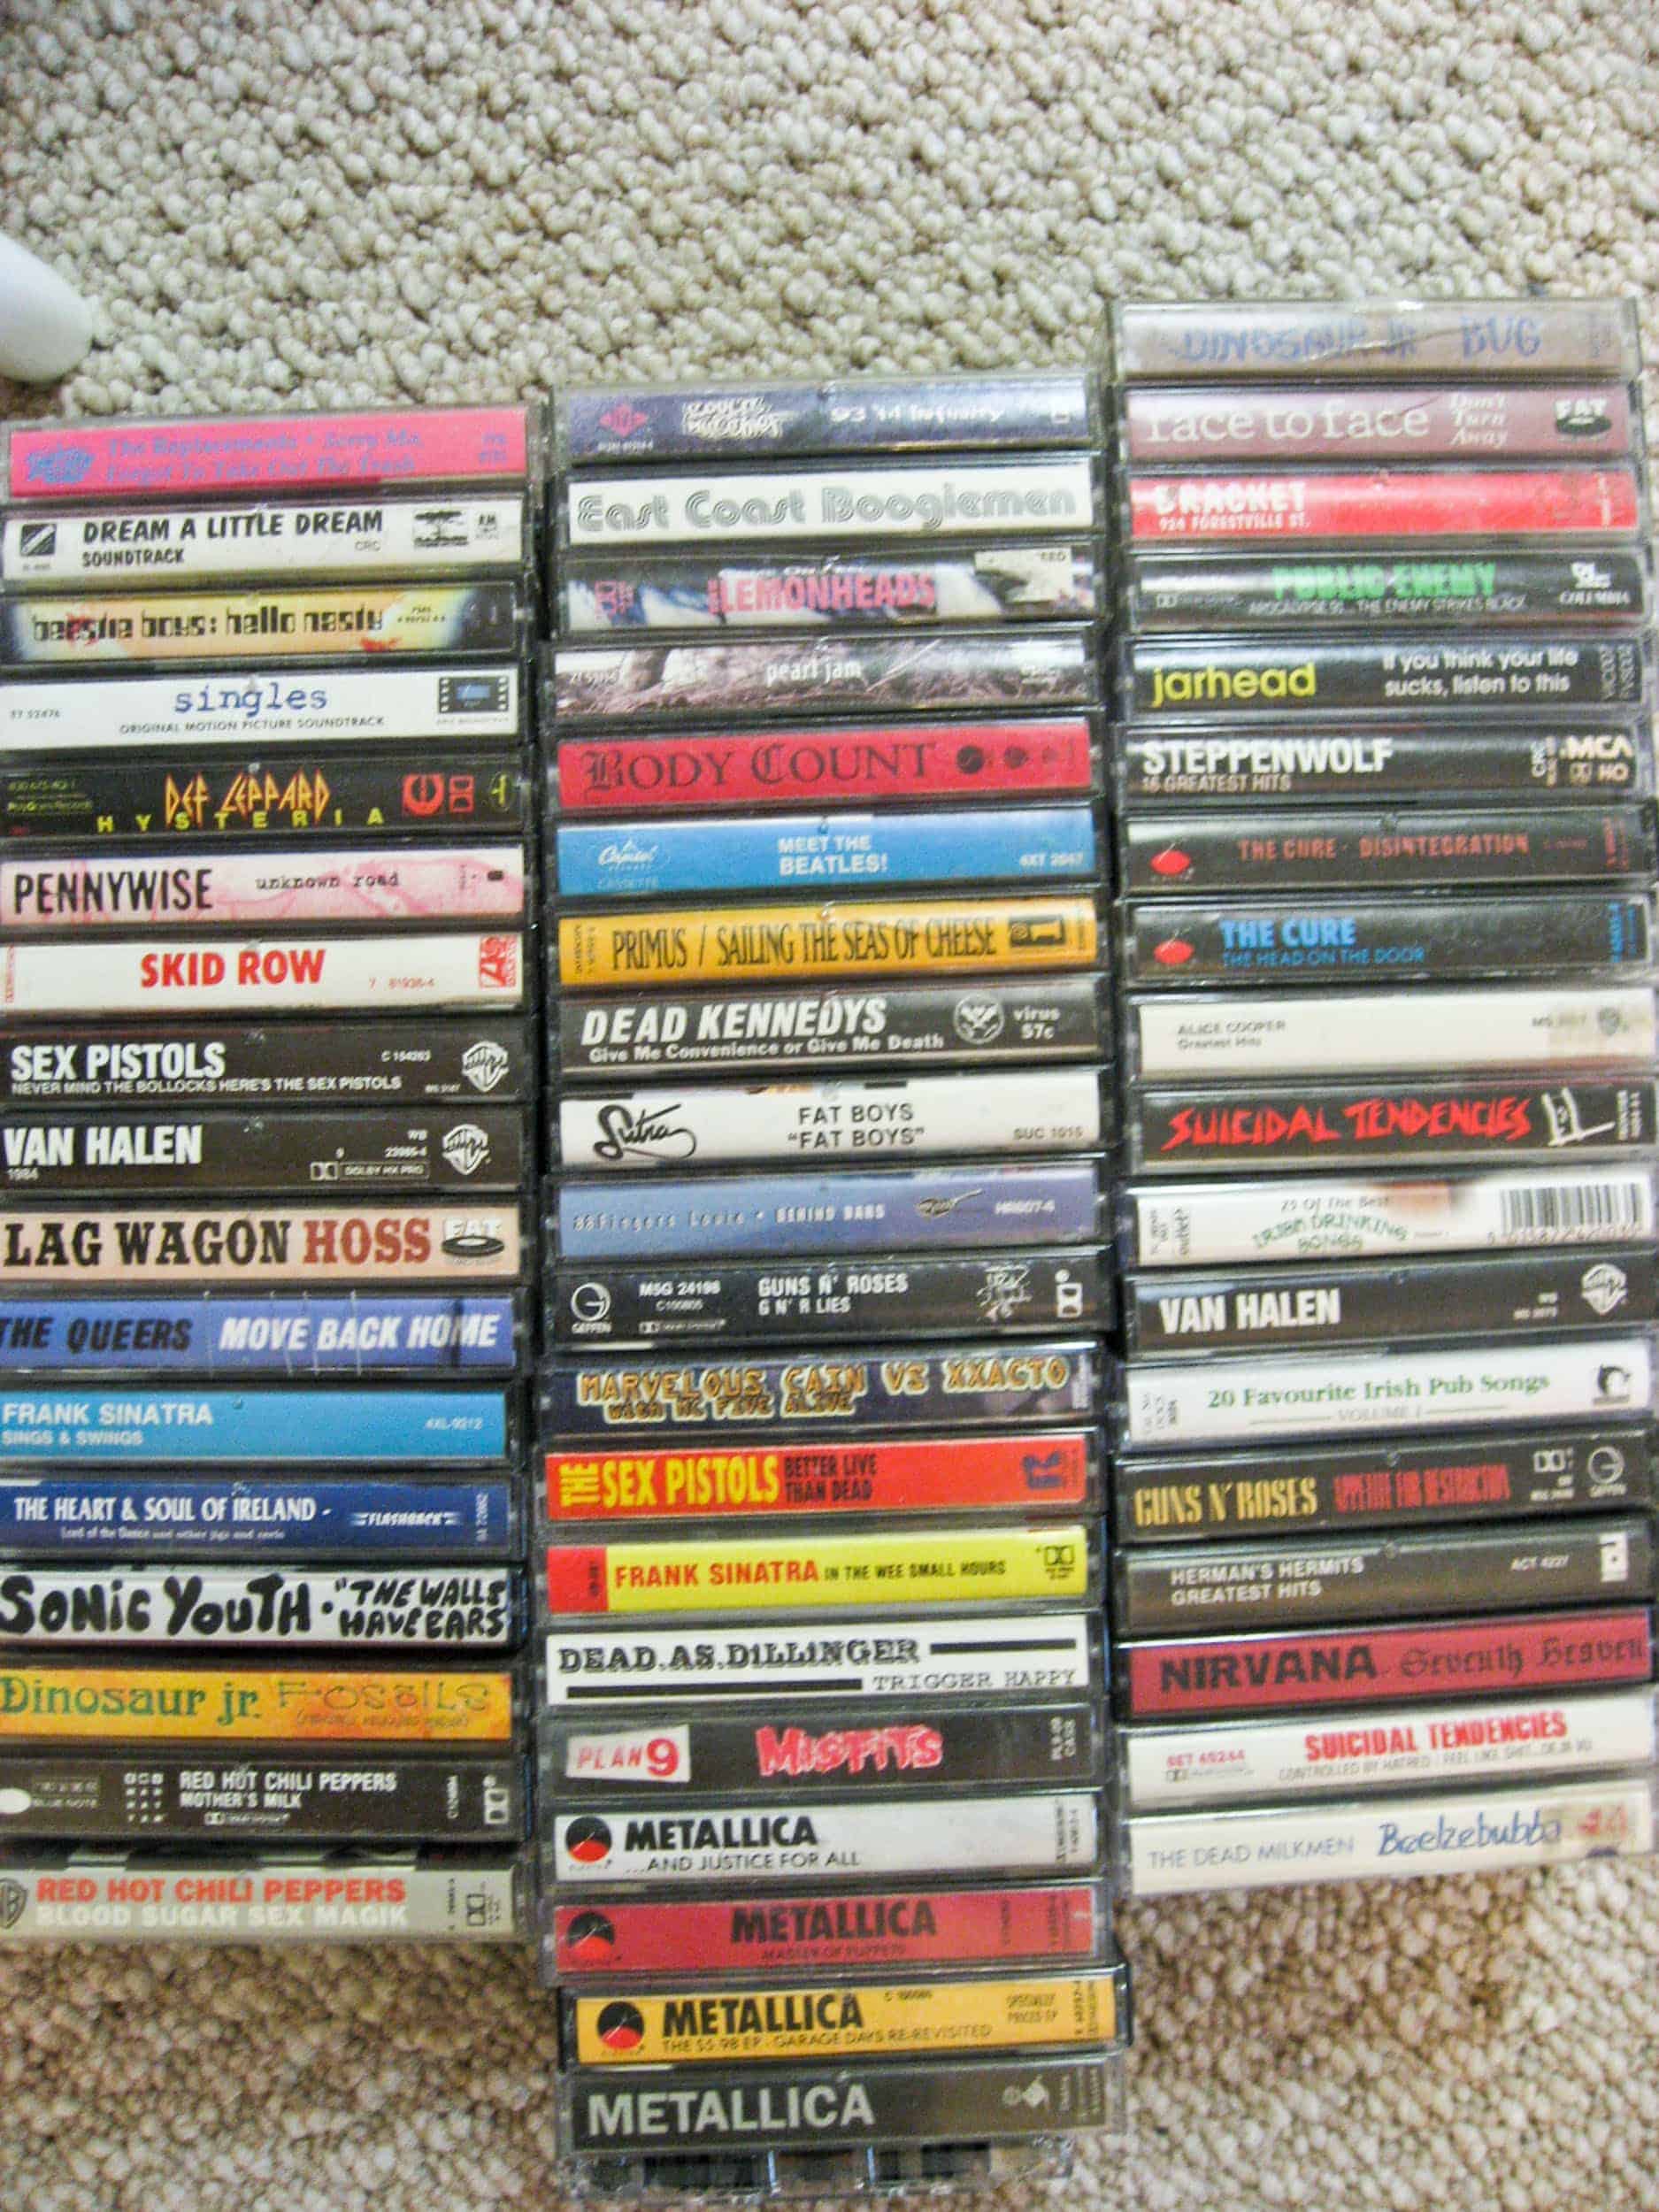
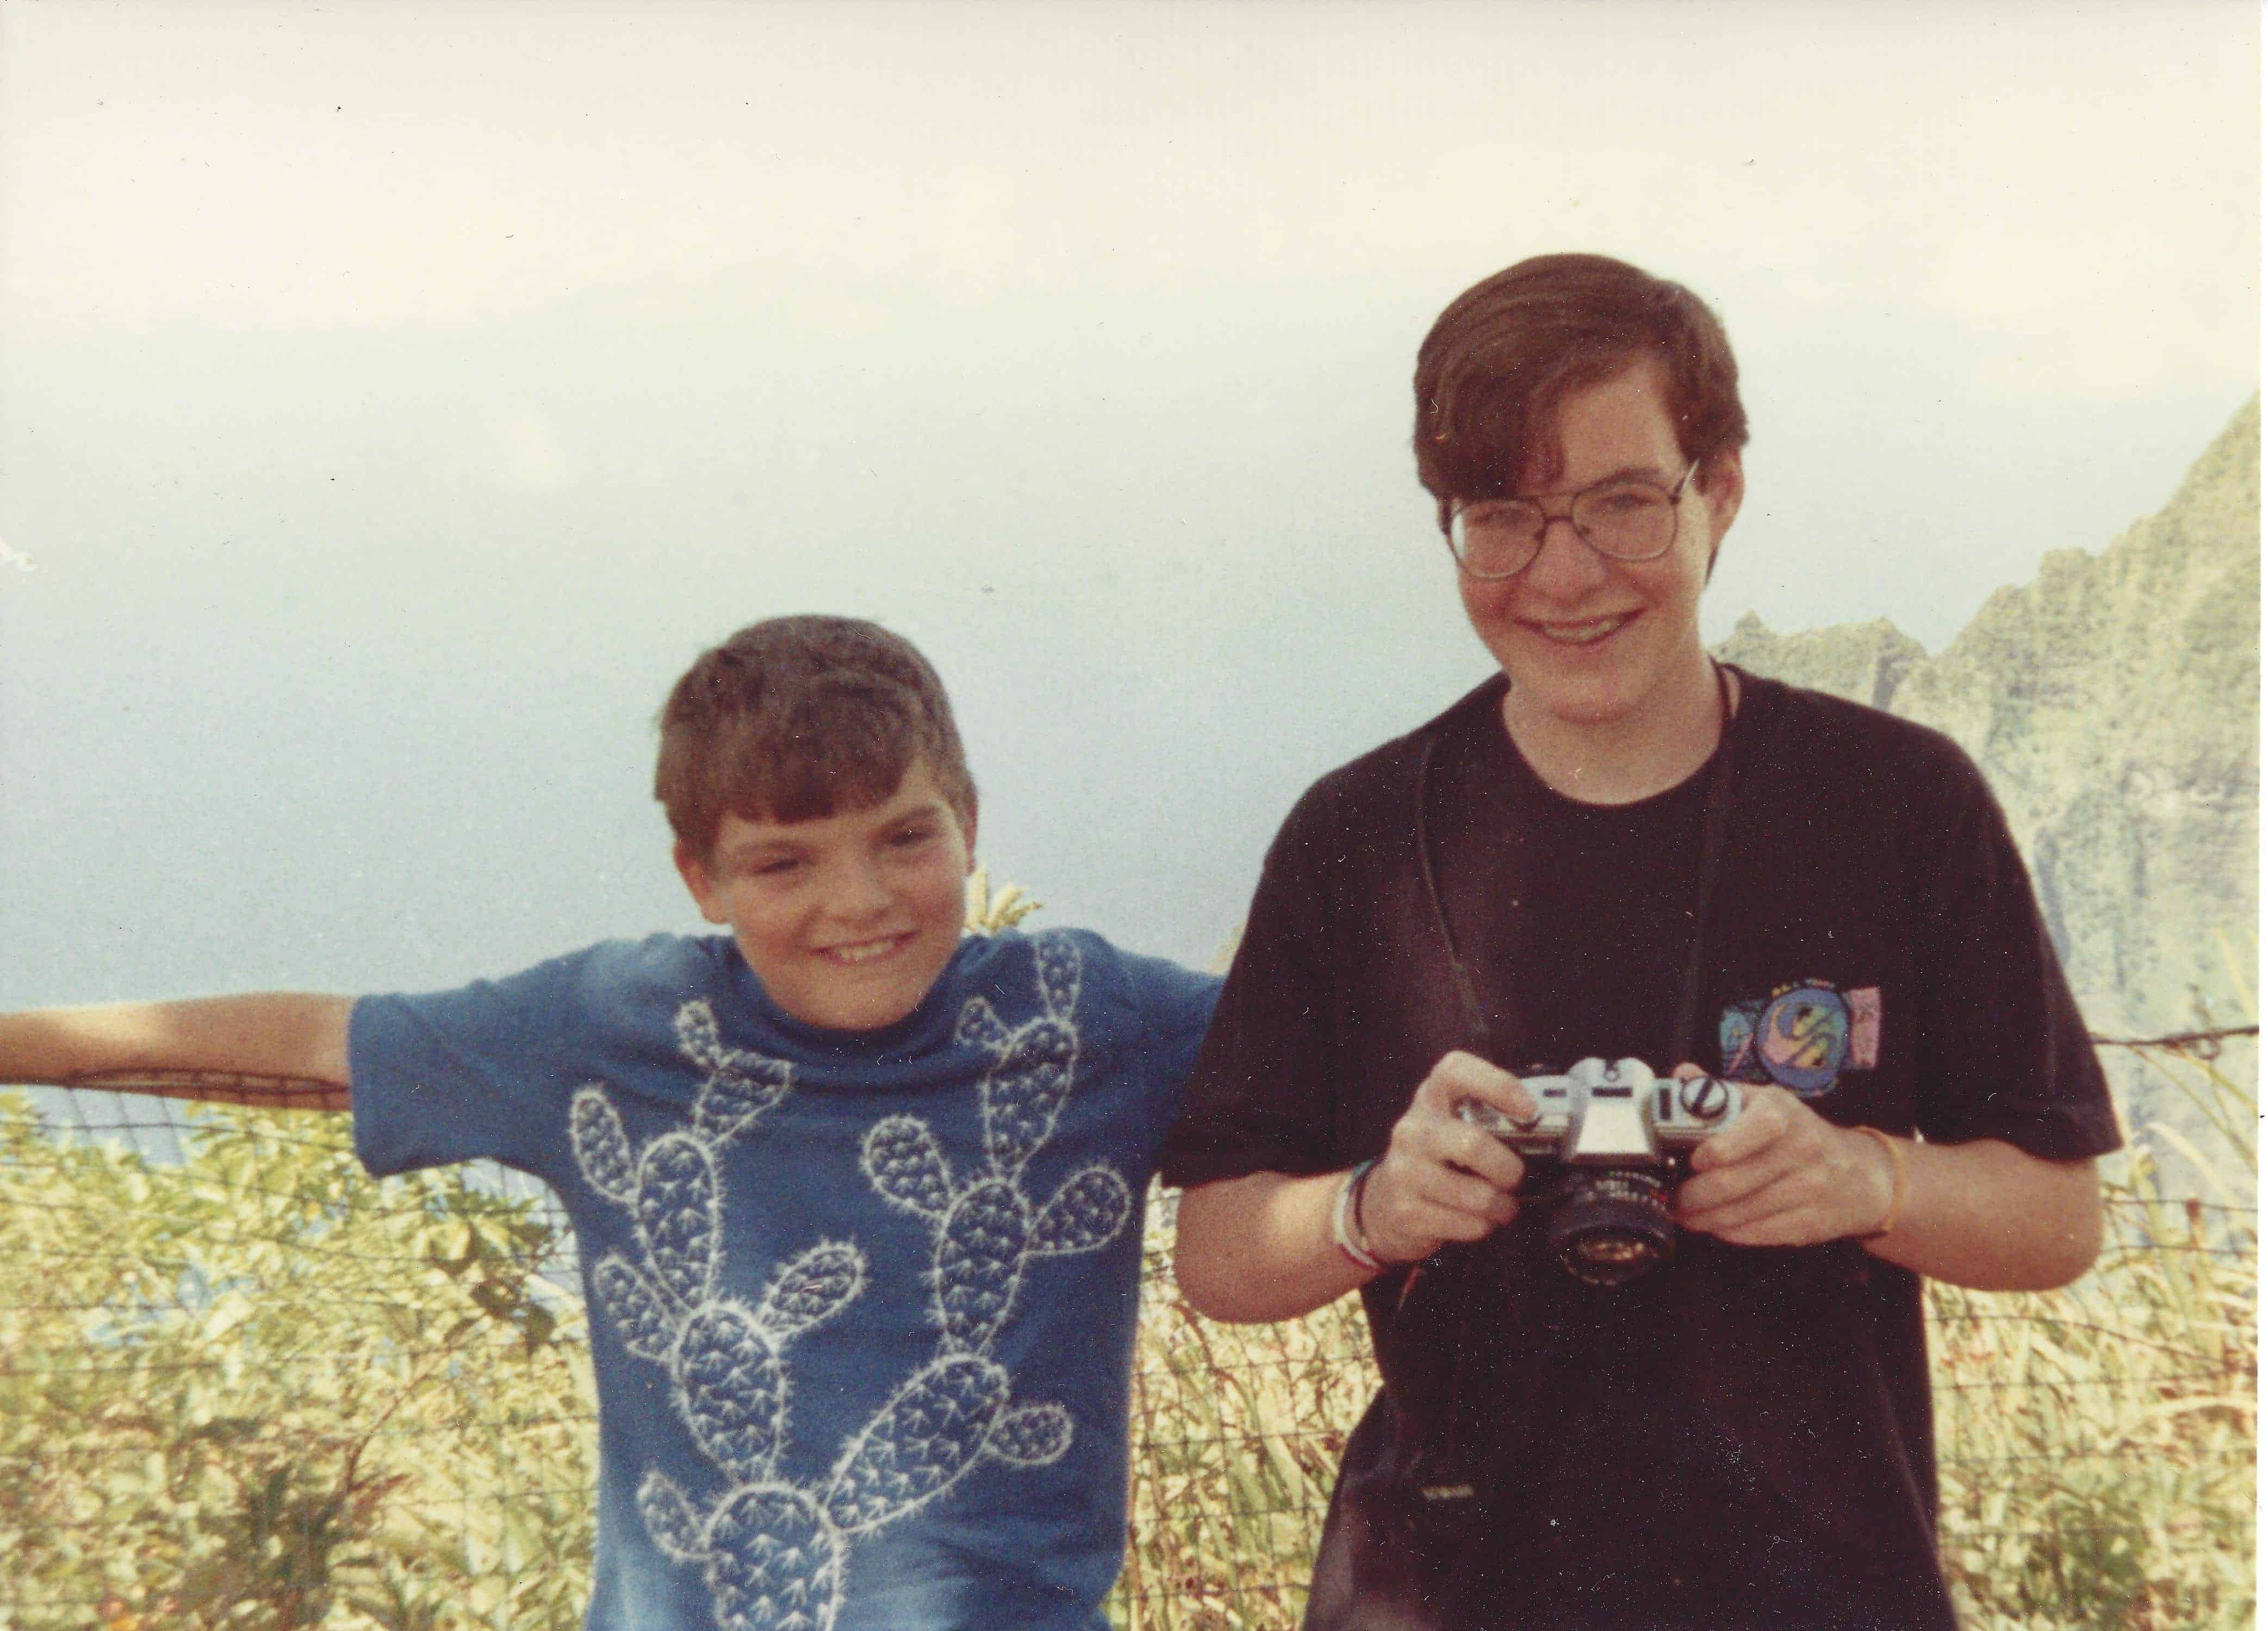
Beyond family influences growing up, I can safely say the music I listened to was paramount to decisions I'd make in my 20s and 30s about how to live my life. To indicate where I started, the first cassette tape I ever bought was Iron Maiden's "The Number of the Beast" at around nine or ten.
I'd been introduced to them by one of my best friends, Greg, who was undoubtedly influenced by his older brother. And it was either Greg (or MTV) who also introduced me to Van Halen. Metallica and Guns 'n Roses entered the picture soon after, though none of these groups were particularly political.
In middle and early high school, I was drawn to punk. One of my favorite bands was The Dead Kennedys, to whom I was introduced by my friend Jeff. I learned more about the genocide in Cambodia from their song "Holiday in Cambodia" than I ever did in school (it was never mentioned, as far as I recall). By the early 90s, my focus shifted to Nirvana, Pearl Jam, grunge, and indie music.
College Radio
During my first semester of college, my friends and I walked into the radio station on a Saturday night (while, presumably, everyone else was busy partying), followed the directions on the wall to power up the station, and broadcast our first show (much to the surprise of the General Manager).
I wasn't interested in joining a fraternity, so college radio and everyone involved became my focus for the next four years. I was even elected General Manager in my senior year. The bands I listened to during this time are too numerous to mention, but significant influences were Pennywise, NOFX, Bad Religion, and California skate punk-type stuff.
If I had to pick one band that has been the most influential, it'd be Pennywise, especially their old albums like Unknown Road. The message I took from much of this music was to go your own way. Have the courage to do what you want, society's norms be damned.
College Years
During my college years (1994-98), I didn't leave my small college town (pop: 2,000) very much. My friends and I would occasionally drive to concerts around upstate New York or go snowboarding to get away on weekends and short breaks.
My most extensive trip was a 24-hour Greyhound bus to Daytona Beach, Florida, for Spring Break (and then taking it back, too). Cheap, yes, but something I swore never to do again.
I'd never considered studying abroad for a semester, probably because none of my friends did. And truthfully, I was enjoying college life so much that I didn't want to give up a semester on campus to be elsewhere. I worked a minimum-wage job at a movie theater on summer breaks to save cash for the year ahead.
During my senior year, when three roommates began talking about backpacking in Europe after graduation, I thought it sounded fun. I quickly got on board with the idea, despite knowing my parents wouldn't be too excited about their son flitting off to Europe after they'd just financed his four-year college education.
But what are two months out of a possible work-life of 40+ years? Now that I'm 47 and halfway through my prime working years, it's nothing. After graduation, I still had no idea what I wanted to do for a living. I stayed at my parent's house and worked as an office temp to save for the trip.
During my senior year, or perhaps after I graduated, I received a generous cash gift from my maternal grandmother. While I don't have kids, if I did, I've often thought giving them cash to travel after high school would be money well invested. My grandma helped make my first backpacking trip possible, and I've always been grateful.
My First Backpacking Trip (1998)
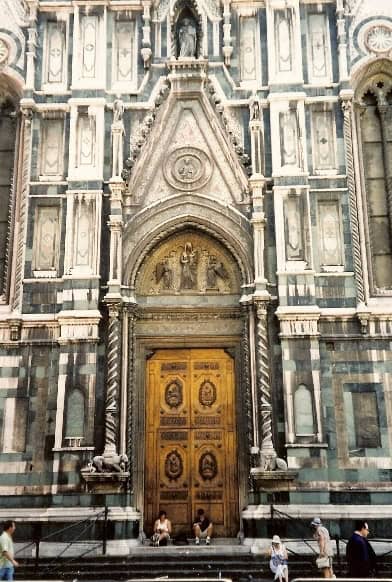
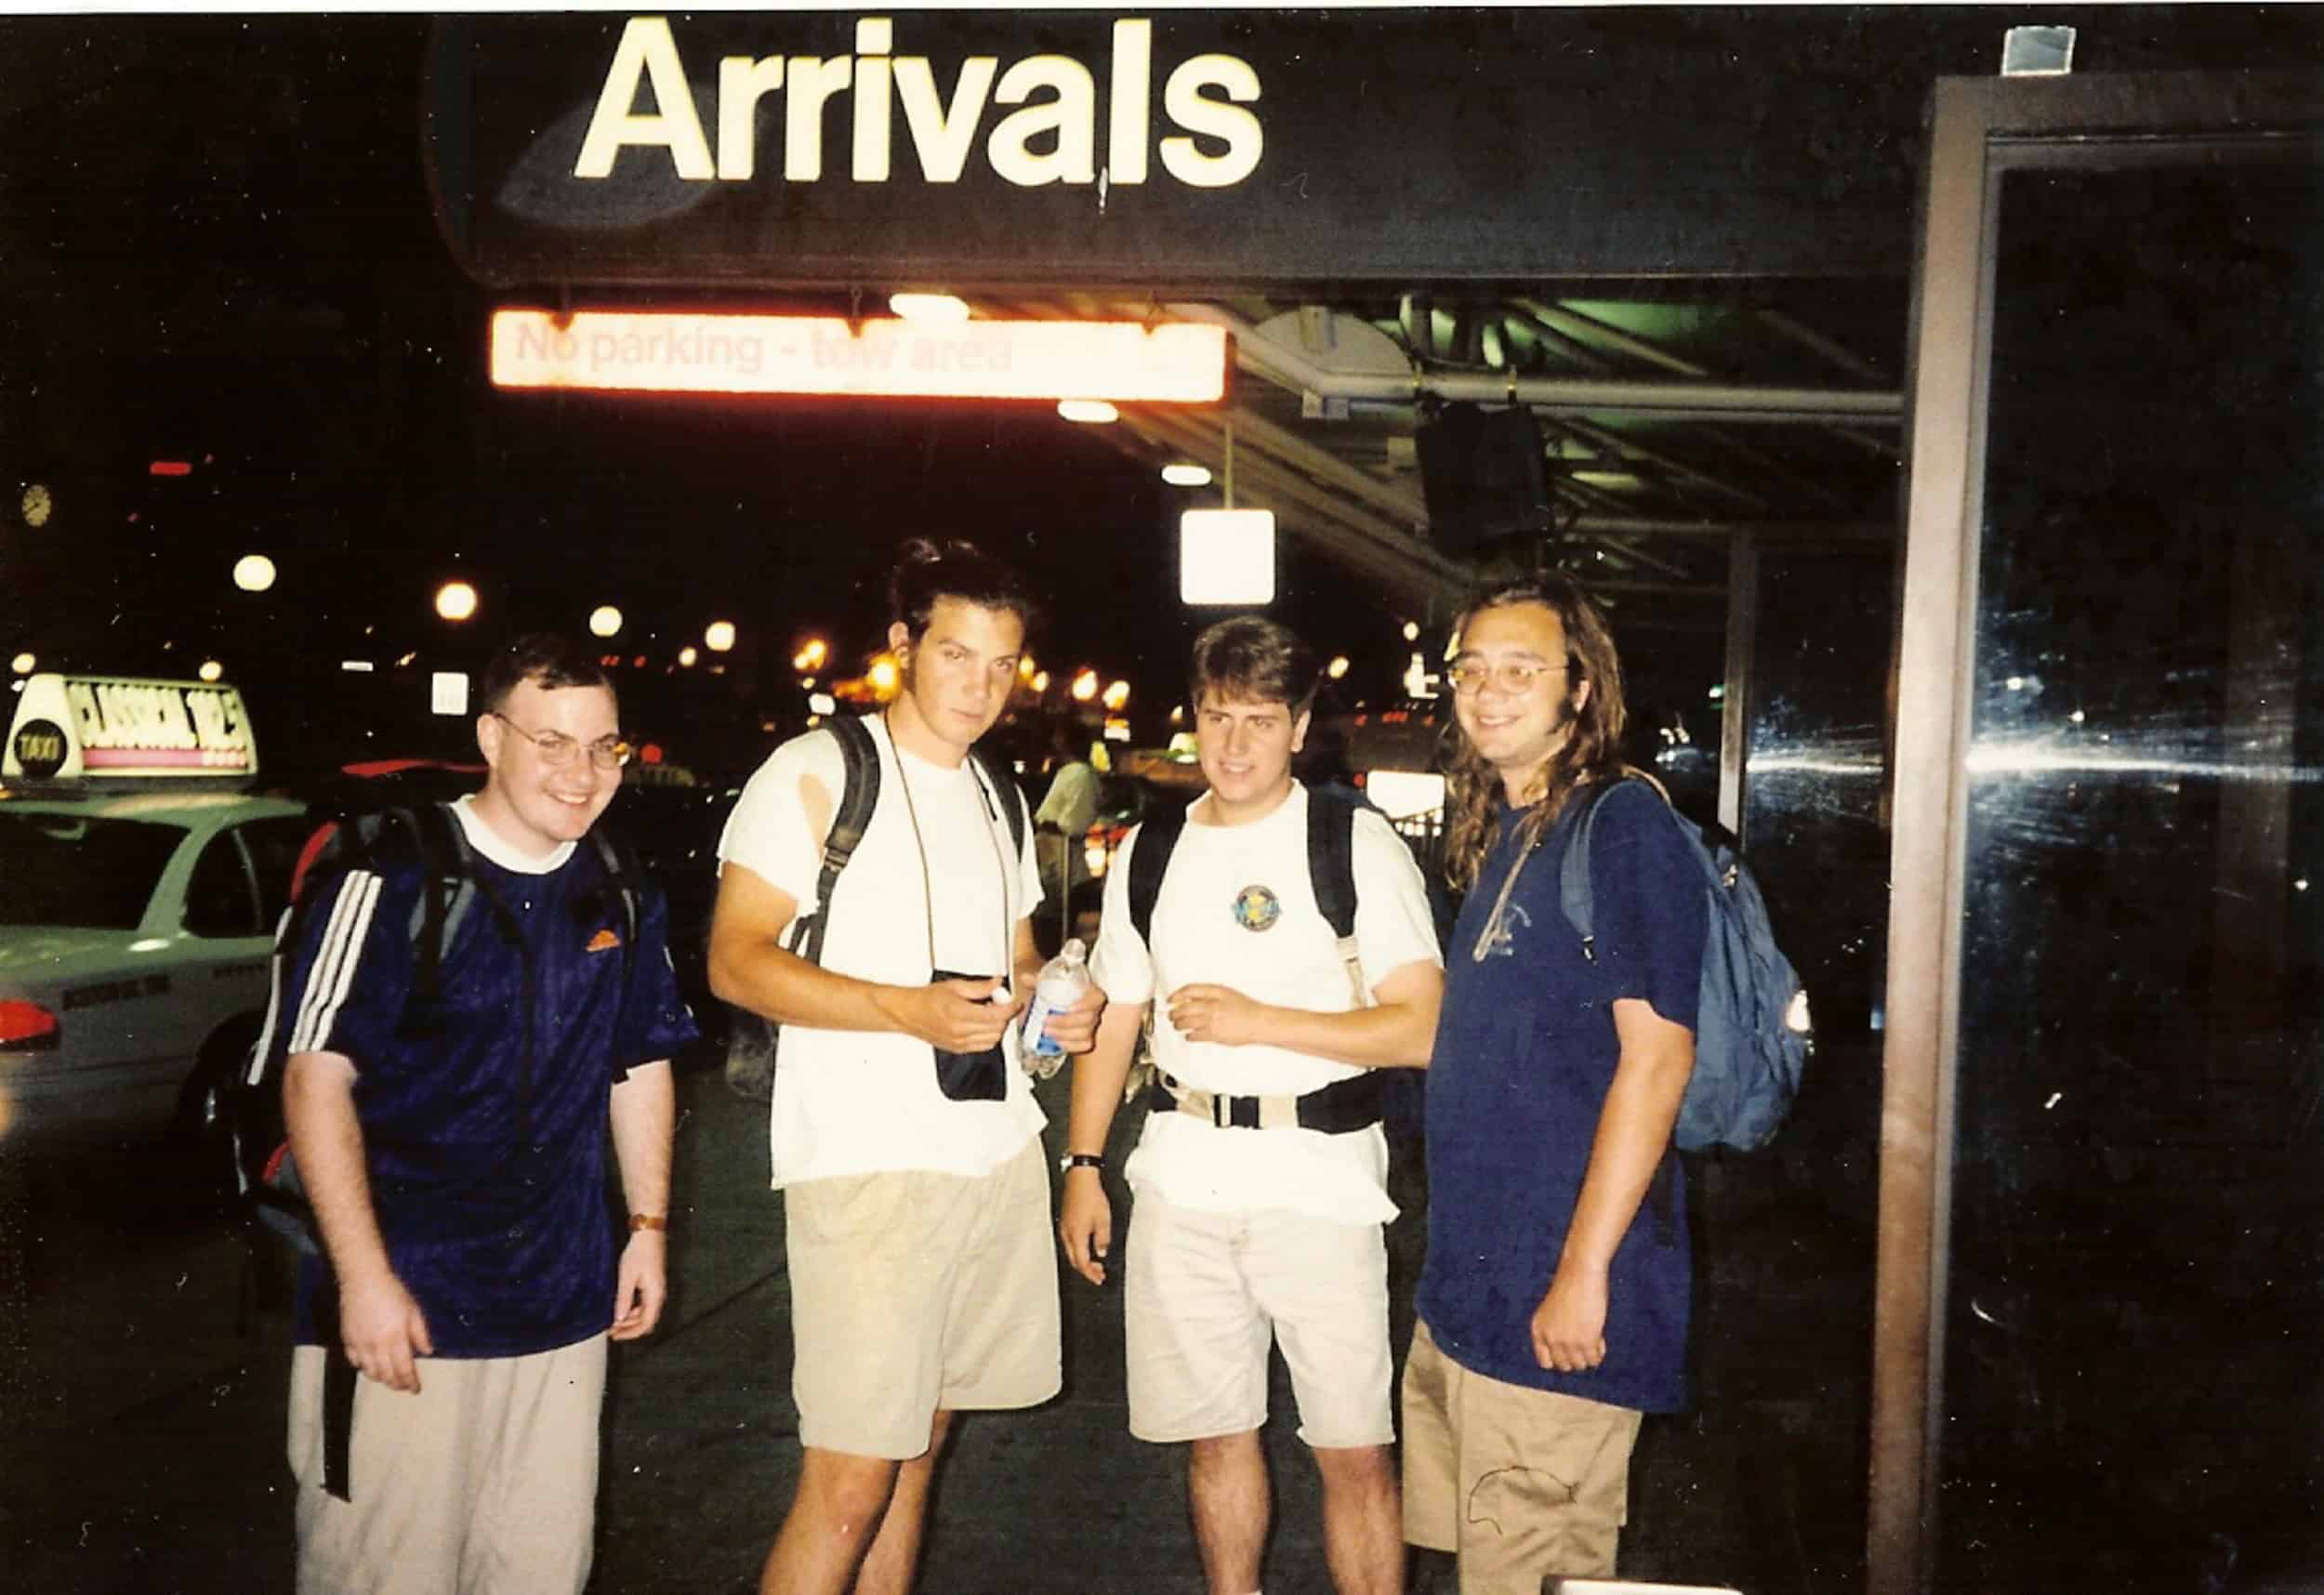
And so, in July 1998, I flew to Paris with three of my best buddies for our epic adventure. We landed in the French capital on the day of the World Cup final between France and Brazil.
When Brazil won, the city went bonkers. We thought the French were wild, so we hightailed it to Amsterdam the following day. It's one of my favorite memories from the trip because we were so utterly aloof to the popularity of soccer outside the US.
About a week into the trip, while exploring Italy for the first time, my friends began talking about going home early. Now that I had gotten a taste for hostels, riding the rails, exploring old European cities, and meeting people from around the world, I could hardly believe it. I chose to stay and explore further, even if it meant doing so alone.
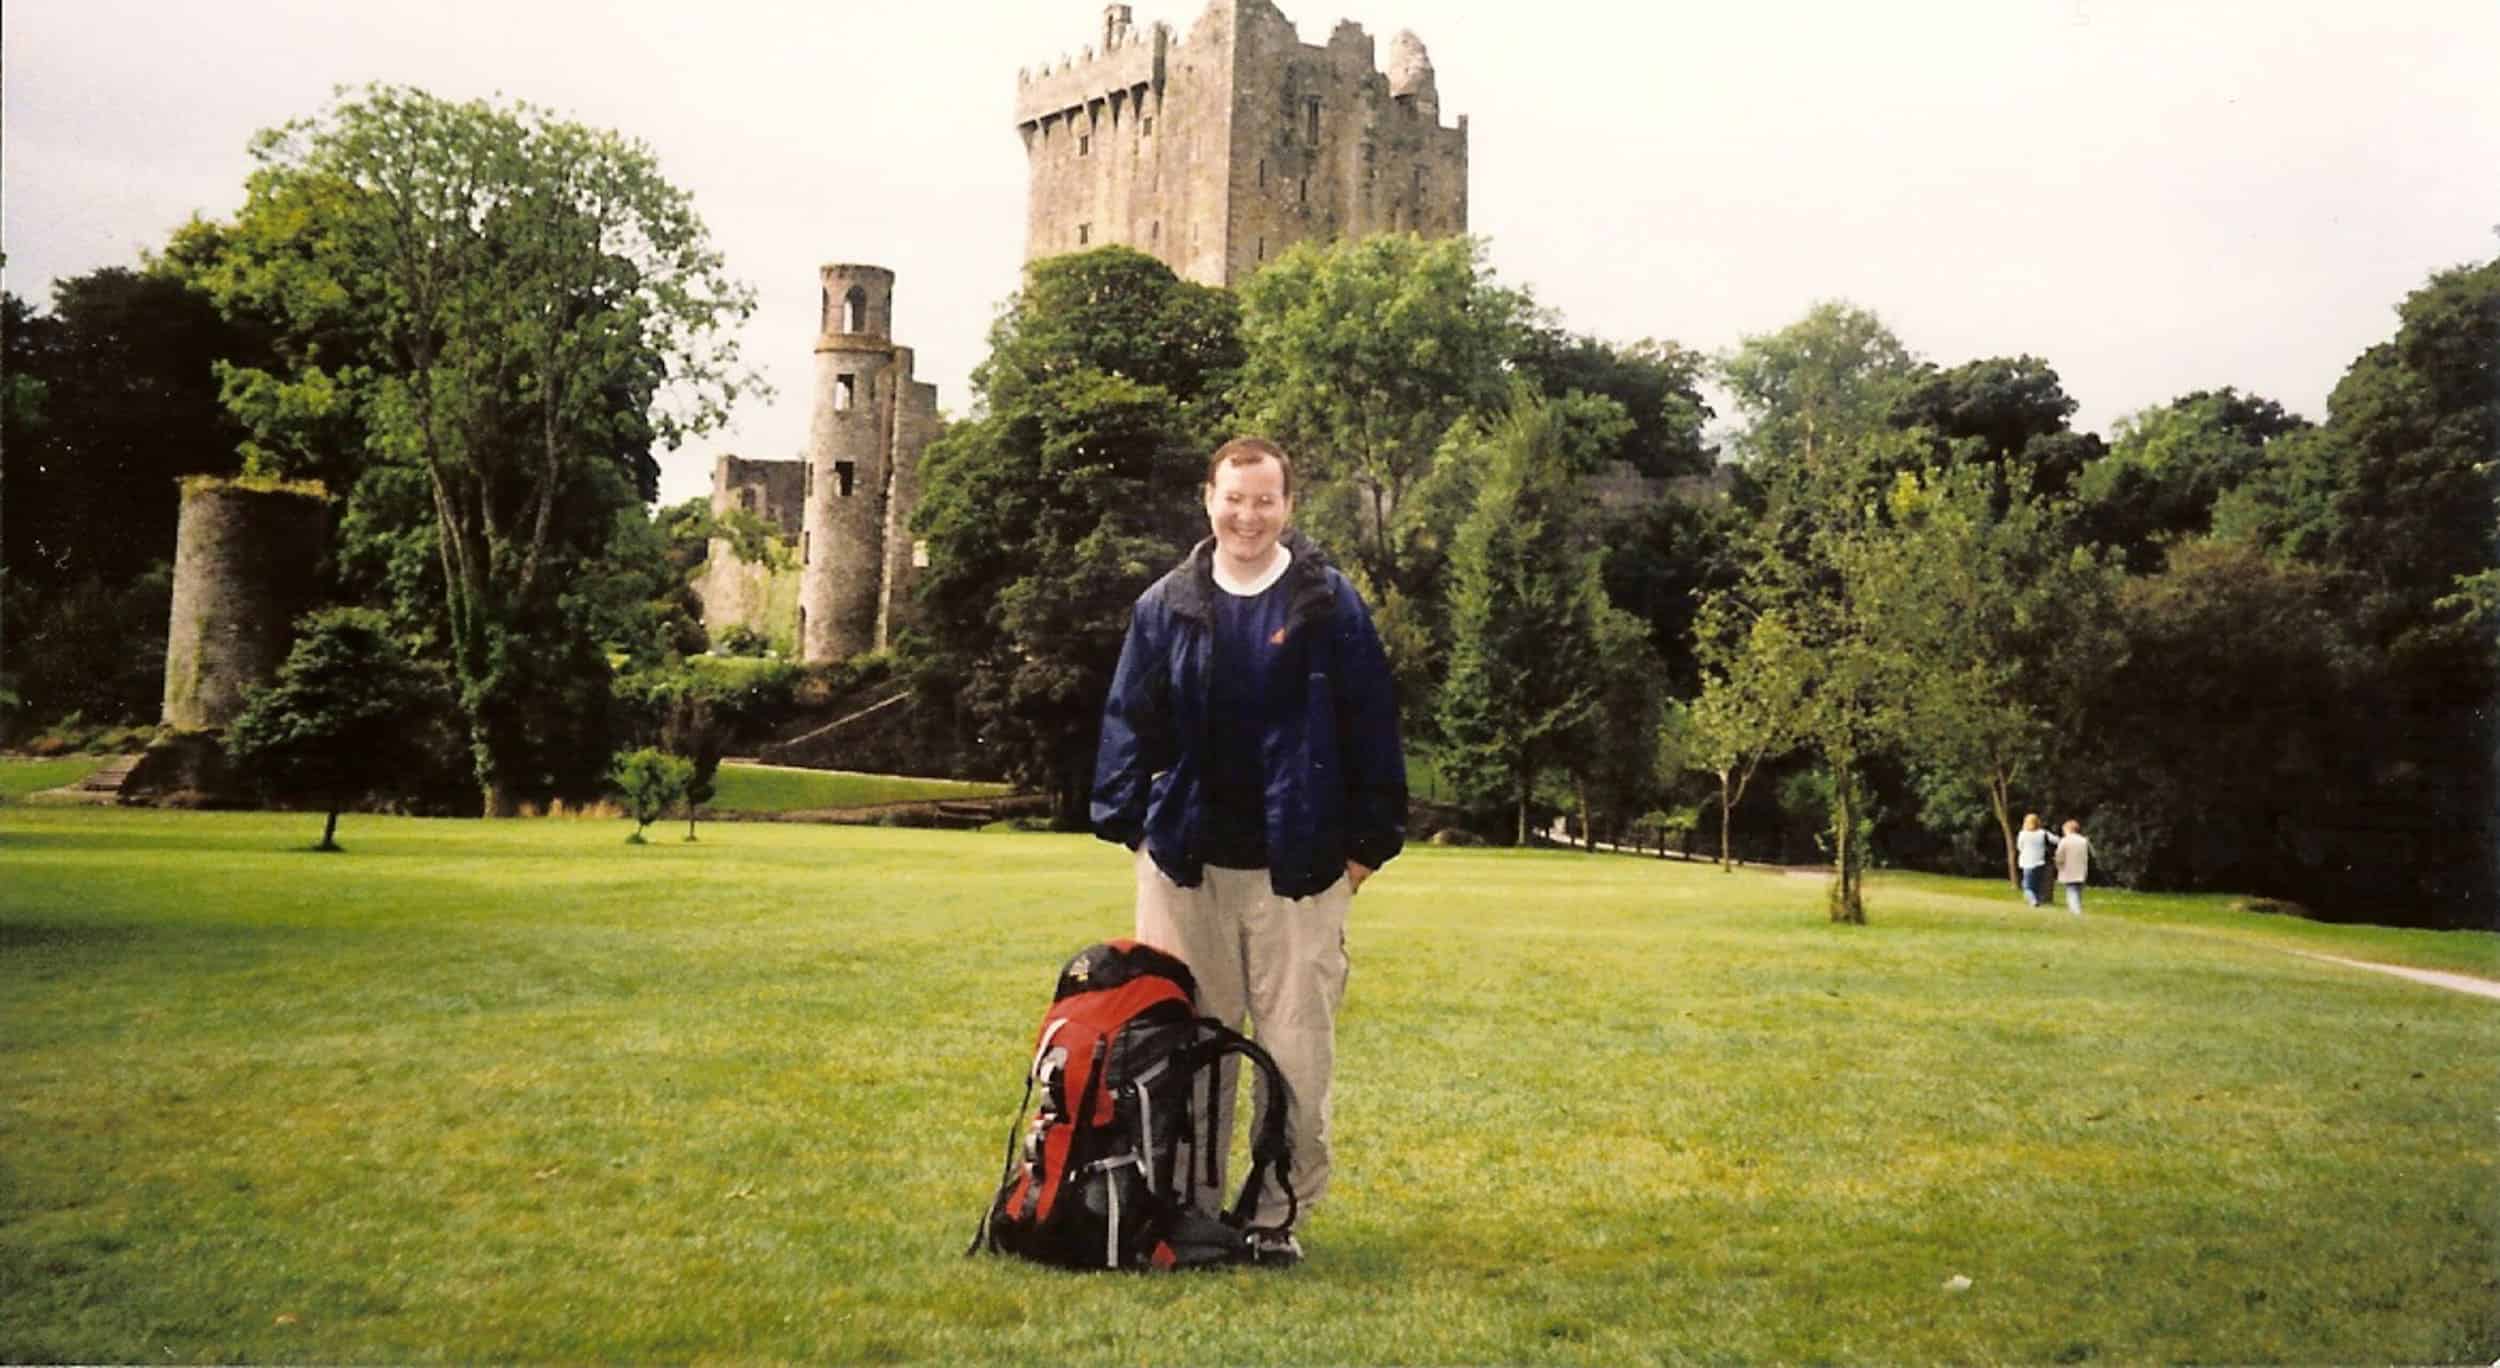
I spent the next five and a half weeks in Italy, the French Riviera, England, and Ireland before returning to Paris for my charter flight home (which I missed, but that's another story).
Related: Read my original 1998 travelogue from backpacking in Europe
Go Backpacking is Born
Before I left for Europe, I had come across a website called Luke's Hippy Dippy Travelogues. It was the first time I saw a regular traveler publish their journals online. This was before WordPress and blogs; creating custom websites required programming skills.
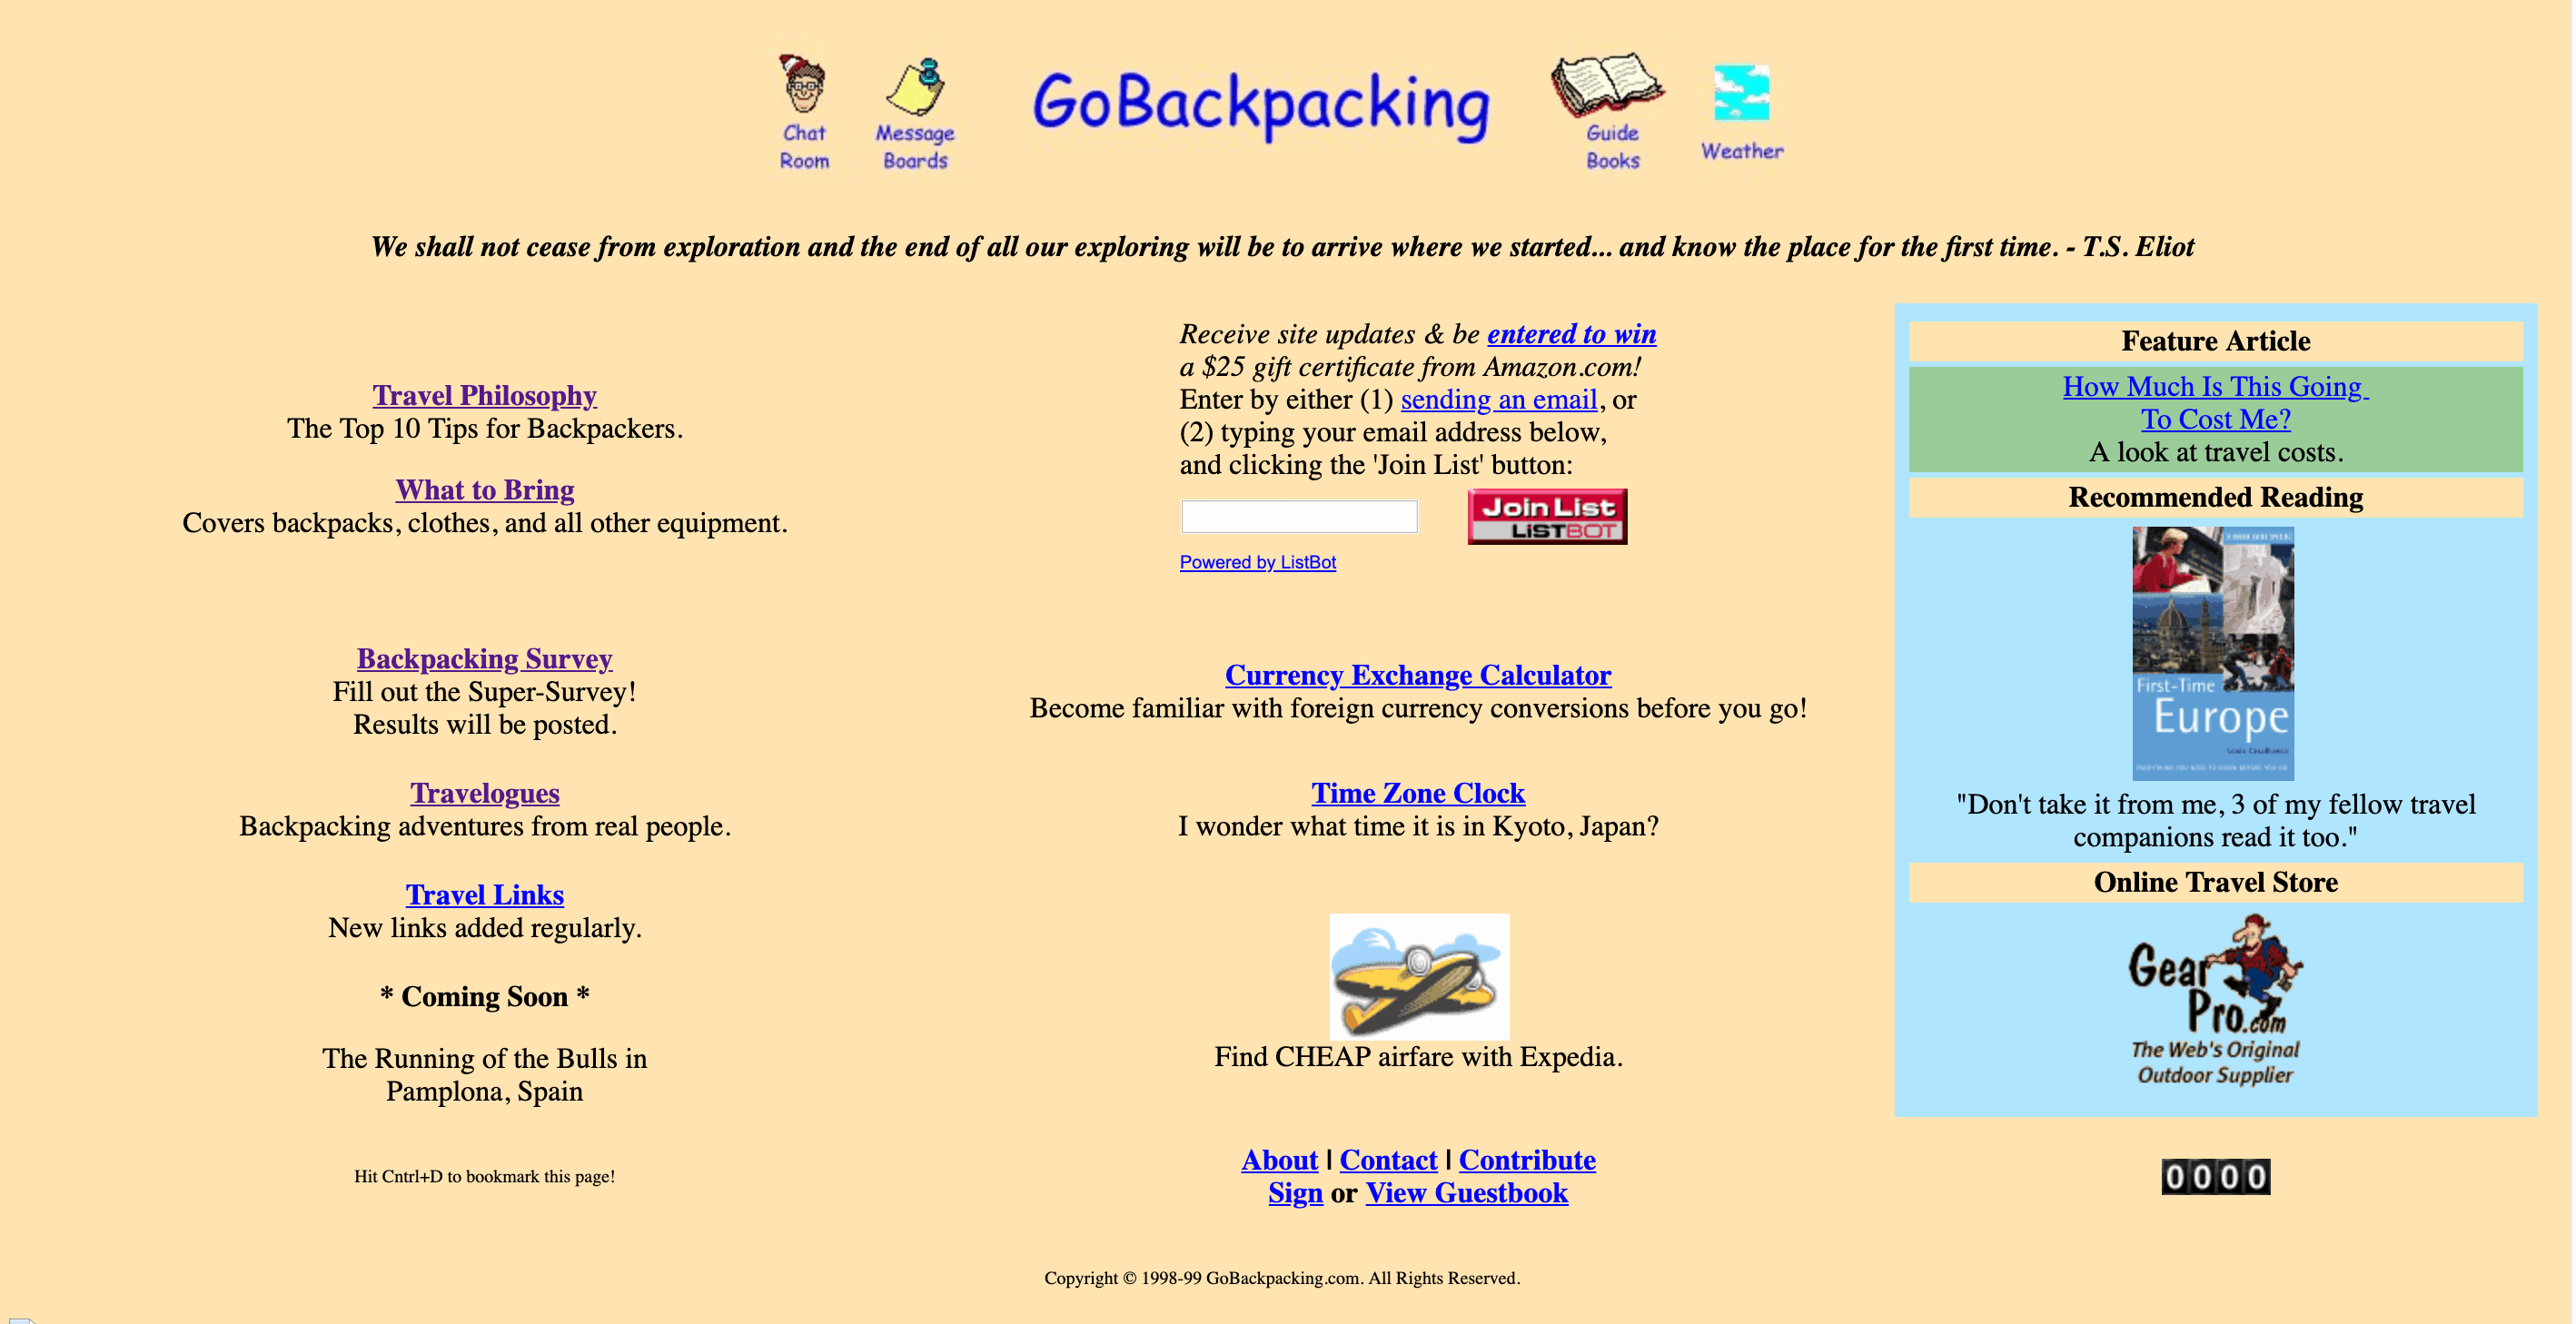
I had such a fantastic time on my first backpacking trip. I returned to Virginia feeling inspired to learn HTML to transcribe my handwritten journal onto a website. I started with a free Geocities website. Thanks to the Internet Archives, you can still see an early version of my travelogue, minus the photos.
Once it was online, I wanted people to find it, and I submitted links to Yahoo and all the other search engines available at the time. Eventually, people started to find and read about my trip. Interaction back then came in the form of comments on my website's guestbook and questions via email.
That's when I thought of buying a domain name and creating a website to encourage people to go backpacking. Click here to see what Go Backpacking looked like as of January 1999 while it was still hosted on Geocities. I bought the domain a few months later, in March 1999.
By 2001, I'd discovered the drag-and-drop software NetObjects Fusion, which made creating web pages more accessible. I was no longer hand-coding each page, but it was still clunky and time-consuming. Here's a snapshot from 2003 with a better-looking home page and my first custom logo.
I made my first few hundred dollars online back then, referring people to buy guidebooks through Amazon's affiliate program and Eurail passes through a rail pass affiliate program.
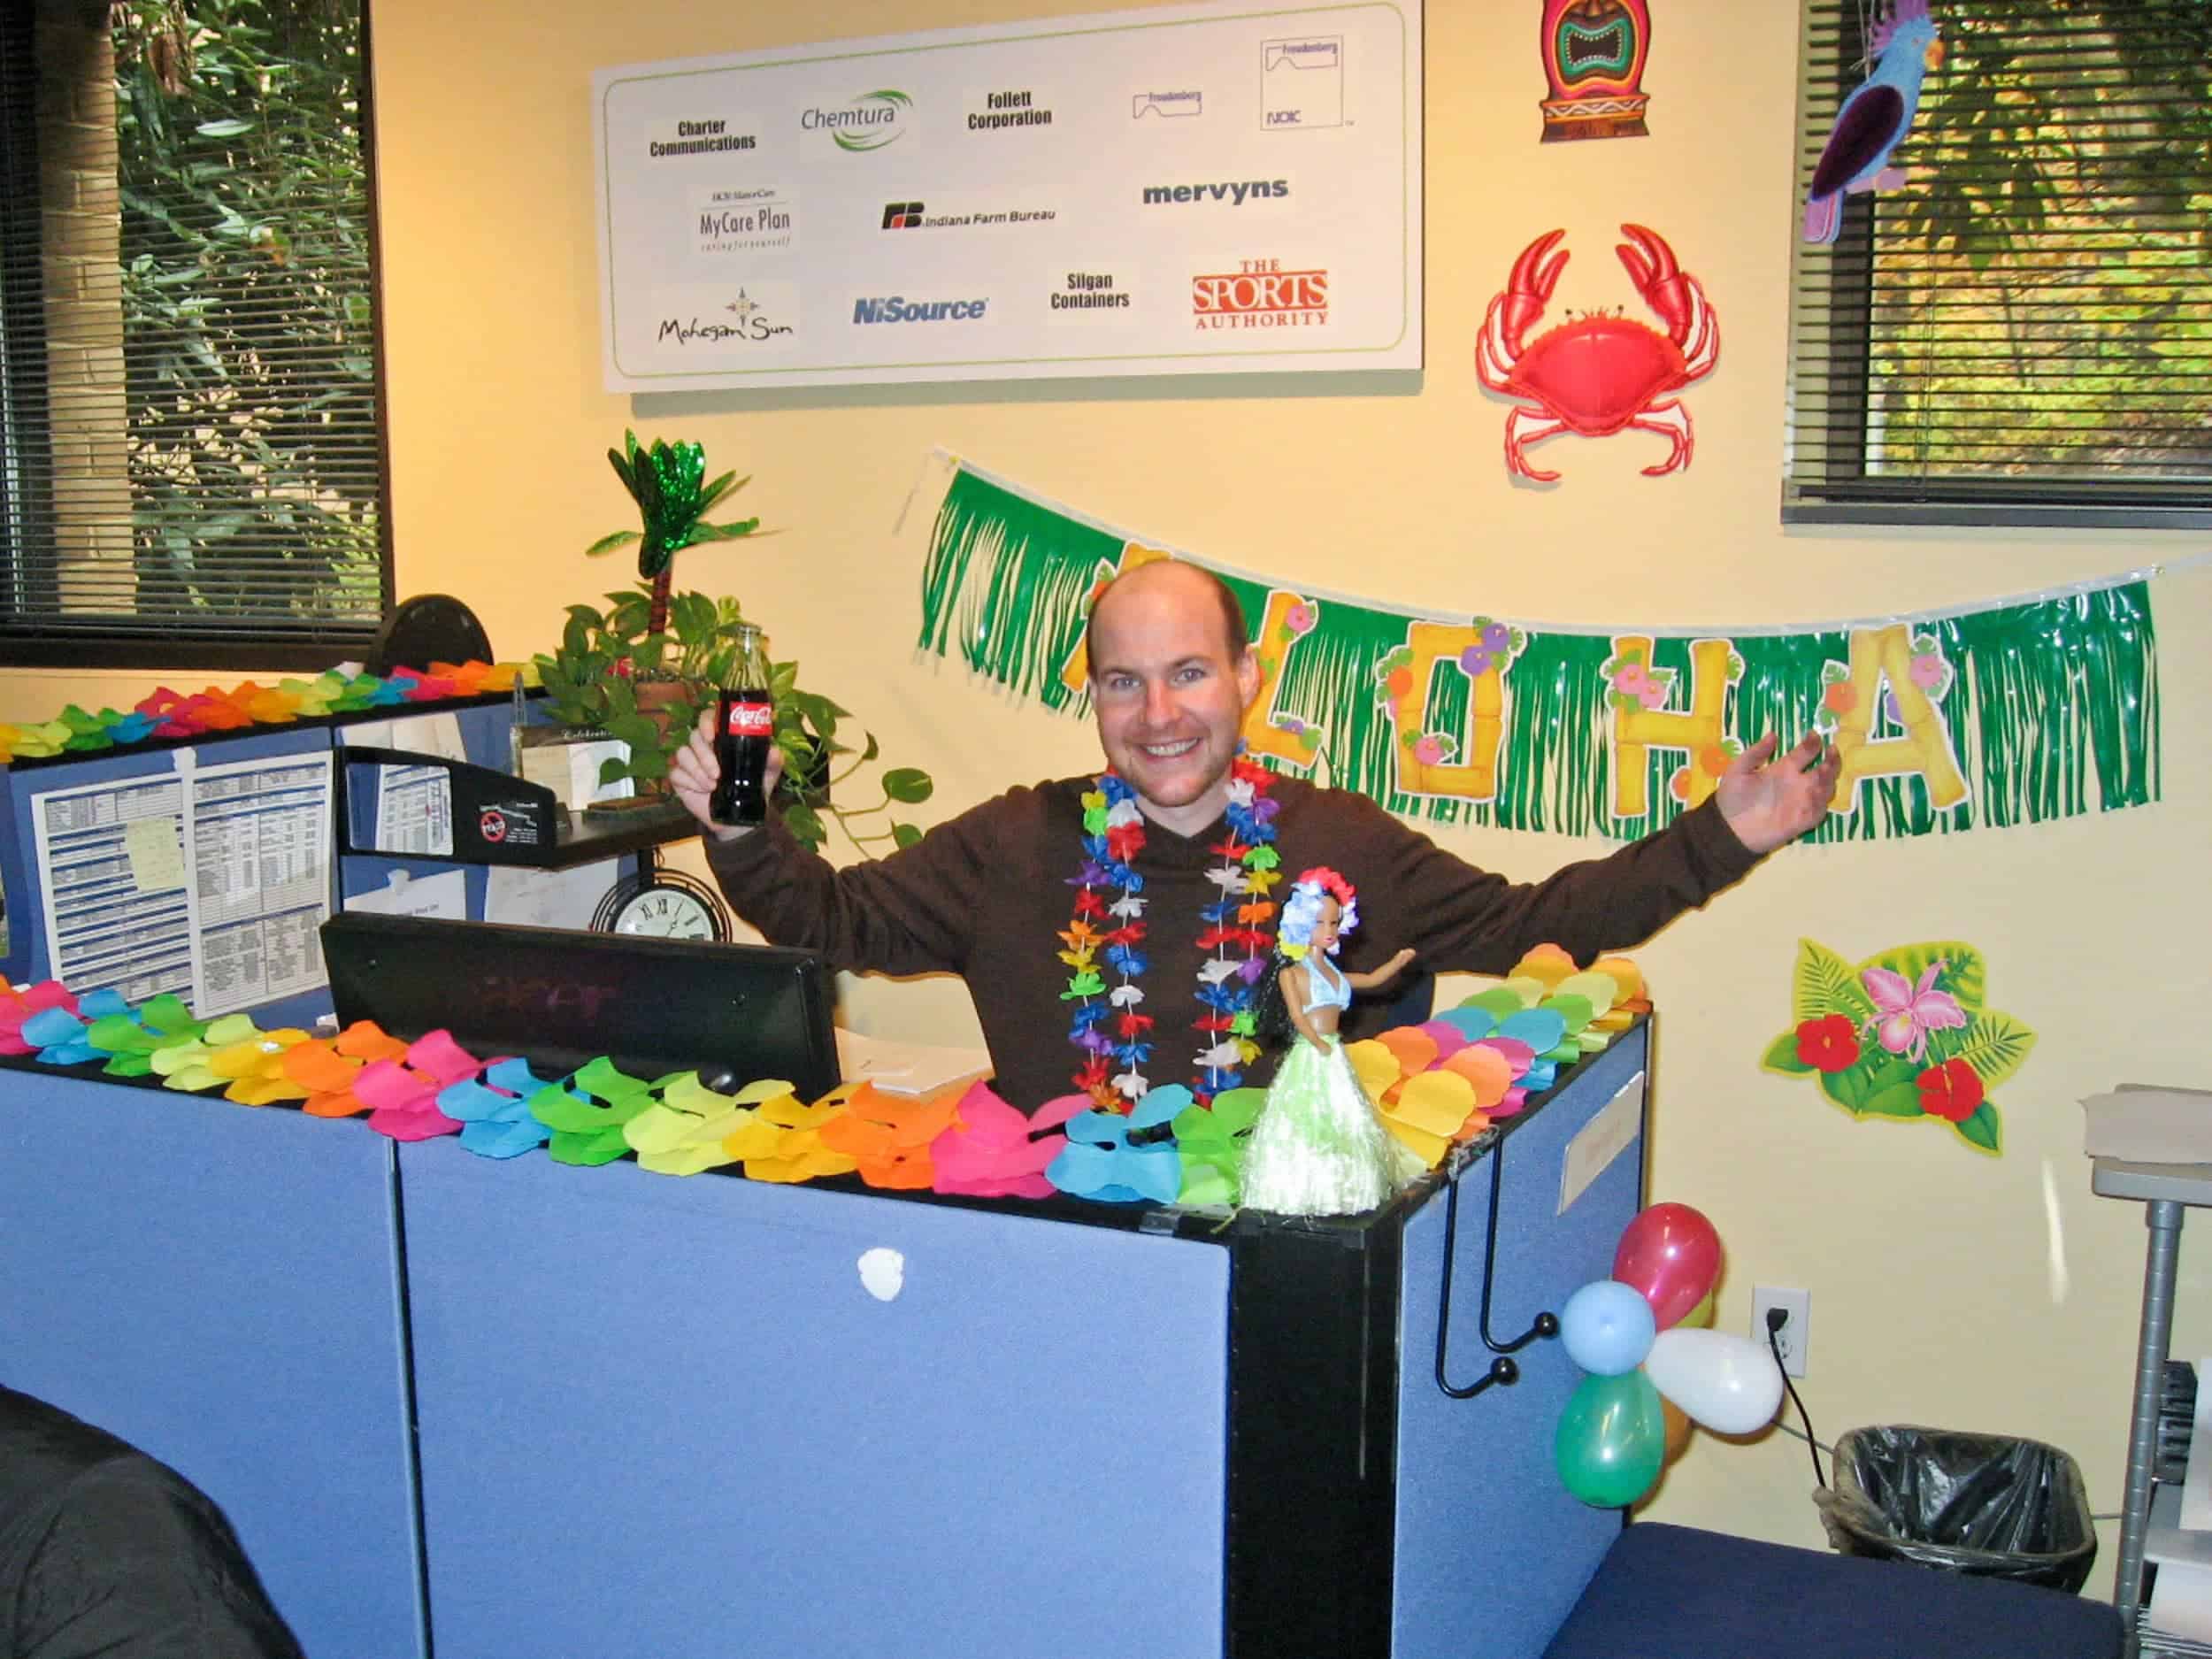
Office Space - How I Spent My 20s (1998-2006)
In the fall of '98, as I was learning HTML at home, I spent my days temping for CareerBuilder.com in Reston, VA. I was doing data entry for job listings, but it was at a startup during the first dot-com boom, so it felt more exciting to be there than it sounds. Also, they had free popcorn and Tootsie Roll pops.
In early '99, I was hired full-time as the supervisor who managed the temps doing the data entry. I remember brainstorming names for my travel website while sitting in my cubicle one day.
Backpacking.com was already taken, so I went with GoBackpacking.com, only two letters longer. I also liked the sense of energy and forward movement implied by the word "go."
The 9/11 Effect
On September 11, 2001, I was walking through reception to my desk when I saw the World Trade Center ablaze on the news. Stunned to hear a plane had flown into one of the towers, the live footage stopped me in my tracks.
The office closed early that day, and I spent the rest of it glued to my TV with my brother and roommate. I had already bought airfare and made a deposit on a group tour in Egypt for the following month.
I remember trying to decide whether to go or not. My parents didn't want me to go. Ultimately, I gave in to my fears and canceled the trip. The airline canceled the flight, so I got my money back there, but I lost $300 on the tour deposit.
With the trip canceled and no future travel on the horizon, I stopped working on Go Backpacking. I continued to renew the domain every year due to the time I'd already put into it.
(Note: I finally made it to Egypt in December 2008 during my RTW trip.)
A Layoff Becomes a Turning Point
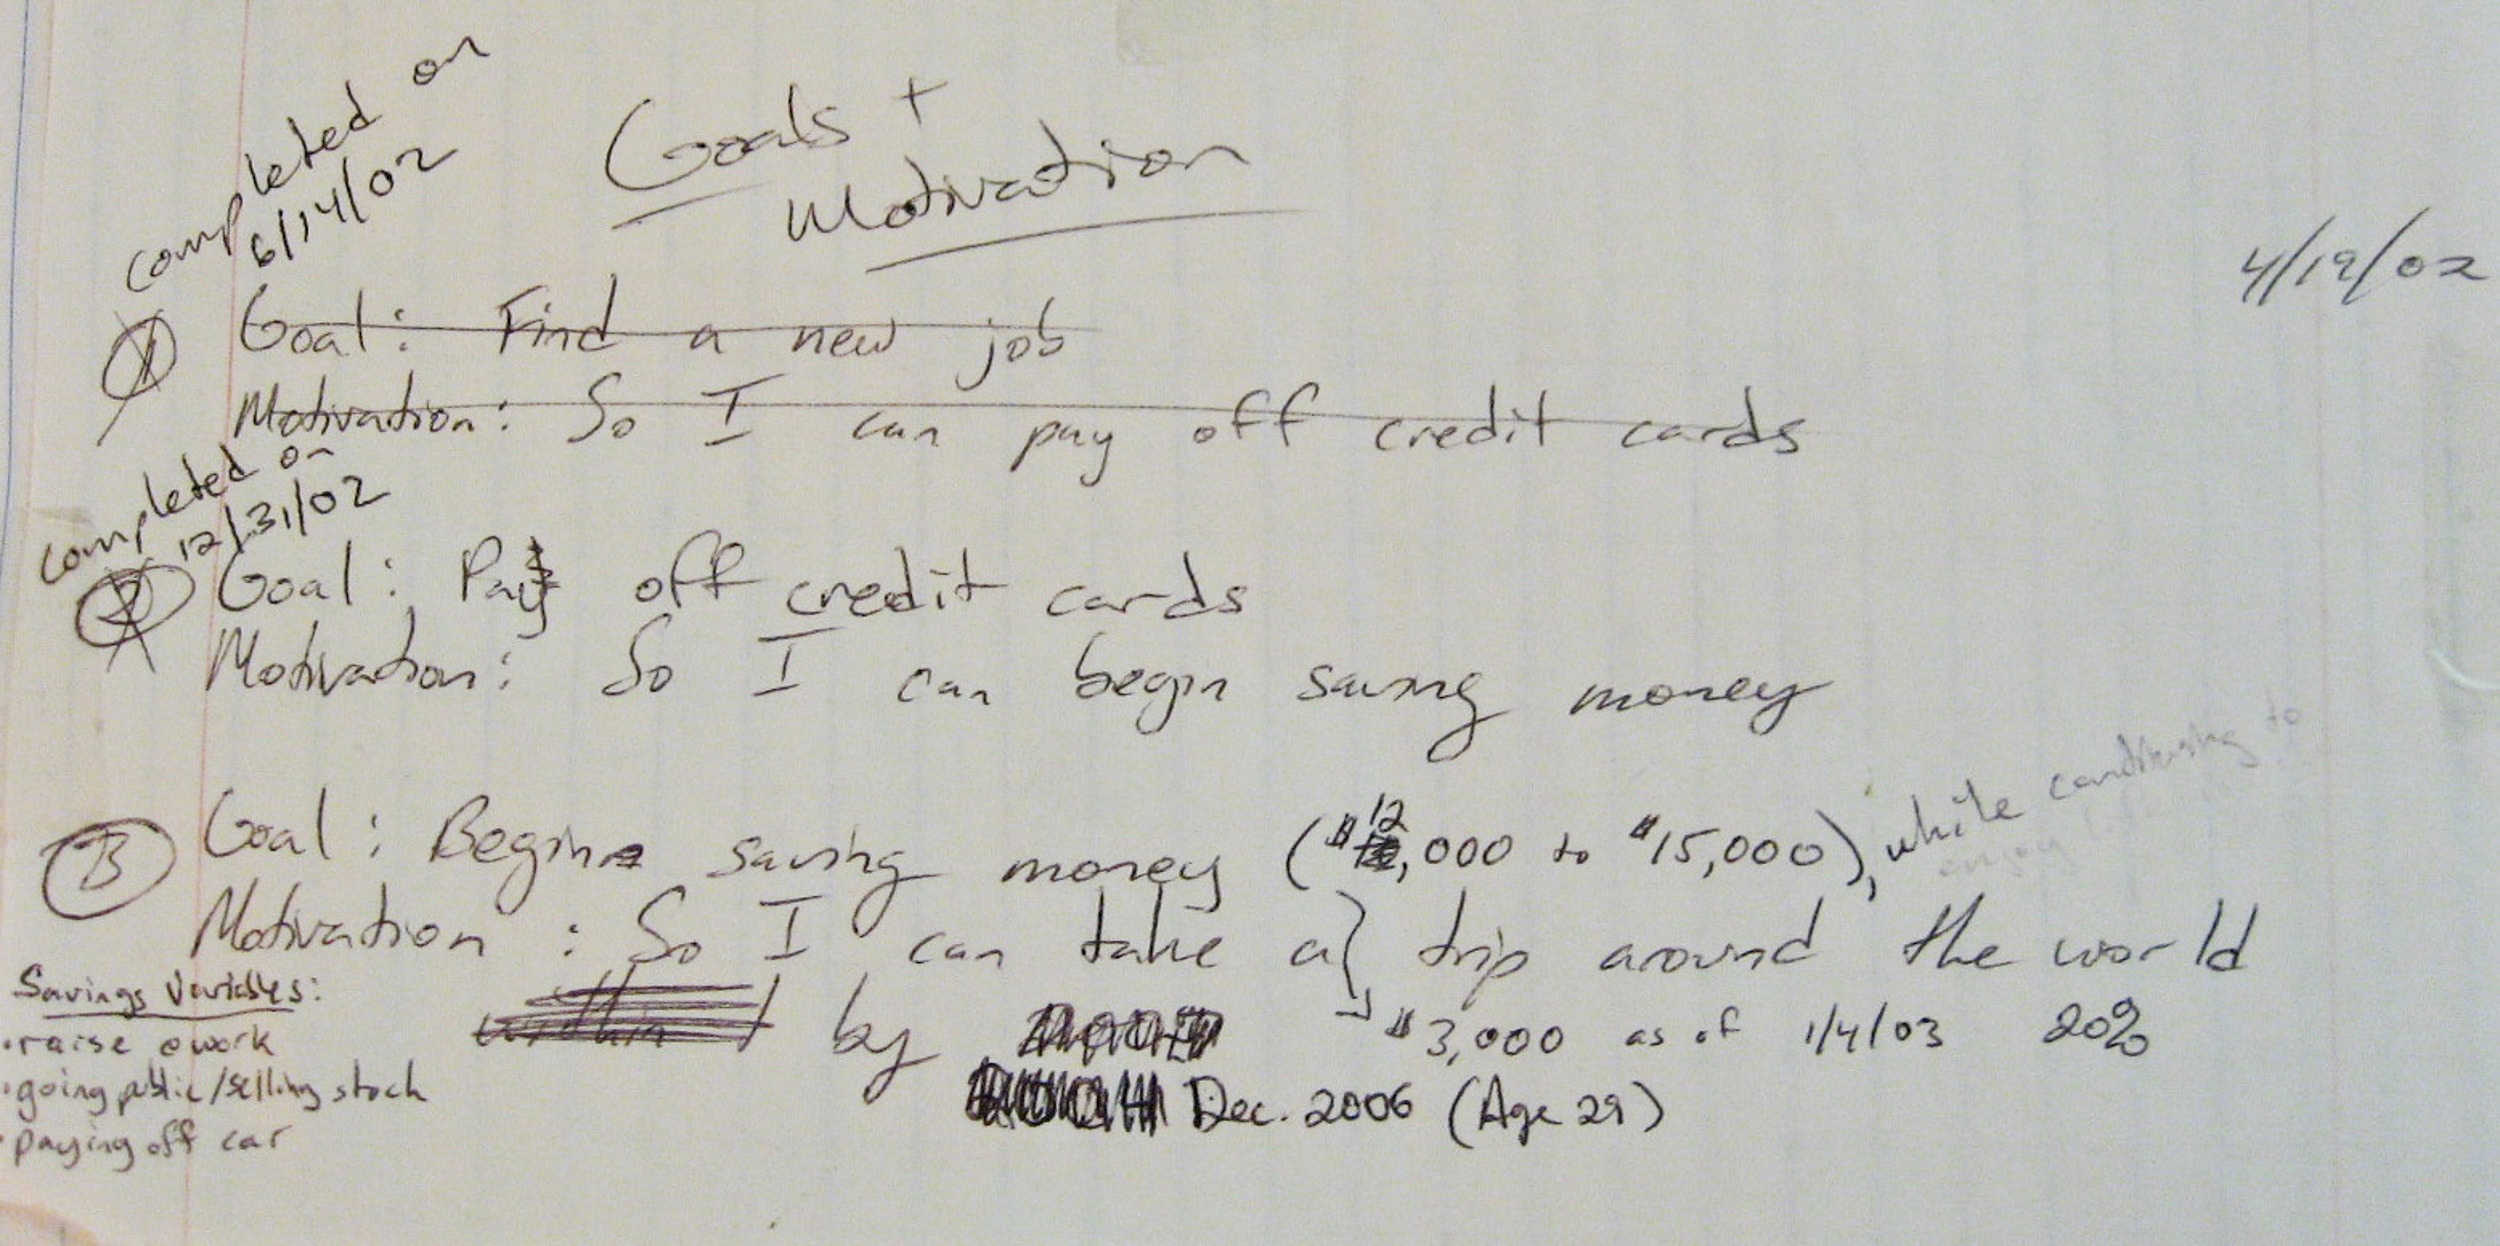
As I mentioned initially, losing my job was a rude awakening, and I used my anger and annoyance to get a grip on my life and chart a new course. My next job would have a purpose higher than allowing me to buy more stuff.
I would use the money I earned to pay off my credit card debt, then save enough to quit and take a year off to travel around the world. It's hard to believe I developed that plan 17 years ago. I certainly had no idea how it'd impact my life and work at the time; I just knew what I wanted and made a plan to do it.
At the same time, I also began reading about Buddhism, starting with A Path with Heart by Jack Kornfield. I mention this because a key concept in Buddhism is that suffering is caused by attachment. Therefore, we can decrease our pain if we practice non-attachment. I consciously decided to lessen my attachment to material possessions to save for future travel experiences.
The Saving Years
Four months after being laid off, I got a new job as a Customer Service Rep at a healthcare startup for the same salary I was previously paid (an entry-level amount of $35,000).
I took it because I still liked the idea of working for a startup, but I expressed my desire to work at a management level once there was a greater need for such a role.
I moved out of the apartment with my roommate (who later left to visit China and ended up staying there for good) and into a small studio in Arlington, VA, for just $699 monthly.
One of the best ways I saved money during this time was to continue renewing that lease, as the price increases were a minimal two to three percent for four of the five years I lived there.
By keeping my rent low, I could save more as I earned raises and a promotion at work. I limited short-term travel because I was saving long-term for something big.
For example, I gave up a lot of opportunities to visit Las Vegas with friends because I saw each short trip distancing me further from the big one I wanted most.
Costa Rica
In 2004, my Mom suggested I go on a vacation, and she mentioned Costa Rica specifically.
I'm glad I took her advice because that 18-day backpacking trip in 2005 reminded me of why I was saving in the first place.
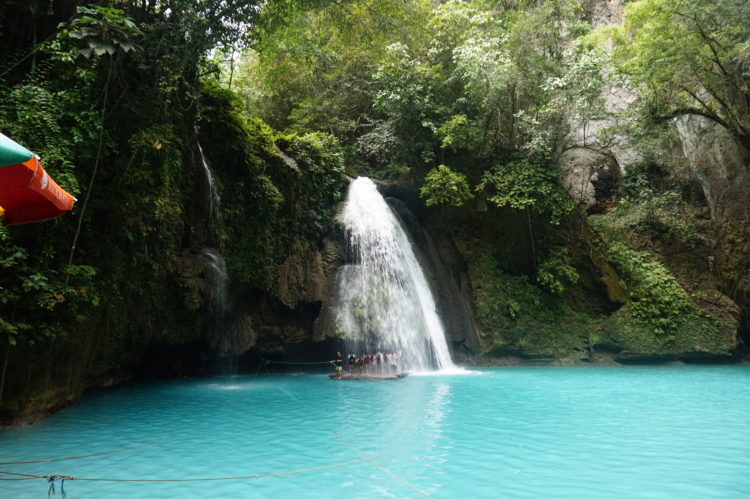
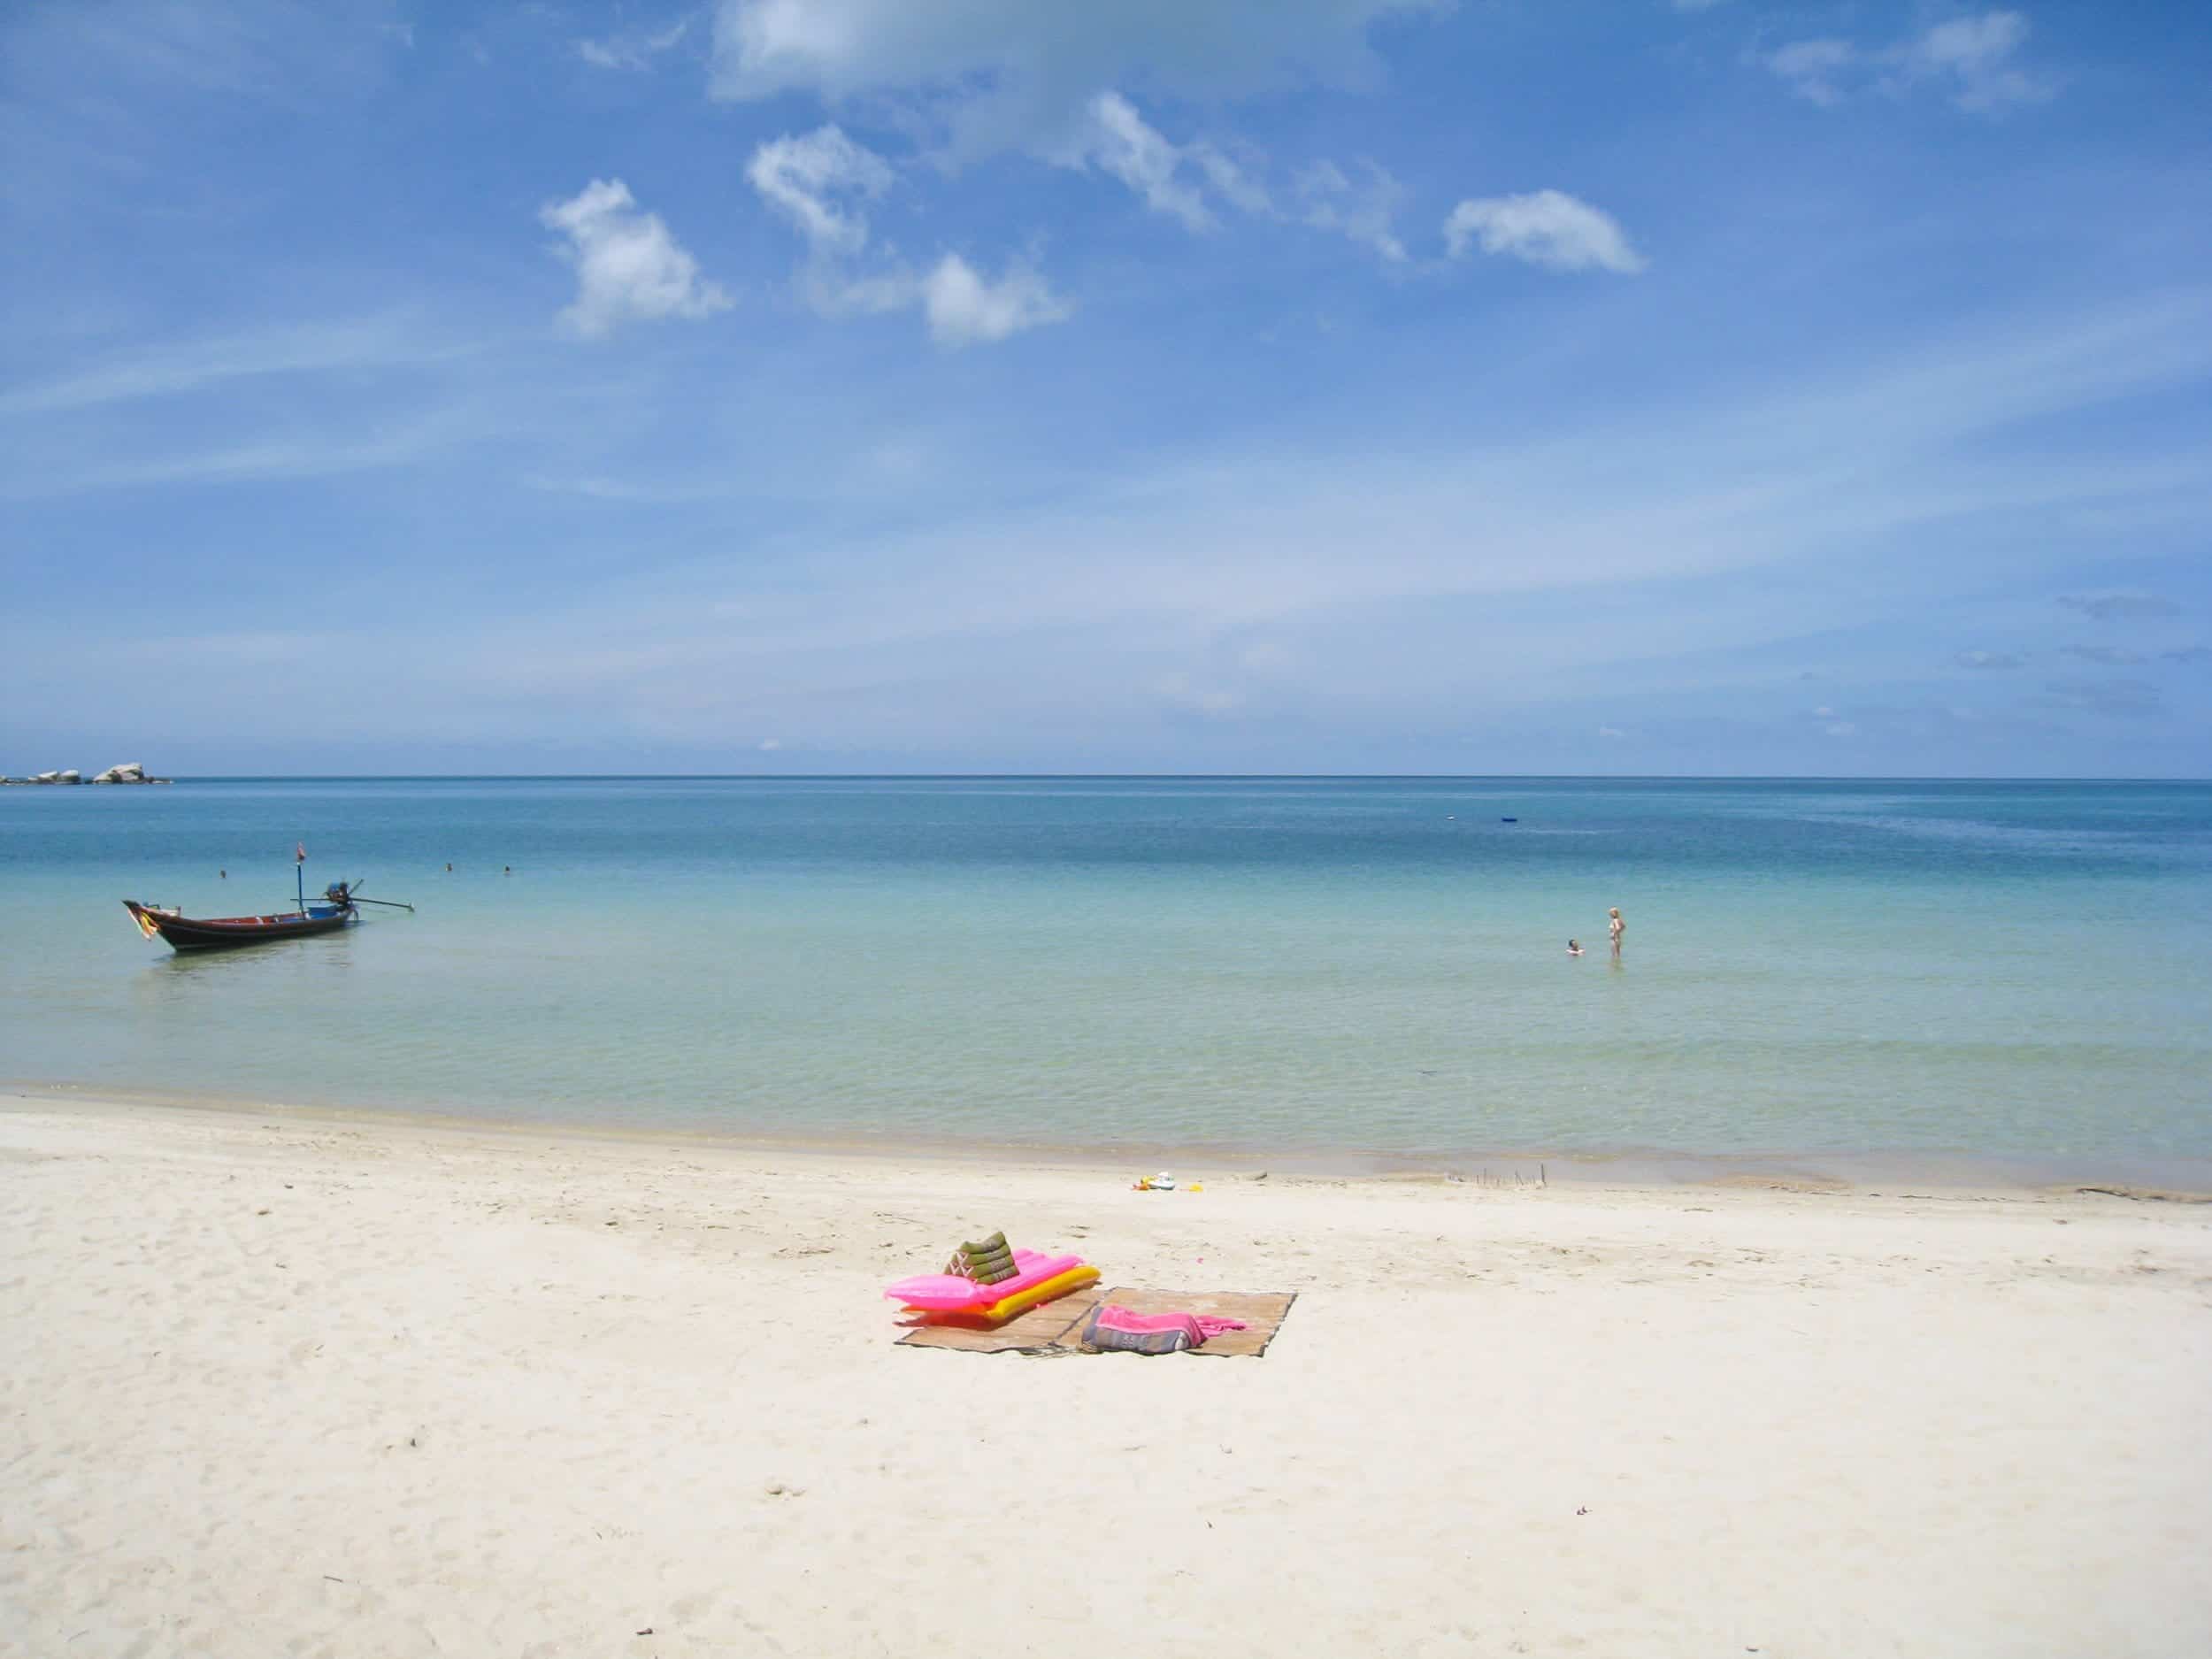
It was my first time backpacking in Latin America, hiking through a cloud forest, and my first (and only) time jumping off a 30-foot waterfall.
I had a fantastic time, and not only did I return to work refreshed, I felt more confident than ever in my long-term plans.
Belize and Guatemala
I budgeted for another 18-day trip to Belize, and the Tikal ruins in Guatemala the following year.
I found paradise on Caye Caulker and had some thrills in the jungle on the mainland.
These trips cost money, of course. However, the overall impact on my savings was small compared to the enthusiasm they gave me to keep saving for my round-the-world trip.

DIY Blogging
In January 2007, I installed WordPress on gobackpacking.com and began blogging about the final 11 months of preparation for my RTW trip.
I'd work a full day at the office, come home and eat dinner, then get on my computer and absorb as much info about running a blog as possible.
At the time, I regularly participated in the BootsnAll message boards and followed a few travel blogs to keep me inspired. I learned about how you can make money from advertising.
Since gobackpacking.com had been online since '99, there was already value for advertisers and some traffic.
In other words, I wasn't starting from scratch. I could still benefit from starting early and paying for my site to be online.
I began a spreadsheet to track the monthly revenue this website generated.
In January 2007, I made $12.85.
By April 2007, I was in triple digits, earning $188.
It might not sound like much now, but it was enough to cover the site's relatively low cost and pay for a few days travel each month.
I cannot overstate the psychological benefit of running the site, which created a small but steady income stream while I was burning through my savings.
Plus, working on it would give me something productive to do besides being on permanent vacation.
Breaking Free - Leaving Work to Live My Dream
By Fall 2007, I reached my savings goal of $35,000 ($5,000 of which I set aside to help me get up and running when I returned home).
It was time to inform my boss I was leaving. I was nervous, but I knew the incredible experiences awaited me on the other side of that conversation.
Three weeks later, I'd:
- I cashed out my Employee Stock Purchase Plan.
- Received a payout for several weeks' worth of unused vacation time.
- Sold my car on Craig's List.
- Donated and sold belongings.
- Put the rest of my stuff in a storage locker.
I'd also moved in with my parents after my lease ended to save a month's rent.
I had more money in my bank account than ever before and was ready to spend it all on my dream. Next stop, Tahiti.
Writing on the Road (2007-09)
I prioritized blogging as I realized my dream of traveling from Tahiti to New Zealand, Australia, Bali, and beyond.
My goal was ambitious: to publish one new post daily, with photos, for as long as I was gone.
I'd purposefully left the US without a laptop as I wanted to travel light. And smartphones, as we know them today, didn't exist, so I didn't take a cell phone.
On the upside, social media as we know it didn't exist, either, so I didn't feel the same pressure to stay connected hourly as I do today.
I relied on finding internet cafes to draft posts and upload photos (to Flickr) and random videos (to YouTube), in addition to checking email and staying in touch with friends and family.
While available everywhere I went, the quality, comfort, and cost varied. The bottom line is that it was inconvenient and inefficient.
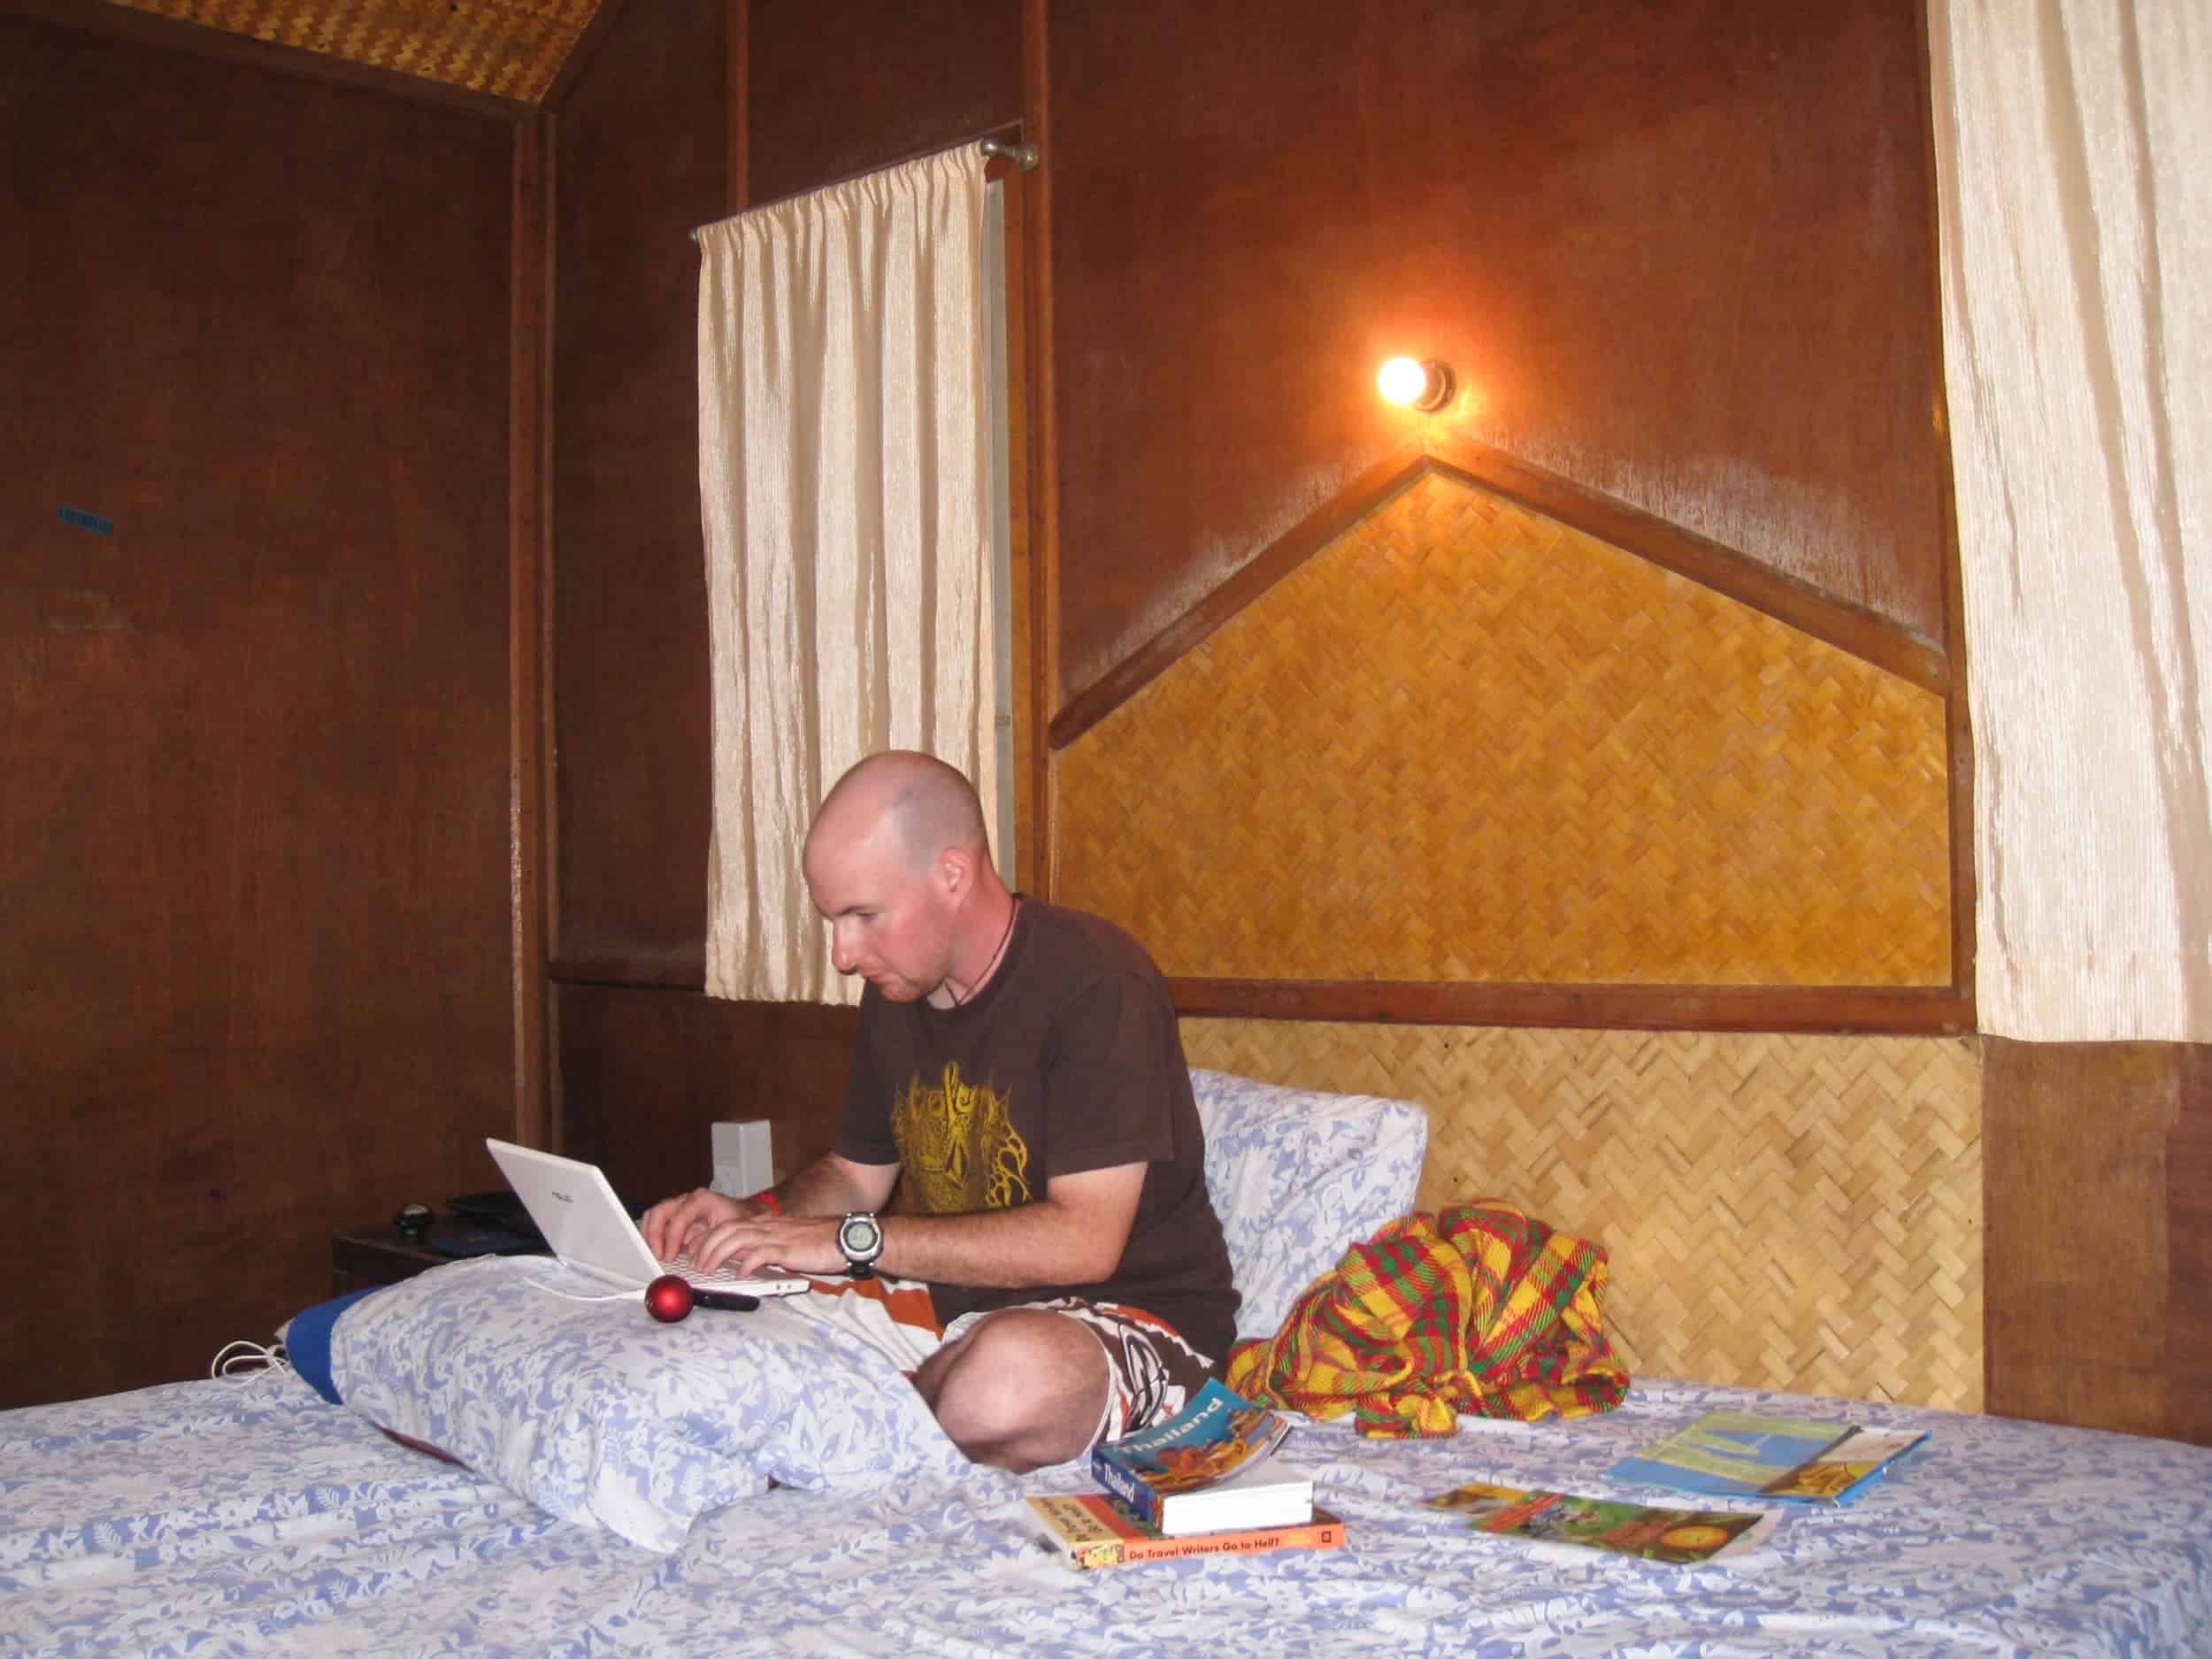
Luckily, I shared a room with Adam, a British backpacker, in Hong Kong in February 2008.
At the time, he had an ASUS netbook, a new concept for ultralight laptops that weighed one pound and only cost about $300. I'd found my solution!
He guided me to an electronics mall, and I made my purchase, along with a little spherical external speaker to plug into my Creative MP3 player.
Having the netbook was a game-changer. I could draft new blog posts whenever and wherever I wanted.
Then, when I went into an internet cafe, I didn't have to spend time writing. I copied the stories to WordPress, scheduled them, and uploaded photos.
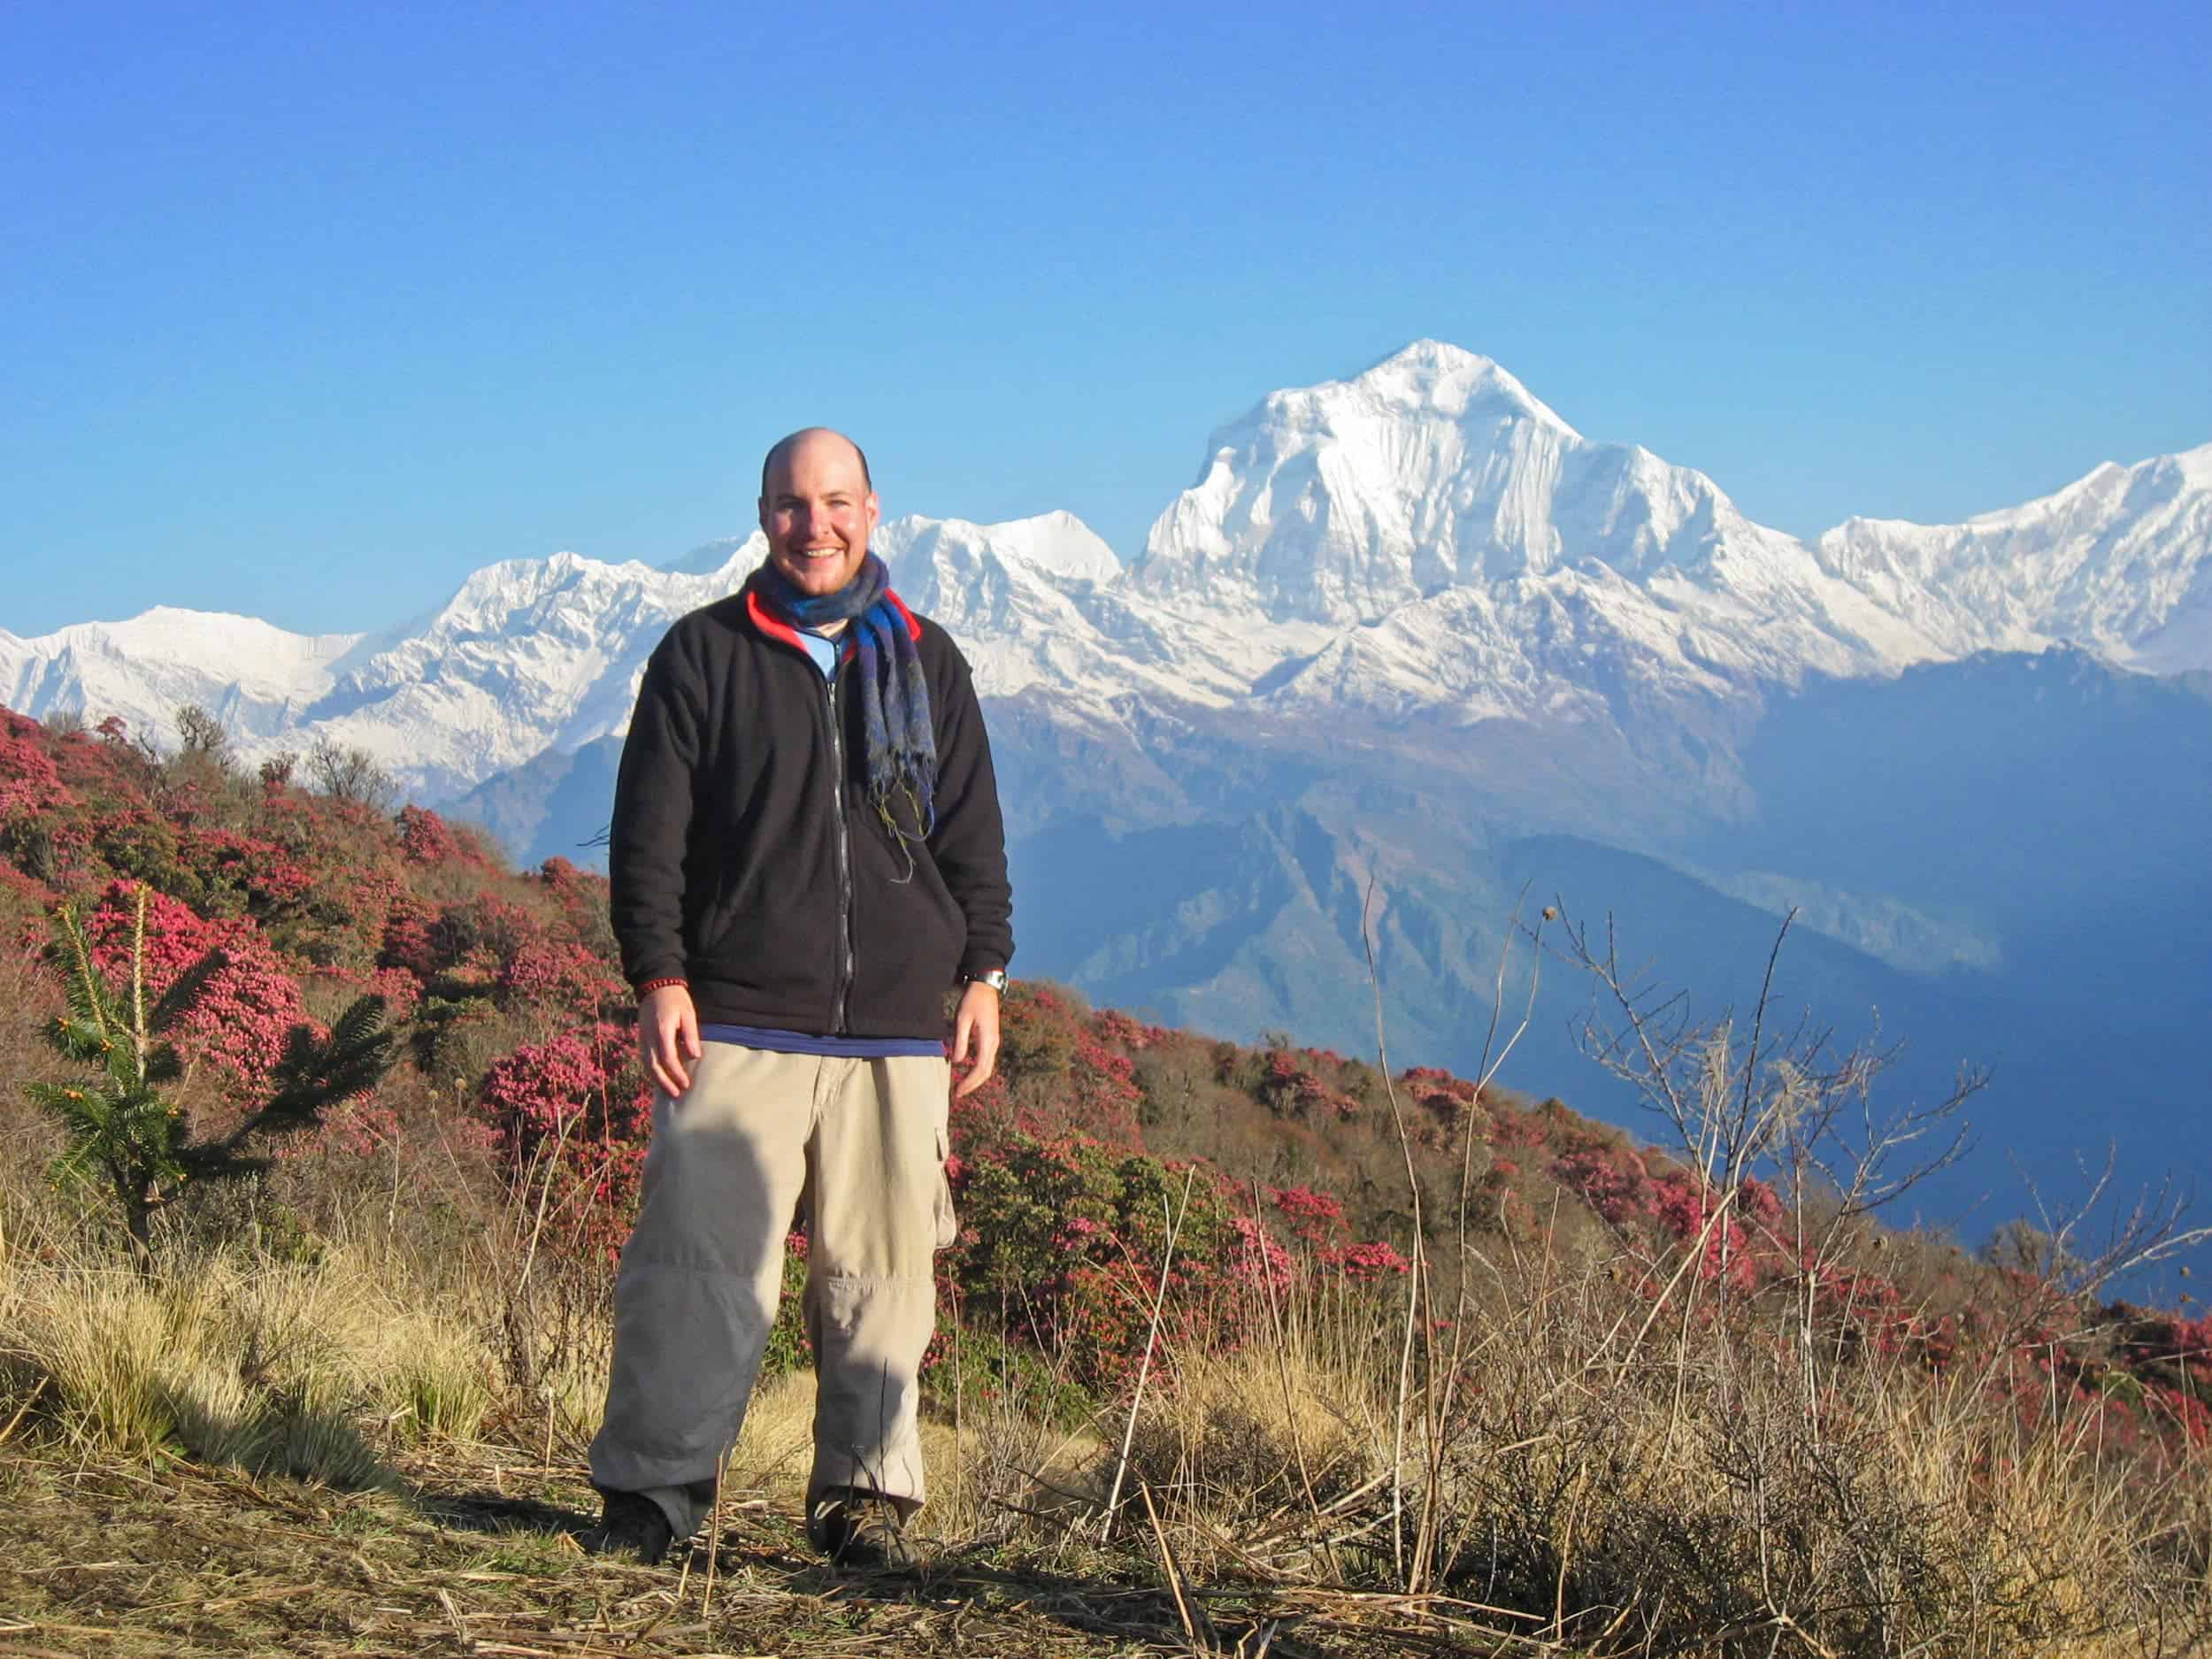
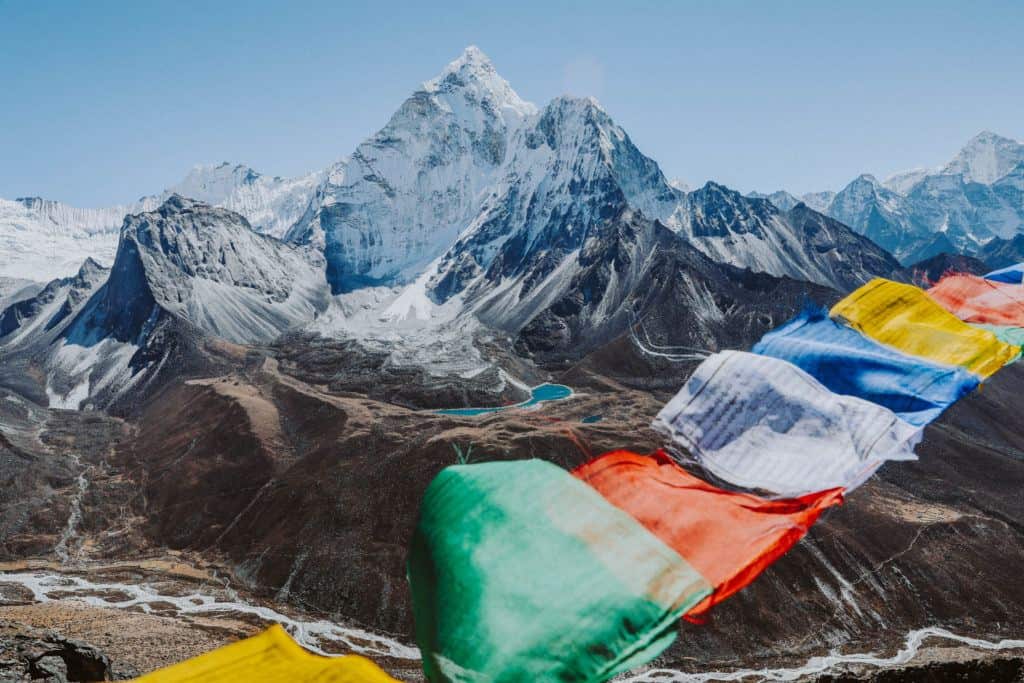
Beyond Hong Kong, I spent a few weeks in China (failing to independently visit Tibet, one of my top destinations, by train), three months in Nepal and India, and four months in Southeast Asia.
Then, it was off to South Africa for two months of overland travel, a week-long trip to Botswana, and a cursory ten days of seeing the sights in Egypt.
I celebrated Christmas in Brussels and New Year's in Paris before visiting Switzerland and Spain.
I was almost out of money, so I limited myself to visiting one country in South America. It was either going to be Colombia or Brazil.
Colombia was smaller, cheaper, and less talked about but more of an unknown.
Brazil was a larger country, more expensive, and all but guaranteed to be a good time.
I went with the dark horse and booked a one-way flight from Madrid to Bogota.
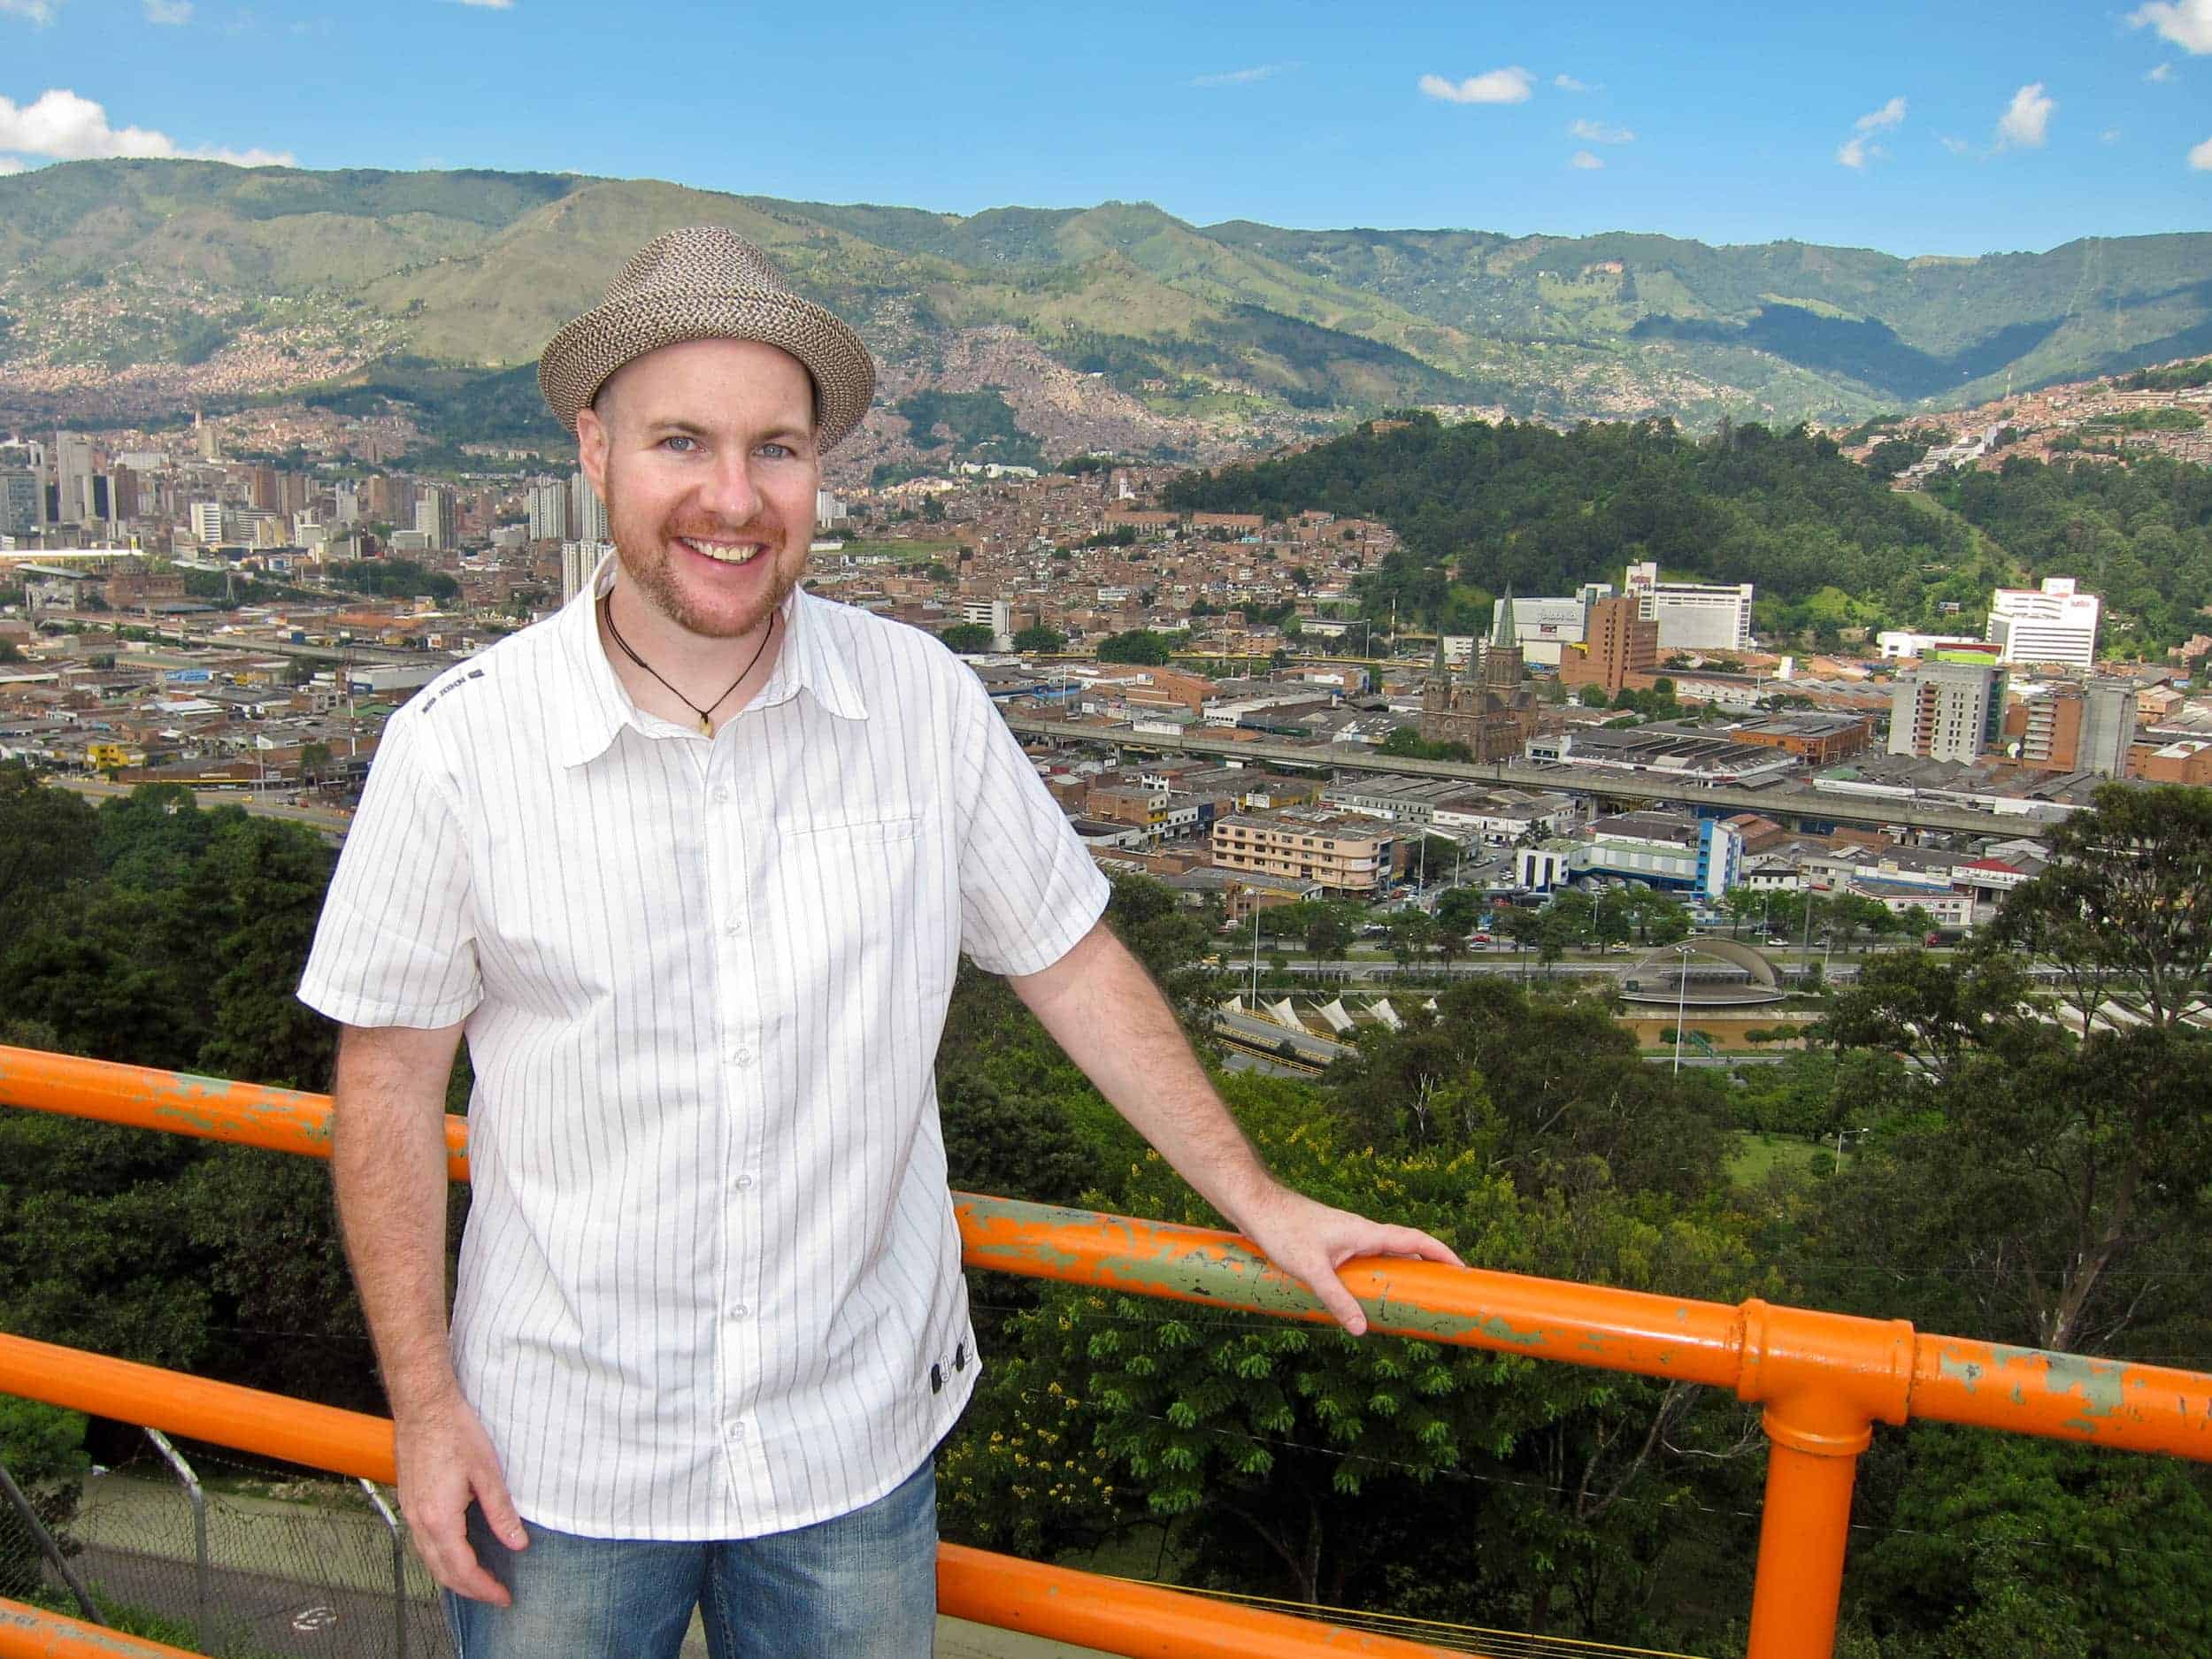
Arriving in Medellin, Colombia (2009)
I was nervous and excited to arrive in Colombia, and I spent my first week couchsurfing in Bogota with university students. Then, it was on Medellin via a quick 25-minute flight.
I immediately fell in love with Medellin and knew I wanted to stay under a tourist visa for six months.
My parents, expecting me back in the US within weeks after more than a year abroad, were not too pleased to hear the news.
However, I stuck to what felt suitable for me at the moment, and despite their hurt feelings and concern for my safety, I began planning my stay.
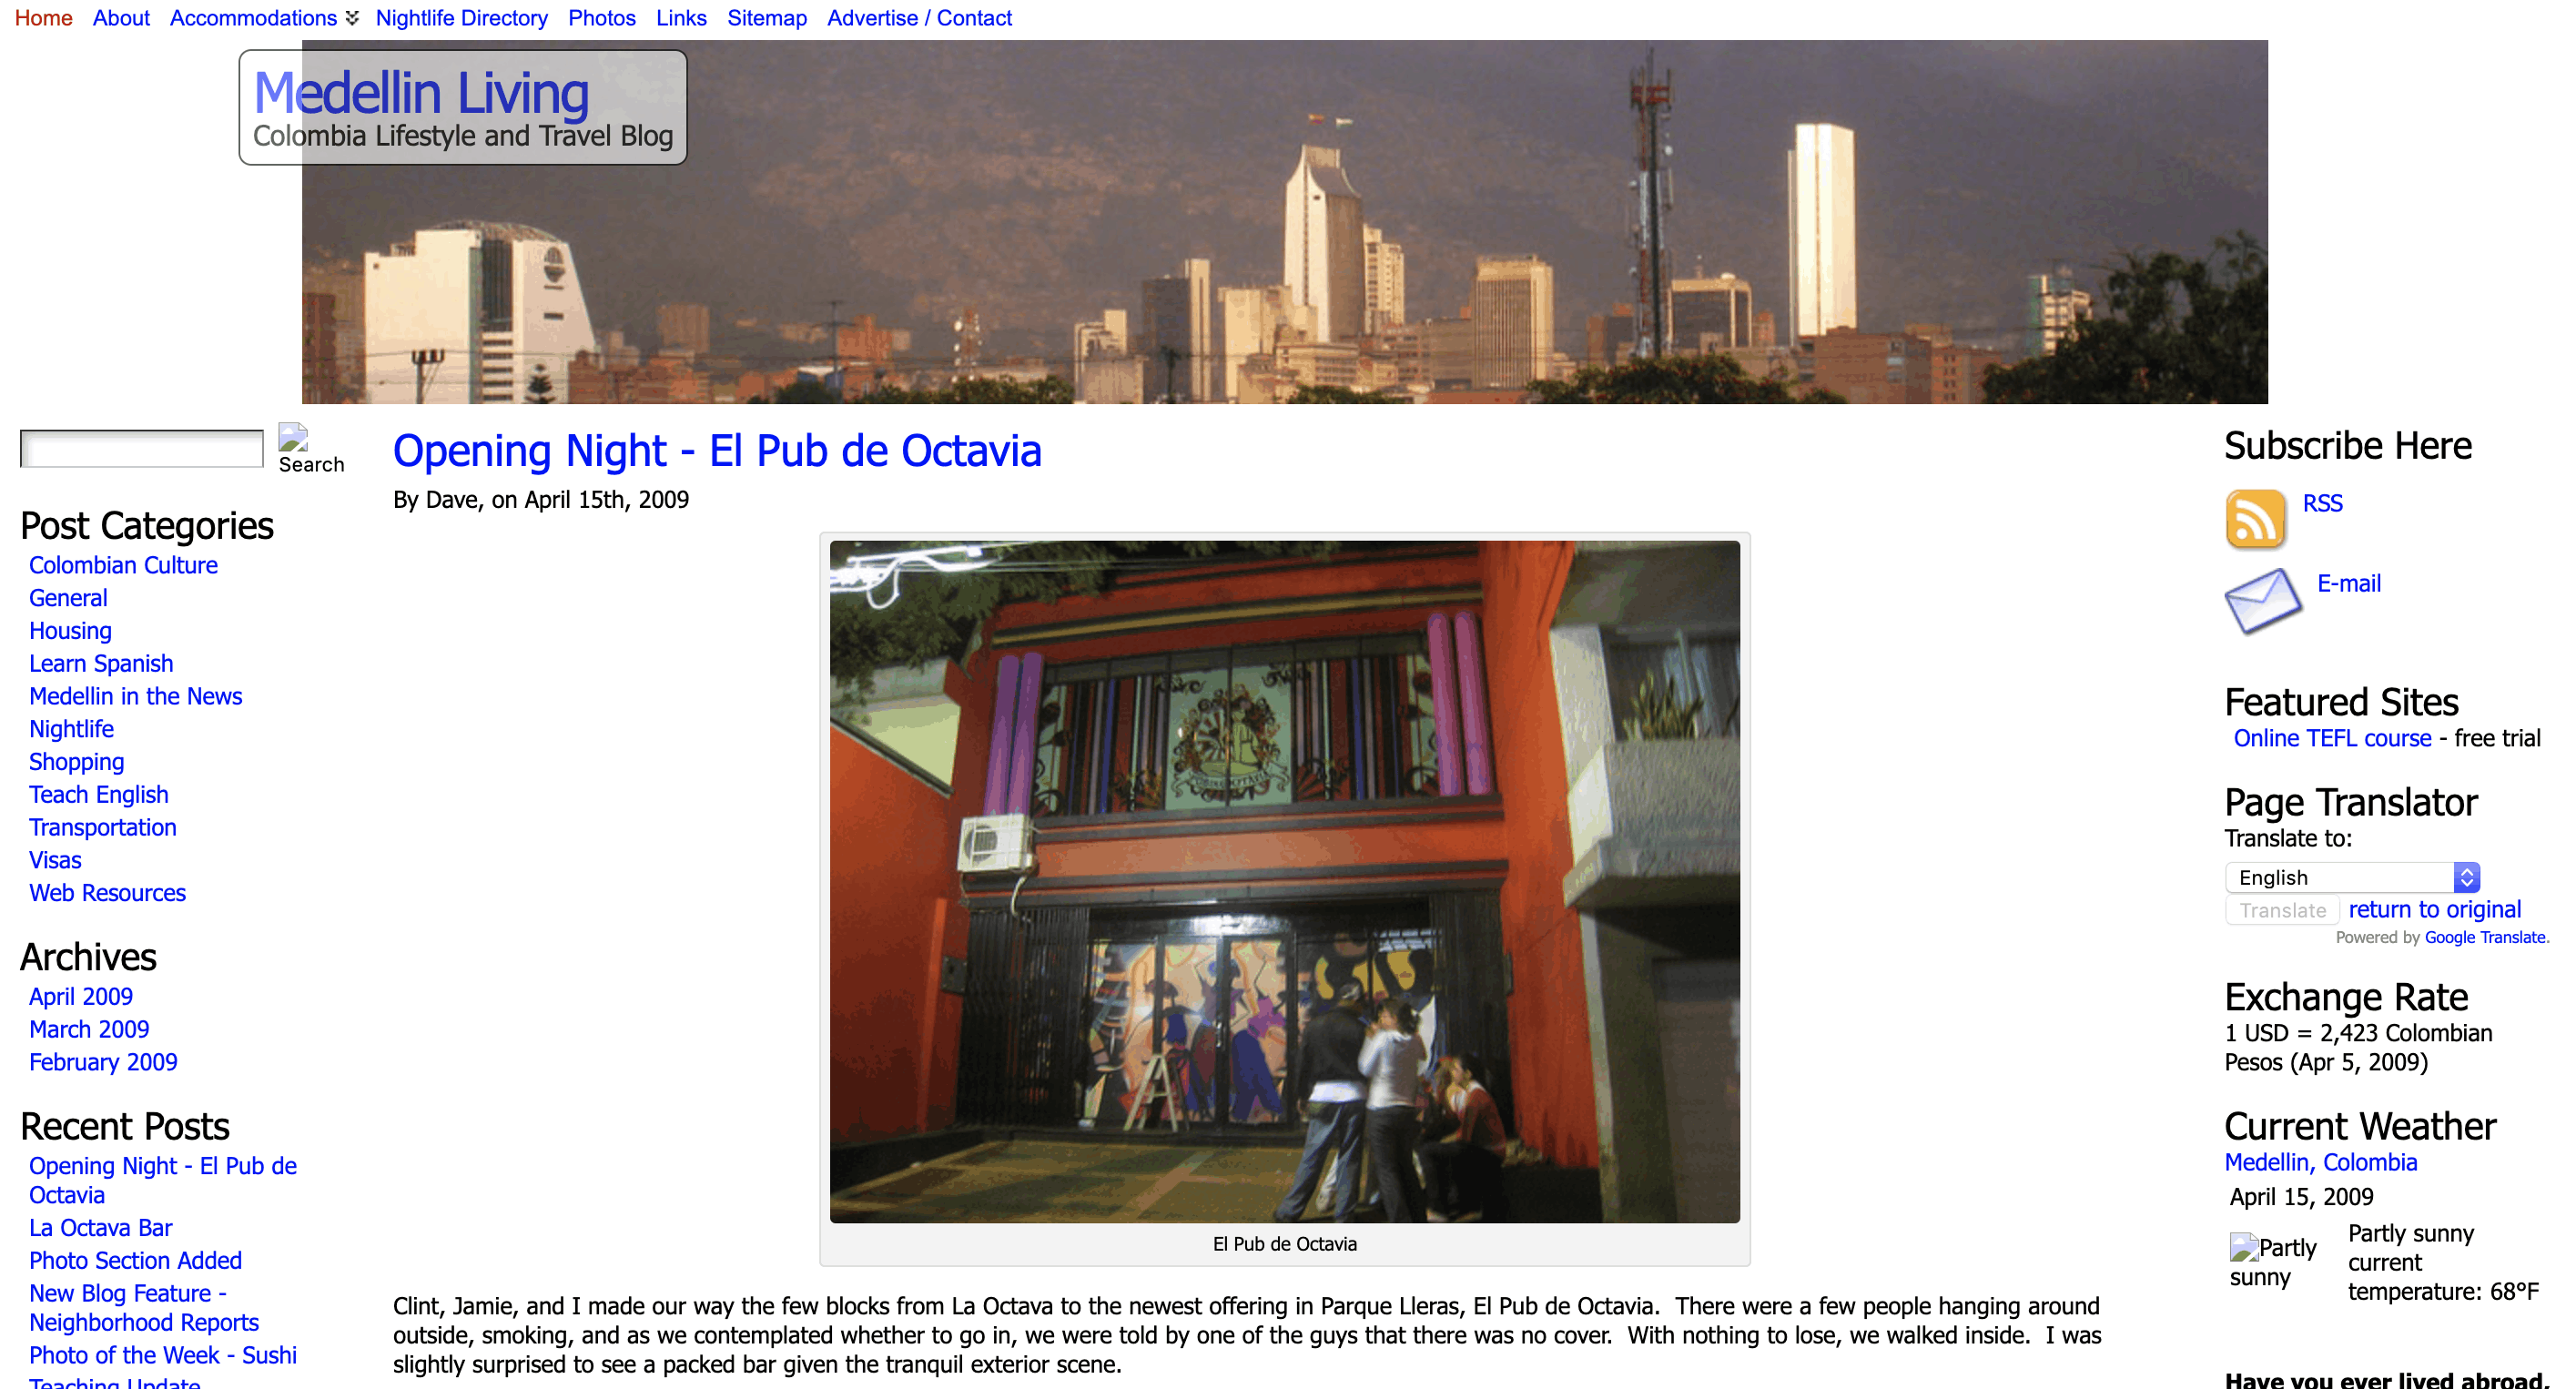
Launching Blog #2 - Medellin Living
Searching the web at Casa Kiwi Hostel didn't turn up much in the way of online content written in English, catering to curious travelers and expats.
I'd already learned how to blog with Go Backpacking, so starting a new blog specific to my experience as an expat in the city felt natural. I brainstormed names and settled on Medellin Living.
I began publishing brief updates as I got to know the city while focusing most of my energy on Go Backpacking.
Medellin Living quickly found an audience. As I watched the number of readers increase, I began putting more effort into it.
After six months in Colombia, my visa was due to expire. And I was broke; I was sad to leave but had no choice.
I'd spent 20 months traveling the world and living my dream, the last six of which had been unplanned. It was time to go home.
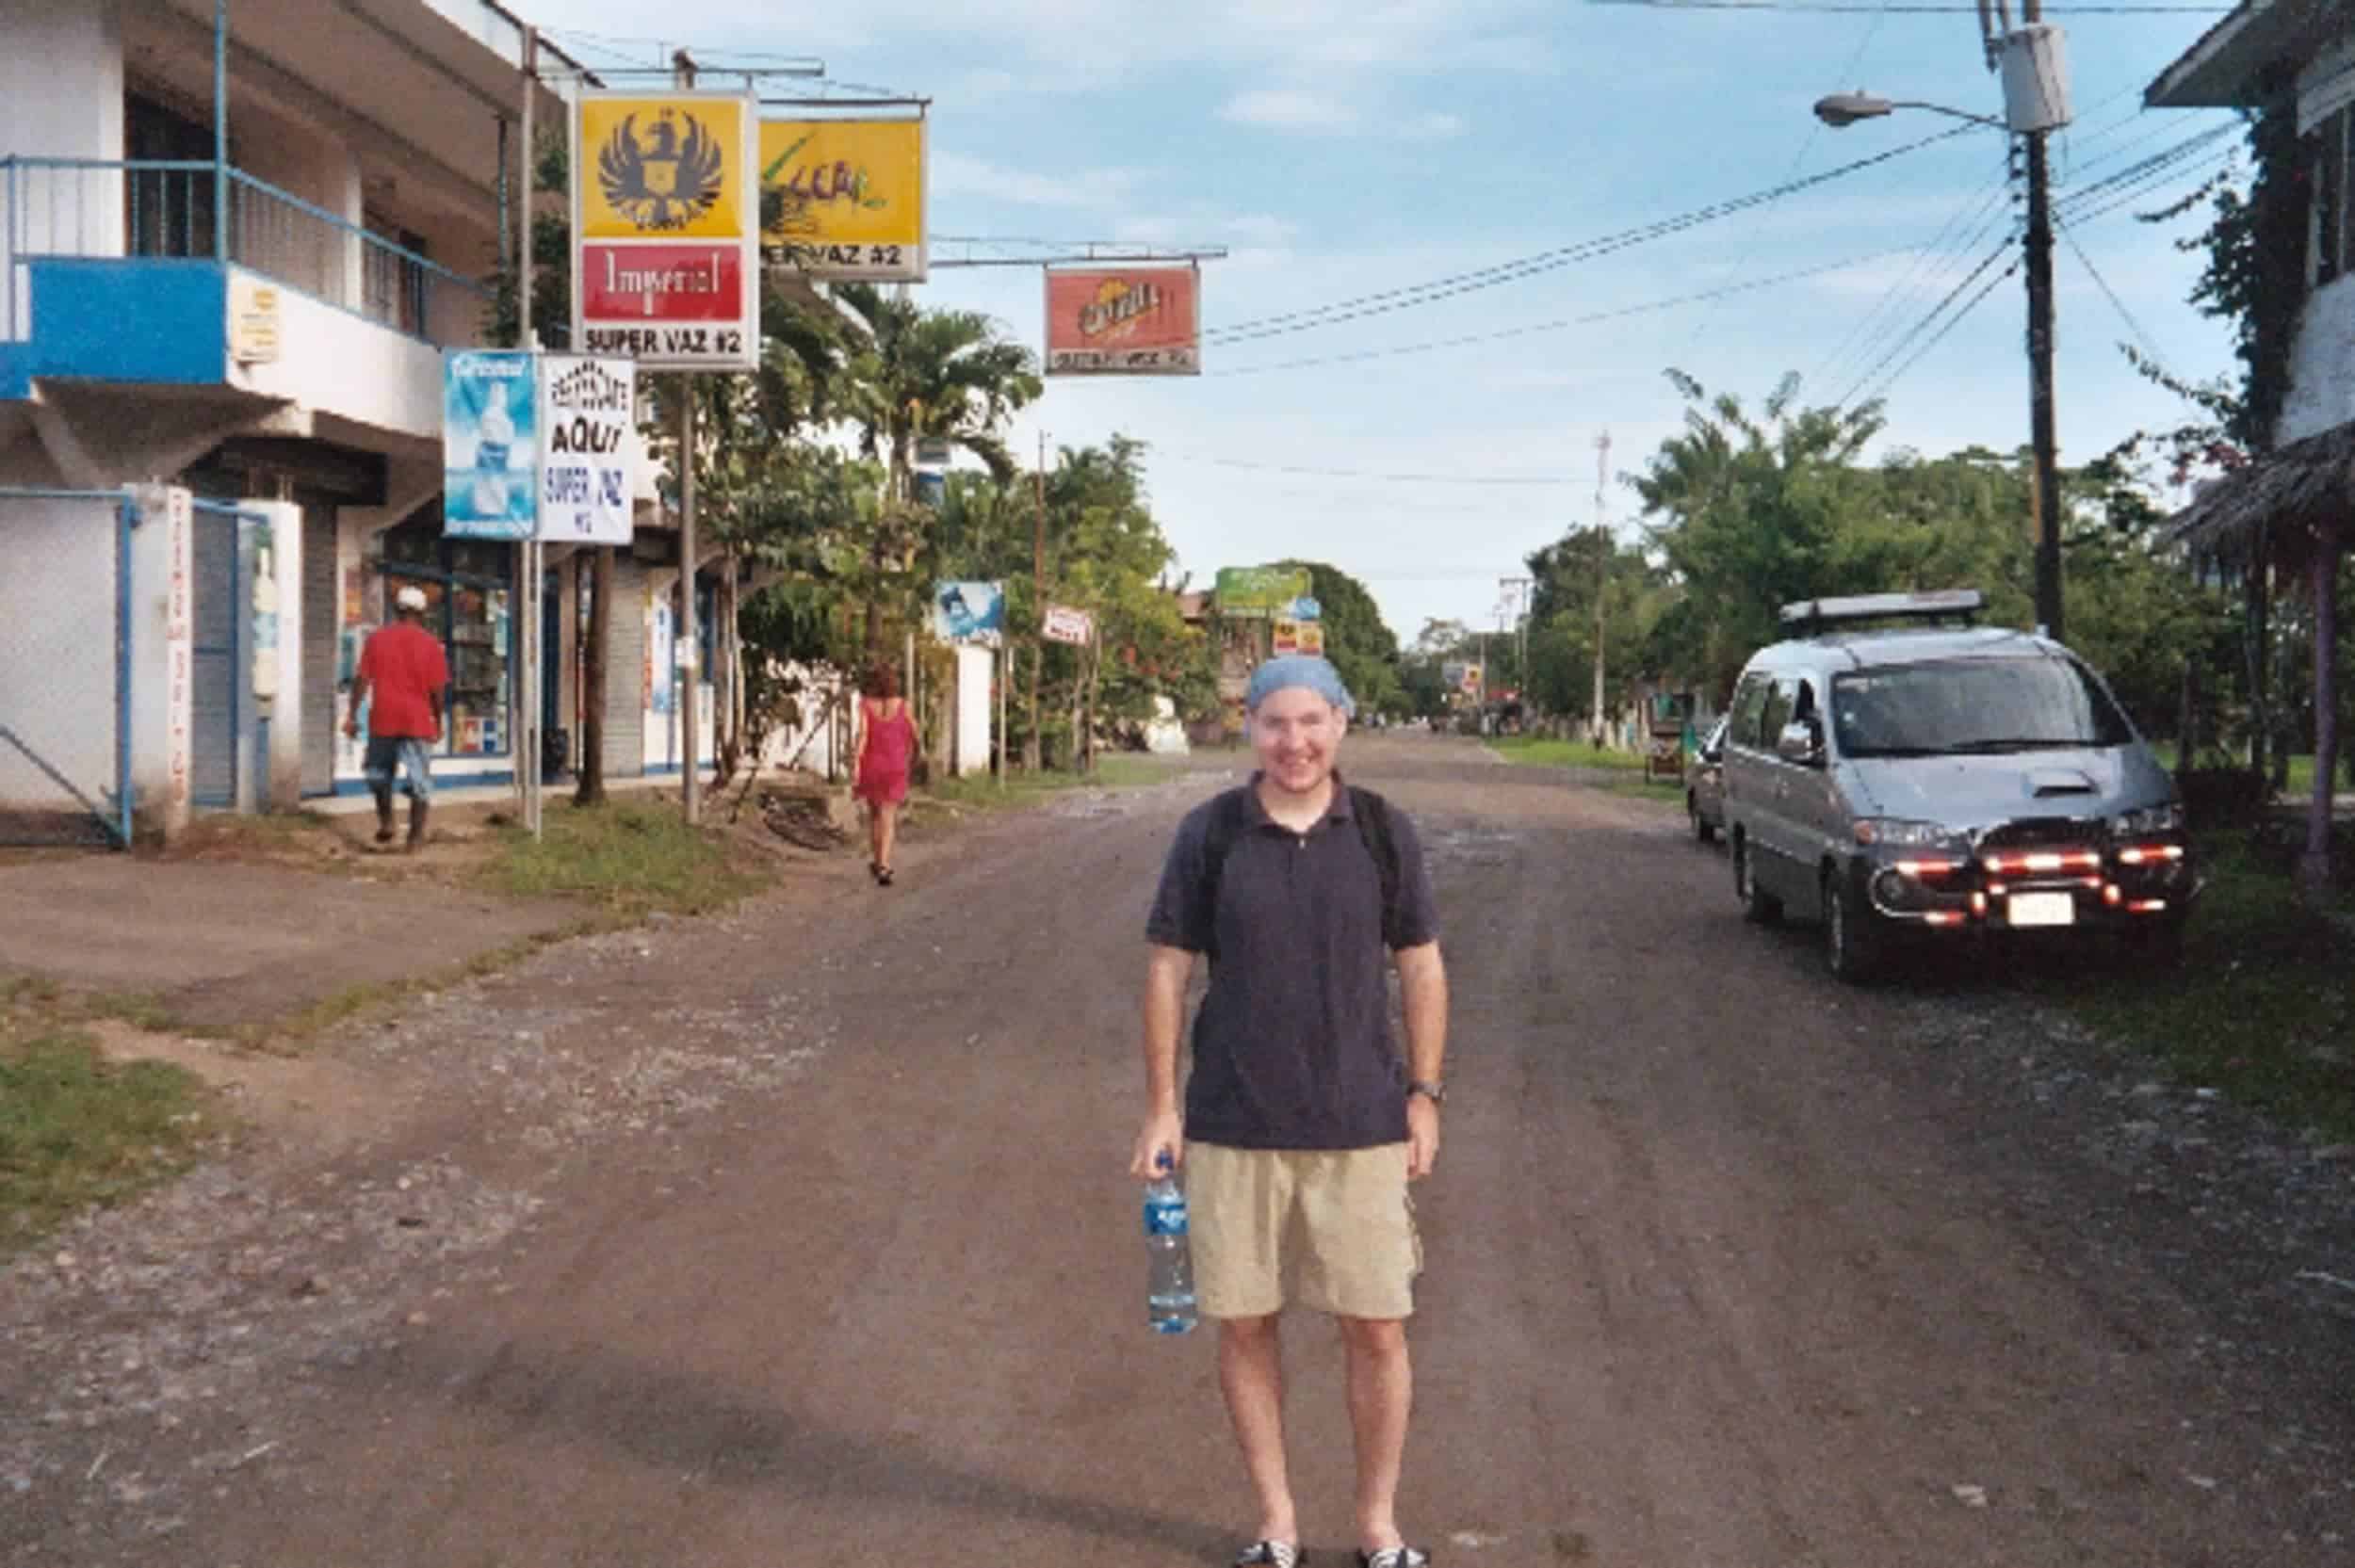
Going from Broke to Self-Sufficient (2009-10)
I flew back to northern Virginia, where I spent the next 11 months buying time to work on my blogs and get my earnings up to $3,000 per month before my parents found a buyer for their house.
This was the amount I felt I needed to:
- Support myself living in Colombia, including paying for international medical insurance, my storage locker in the US, and credit card payments since I'd racked up new debt toward the end of my trip
- Continue traveling the six months per year I couldn't be in Colombia on a tourist visa
- I have money to invest back into my websites.
Revenue from Go Backpacking was slowly increasing, but not fast enough. It was a race against time.
In the Fall of 2009, I came up with the idea to create an online course and community called Travel Blog Success to share what I'd learned about travel blogging so far.
I spent four months furiously:
- Writing an online course.
- Recording audio interviews with other established travel bloggers.
- Constructing a private membership site with a message board.
- Learning how to write a sales page.
- Learning how to promote a digital product.
- Learning how to run an affiliate program.
I look back on those four months with fondness. It was a mix of high anxiety, uncertainty, sweat, hope, and excitement.
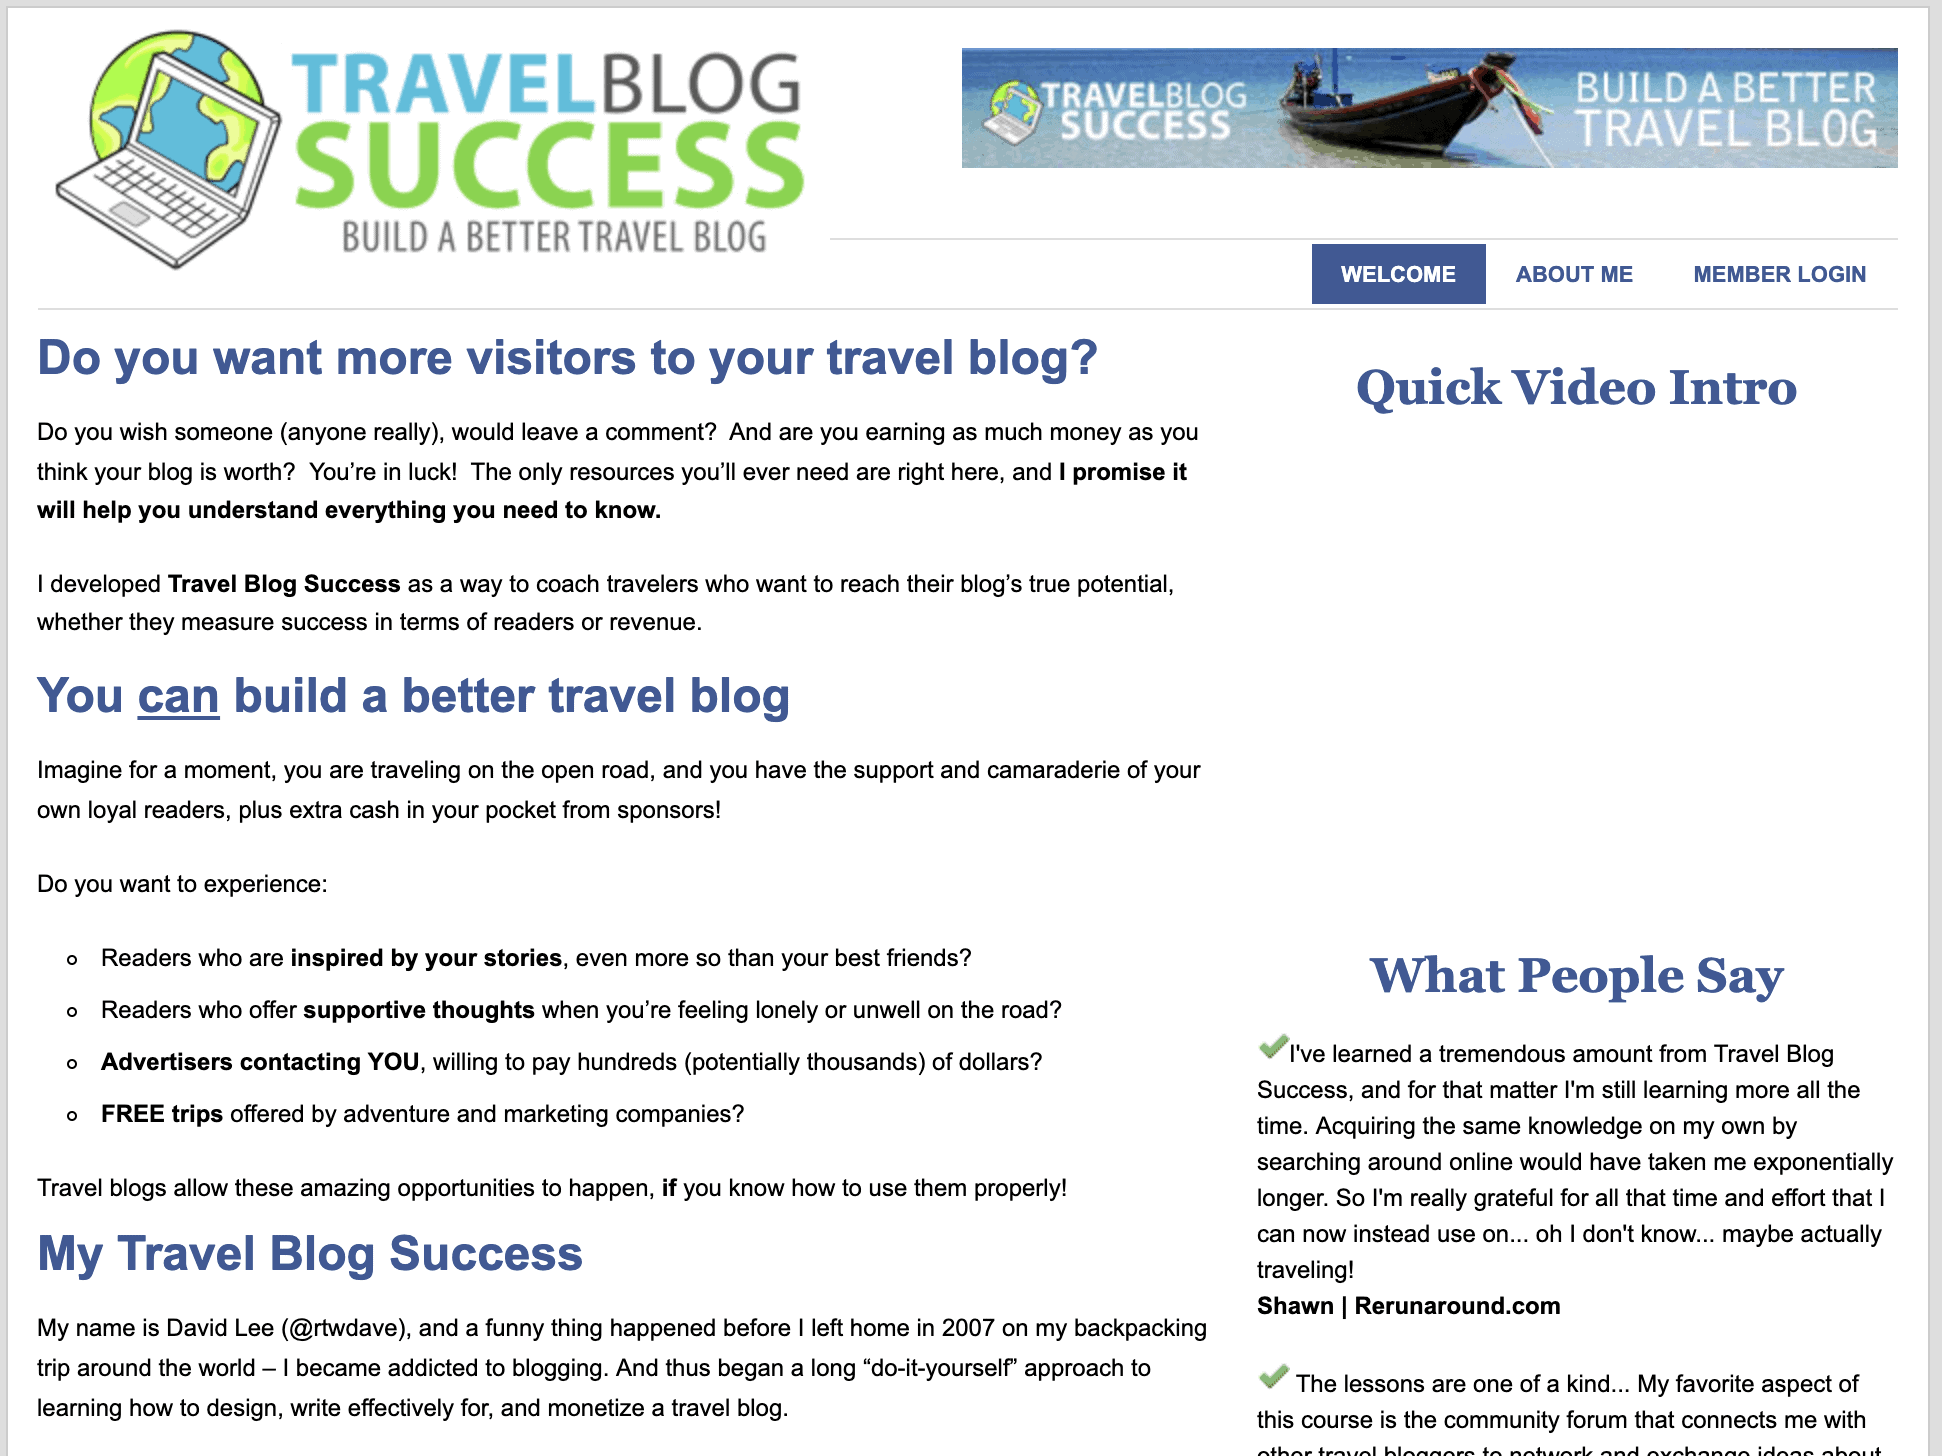
Launching a Digital Product - Travel Blog Success
The big day arrived on February 1, 2010, and I launched Travel Blog Success.
A lifetime membership cost $75 that first year, and over 100 people joined. I had the supplemental income needed to reach my goal of $3,000 per month.
Some bloggers who joined that first month and year are still blogging today, either as a side hustle or as their full-time job.
Over 2,000 bloggers joined during the eight years I ran the site. It would eventually generate more monthly revenue than my travel blogs.
I also worked with a friend, Michael Tieso, as an equal partner for two and a half years (2013-15).
This was a time of incredible growth, and his presence was missed after his last day in June 2015.
My First Press Trip - Rwanda
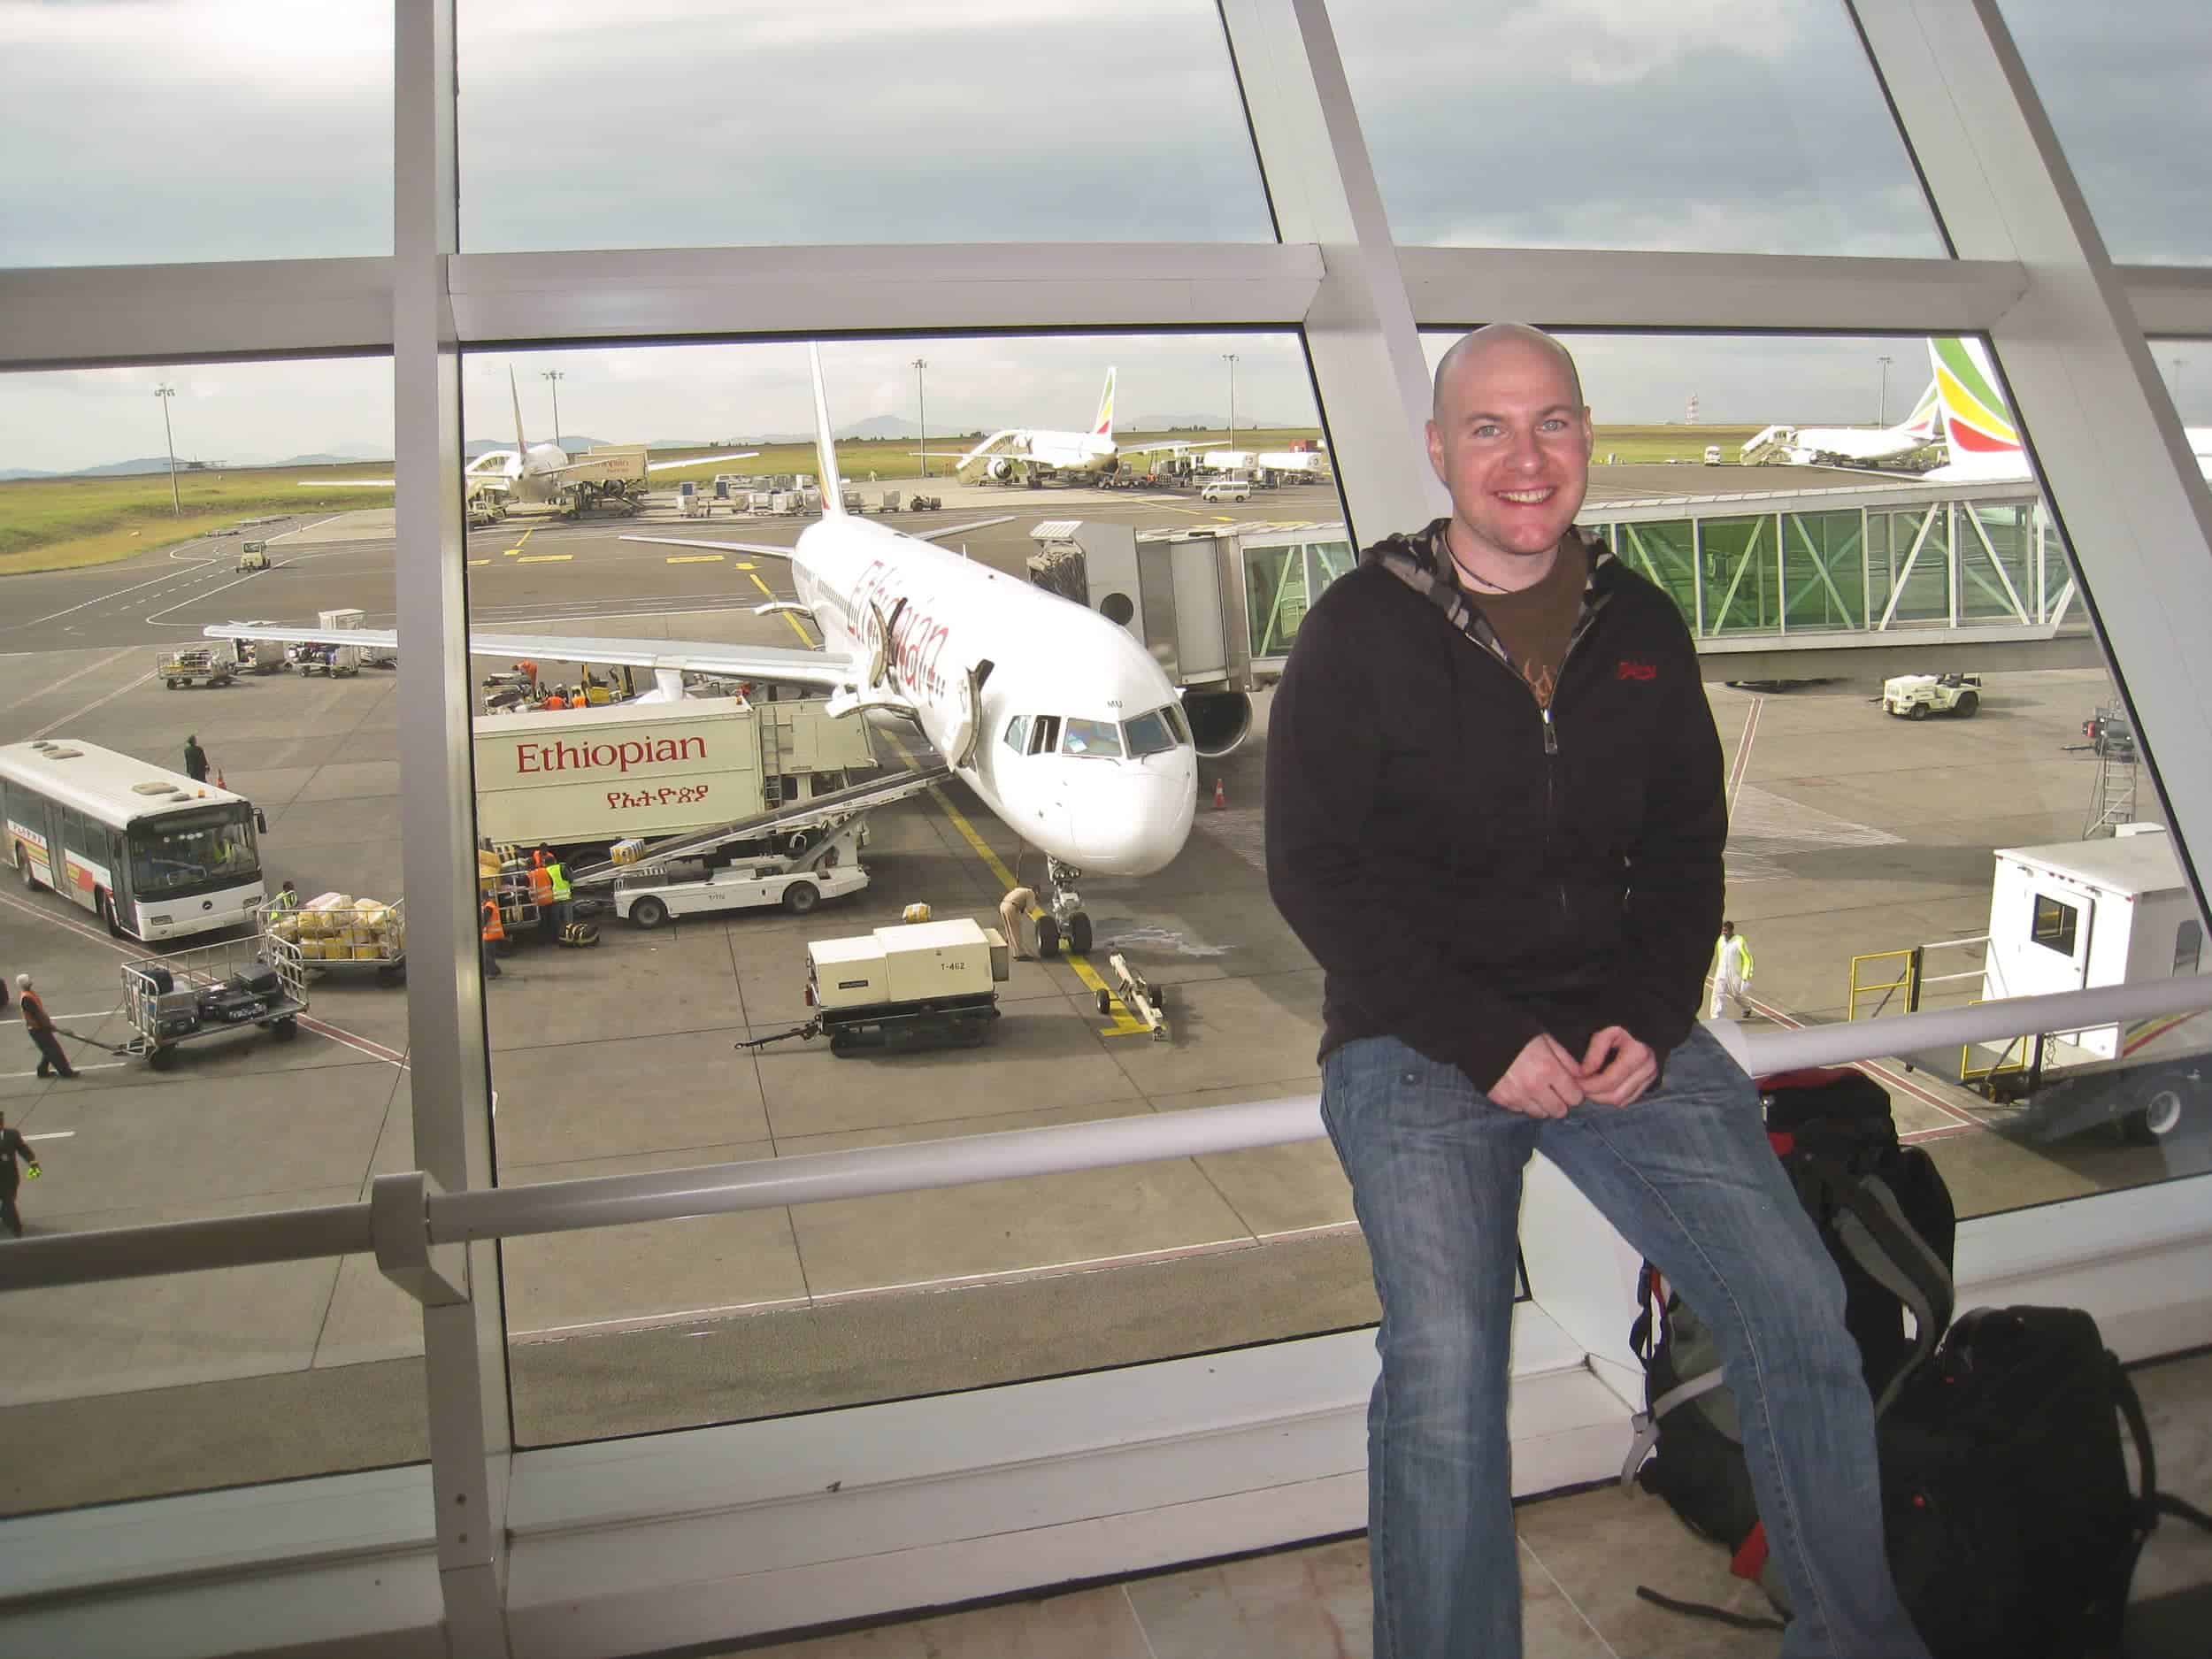
Also, in early 2010, I was invited on my first press trip to Rwanda.
I had to pay for airfare, which to this day is the most expensive roundtrip flight I've ever bought ($1,500 for an economy seat on Ethiopian Airlines from Washington, DC, to Kigali, Rwanda).
But it was worth it for the hour we spent with the endangered mountain gorillas in Virunga National Park.
I remember live-tweeting a photo of a gorilla on my Blackberry while we were still with them and feeling like I was on the cutting edge of connectivity at the time.
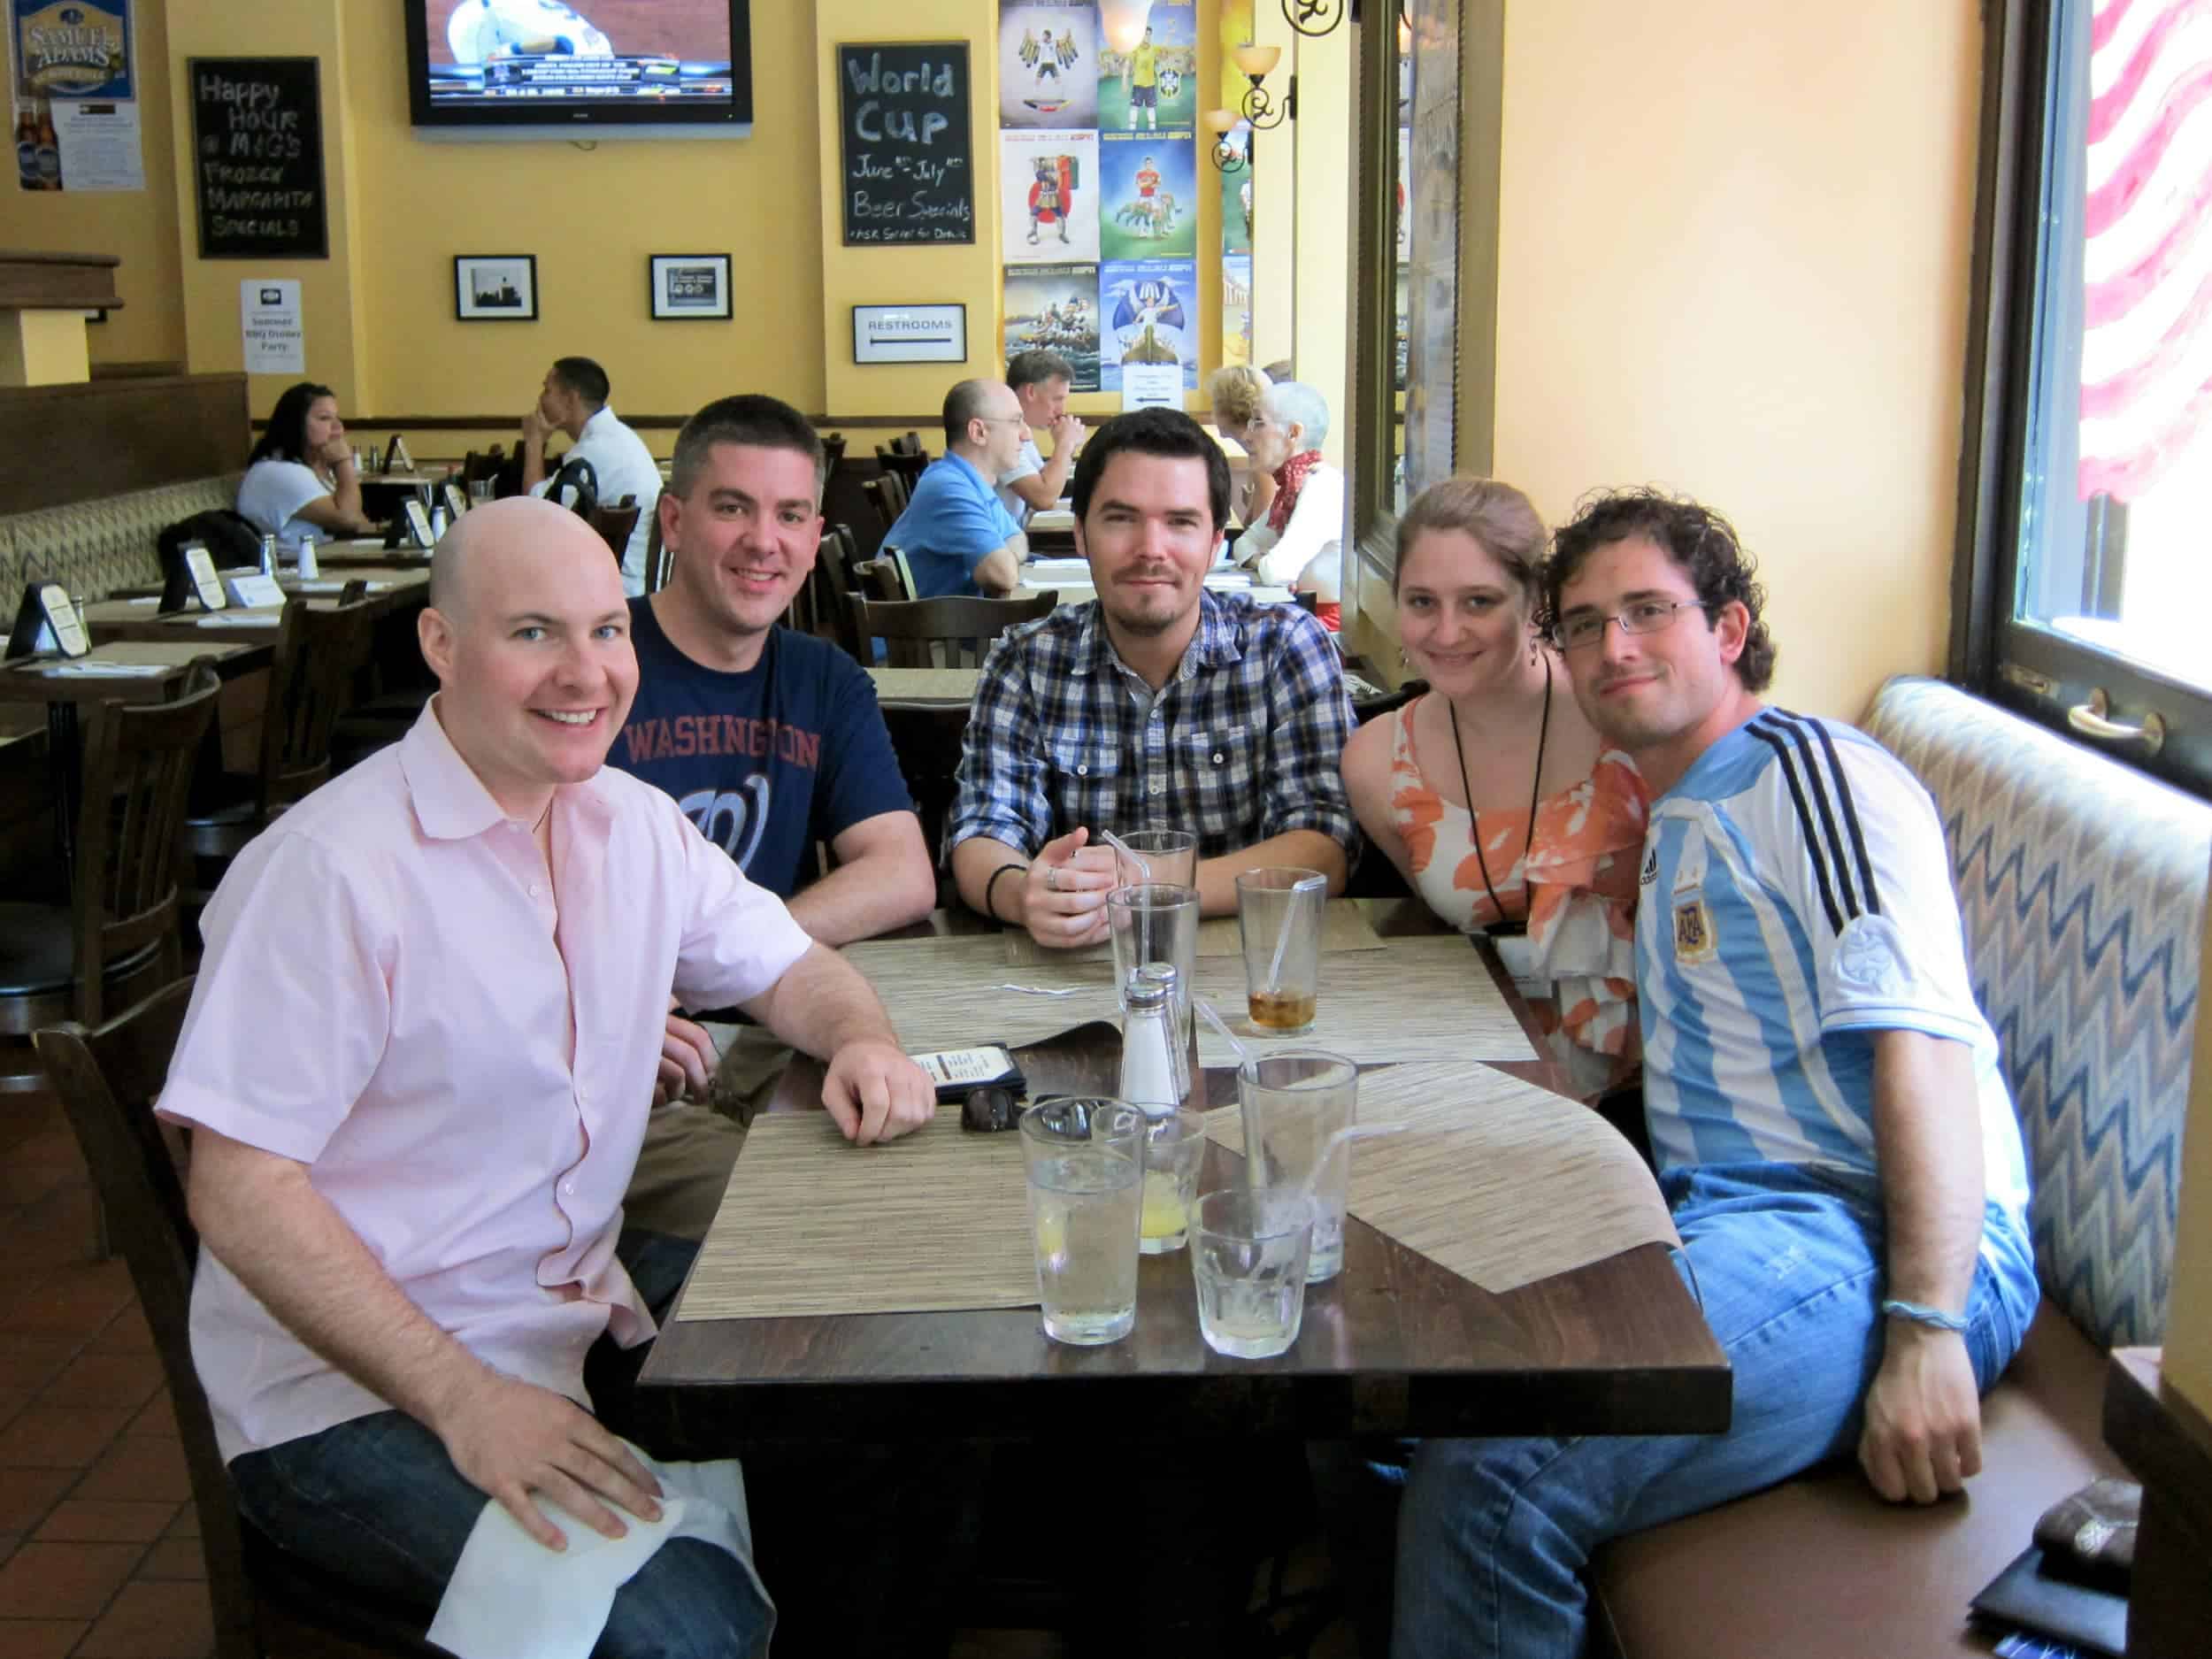
The trip was also an opportunity to spend time with travel professionals, including an editor for Lonely Planet's UK magazine, a BBC photographer, and several other established travel writers.
Our Twitter-centric trip to highlight tourism in Rwanda even garnered coverage on Mashable.
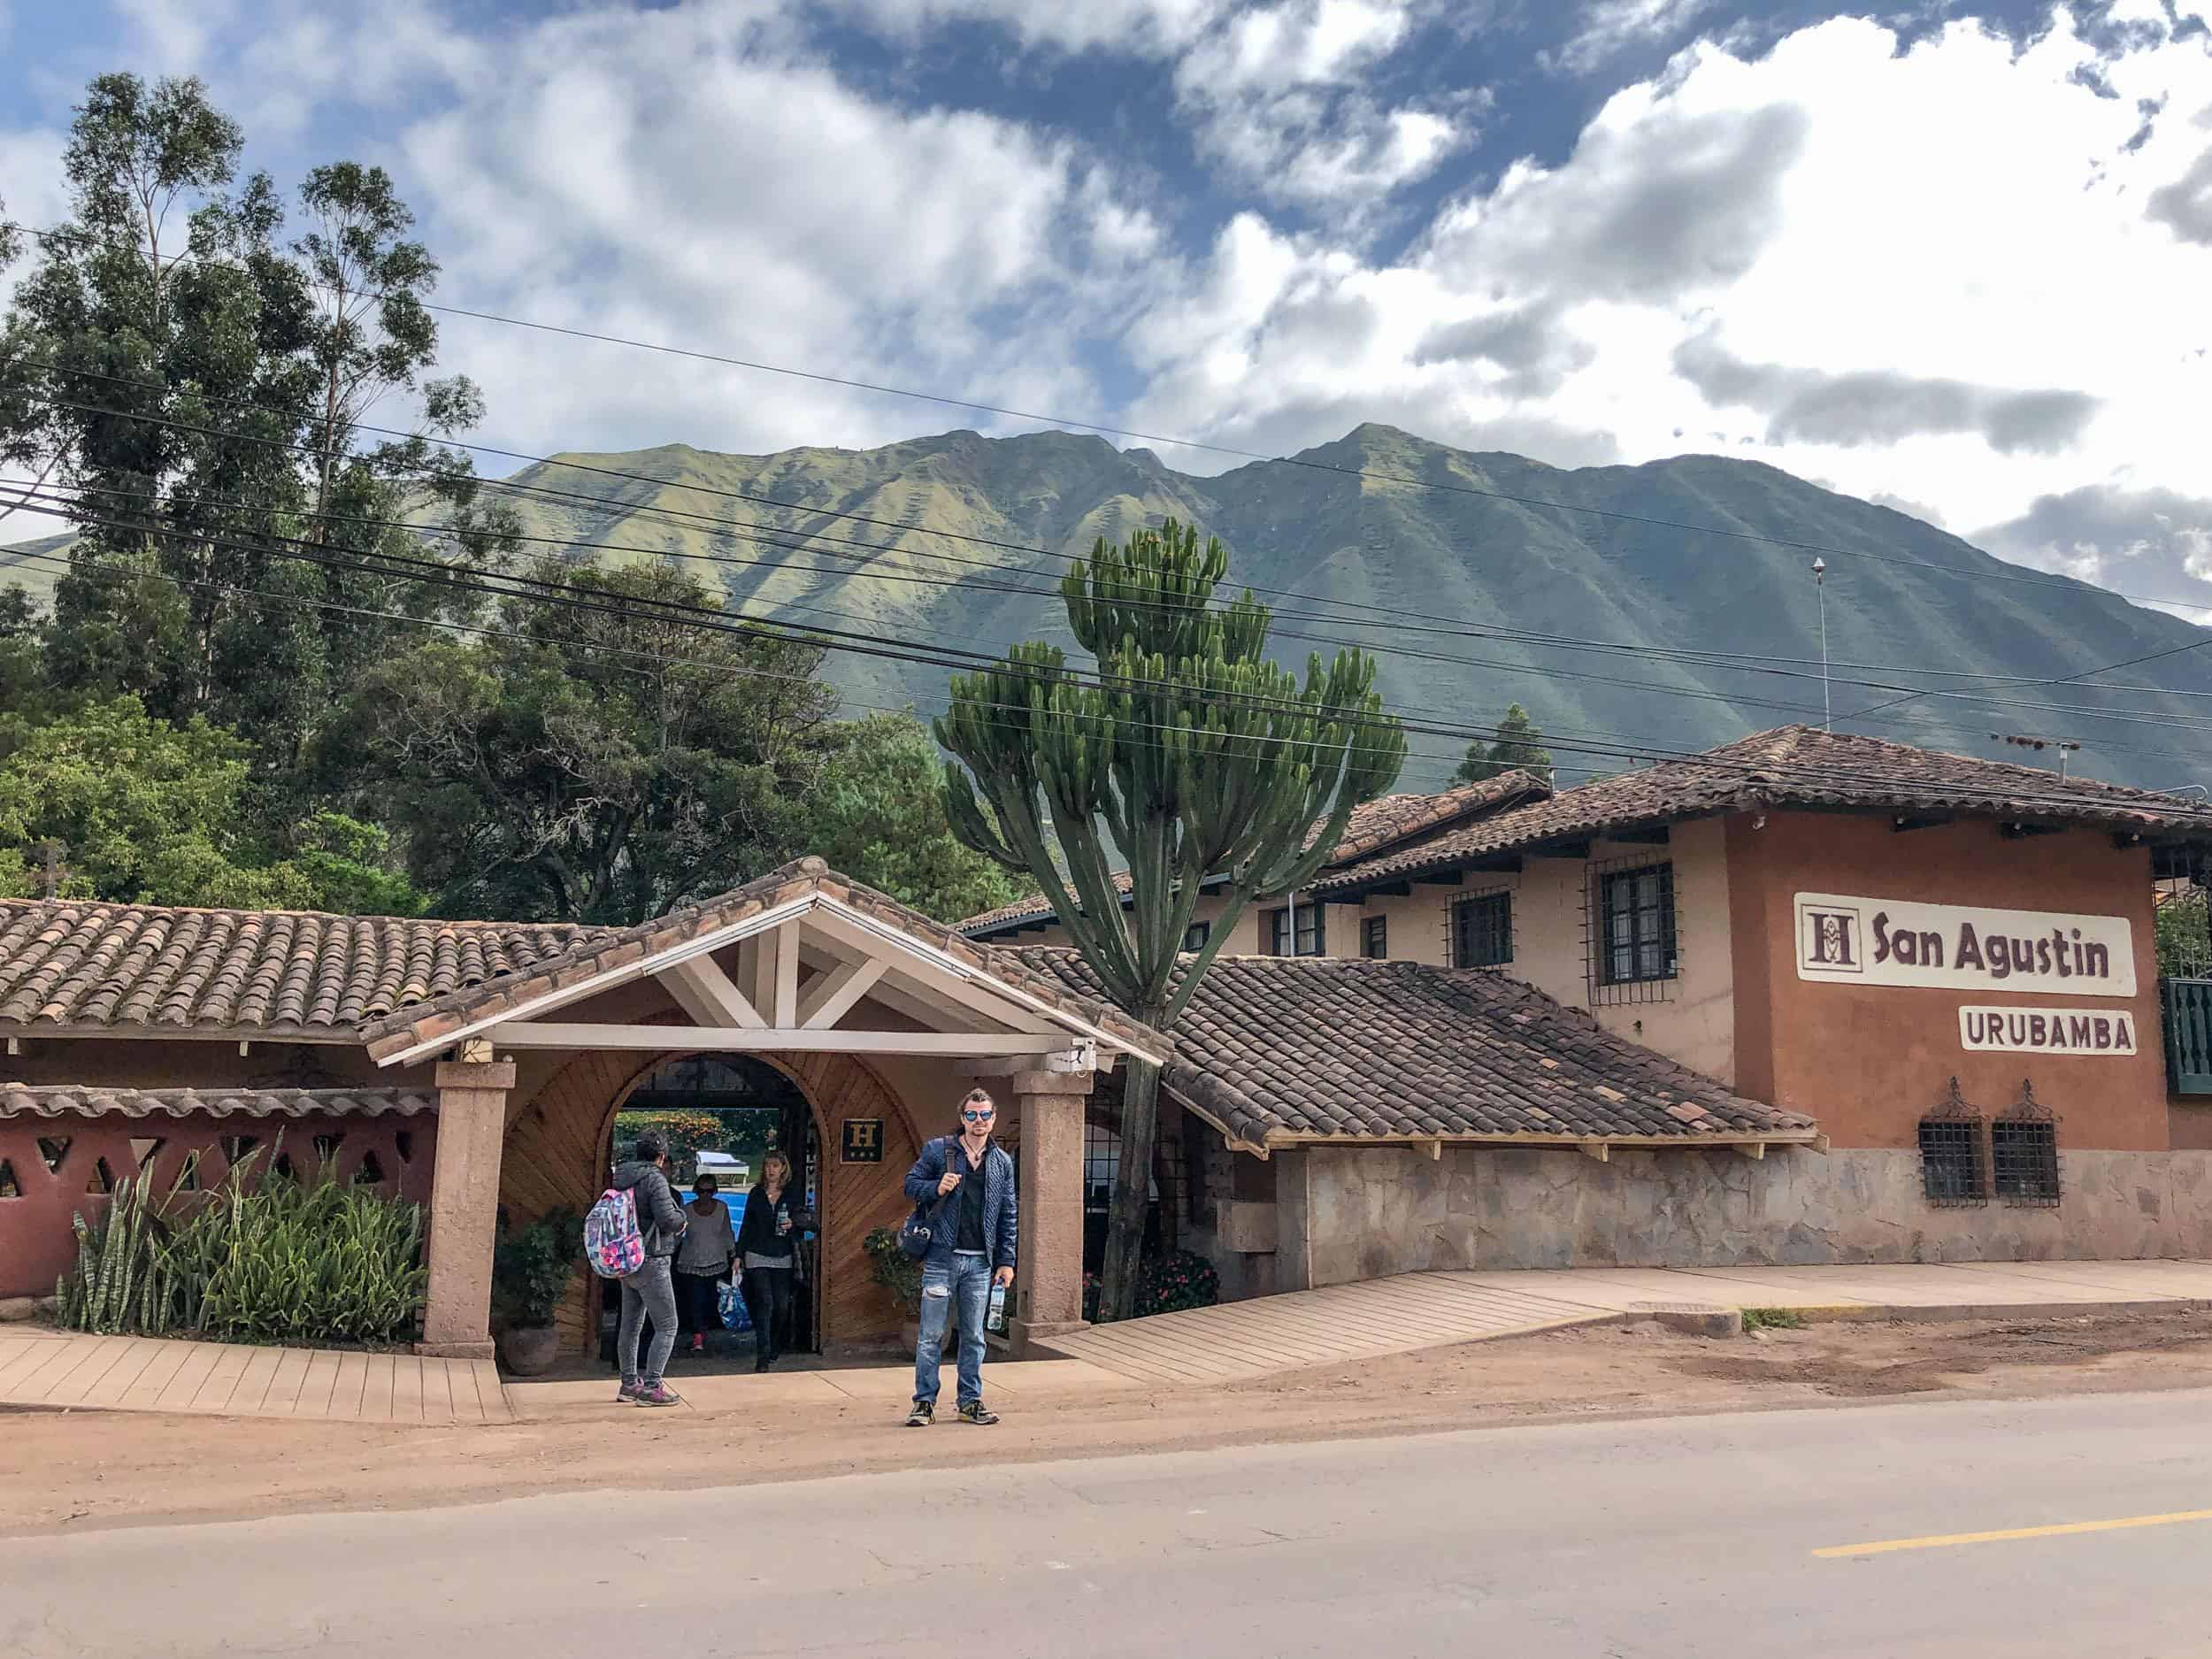
Expat Life and World Travel (2010-16)
By July 2010, I was back in Colombia, realizing my new dream of being location independent.
I was now juggling three websites, all of which had developed audiences:
- Go Backpacking
- Medellin Living
- Travel Blog Success
It was an exciting time. A typical day in Medellin involved working in the morning, going to the gym, eating a home-cooked lunch from my Colombian roommate, exploring the city or working again in the afternoon, and going out on a date or with friends at night.
When I wasn't in Colombia, I visited family in the US or explored new countries.
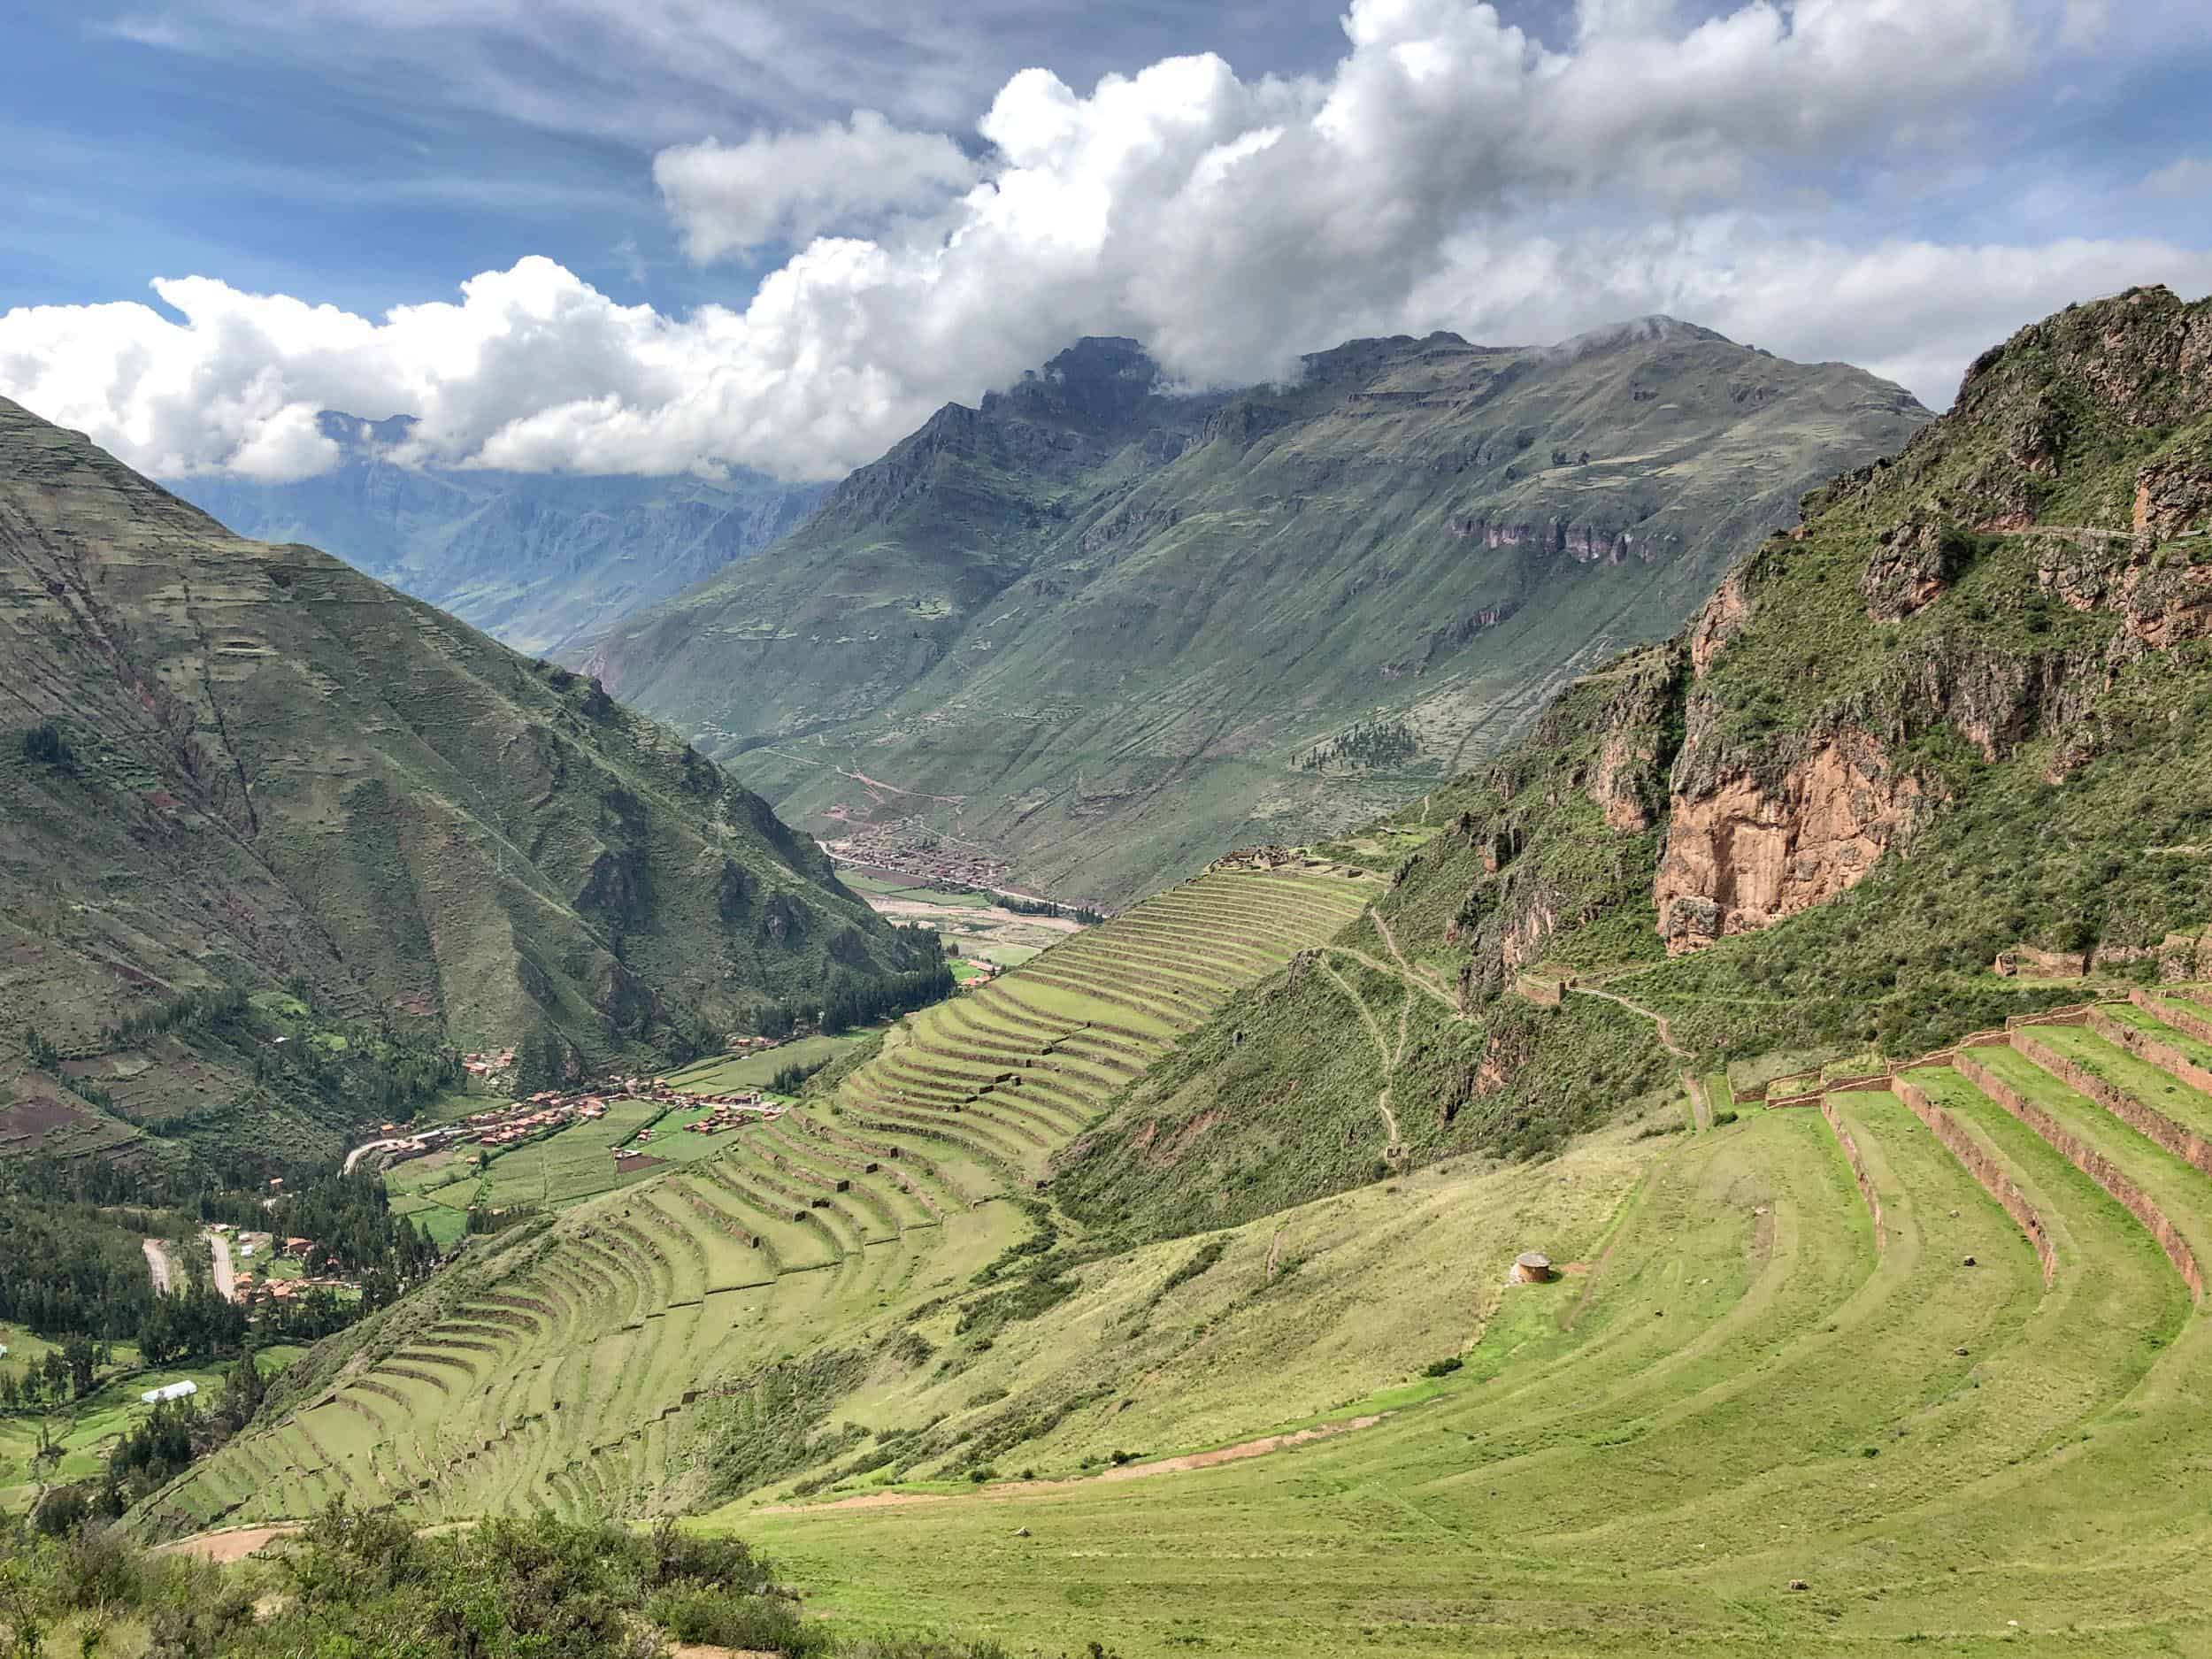
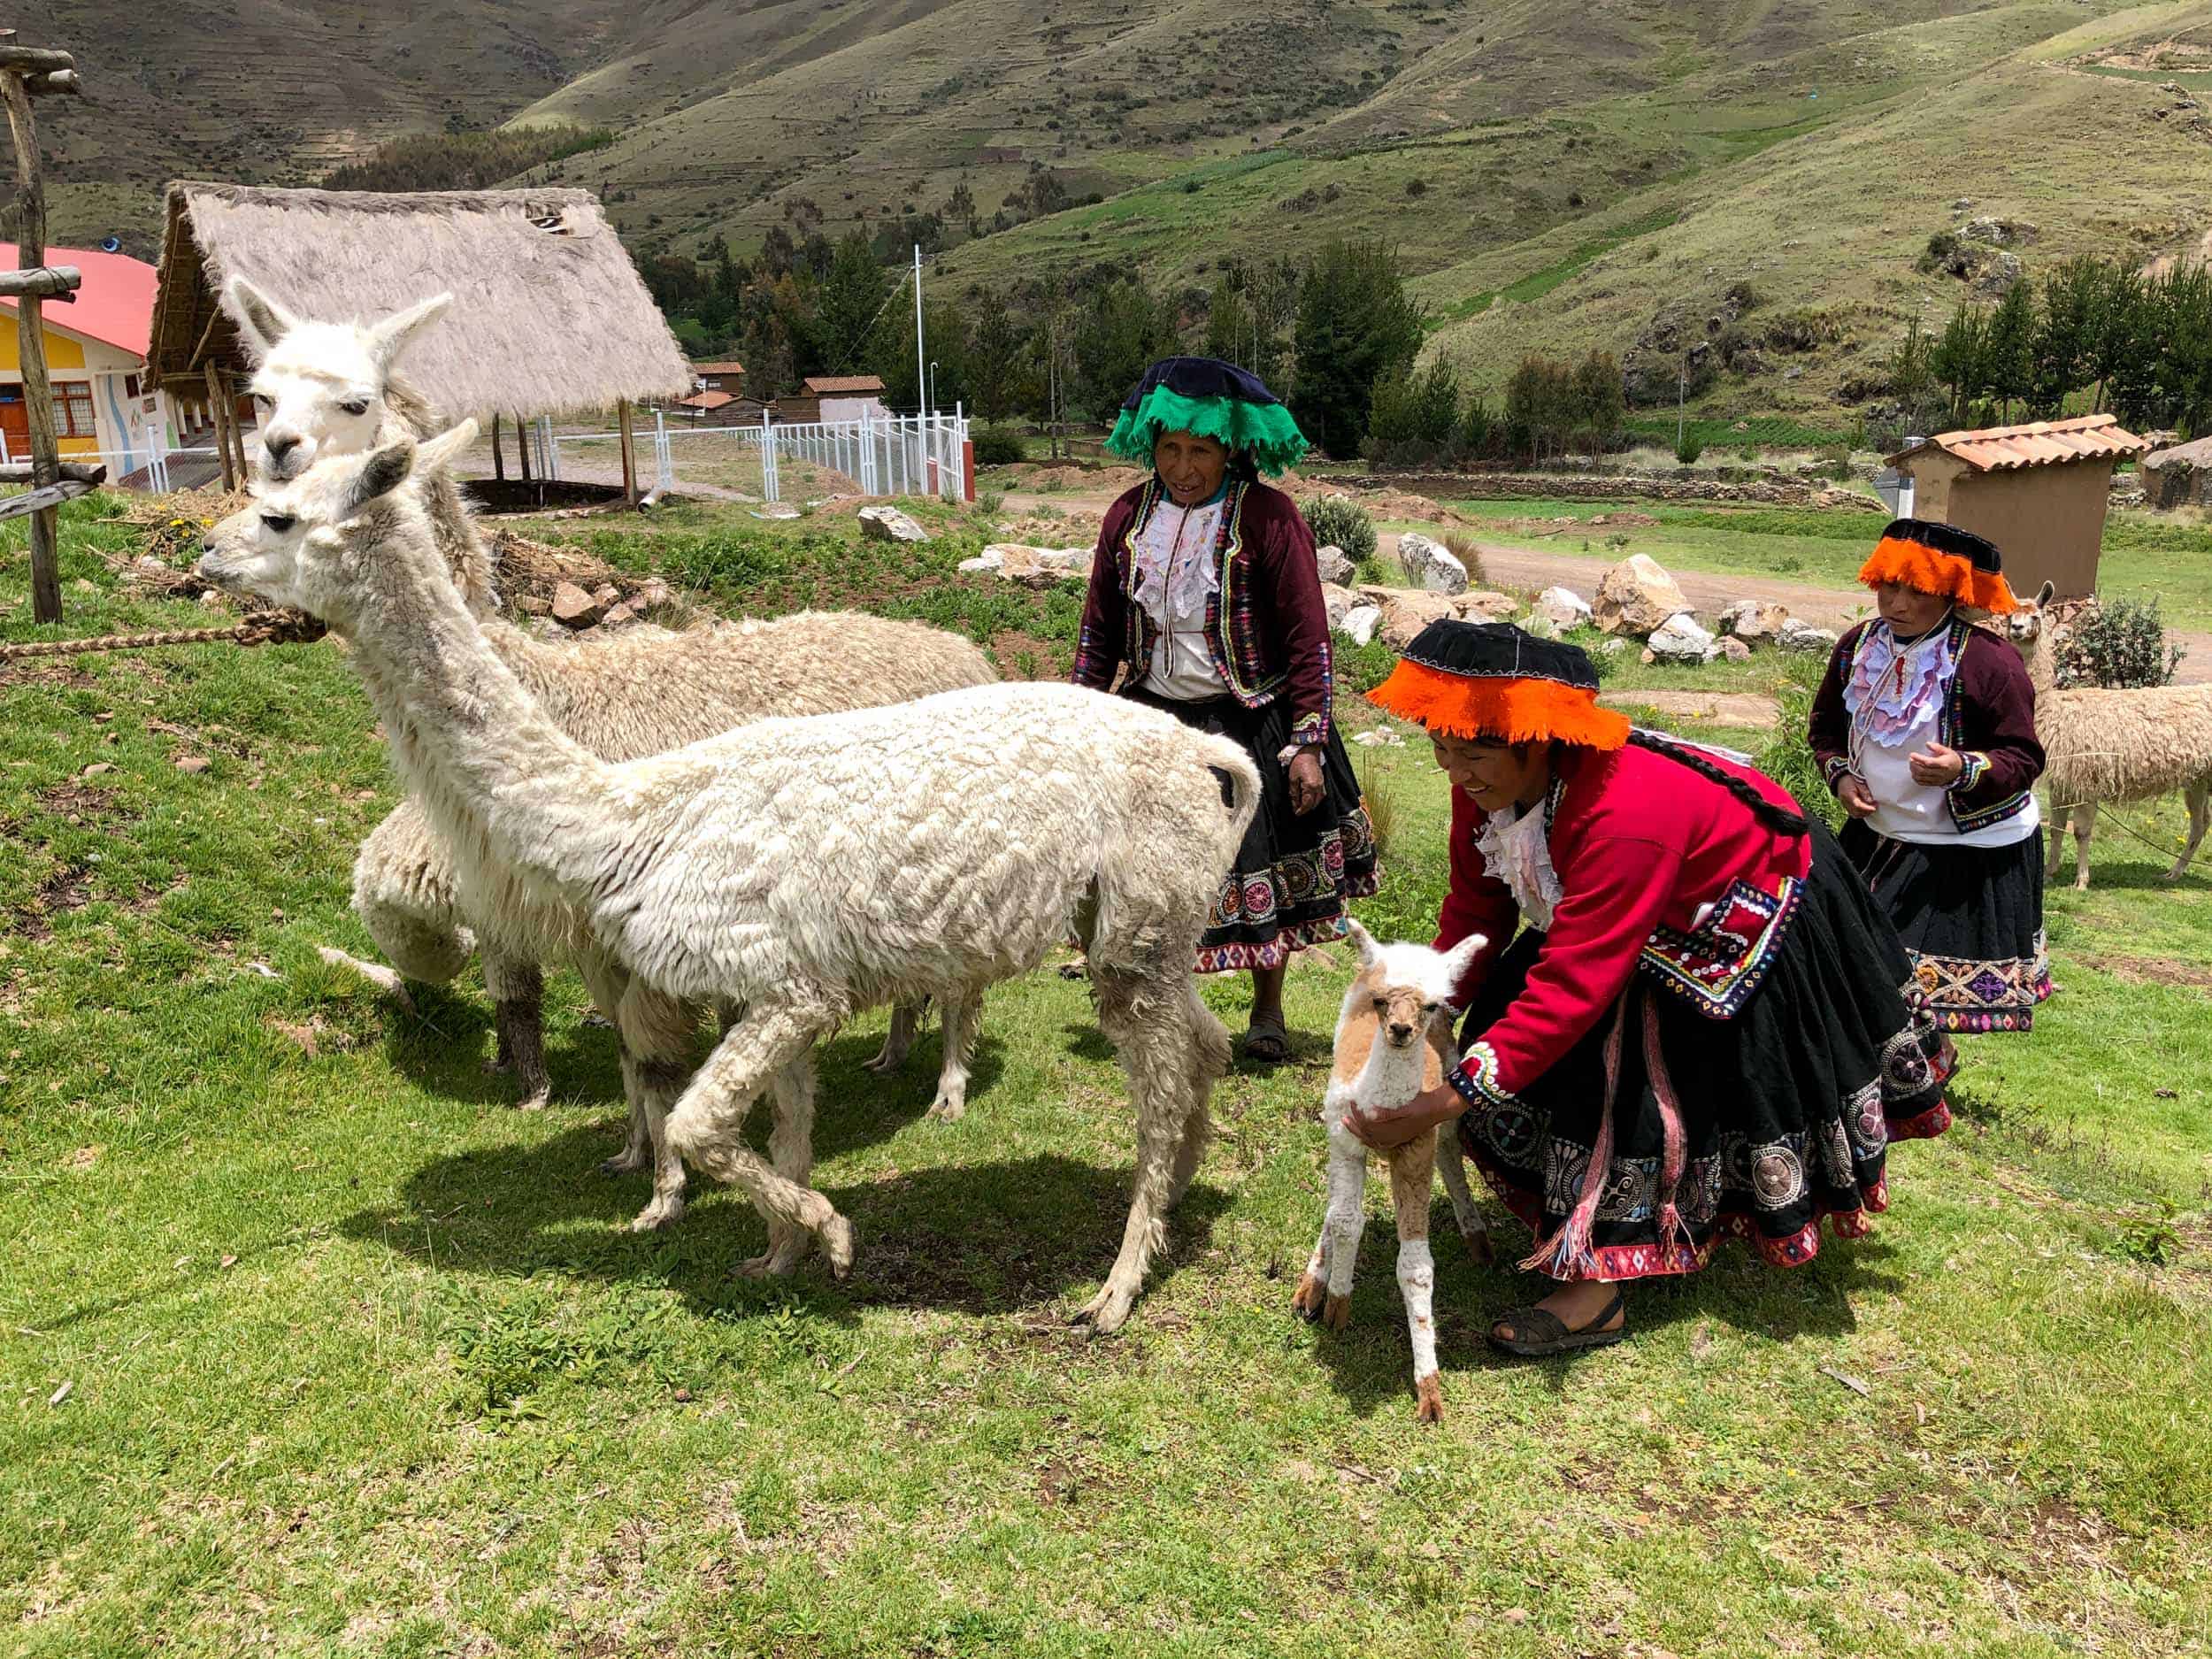
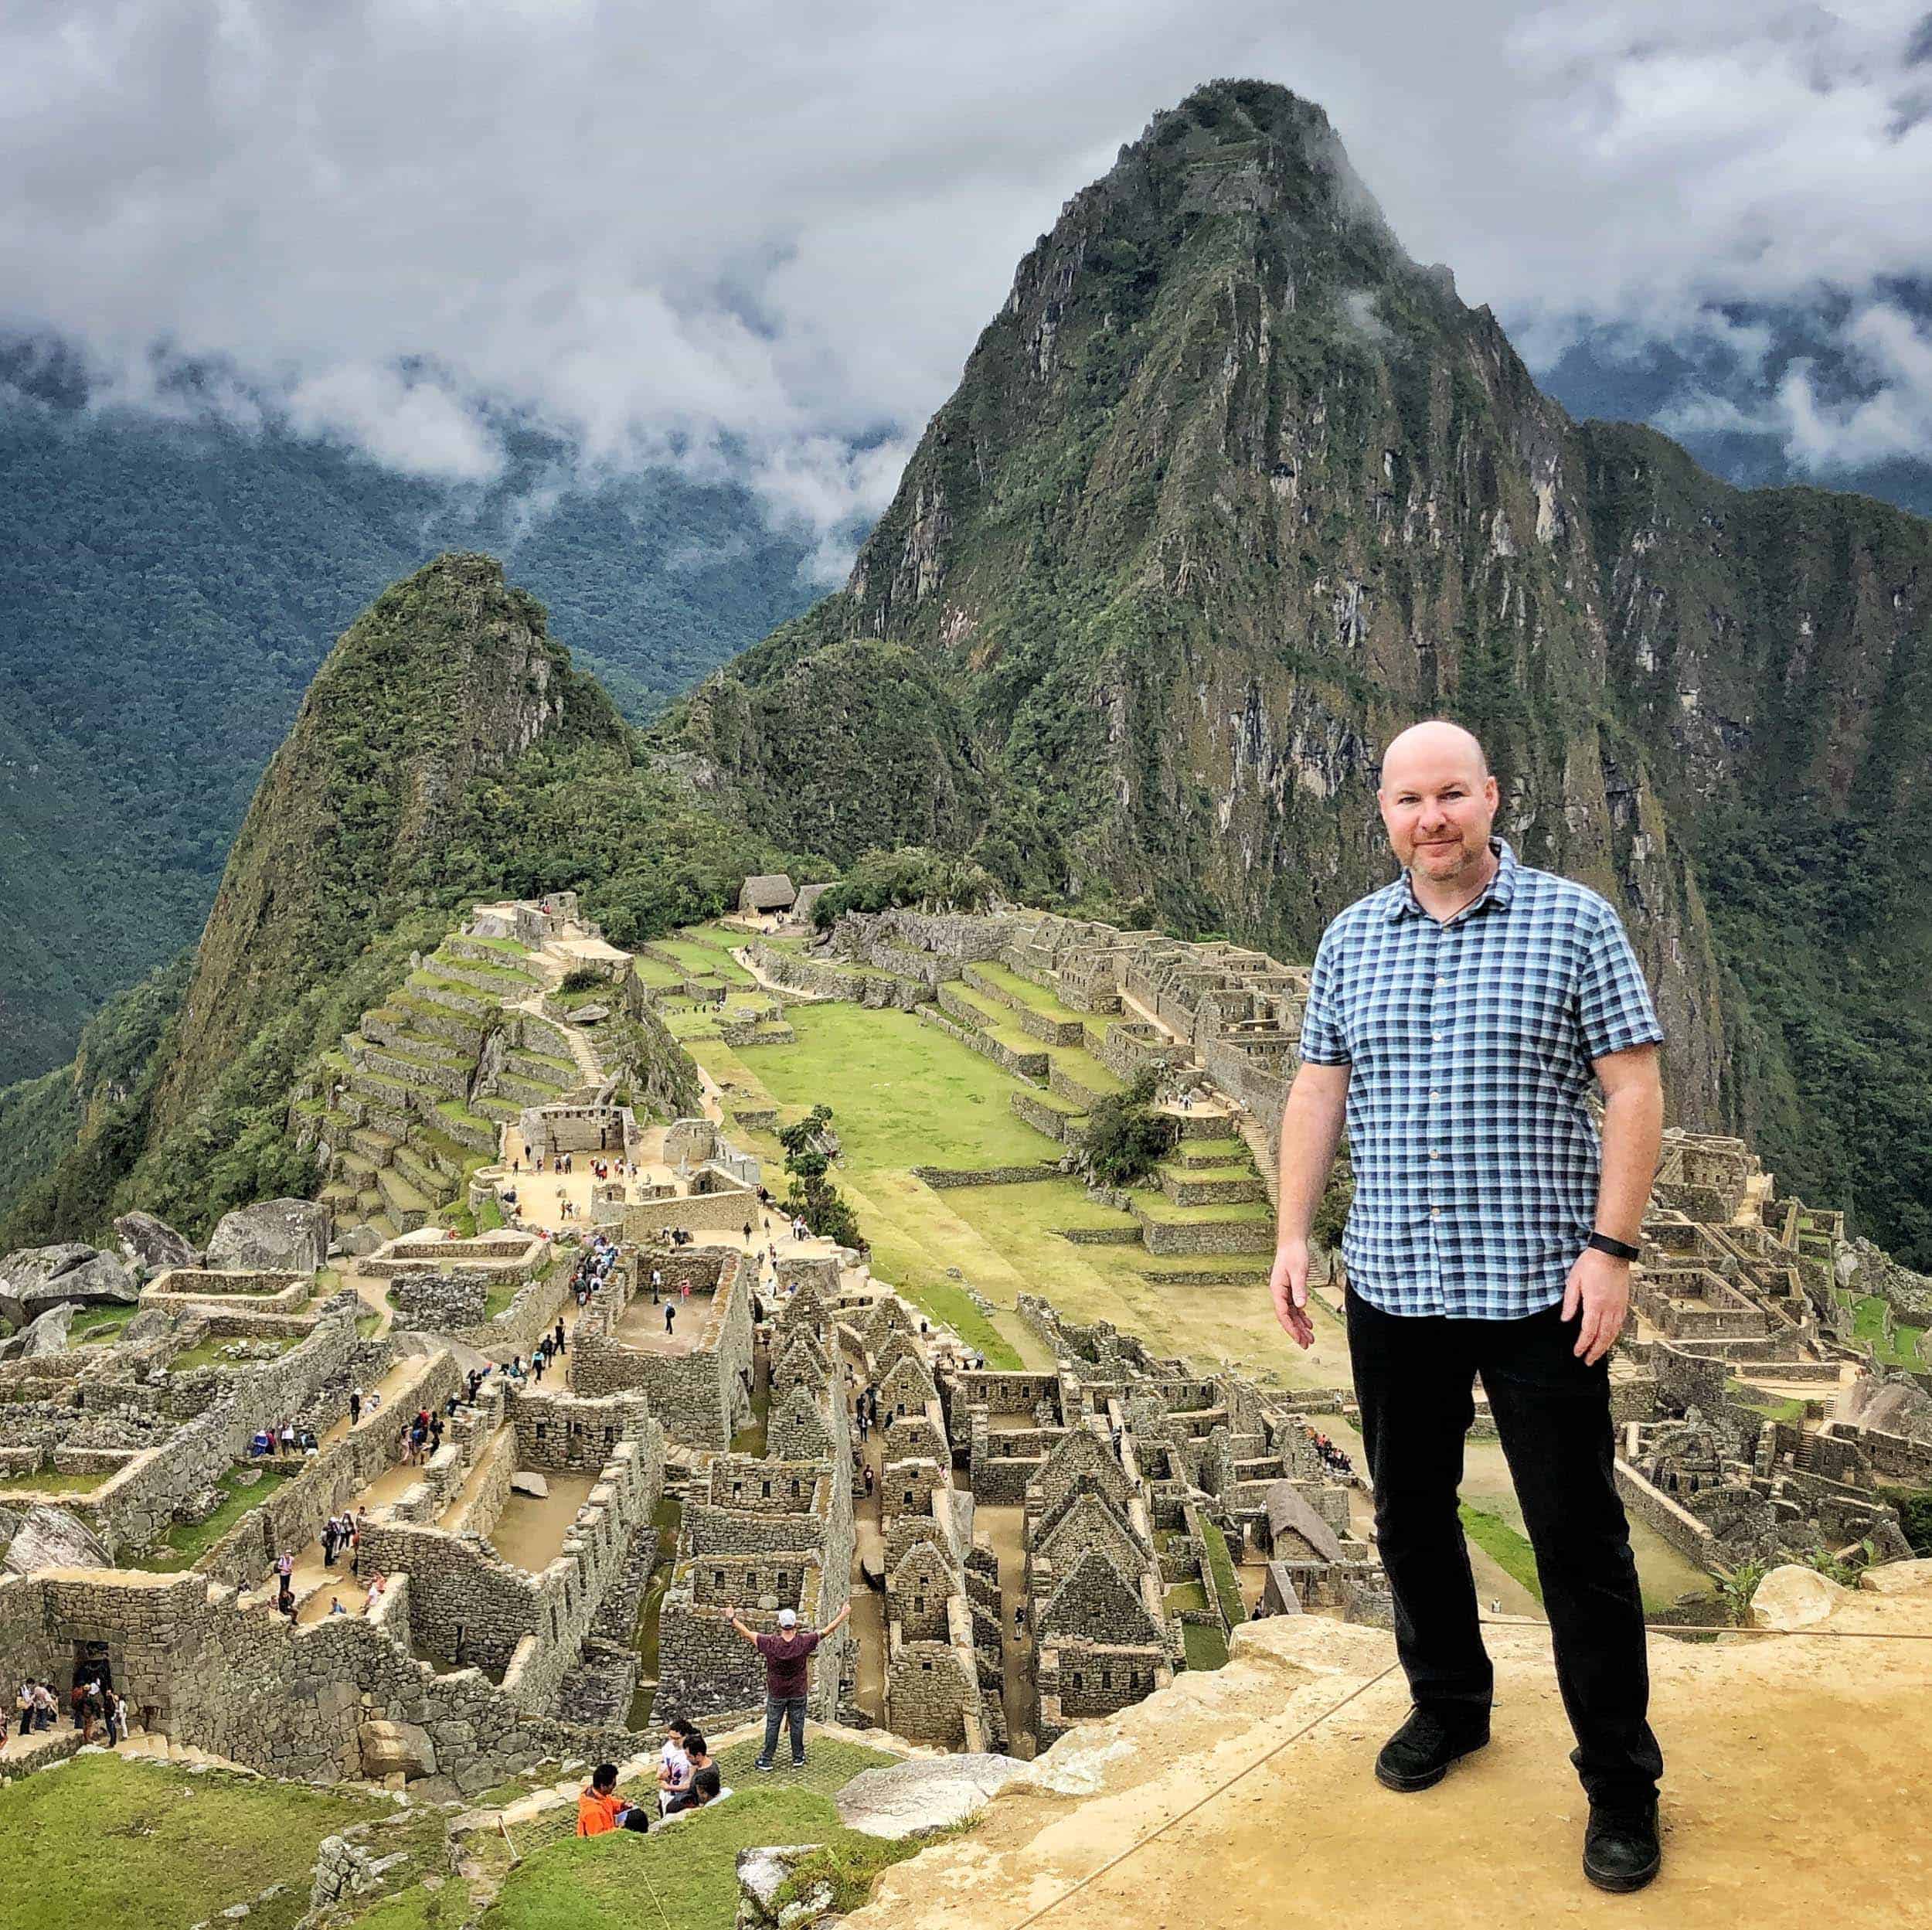
Backpacking South America
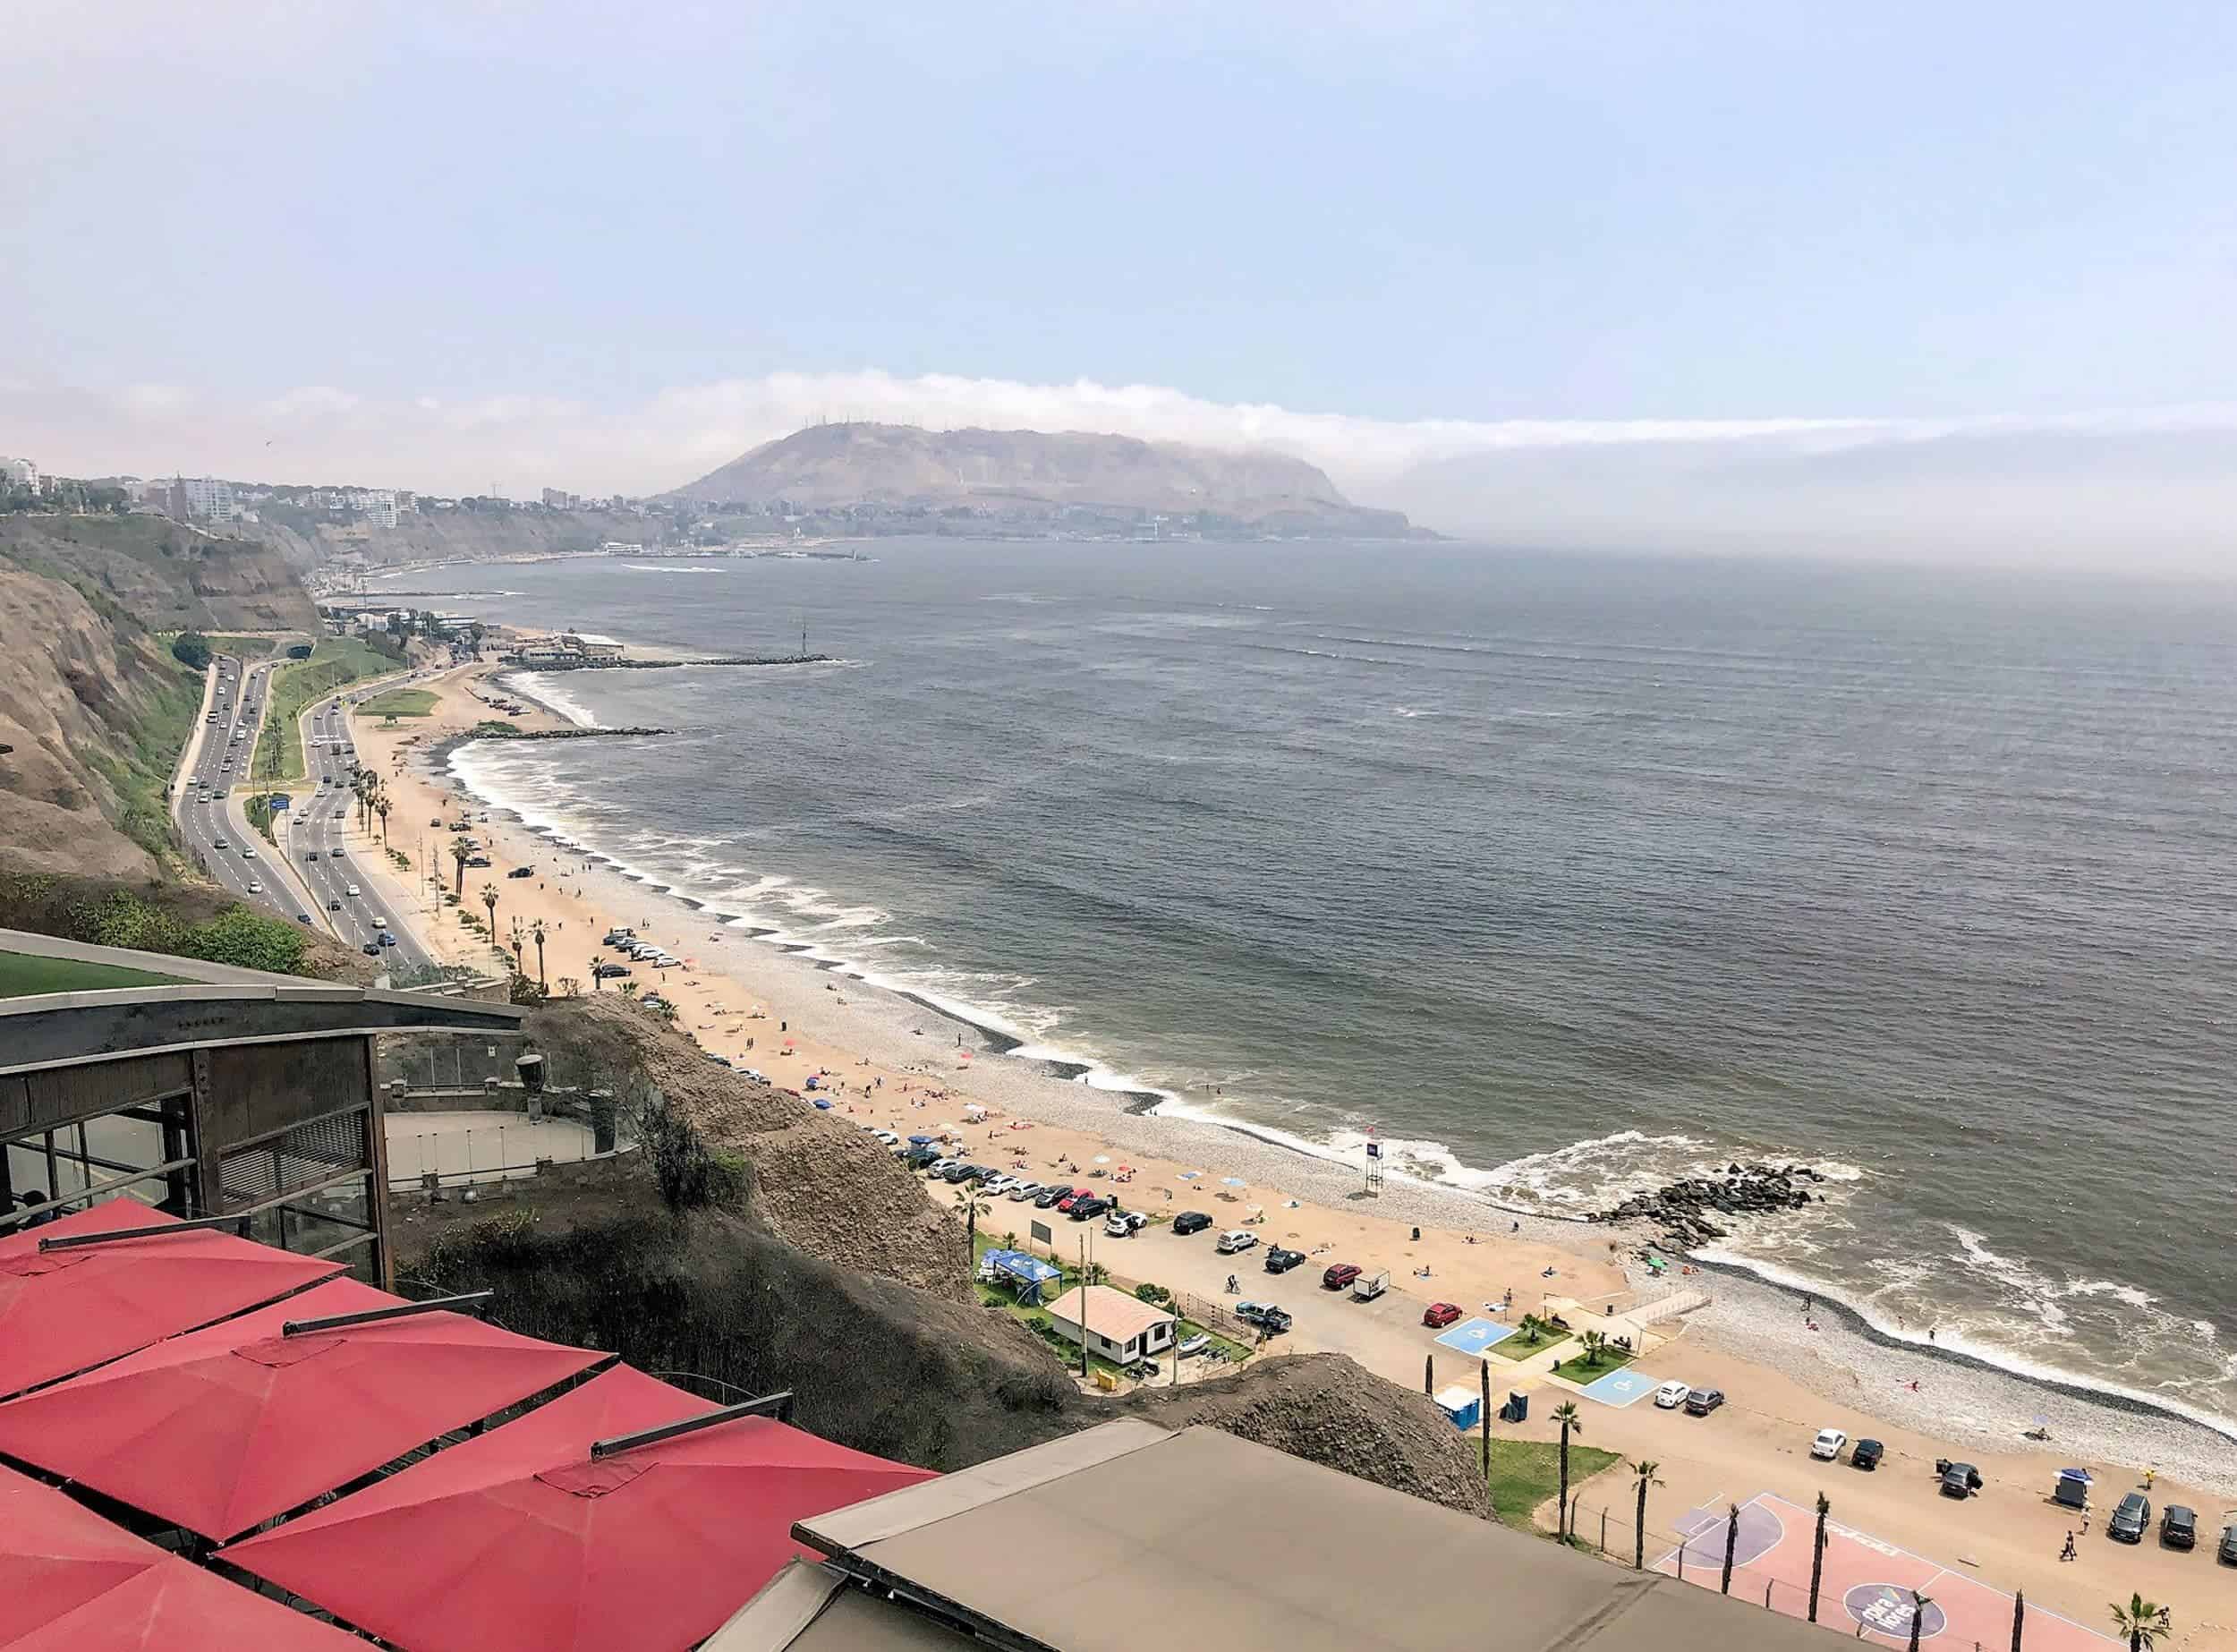
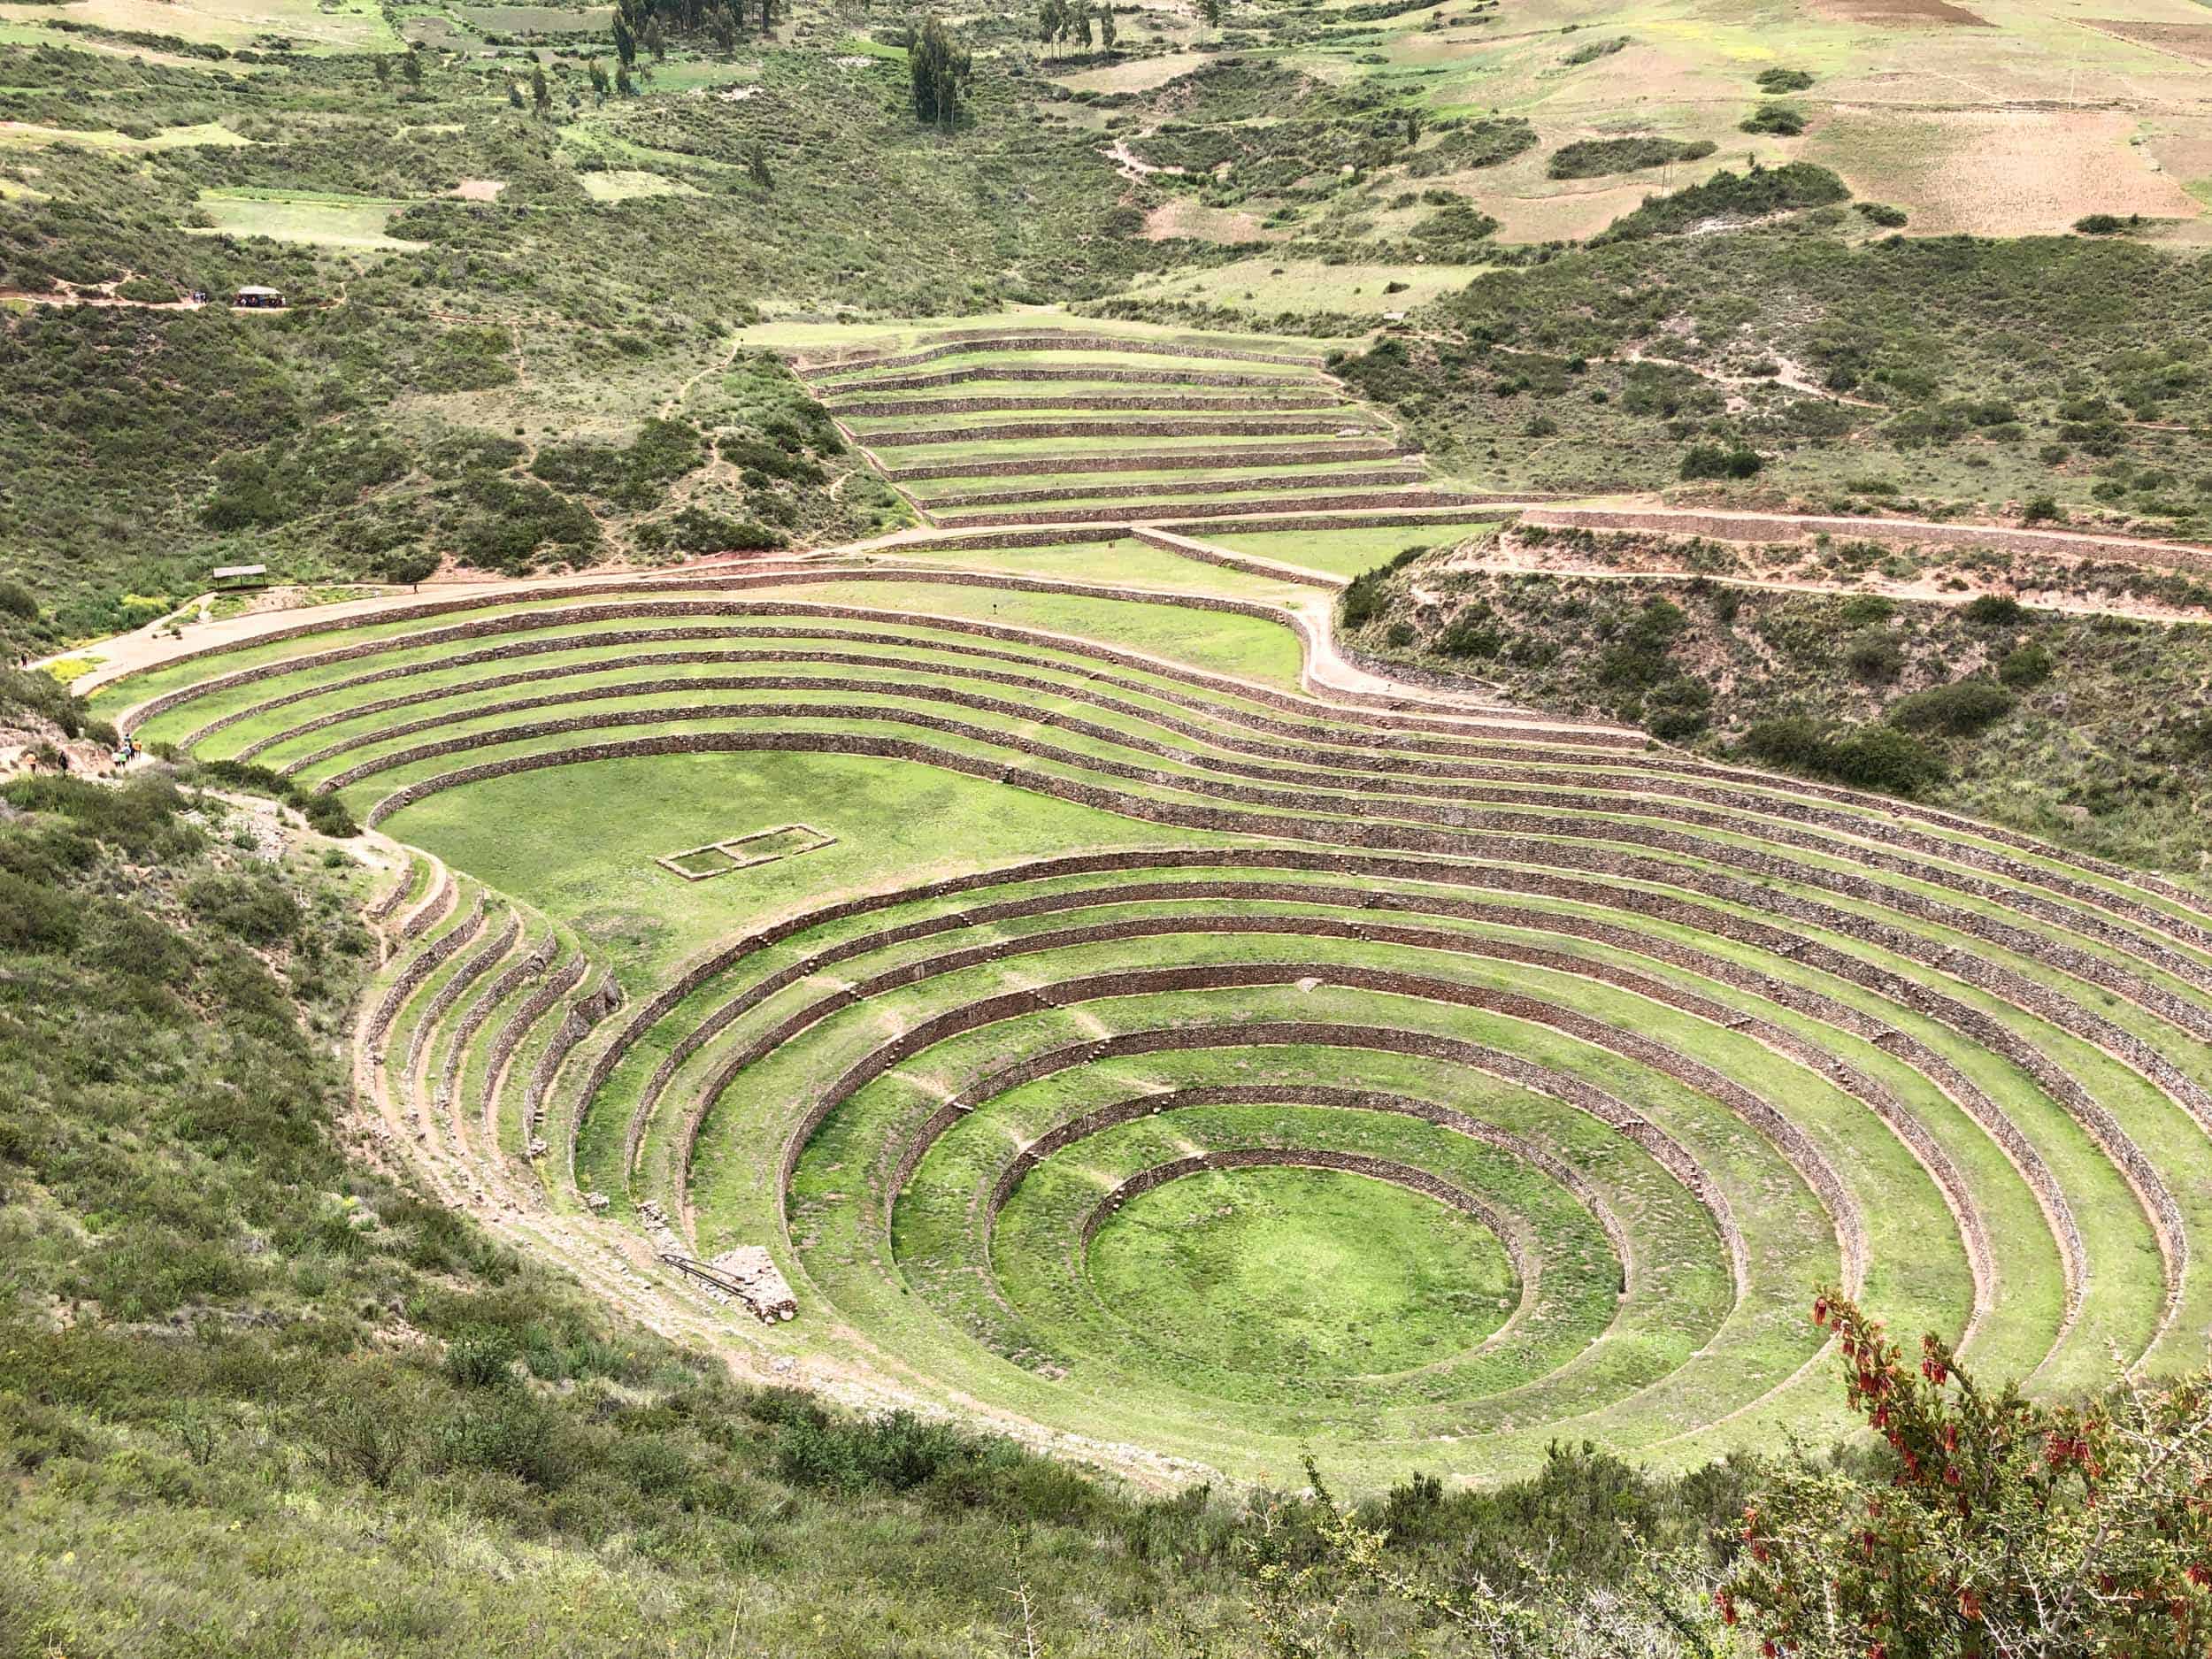
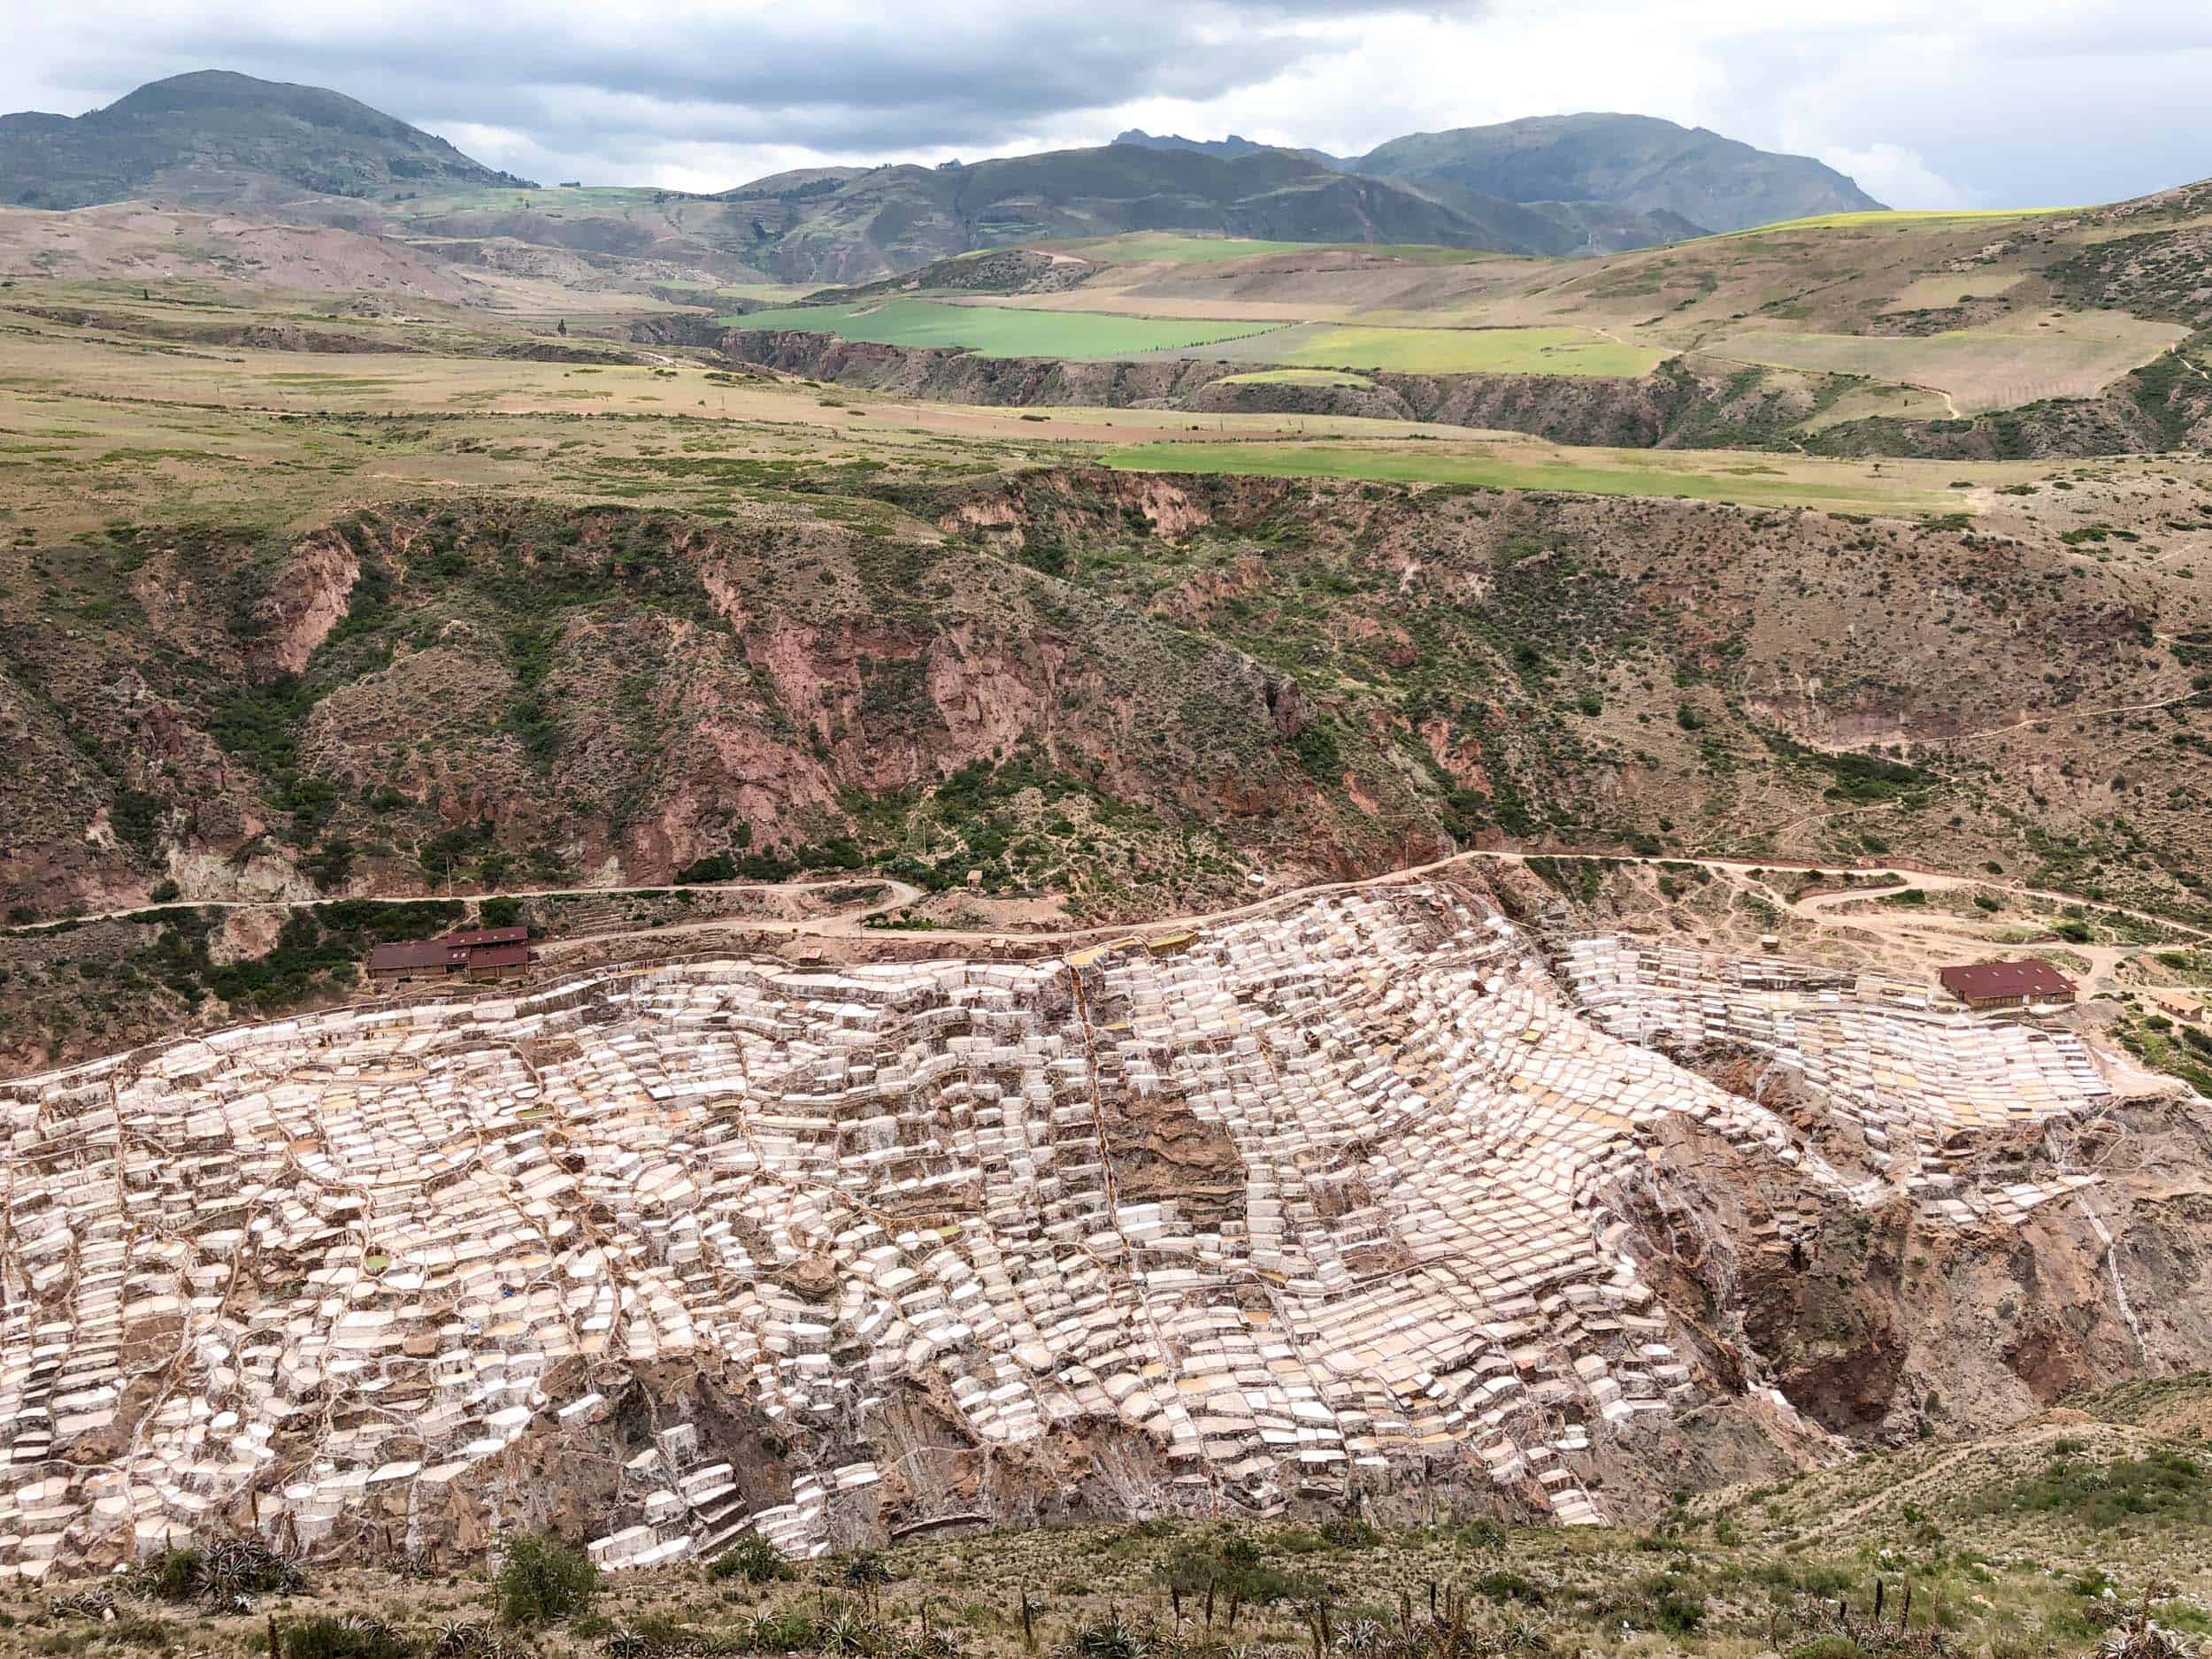
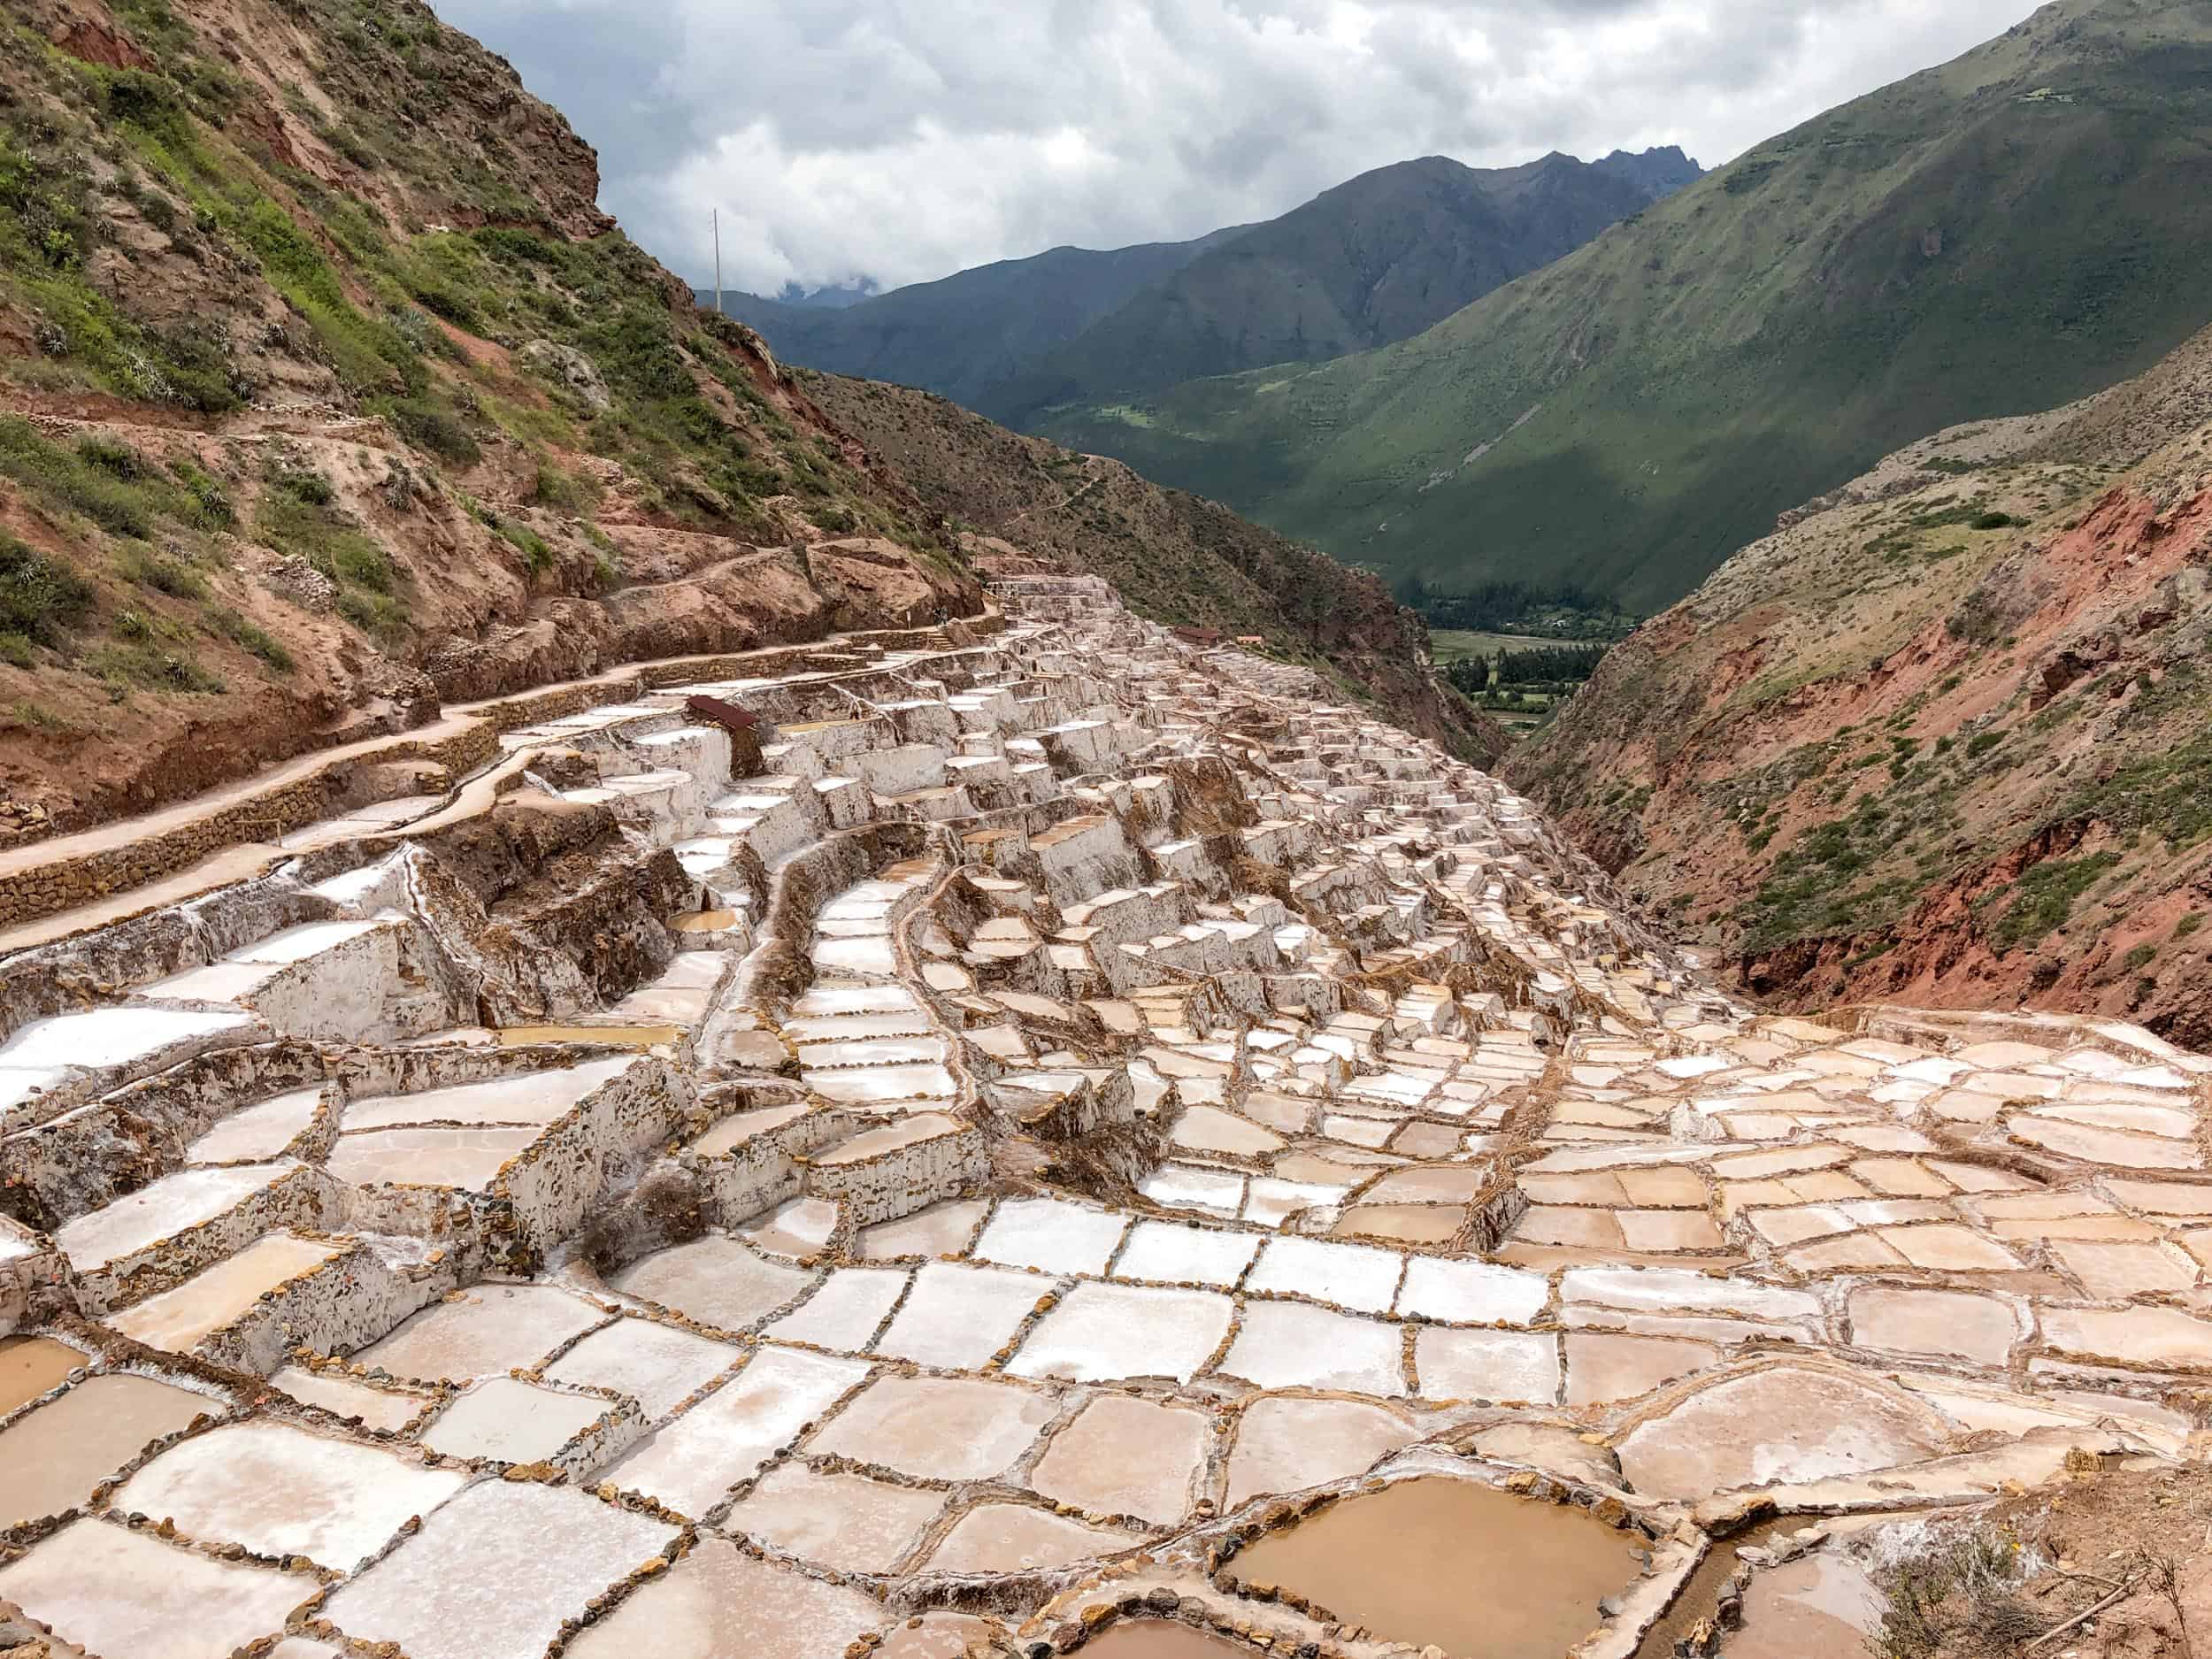
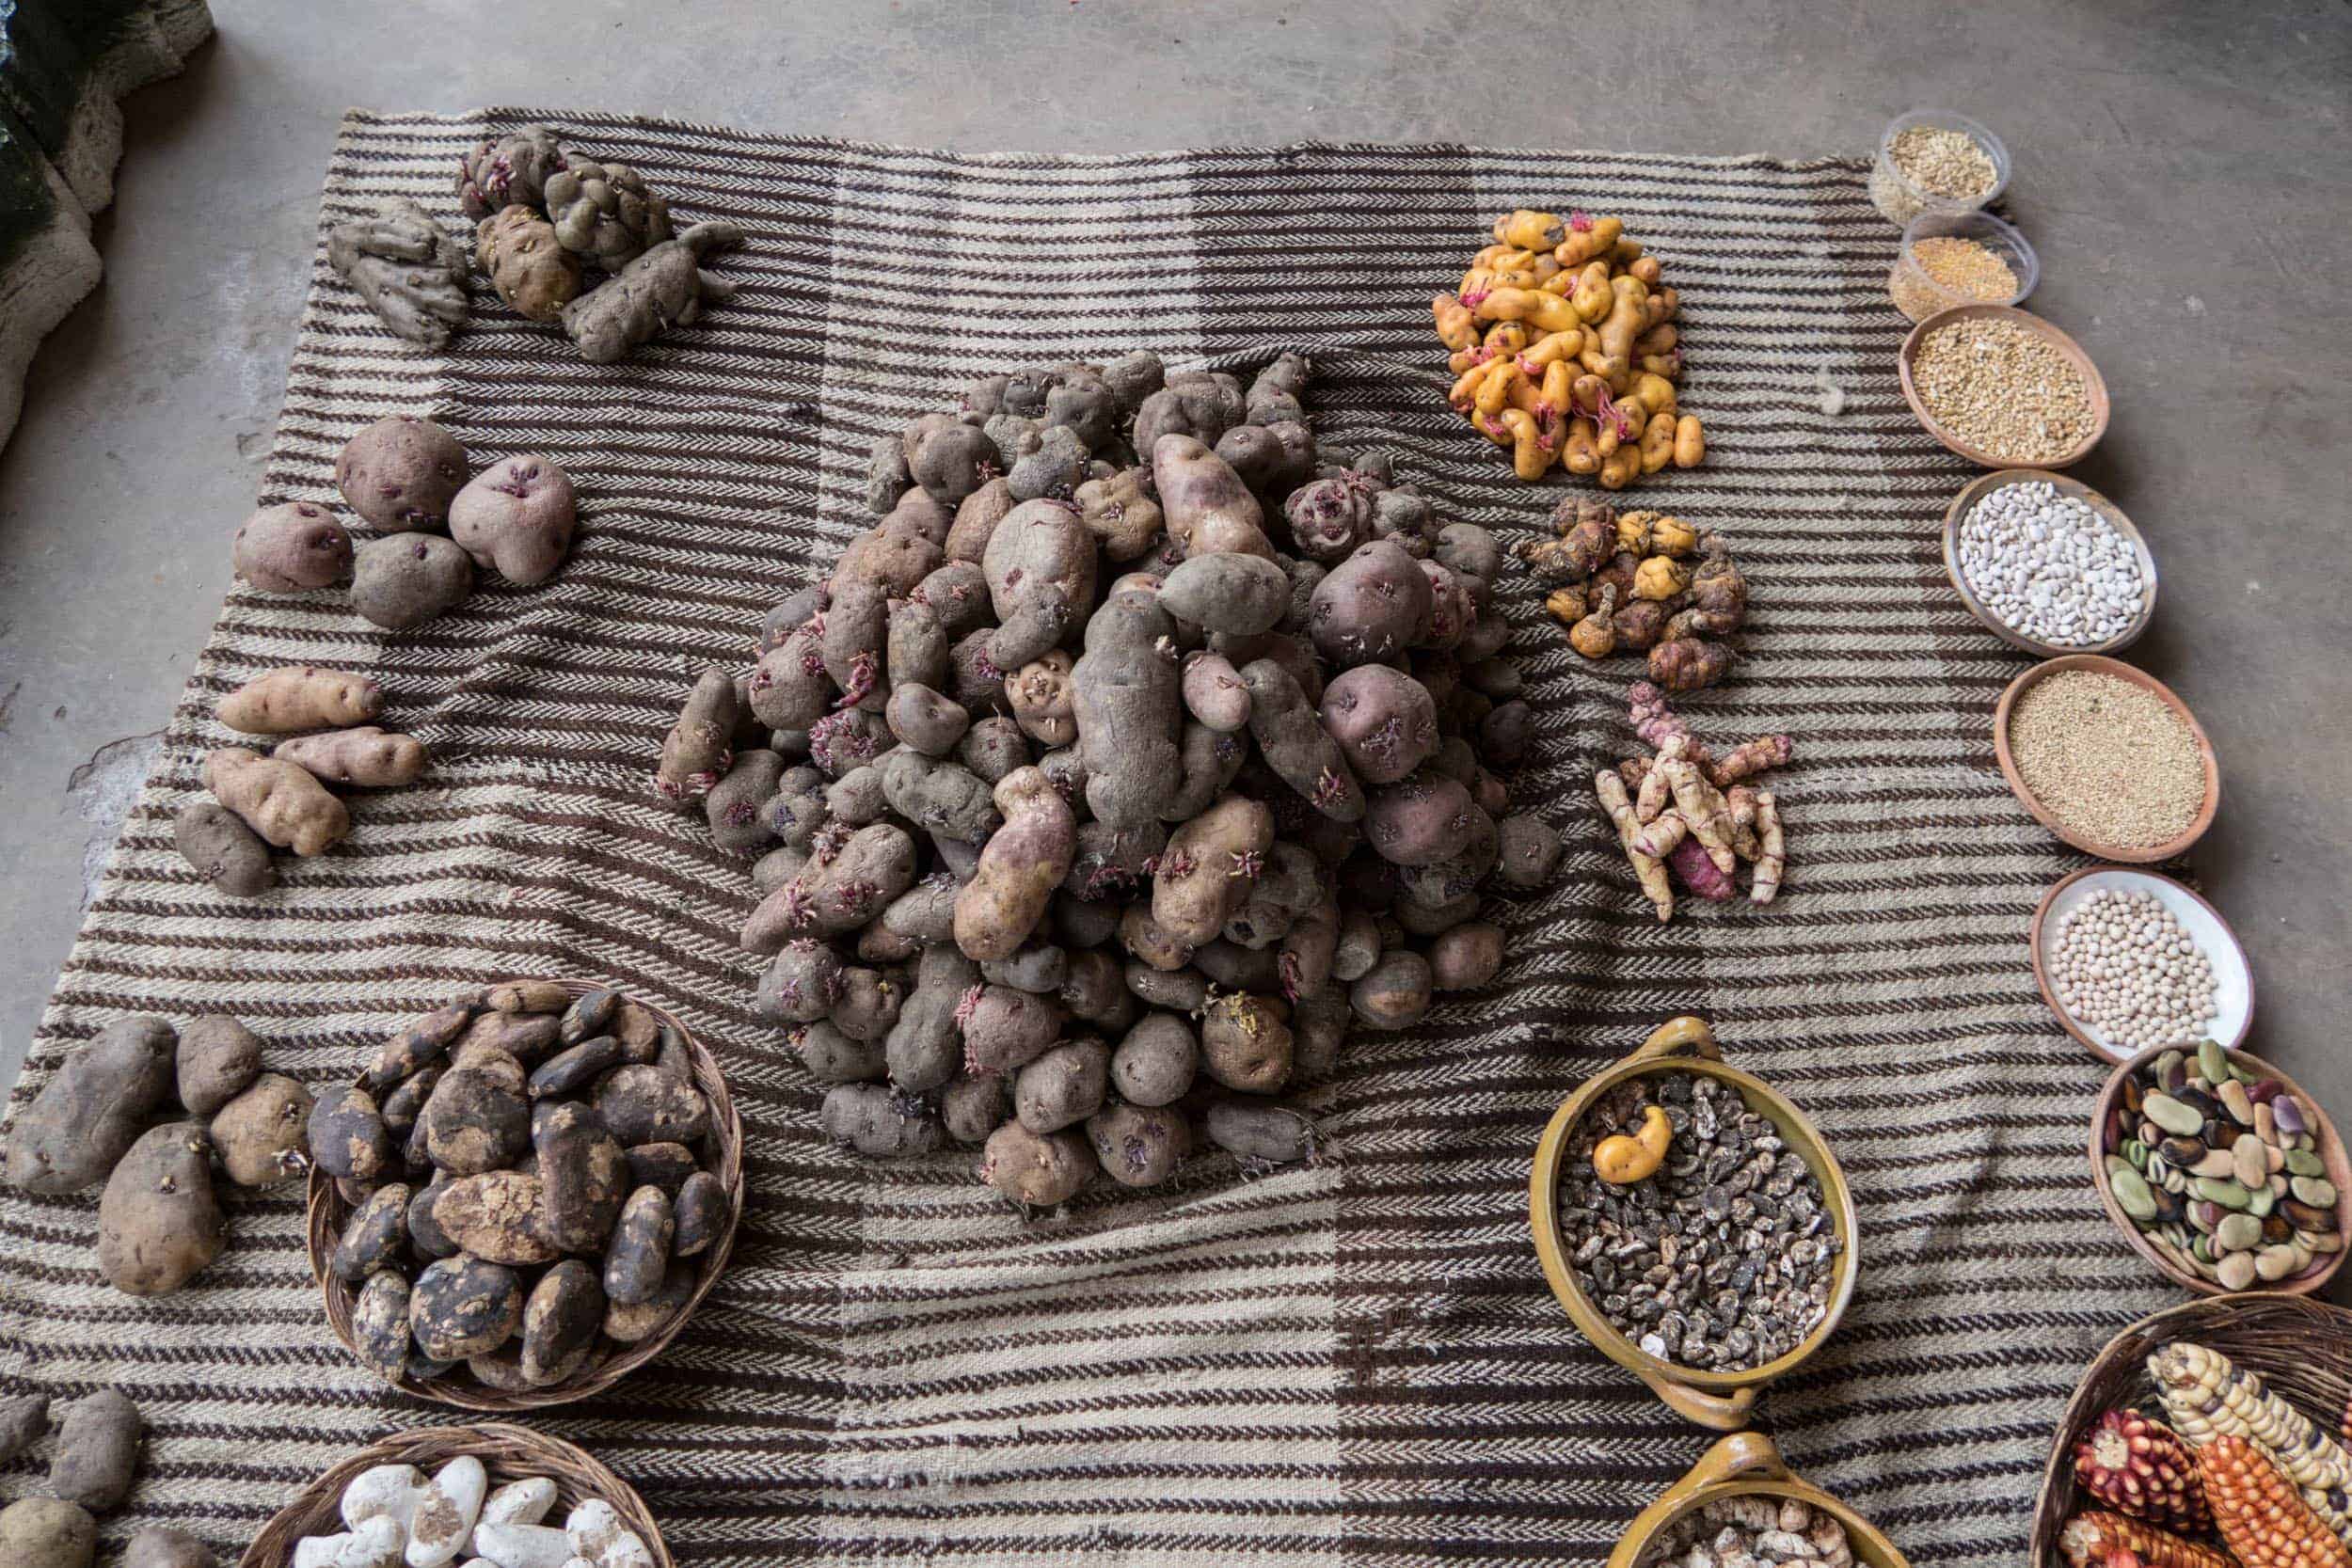
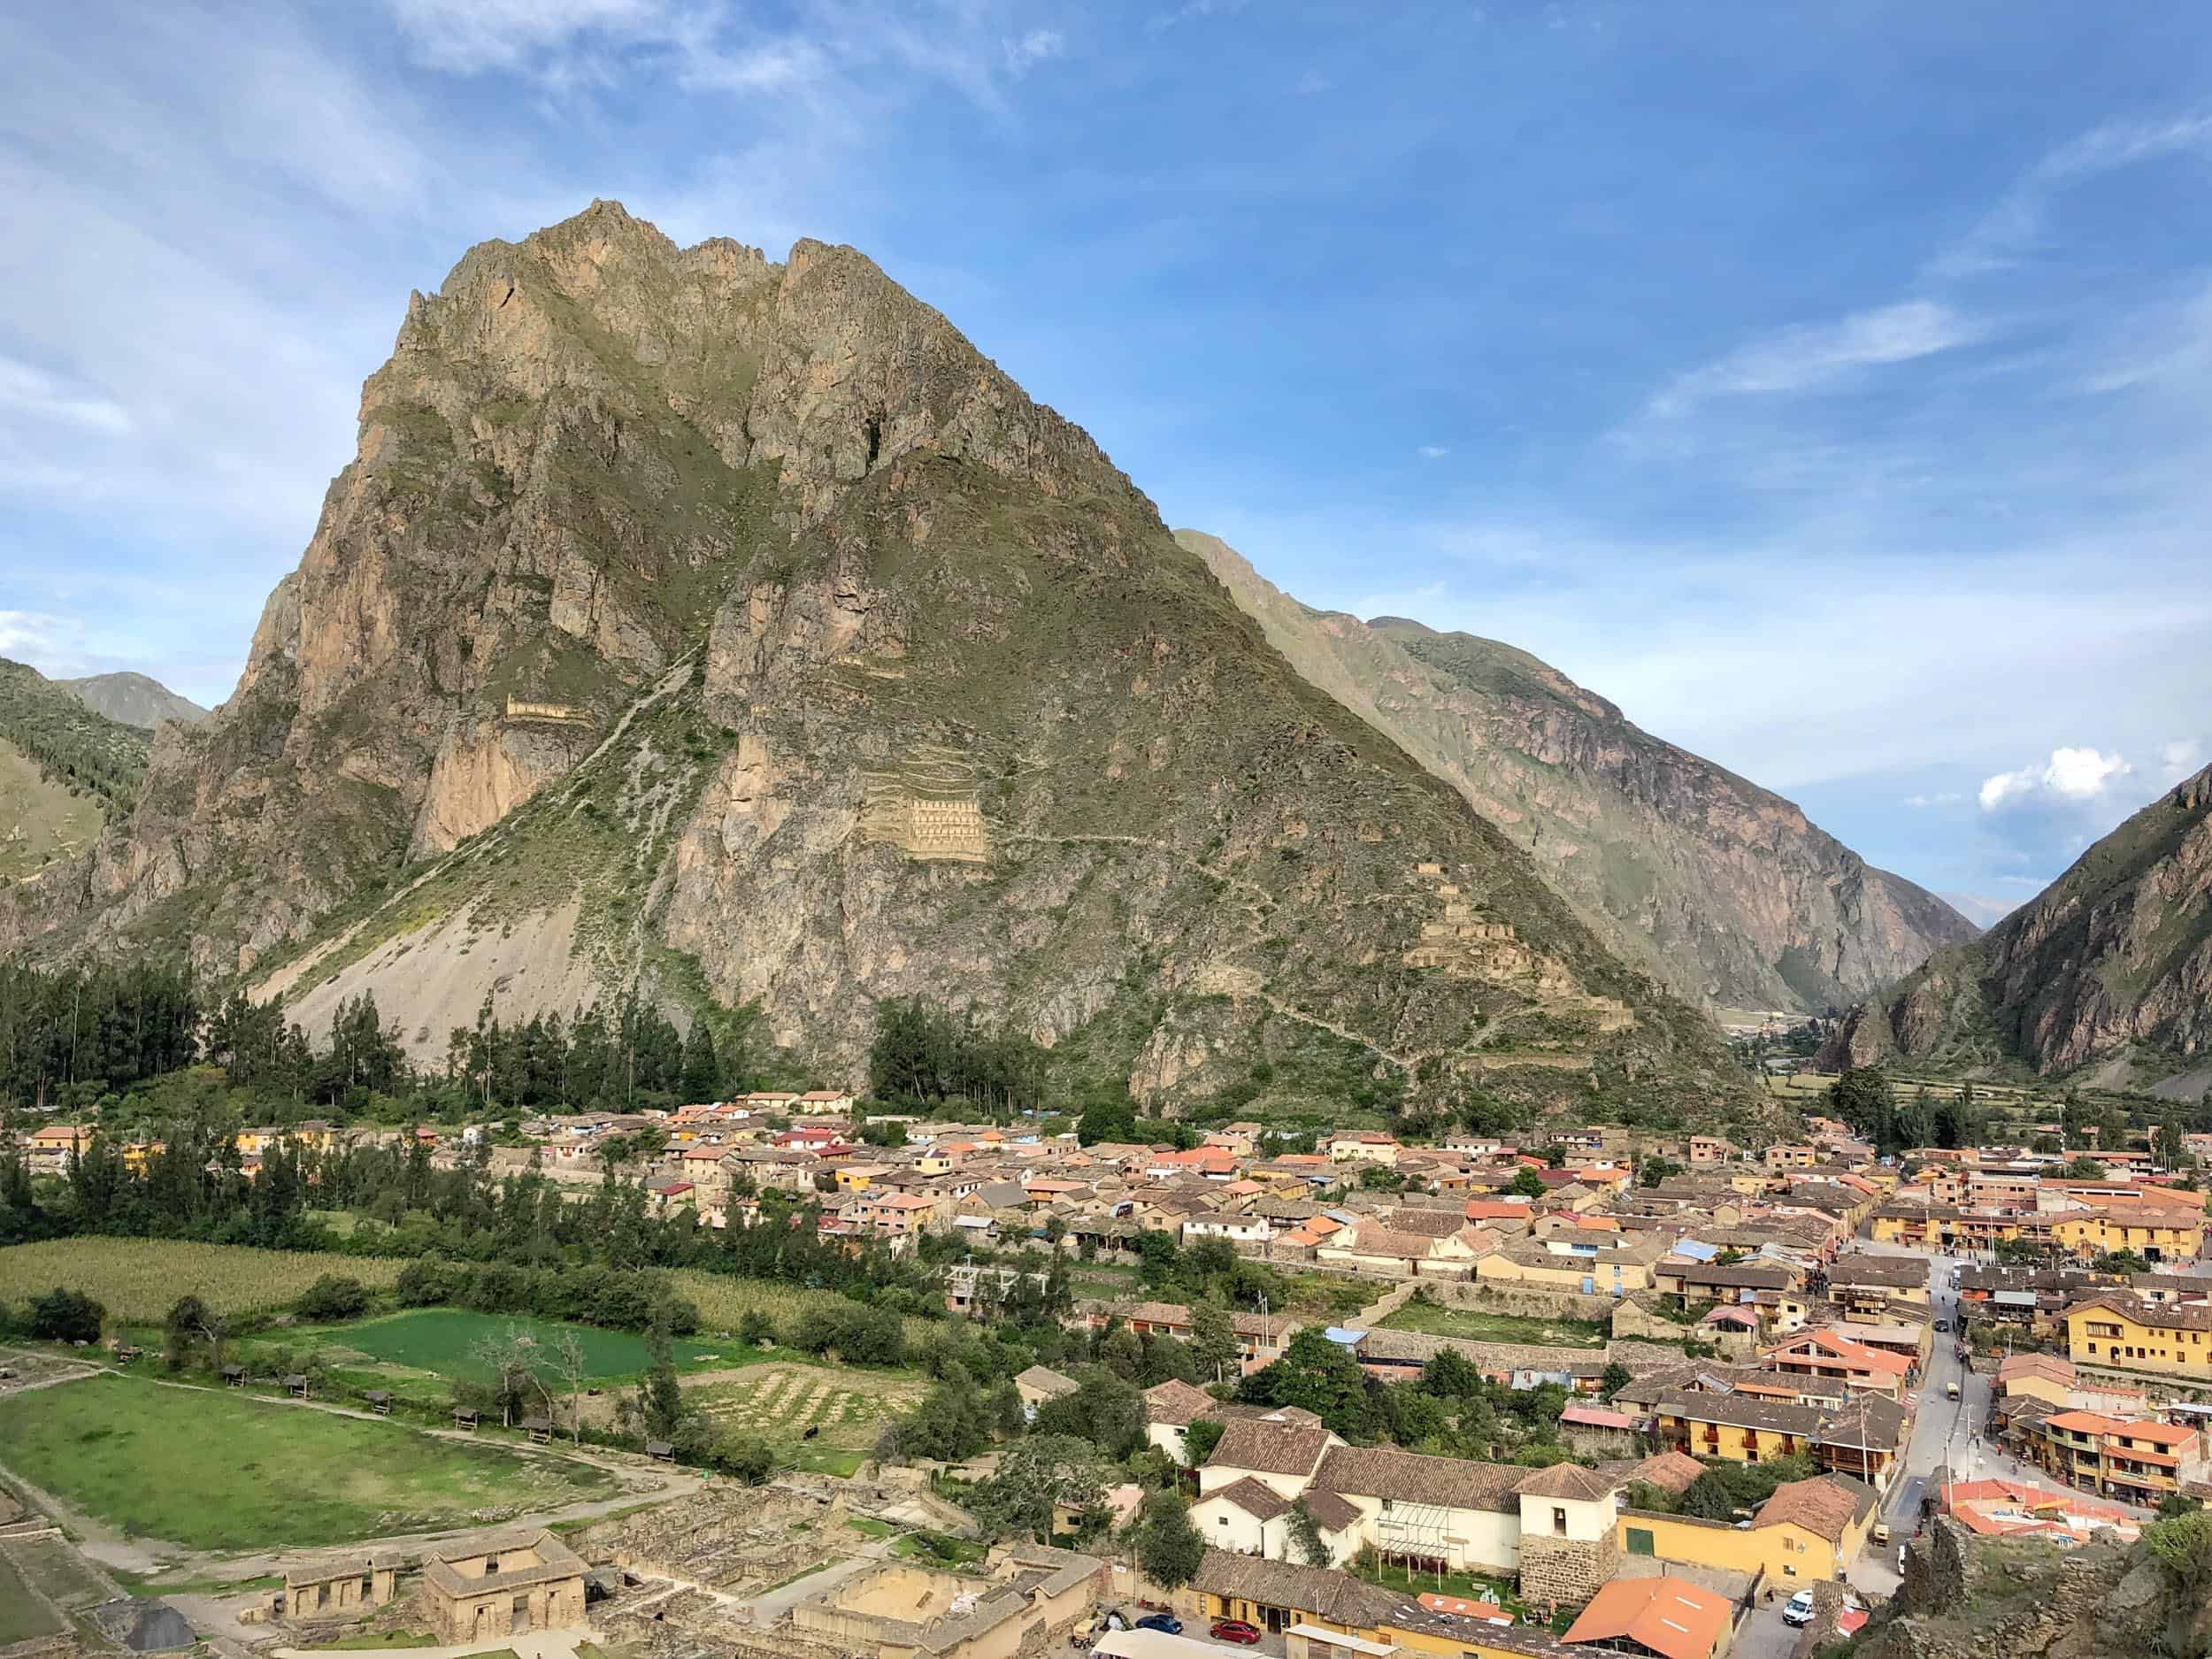
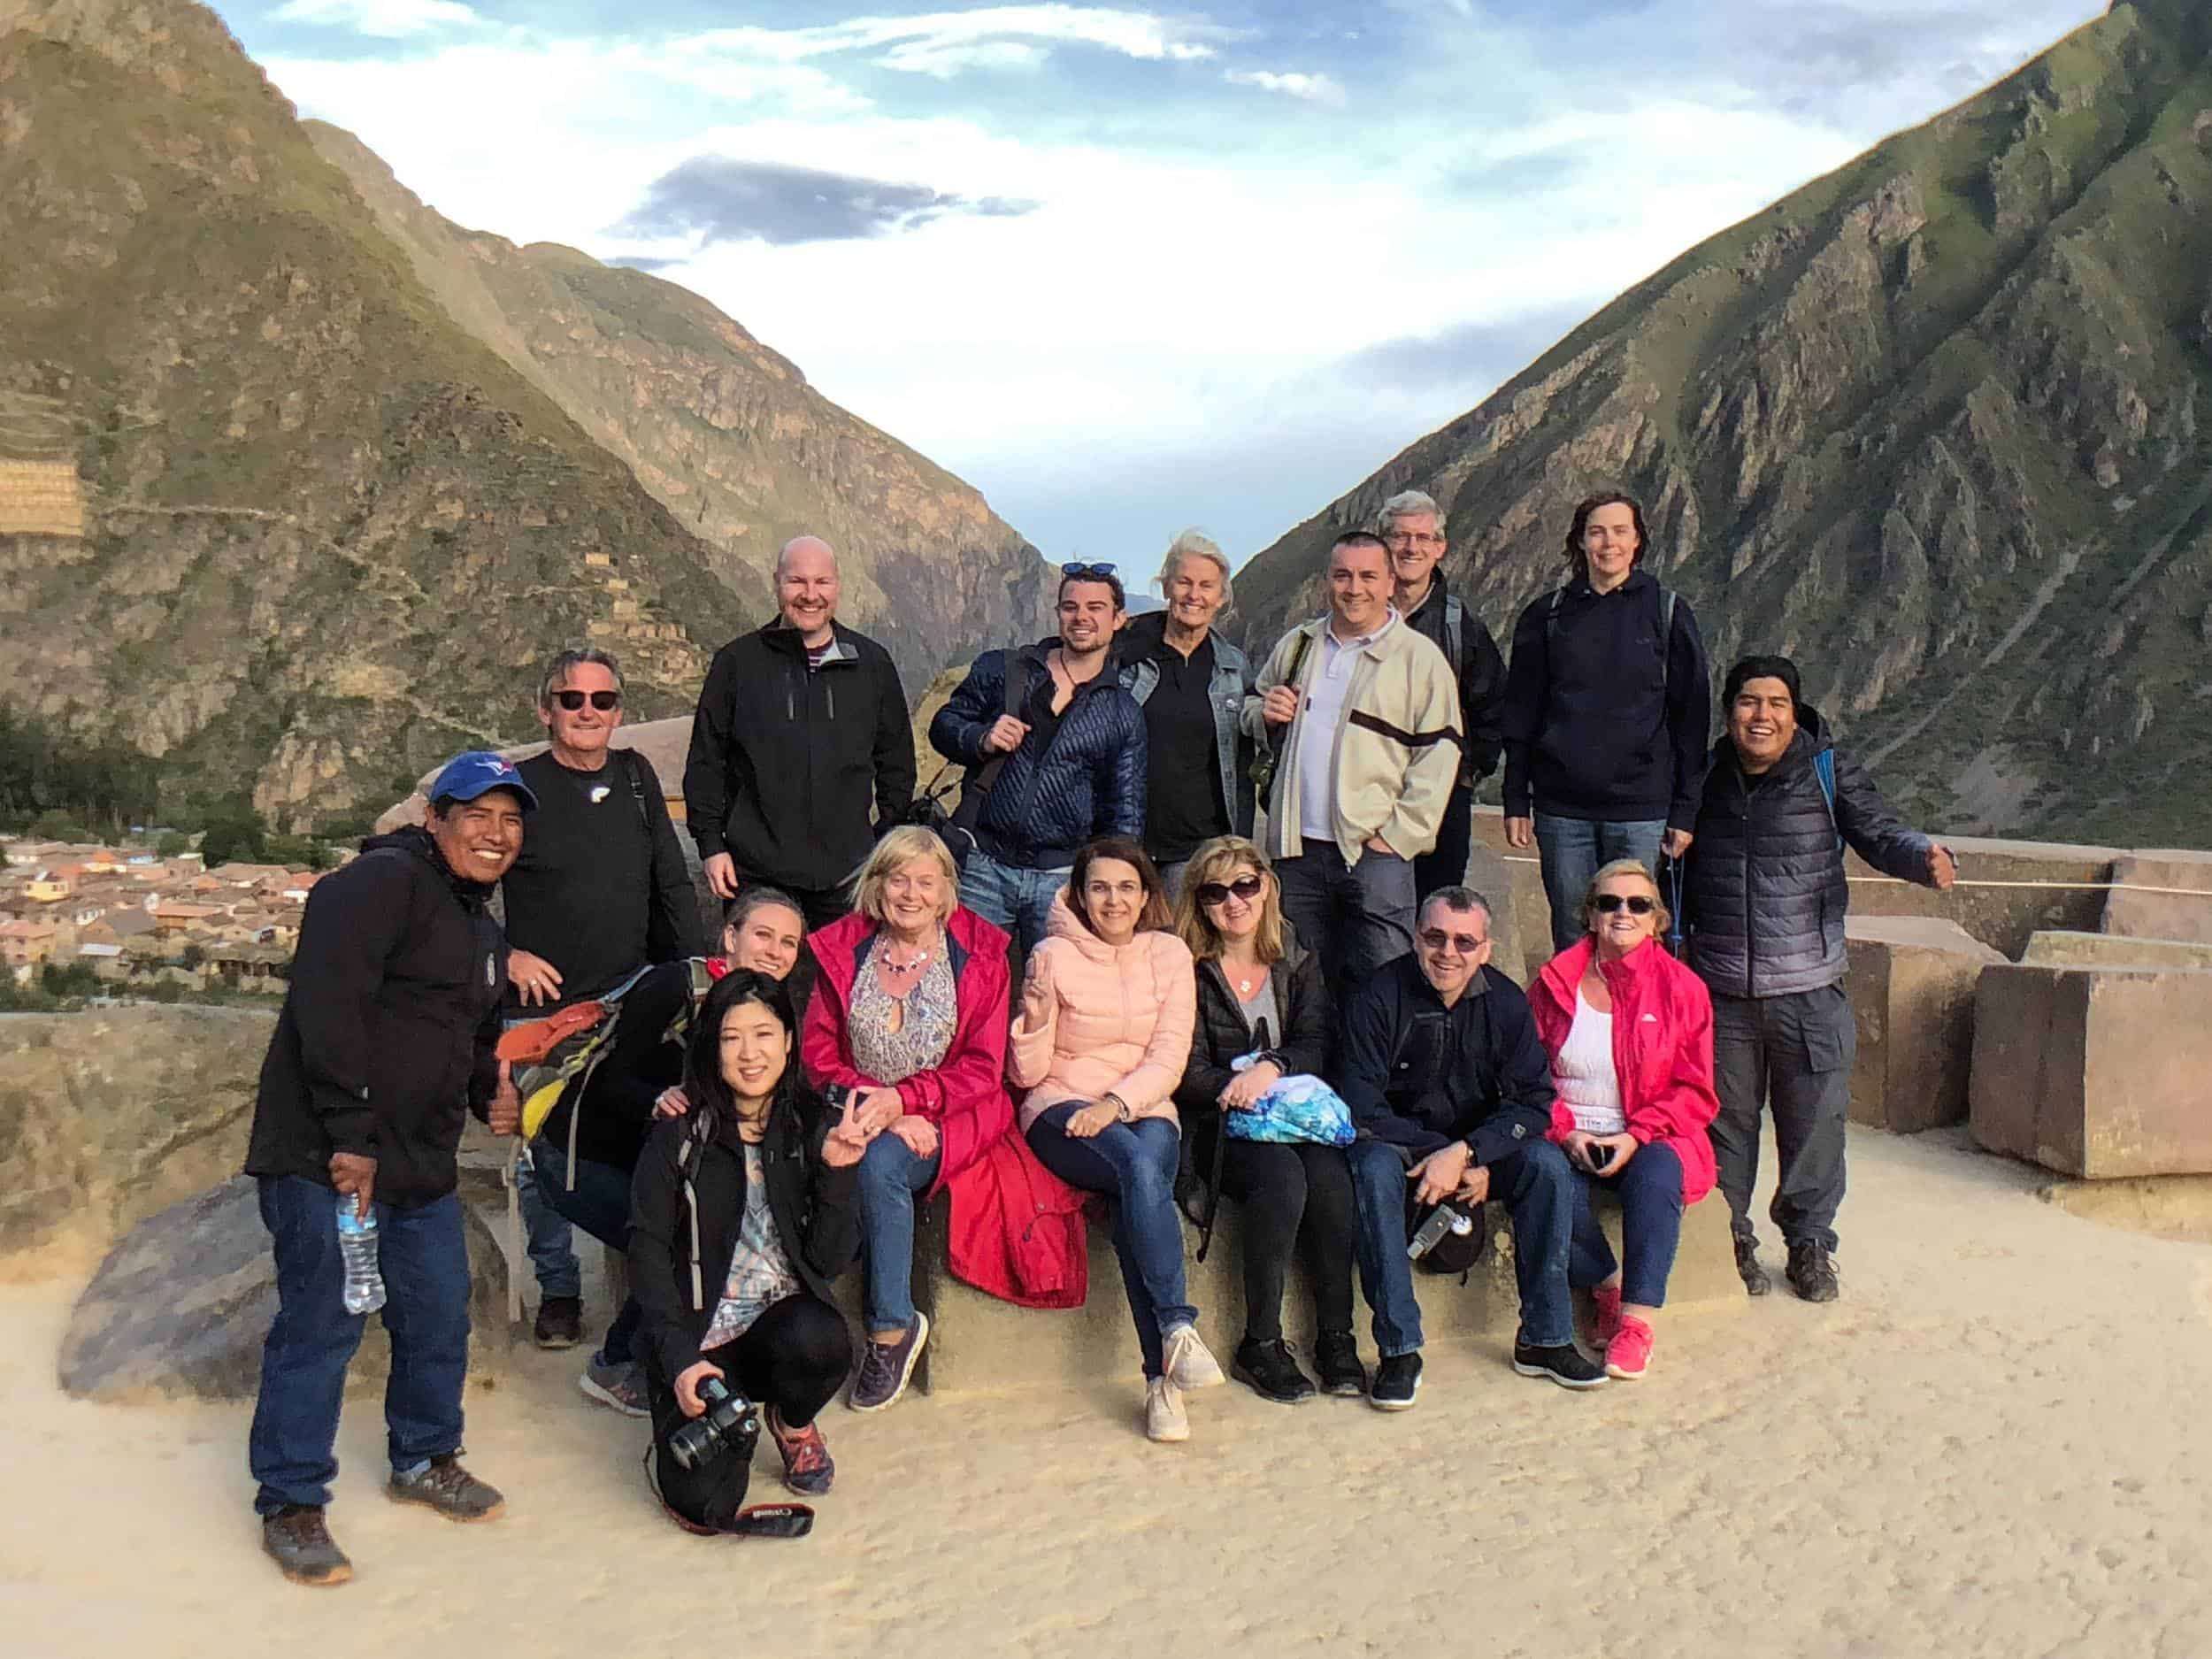
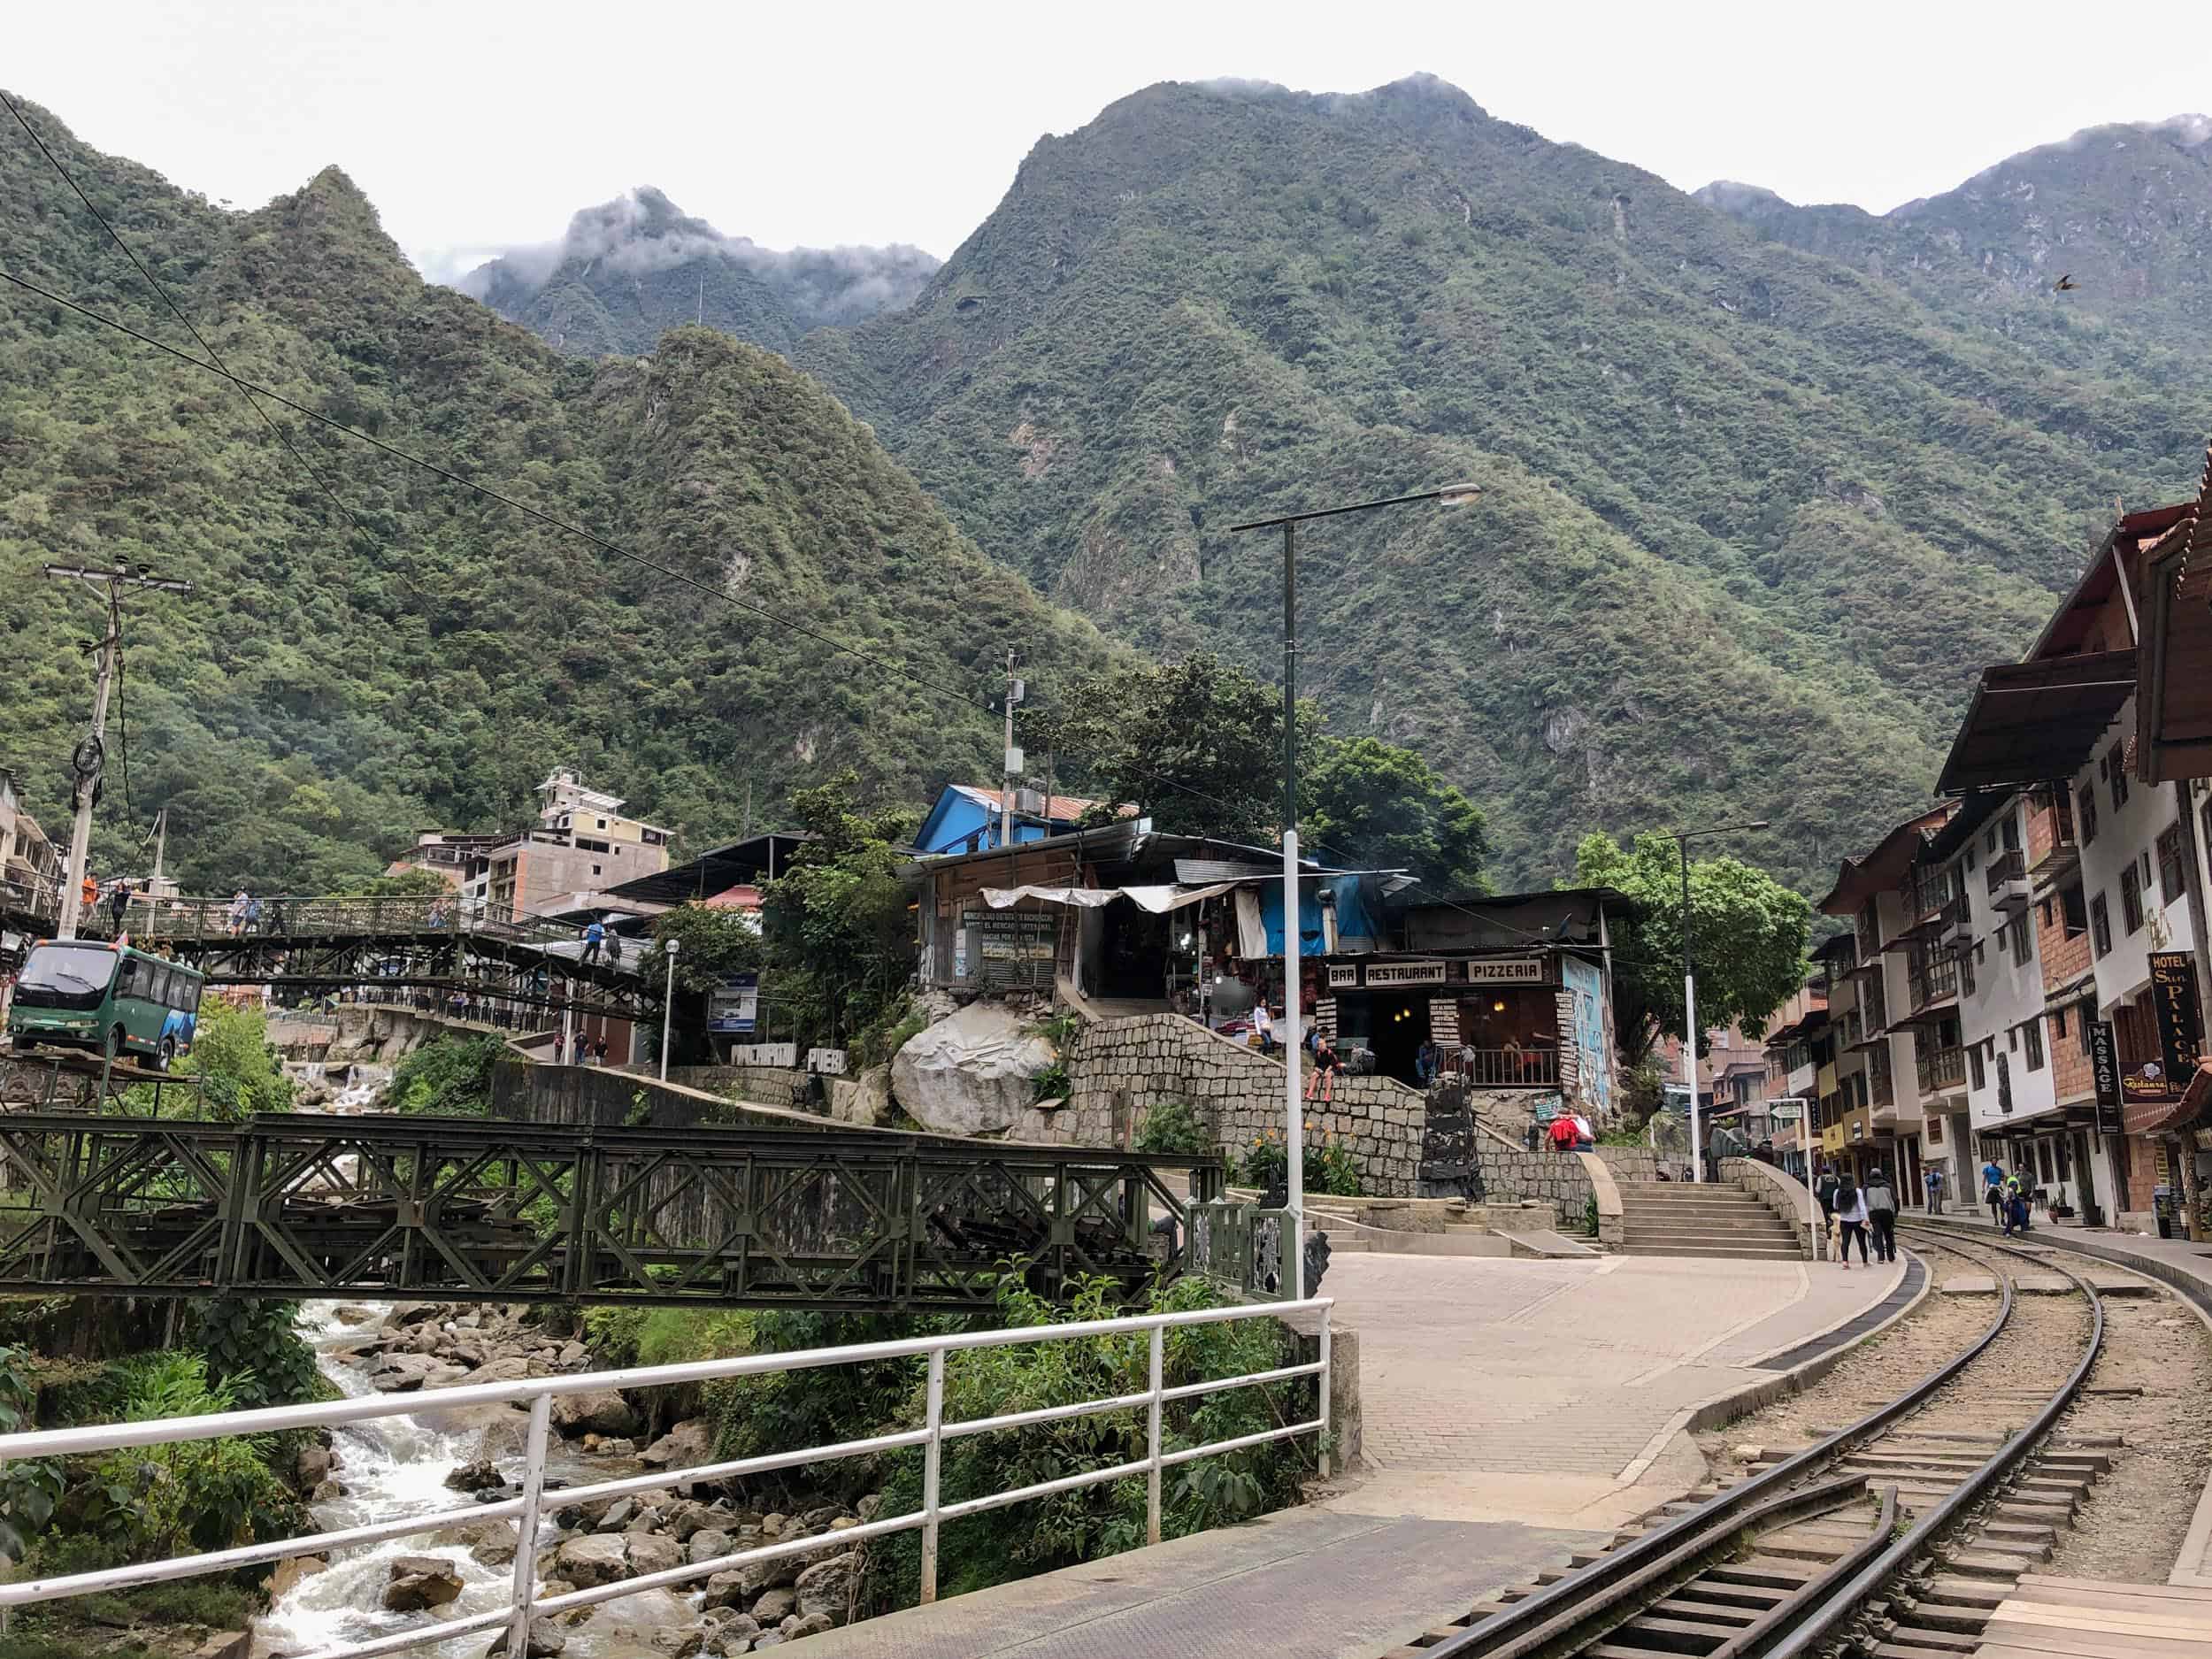
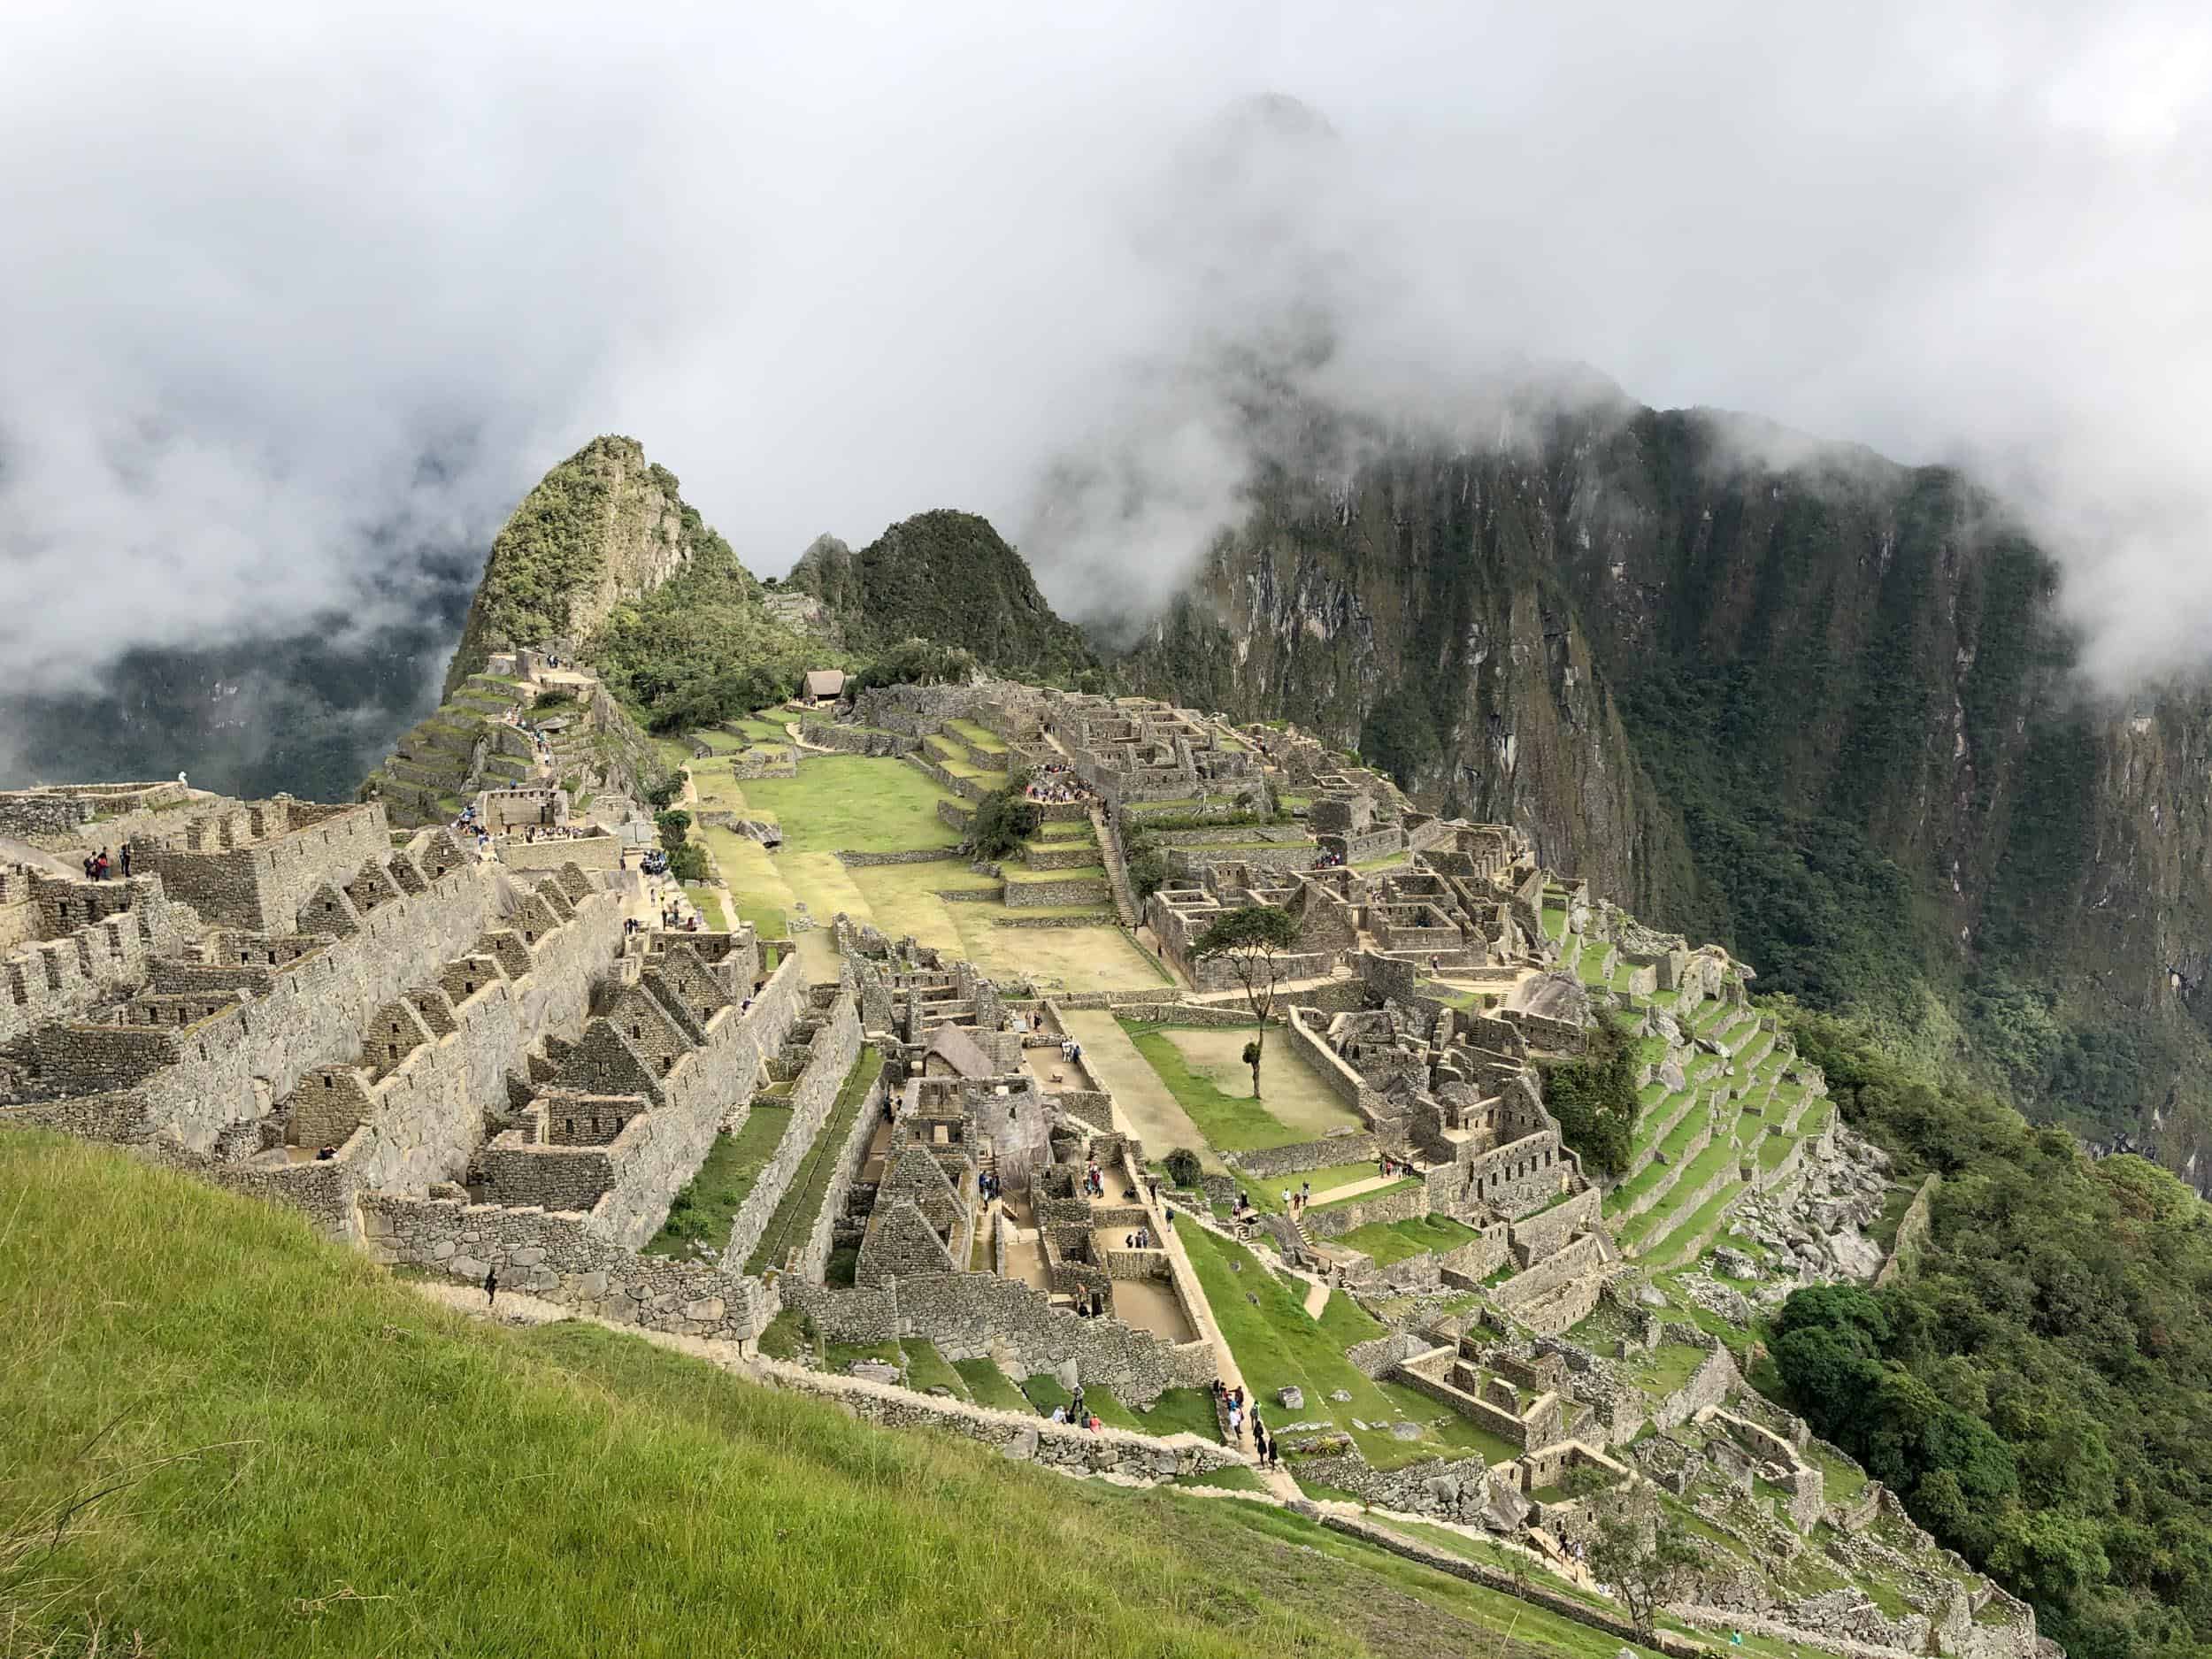
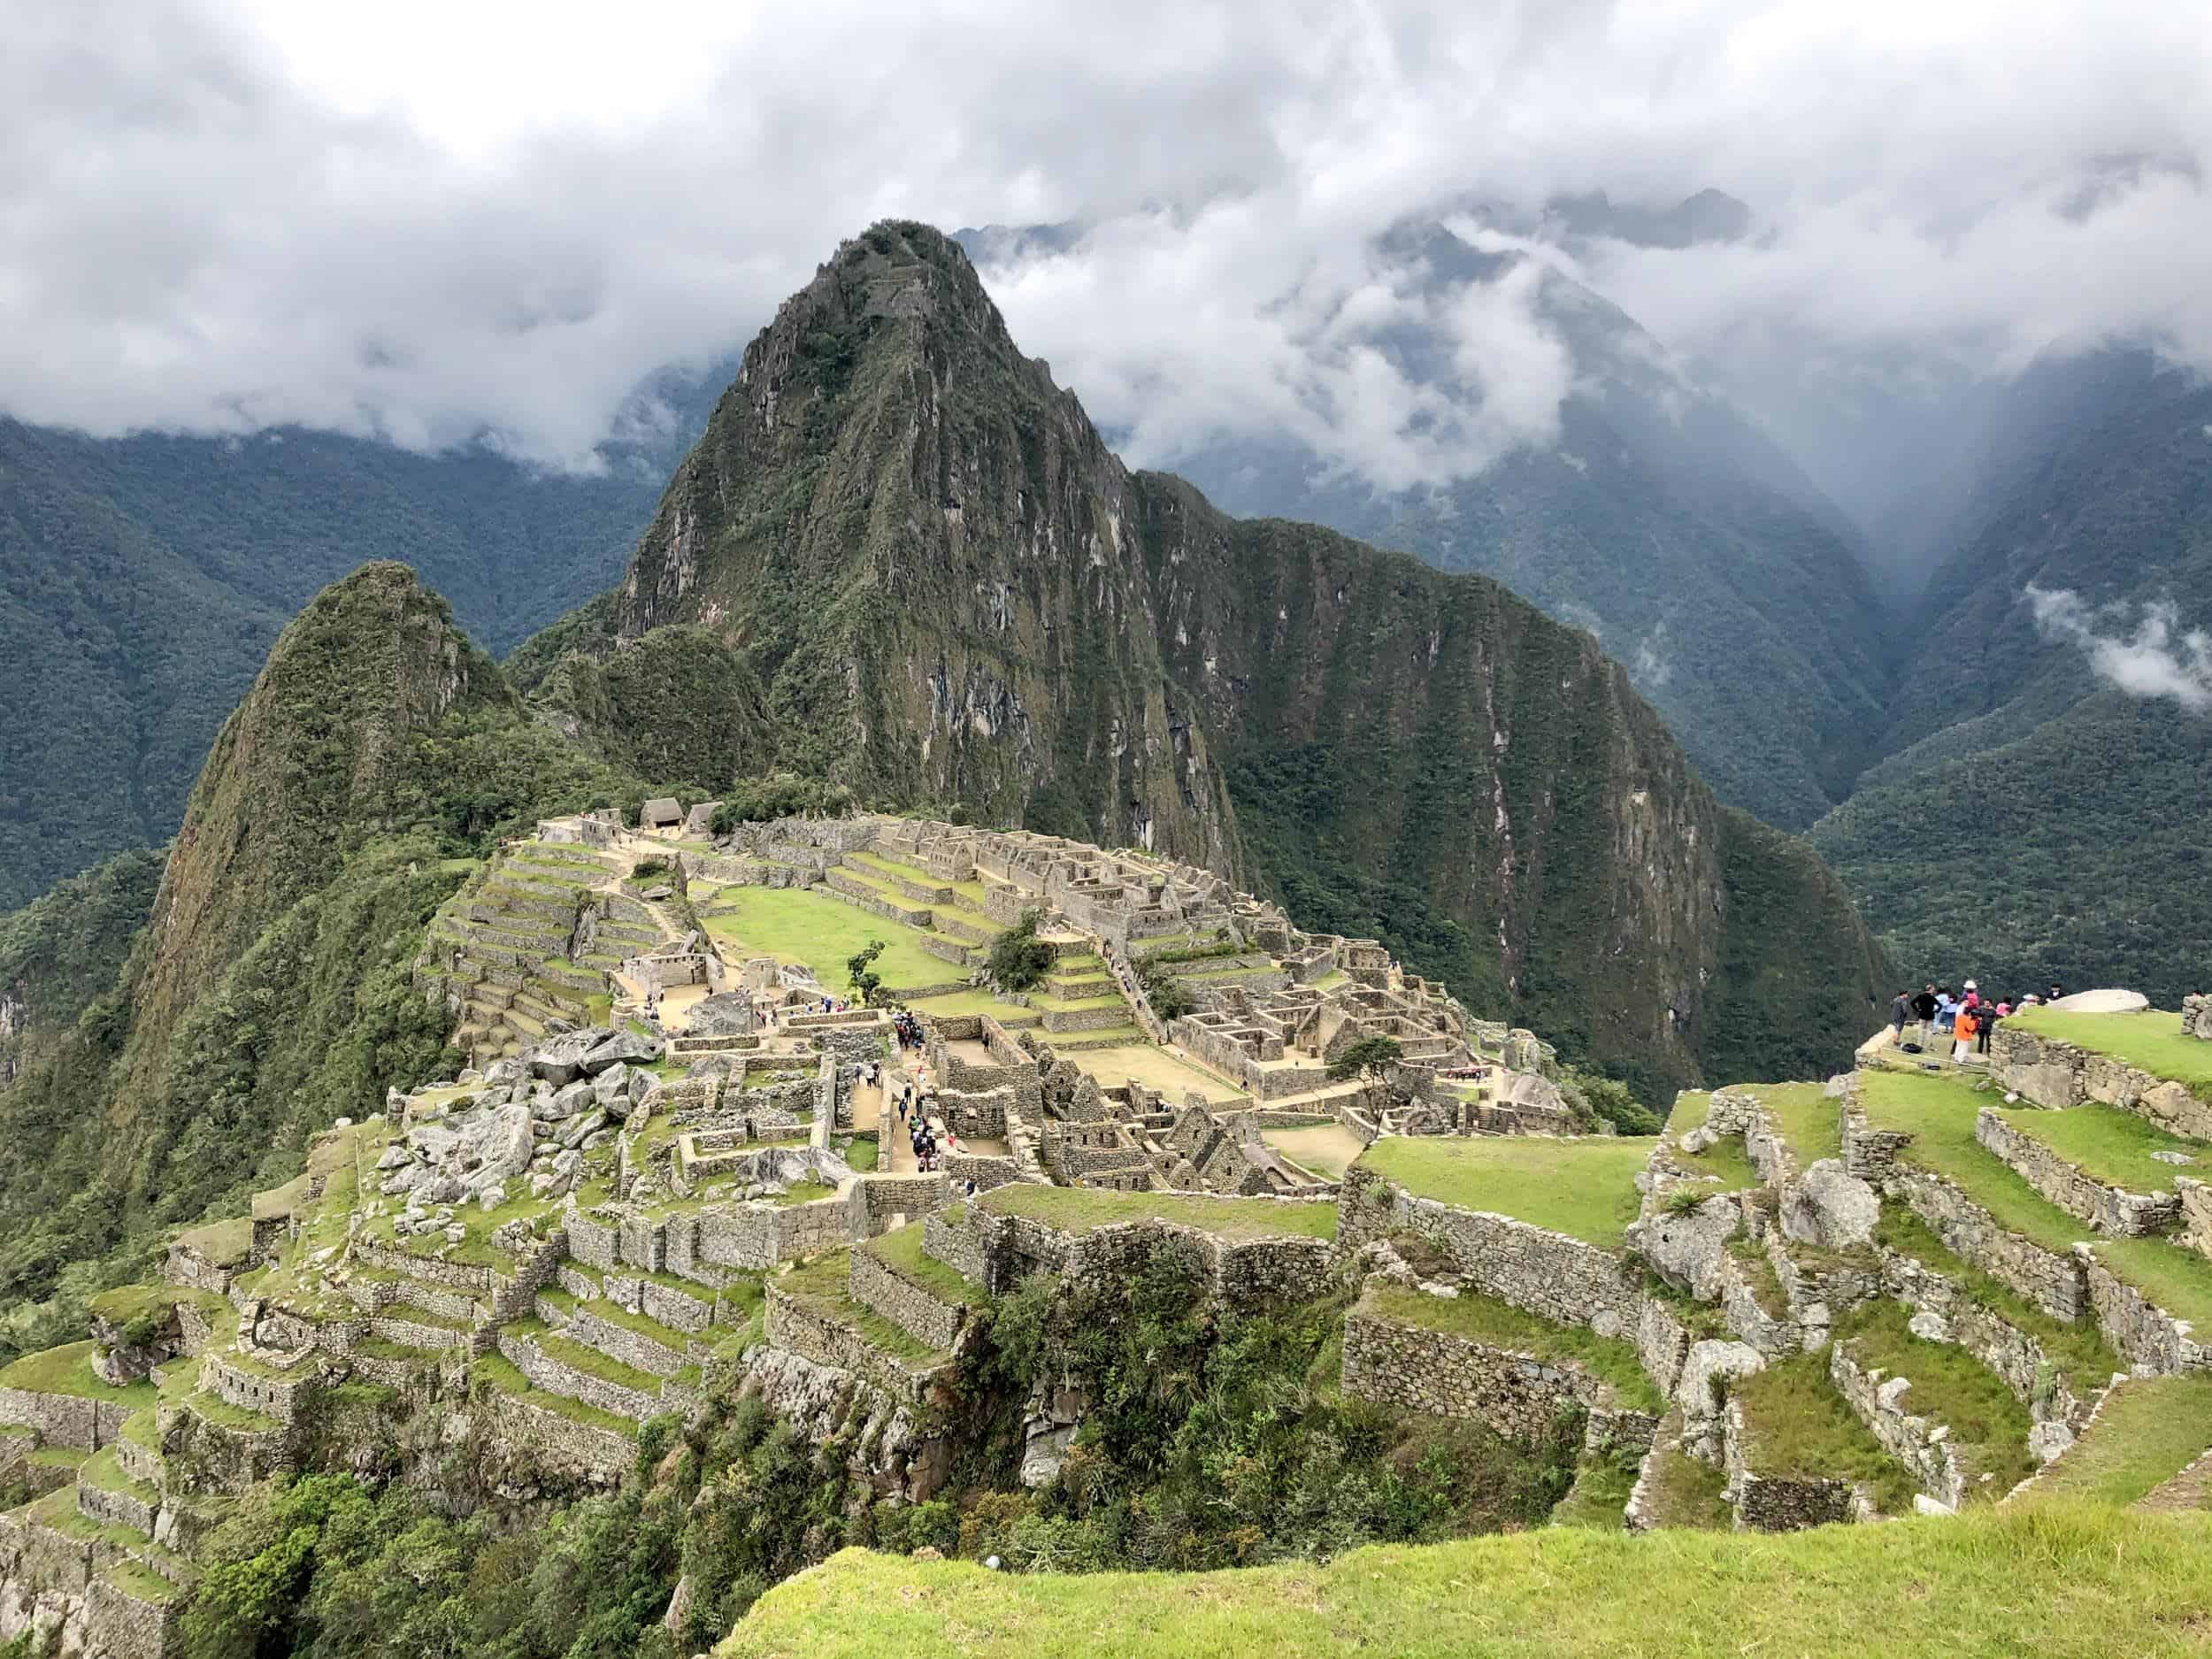
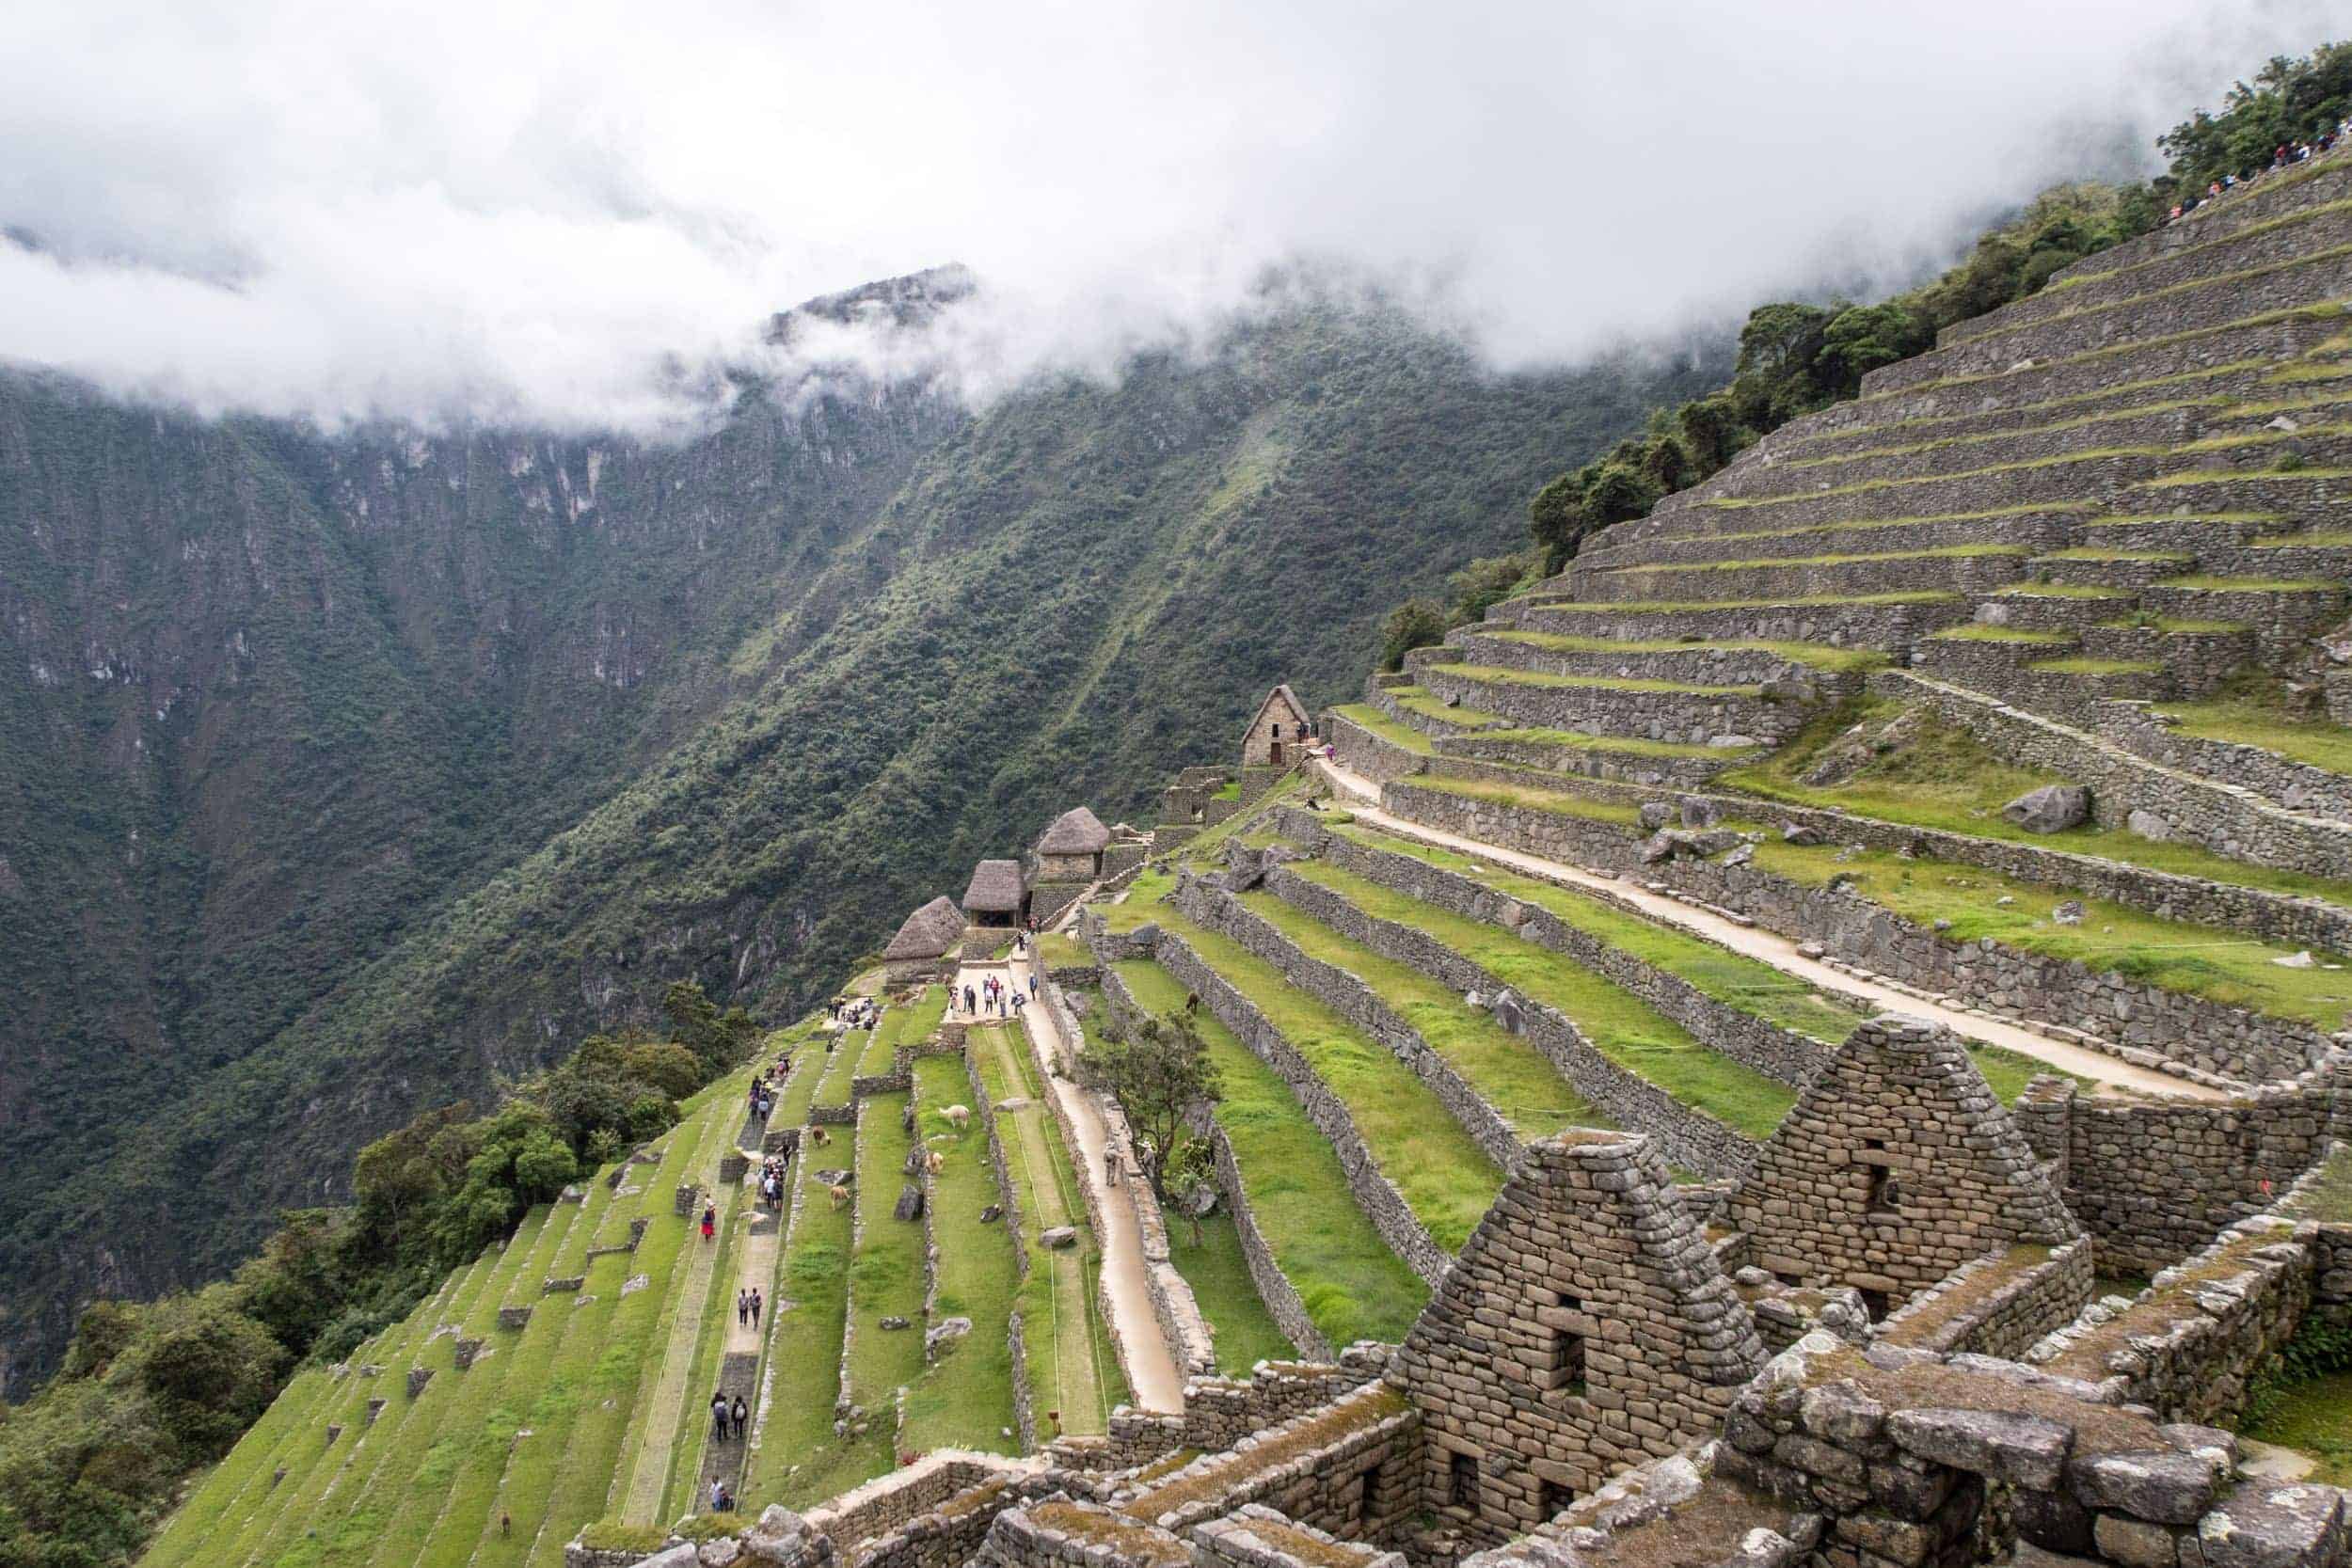
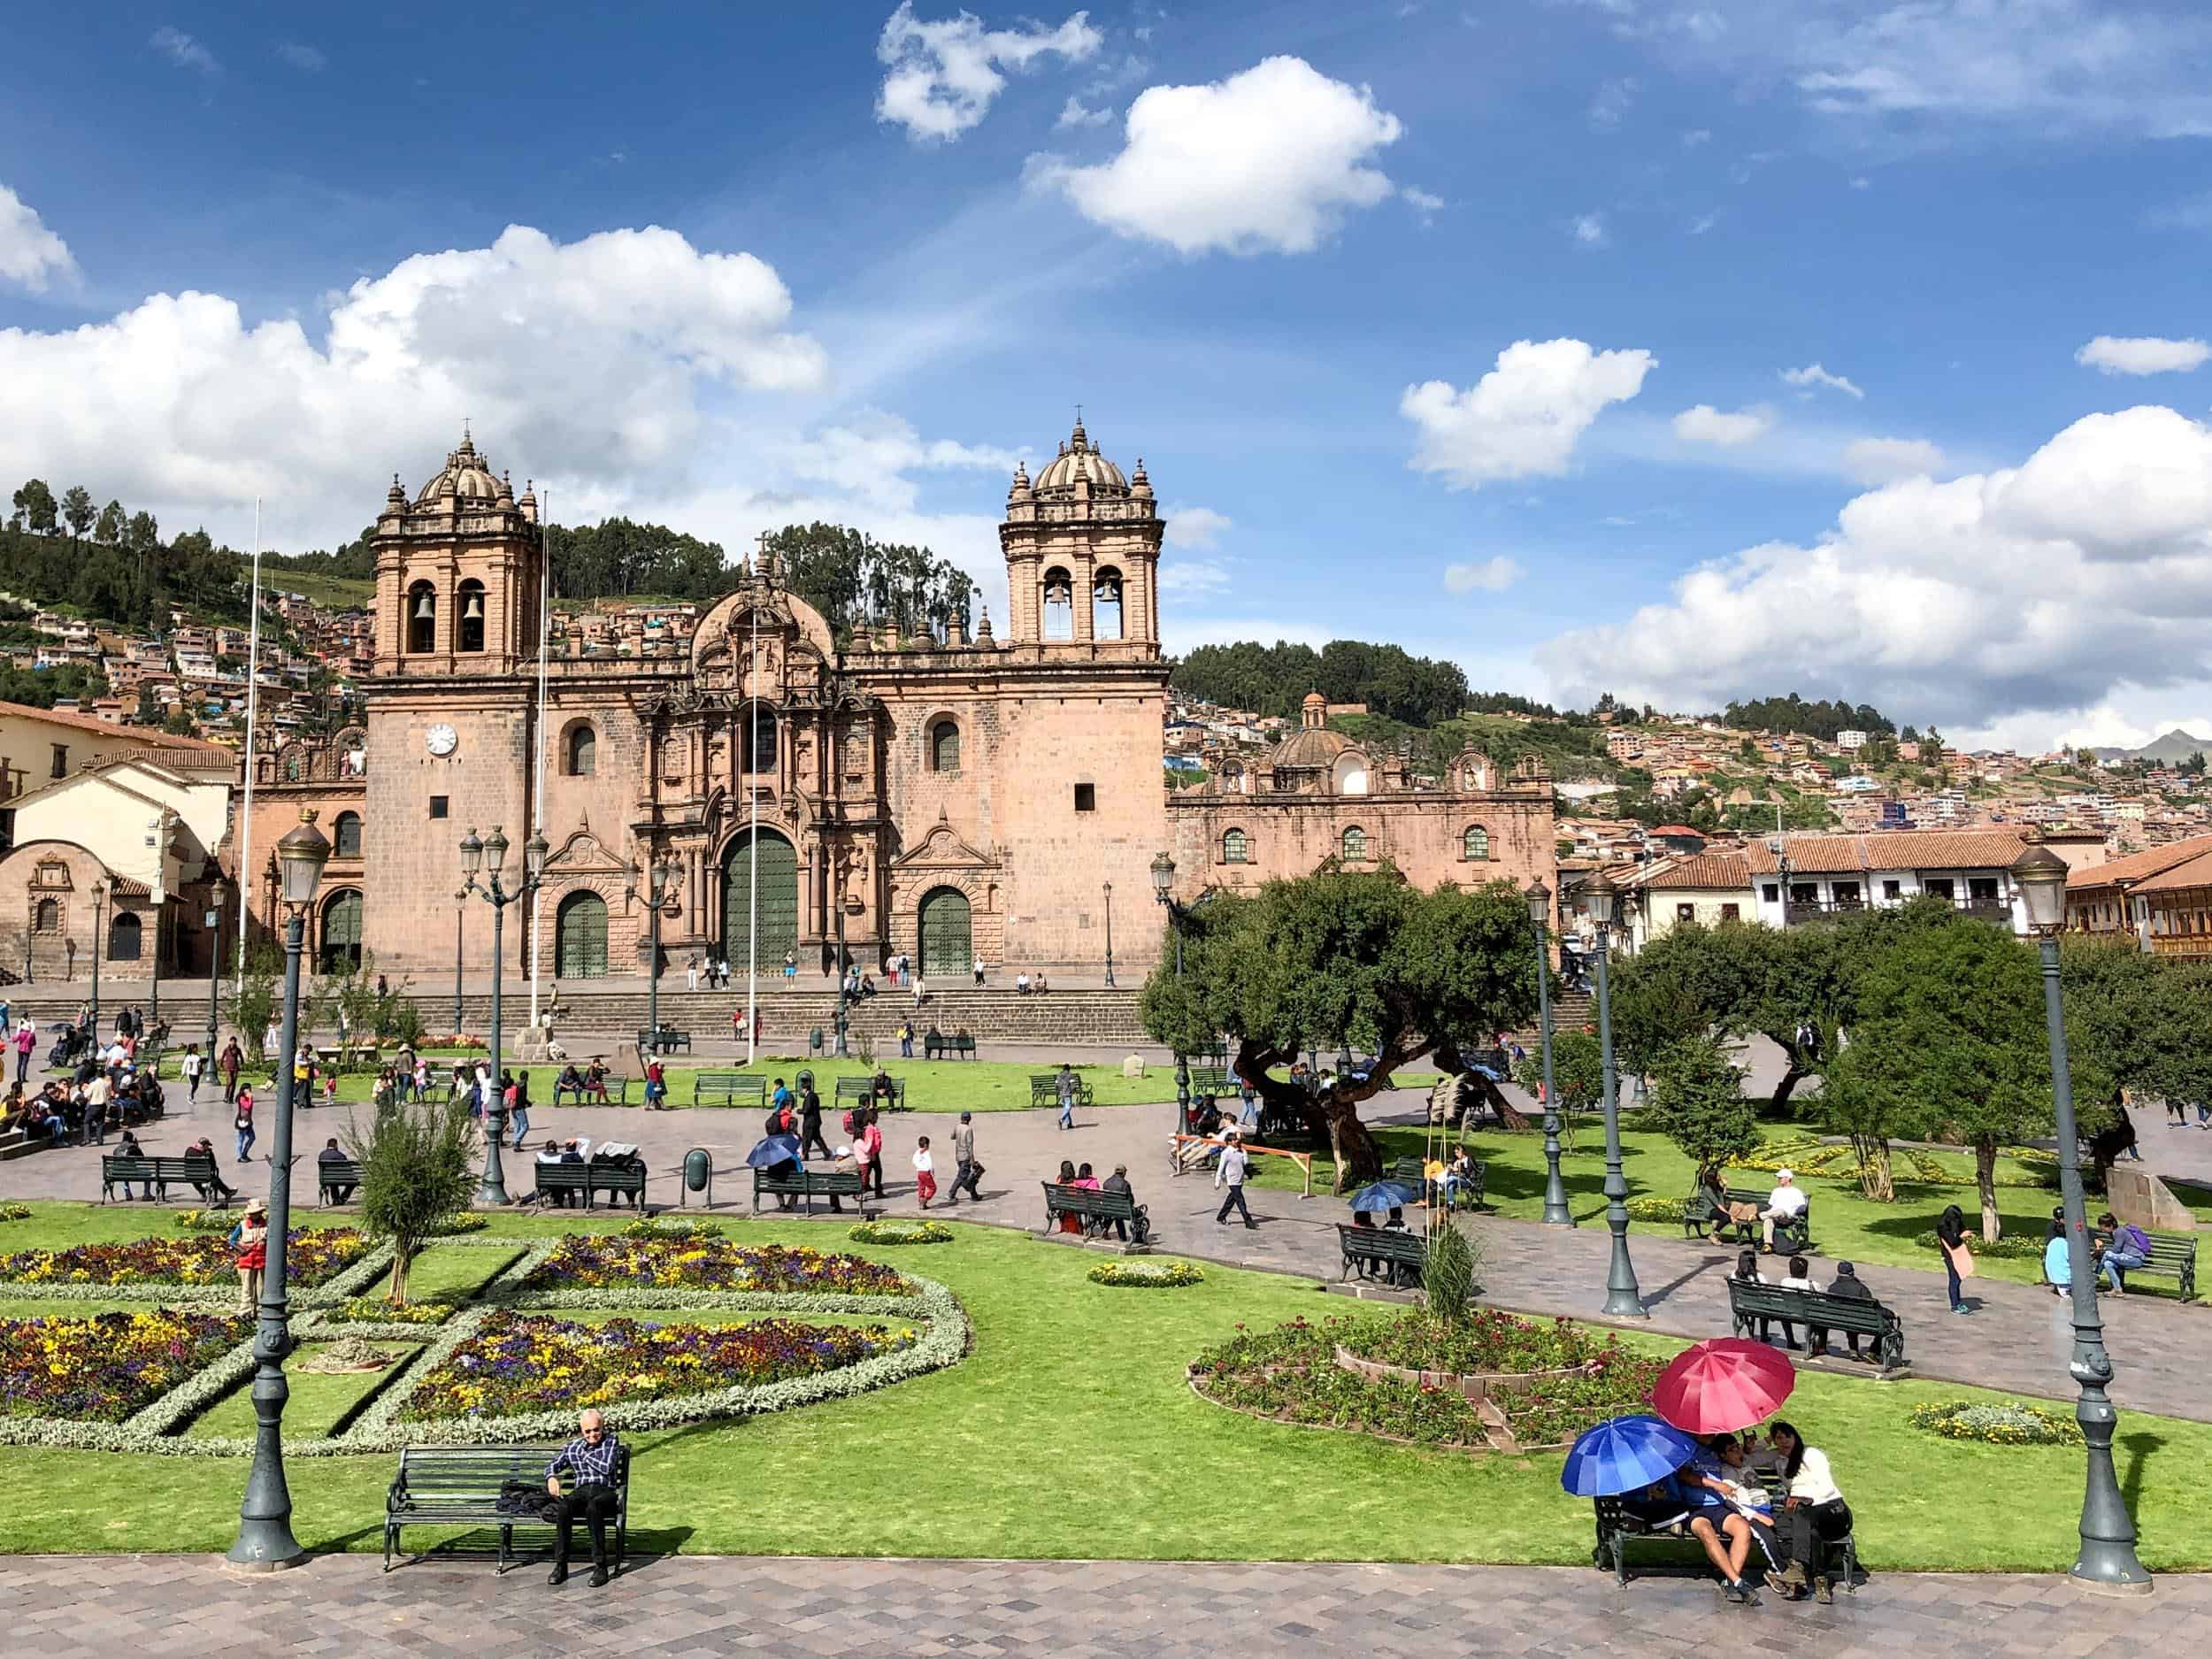
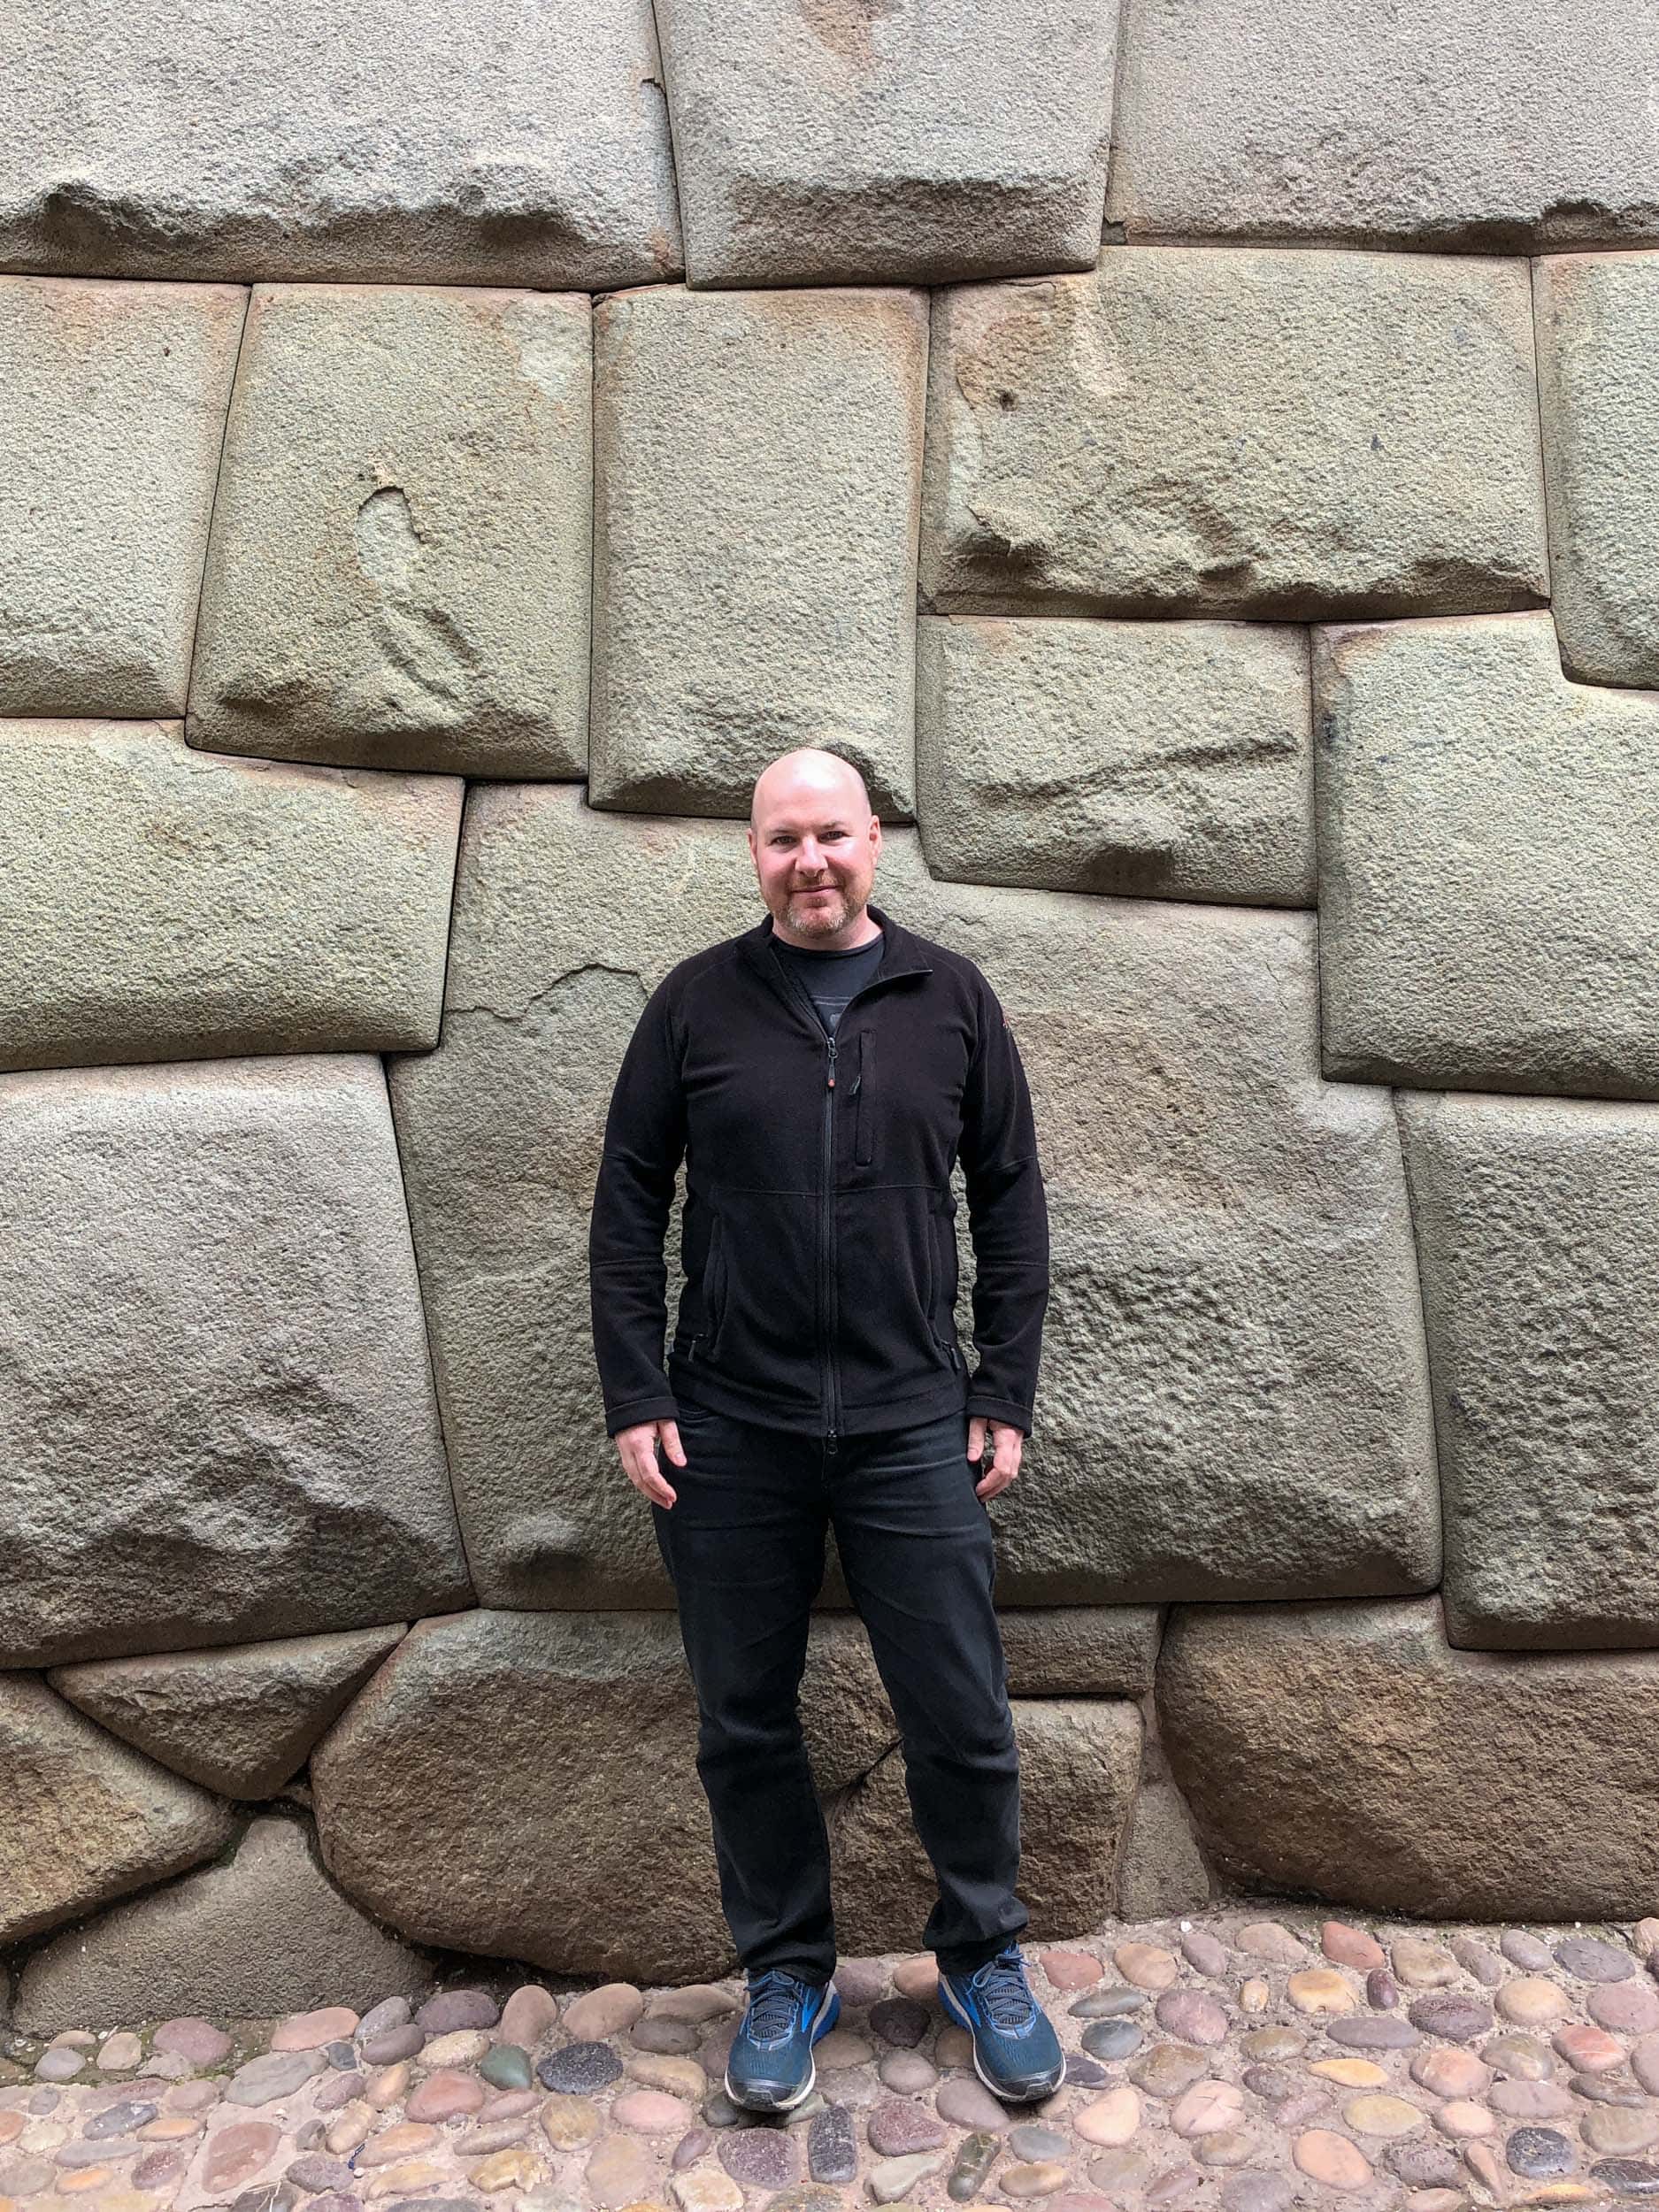
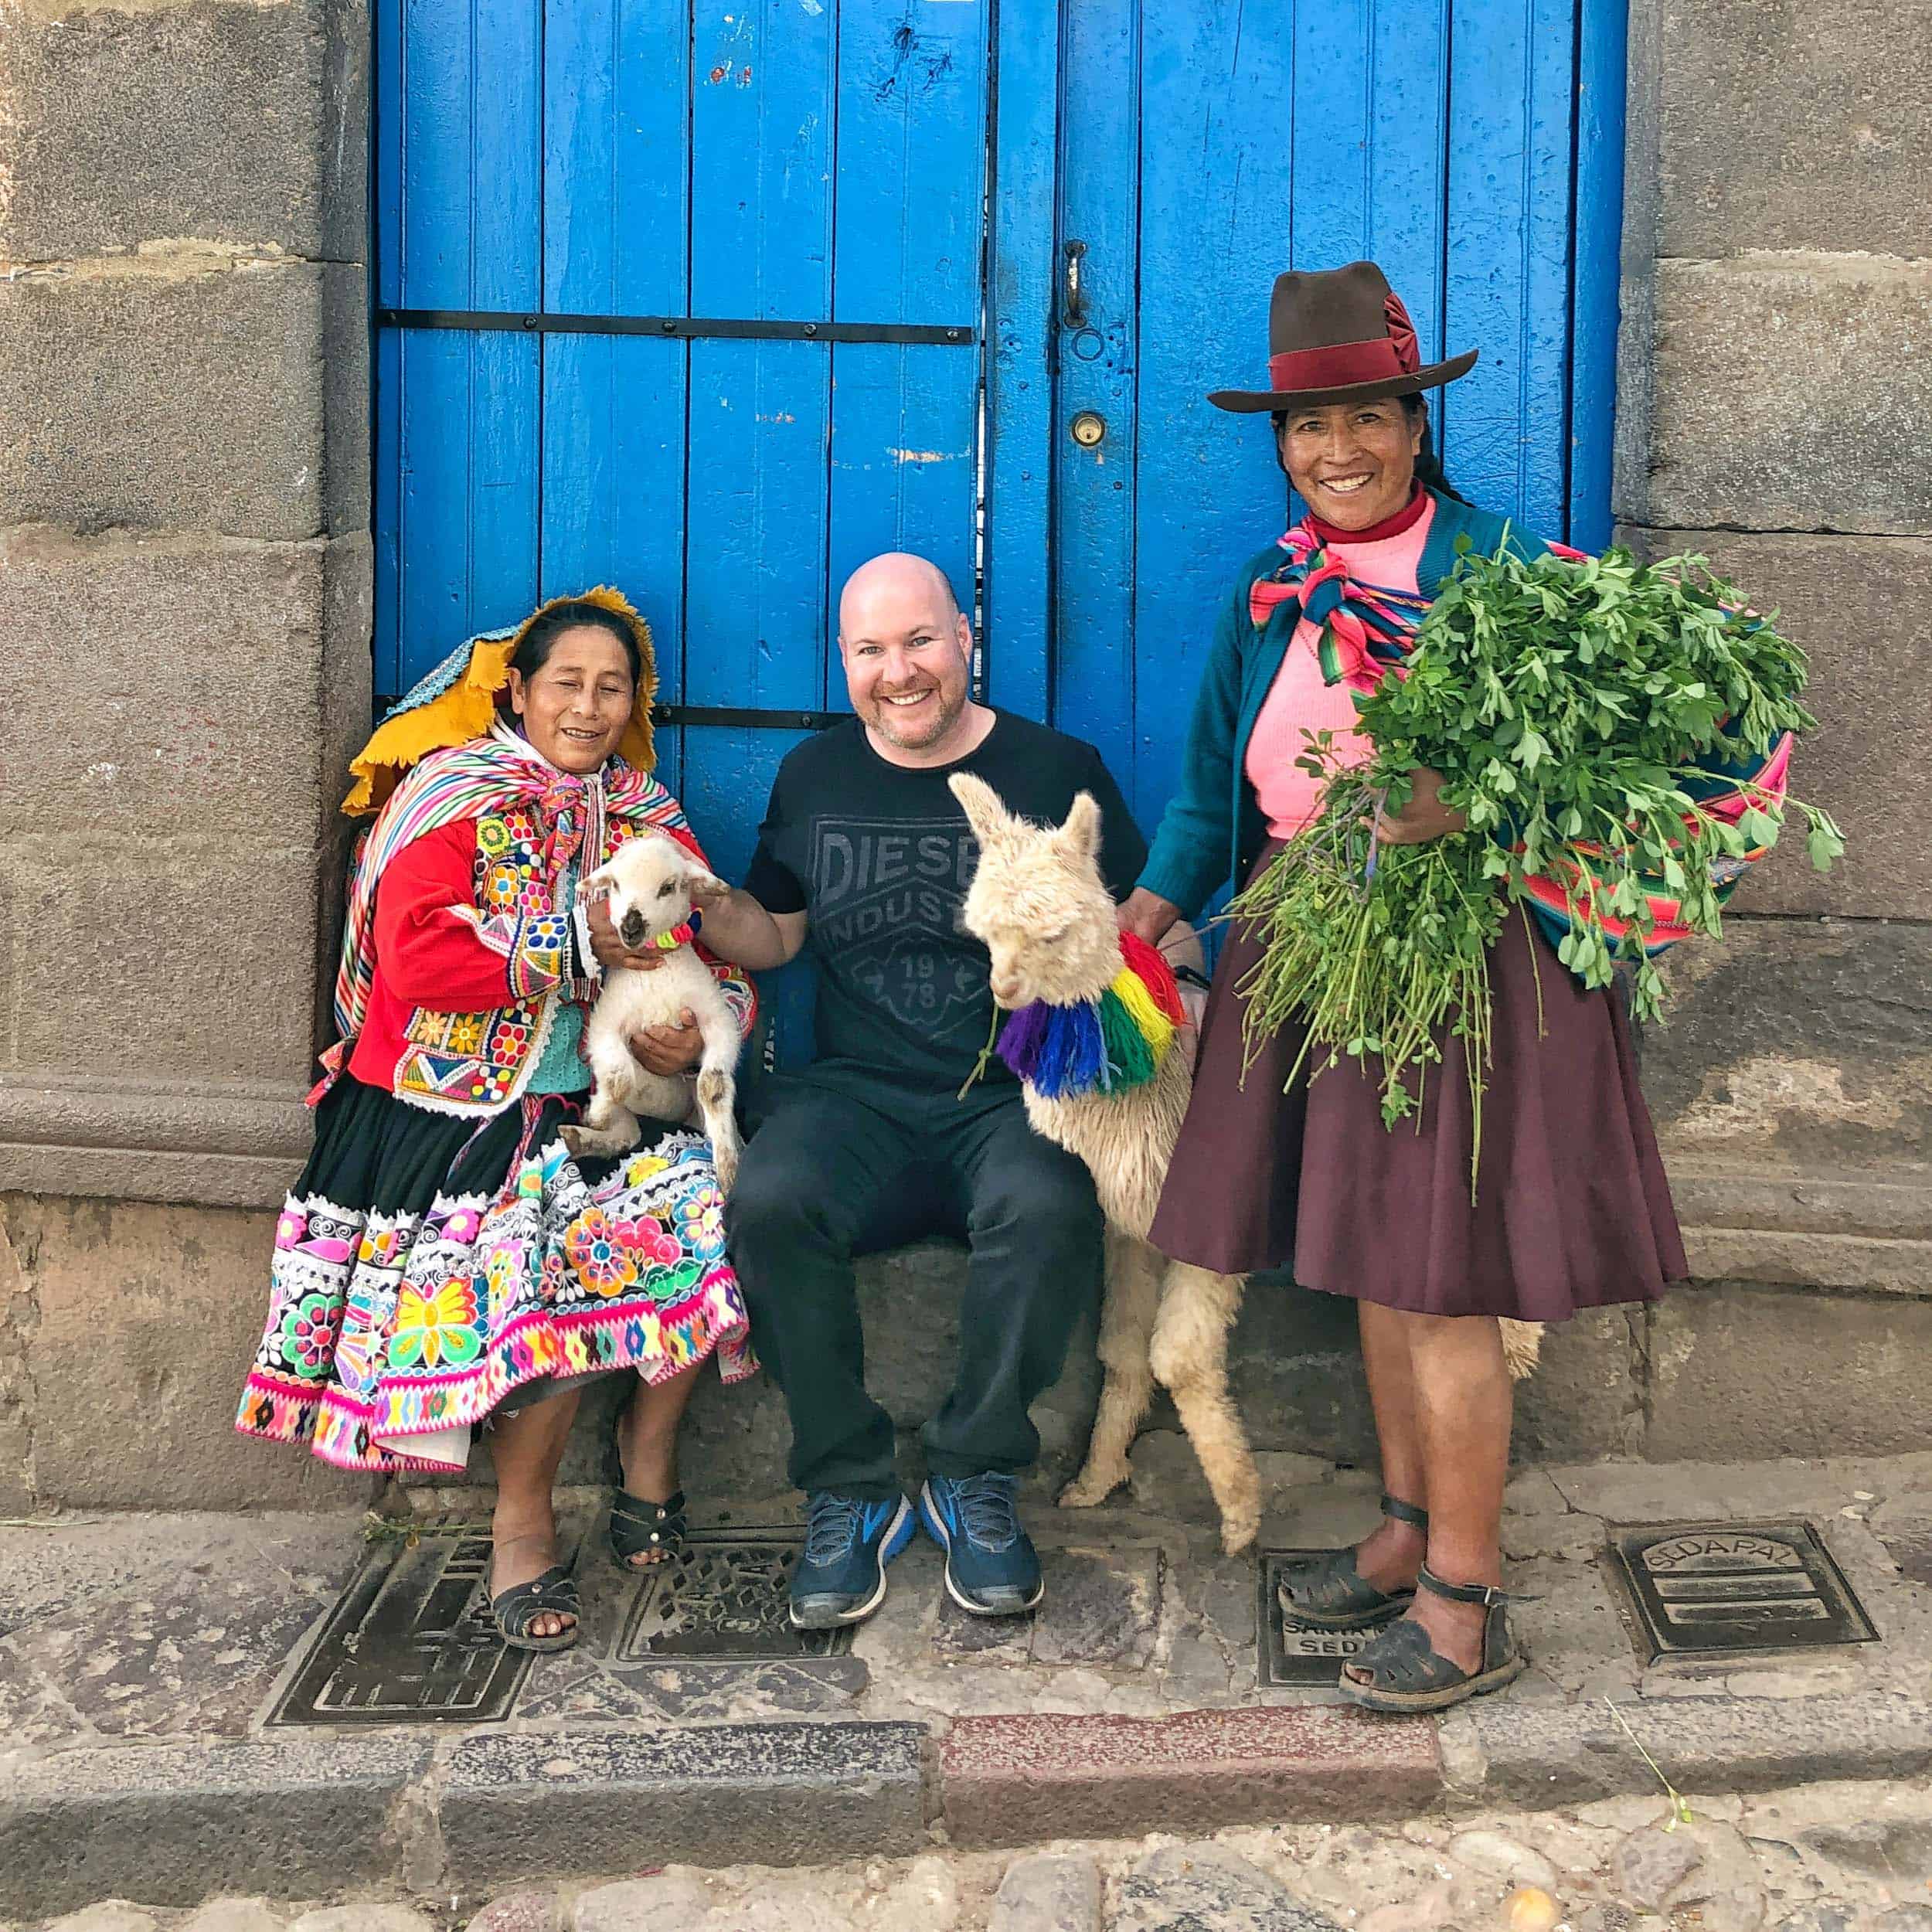
In mid-2011, I began a year-long trip around South America. I spent my first two months in Ecuador before crossing into northern Peru and working my way down to Lima. I liked Lima and used it as a base.
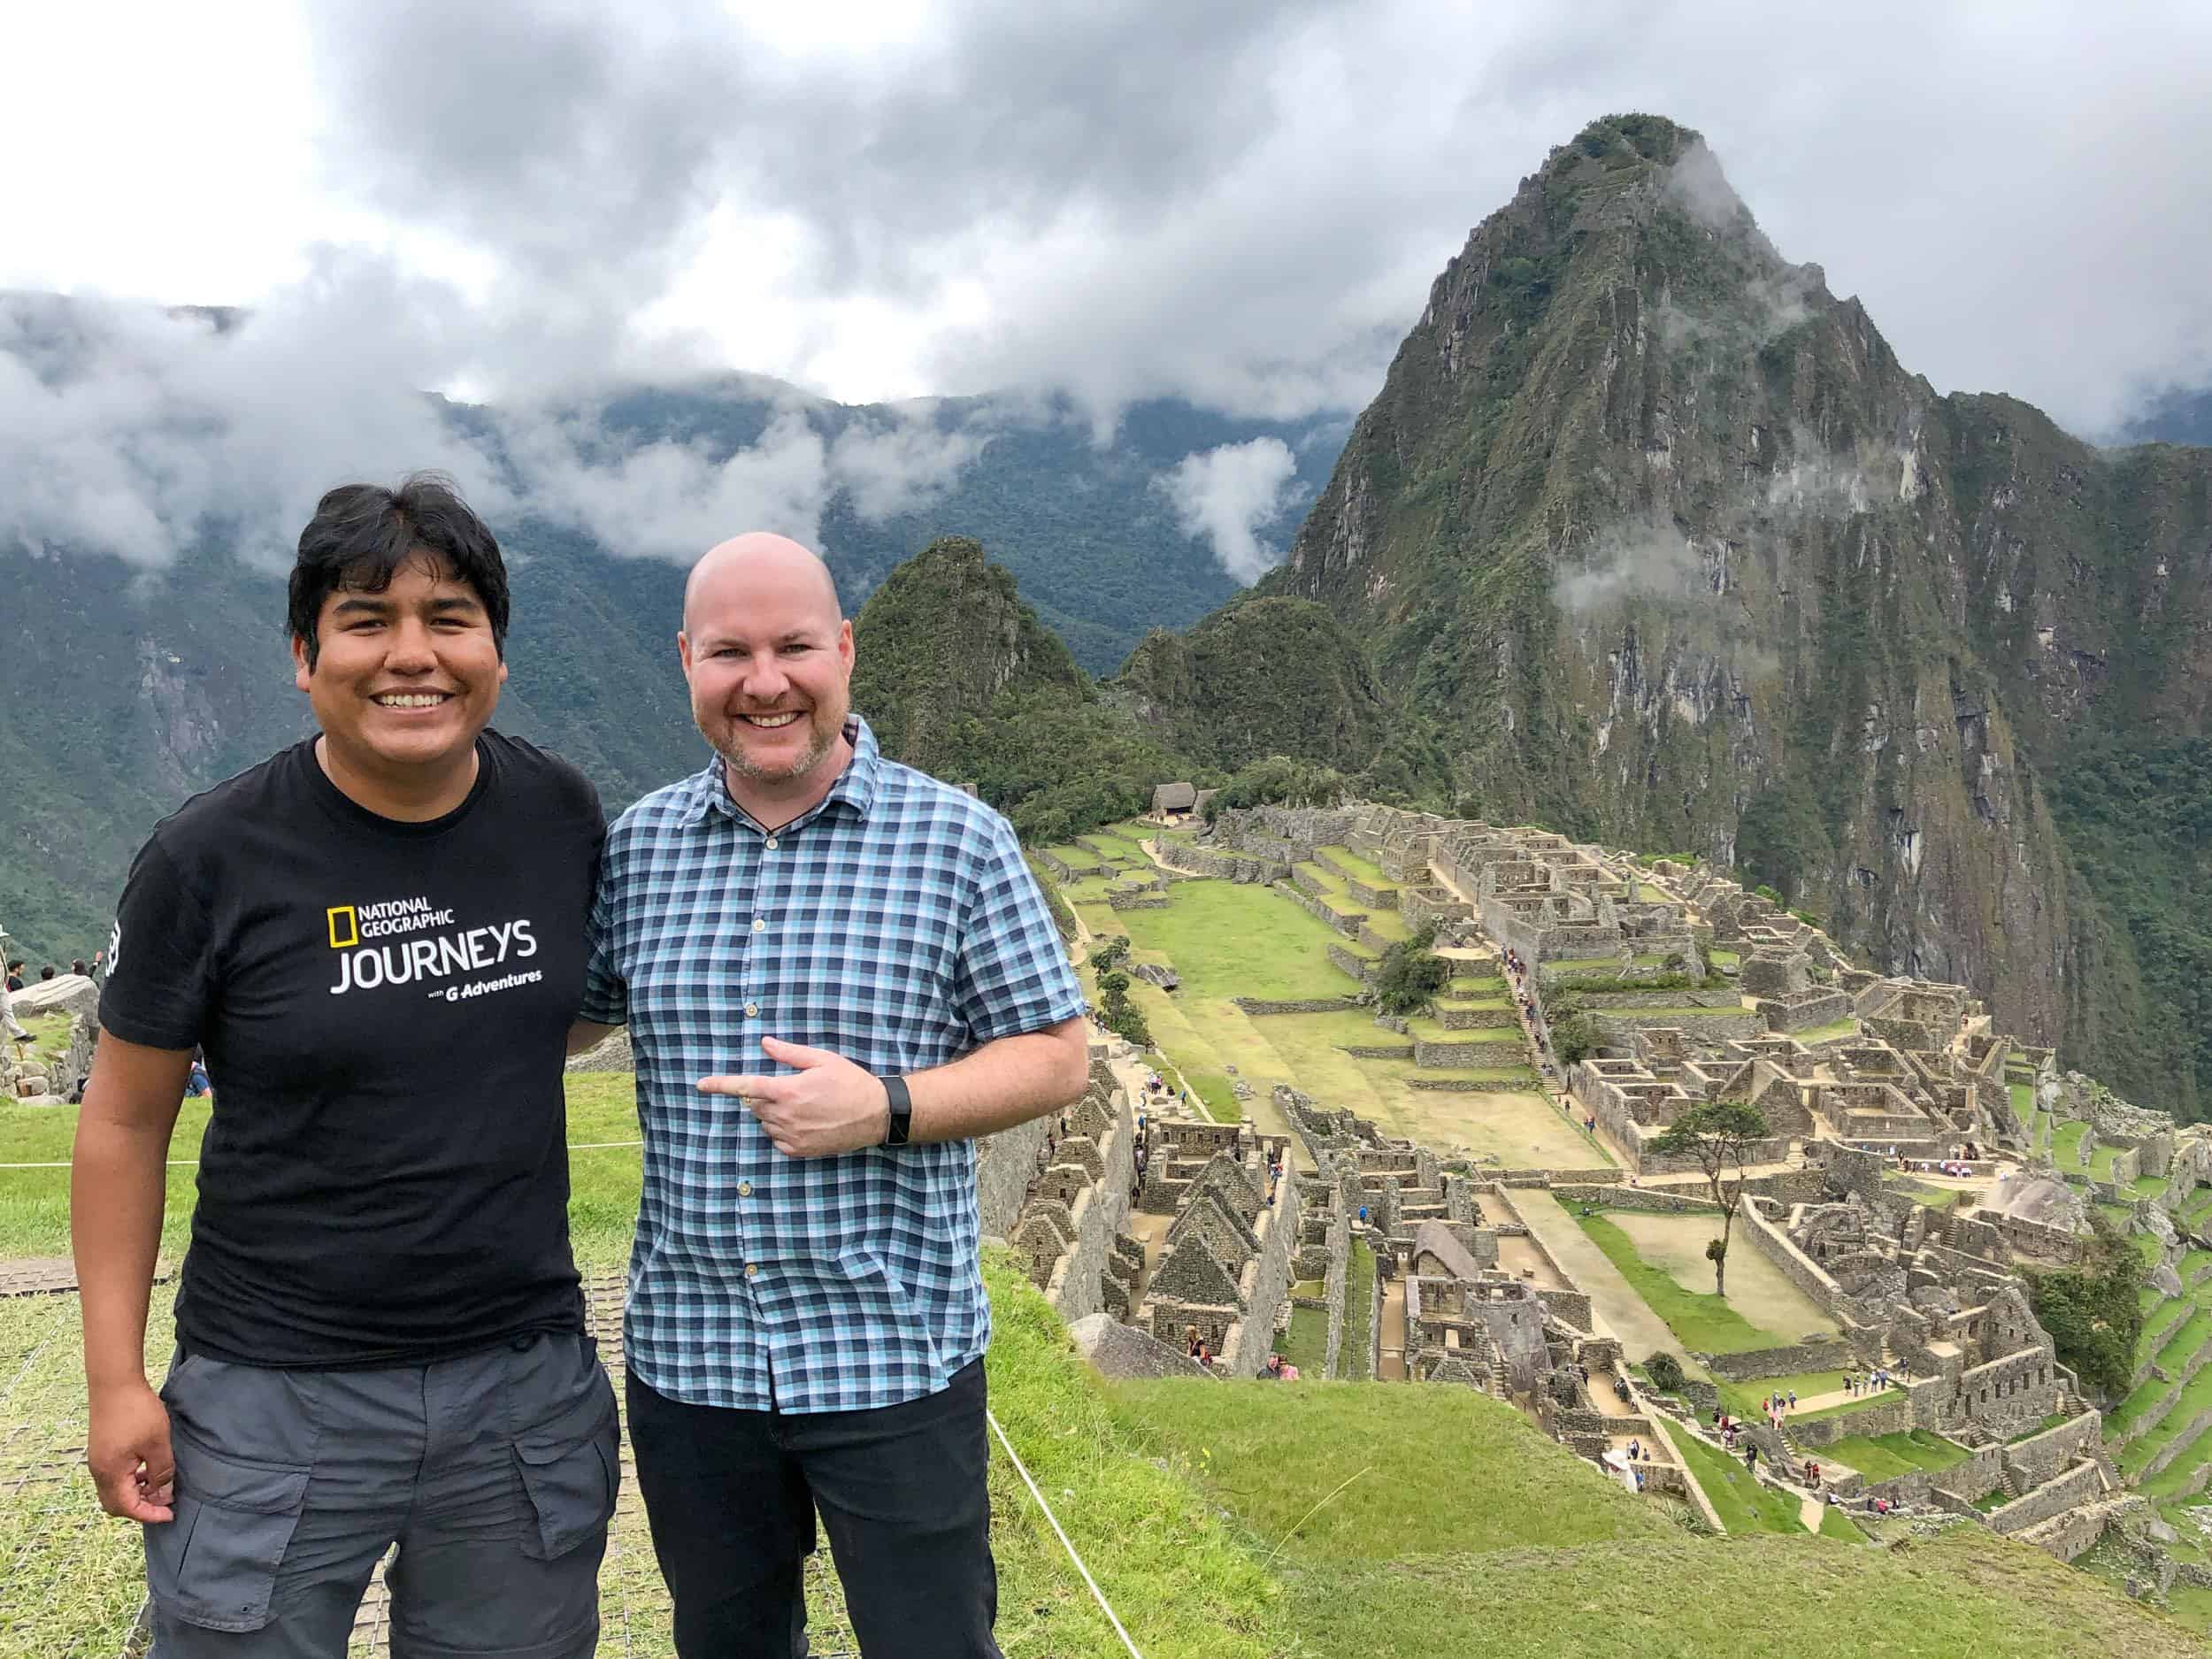
In March 2012, I flew from Lima to Buenos Aires for an exciting two-week tour of Patagonia with G Adventures, which I wrote about on their blog and mine.
I briefly visited Uruguay before traveling west by bus to Santiago, Chile
From there, I flew north to the Atacama Desert. I traveled overland into Bolivia before flying back to Lima, where I visited the Amazon for the first time on a work trip with Rainforest Expeditions.
Western Europe and a Return to Colombia
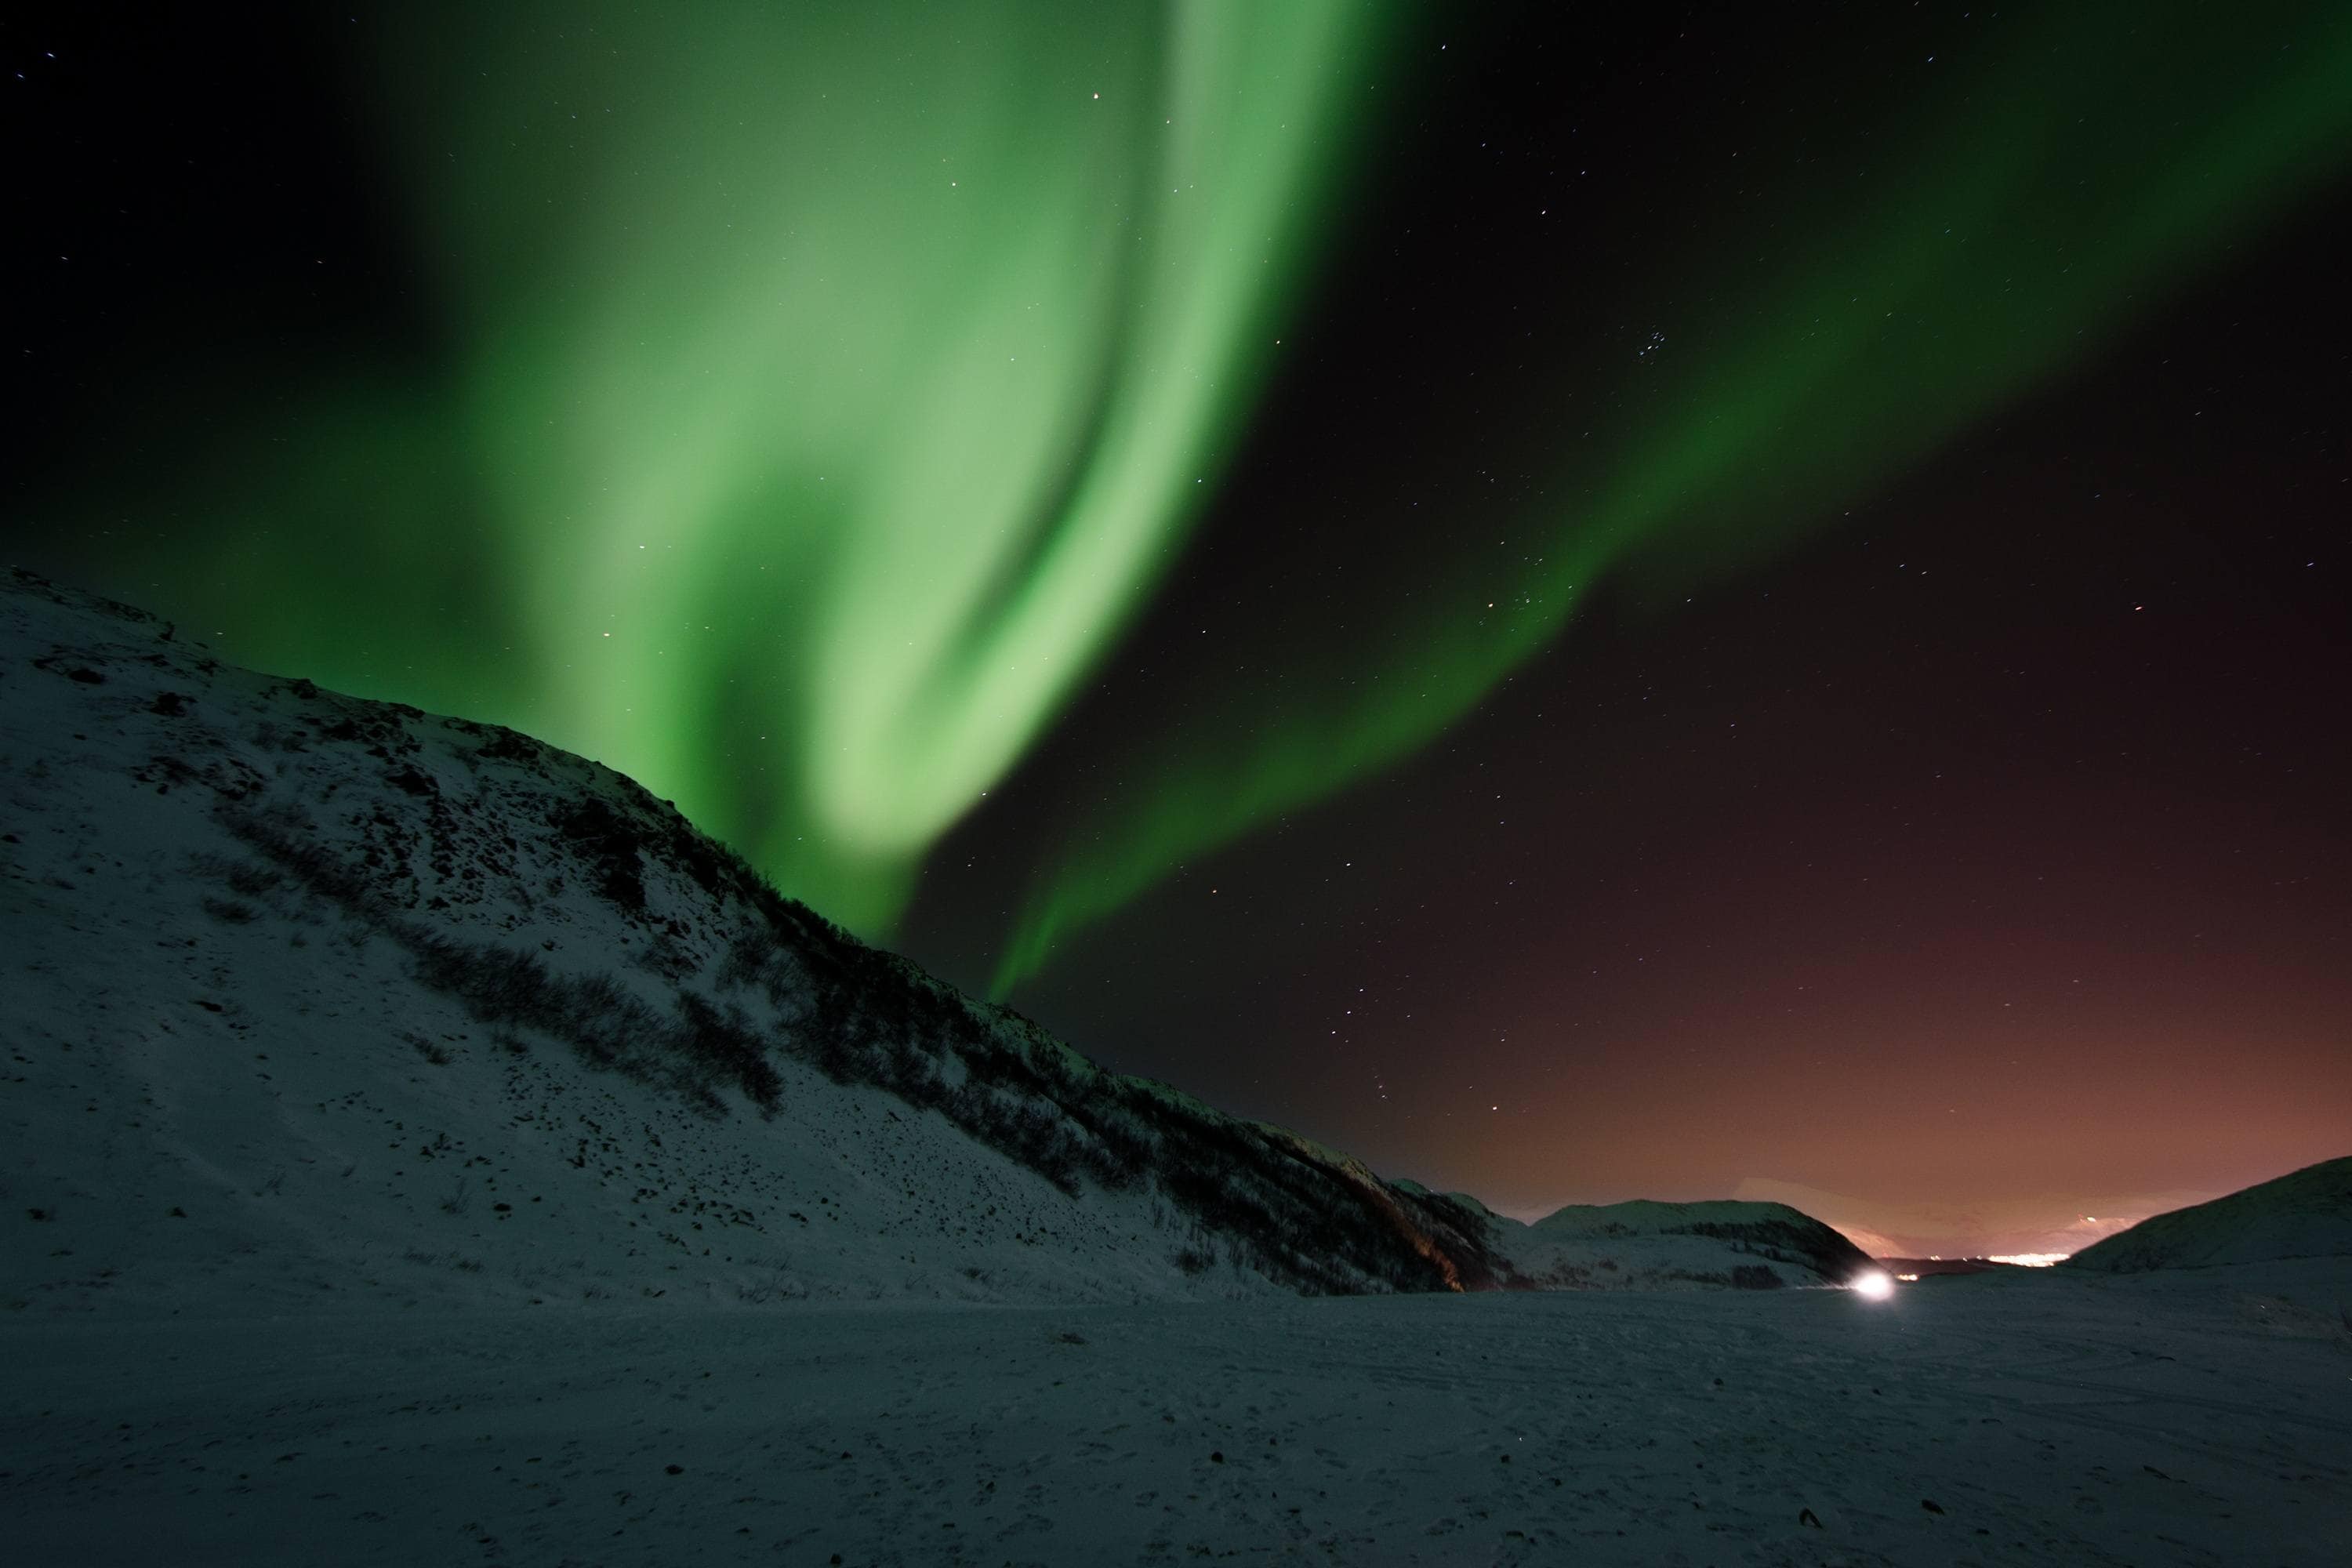
I spent Fall of 2012 in Iceland and western Europe, with an incredible two-week blogger trip to Indonesia squeezed in.
I returned to Florida (where my parents had retired after they sold their house) for Christmas.
I flirted about returning to Lima to live but knew I'd be happier in Medellin. I was back in time to celebrate the New Year.
Exhausted from a year that saw me visit 20 countries on four continents, I chose to spend more time in Colombia in 2013.
I applied for and got a business visa, which I used to stay for about nine months that year and another nine in 2014.
Online Harassment
In early 2015, at the height of Medellin Living's popularity and as the city began to see more tourists, I began receiving harassing messages from an anonymous and presumably Colombian person hiding behind fake Facebook accounts.
The messages were increasingly threatening, with the person blaming me for the rise in sex and drug tourism in the city even though I neither participated in nor promoted either activity.
Being on the receiving end of such harassment was emotionally upsetting. My roommate called it "psychological violence."
Facebook was slow to close the offending accounts, nor did it seem to make a difference that the person could keep opening new ones to continue the harassment.
I reported the defamation to local authorities and received a police protection order to put the situation on record. Unfortunately, the US embassy has no jurisdiction. Their only advice was to leave the country.
Turkey and Eastern Europe
As it turned out, I already had plans to leave Colombia in April 2015. I'd been invited by Turkish Airlines to fly business class from New York City to Istanbul to explore Turkey.
Following the organized press trip, I spent another five weeks traveling independently in Turkey, with side trips to nearby Georgia and Armenia.
During that time, I learned my business partner, Michael, would need to leave Travel Blog Success as a condition of taking a new job.
I would become the company's sole owner again; however, it was a much bigger business than when he joined two and a half years earlier.
I knew that growing the business would require more attention going forward, leaving less time for my travel blogs. I also knew that whenever I was in Colombia, I preferred working on my Medellin blog.
Between the negative energy when I left and the need to focus more on Travel Blog Success in the future, I decided not to return to live in Colombia after my European trip ended.
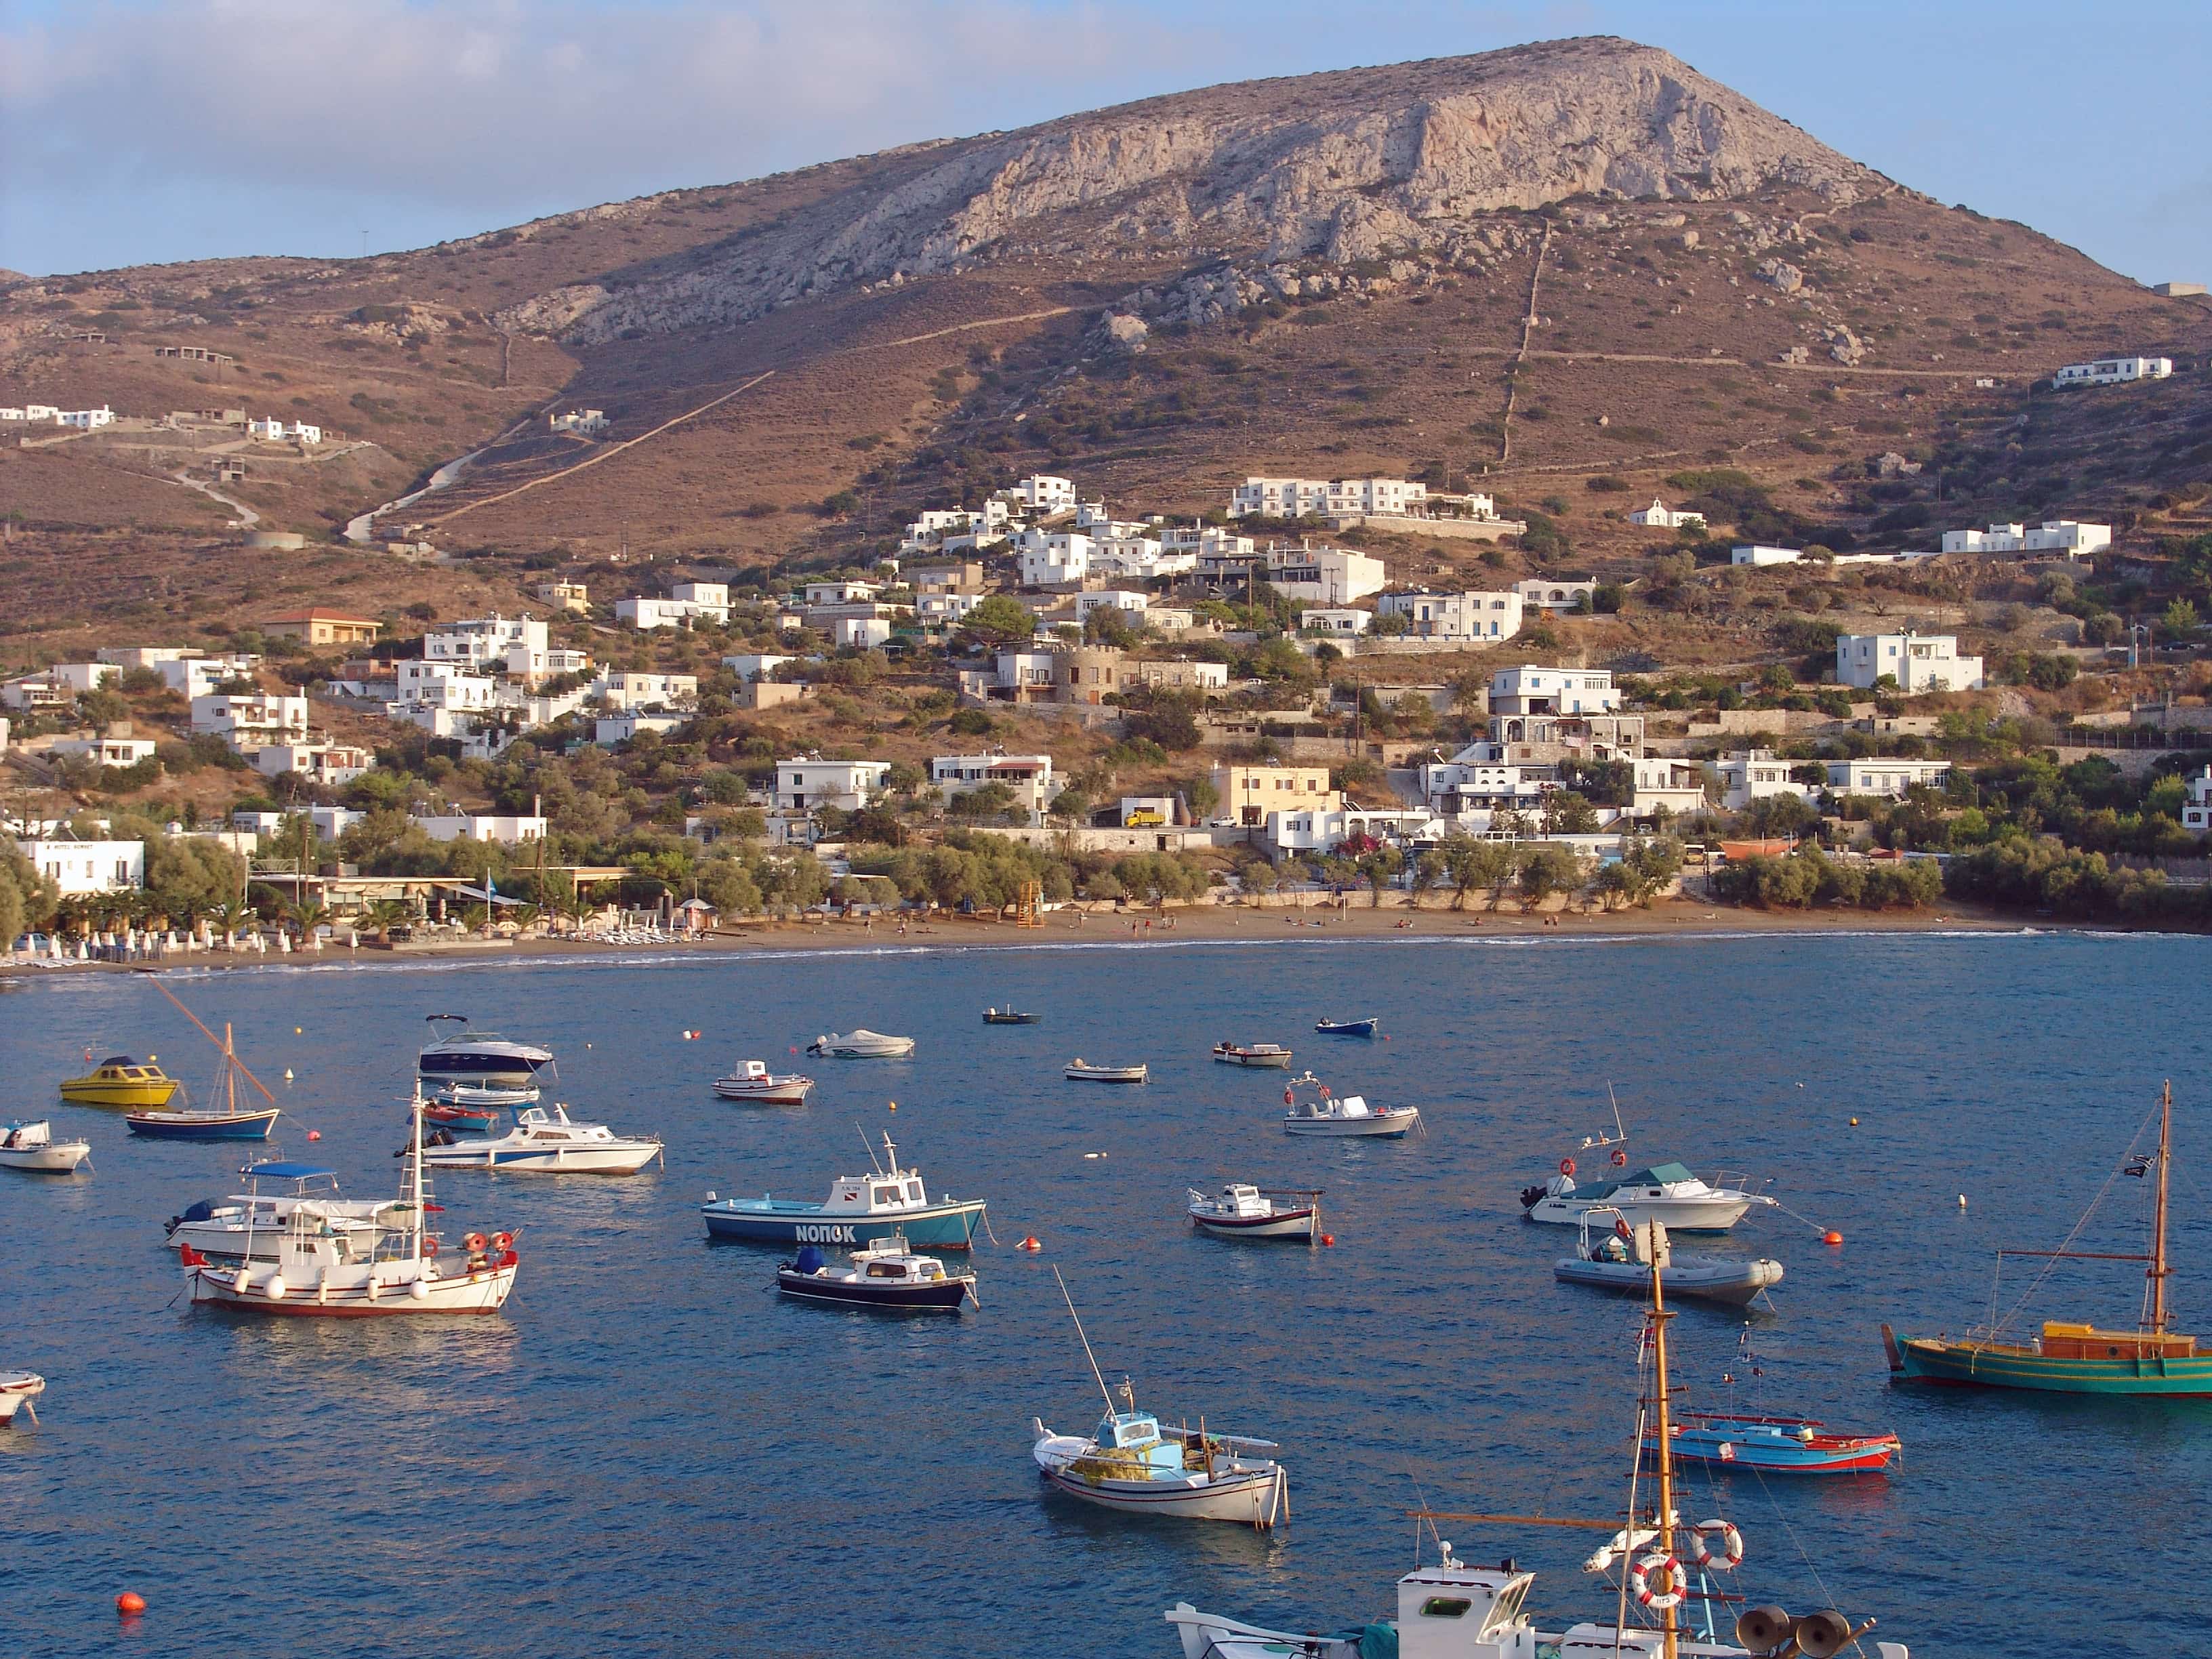
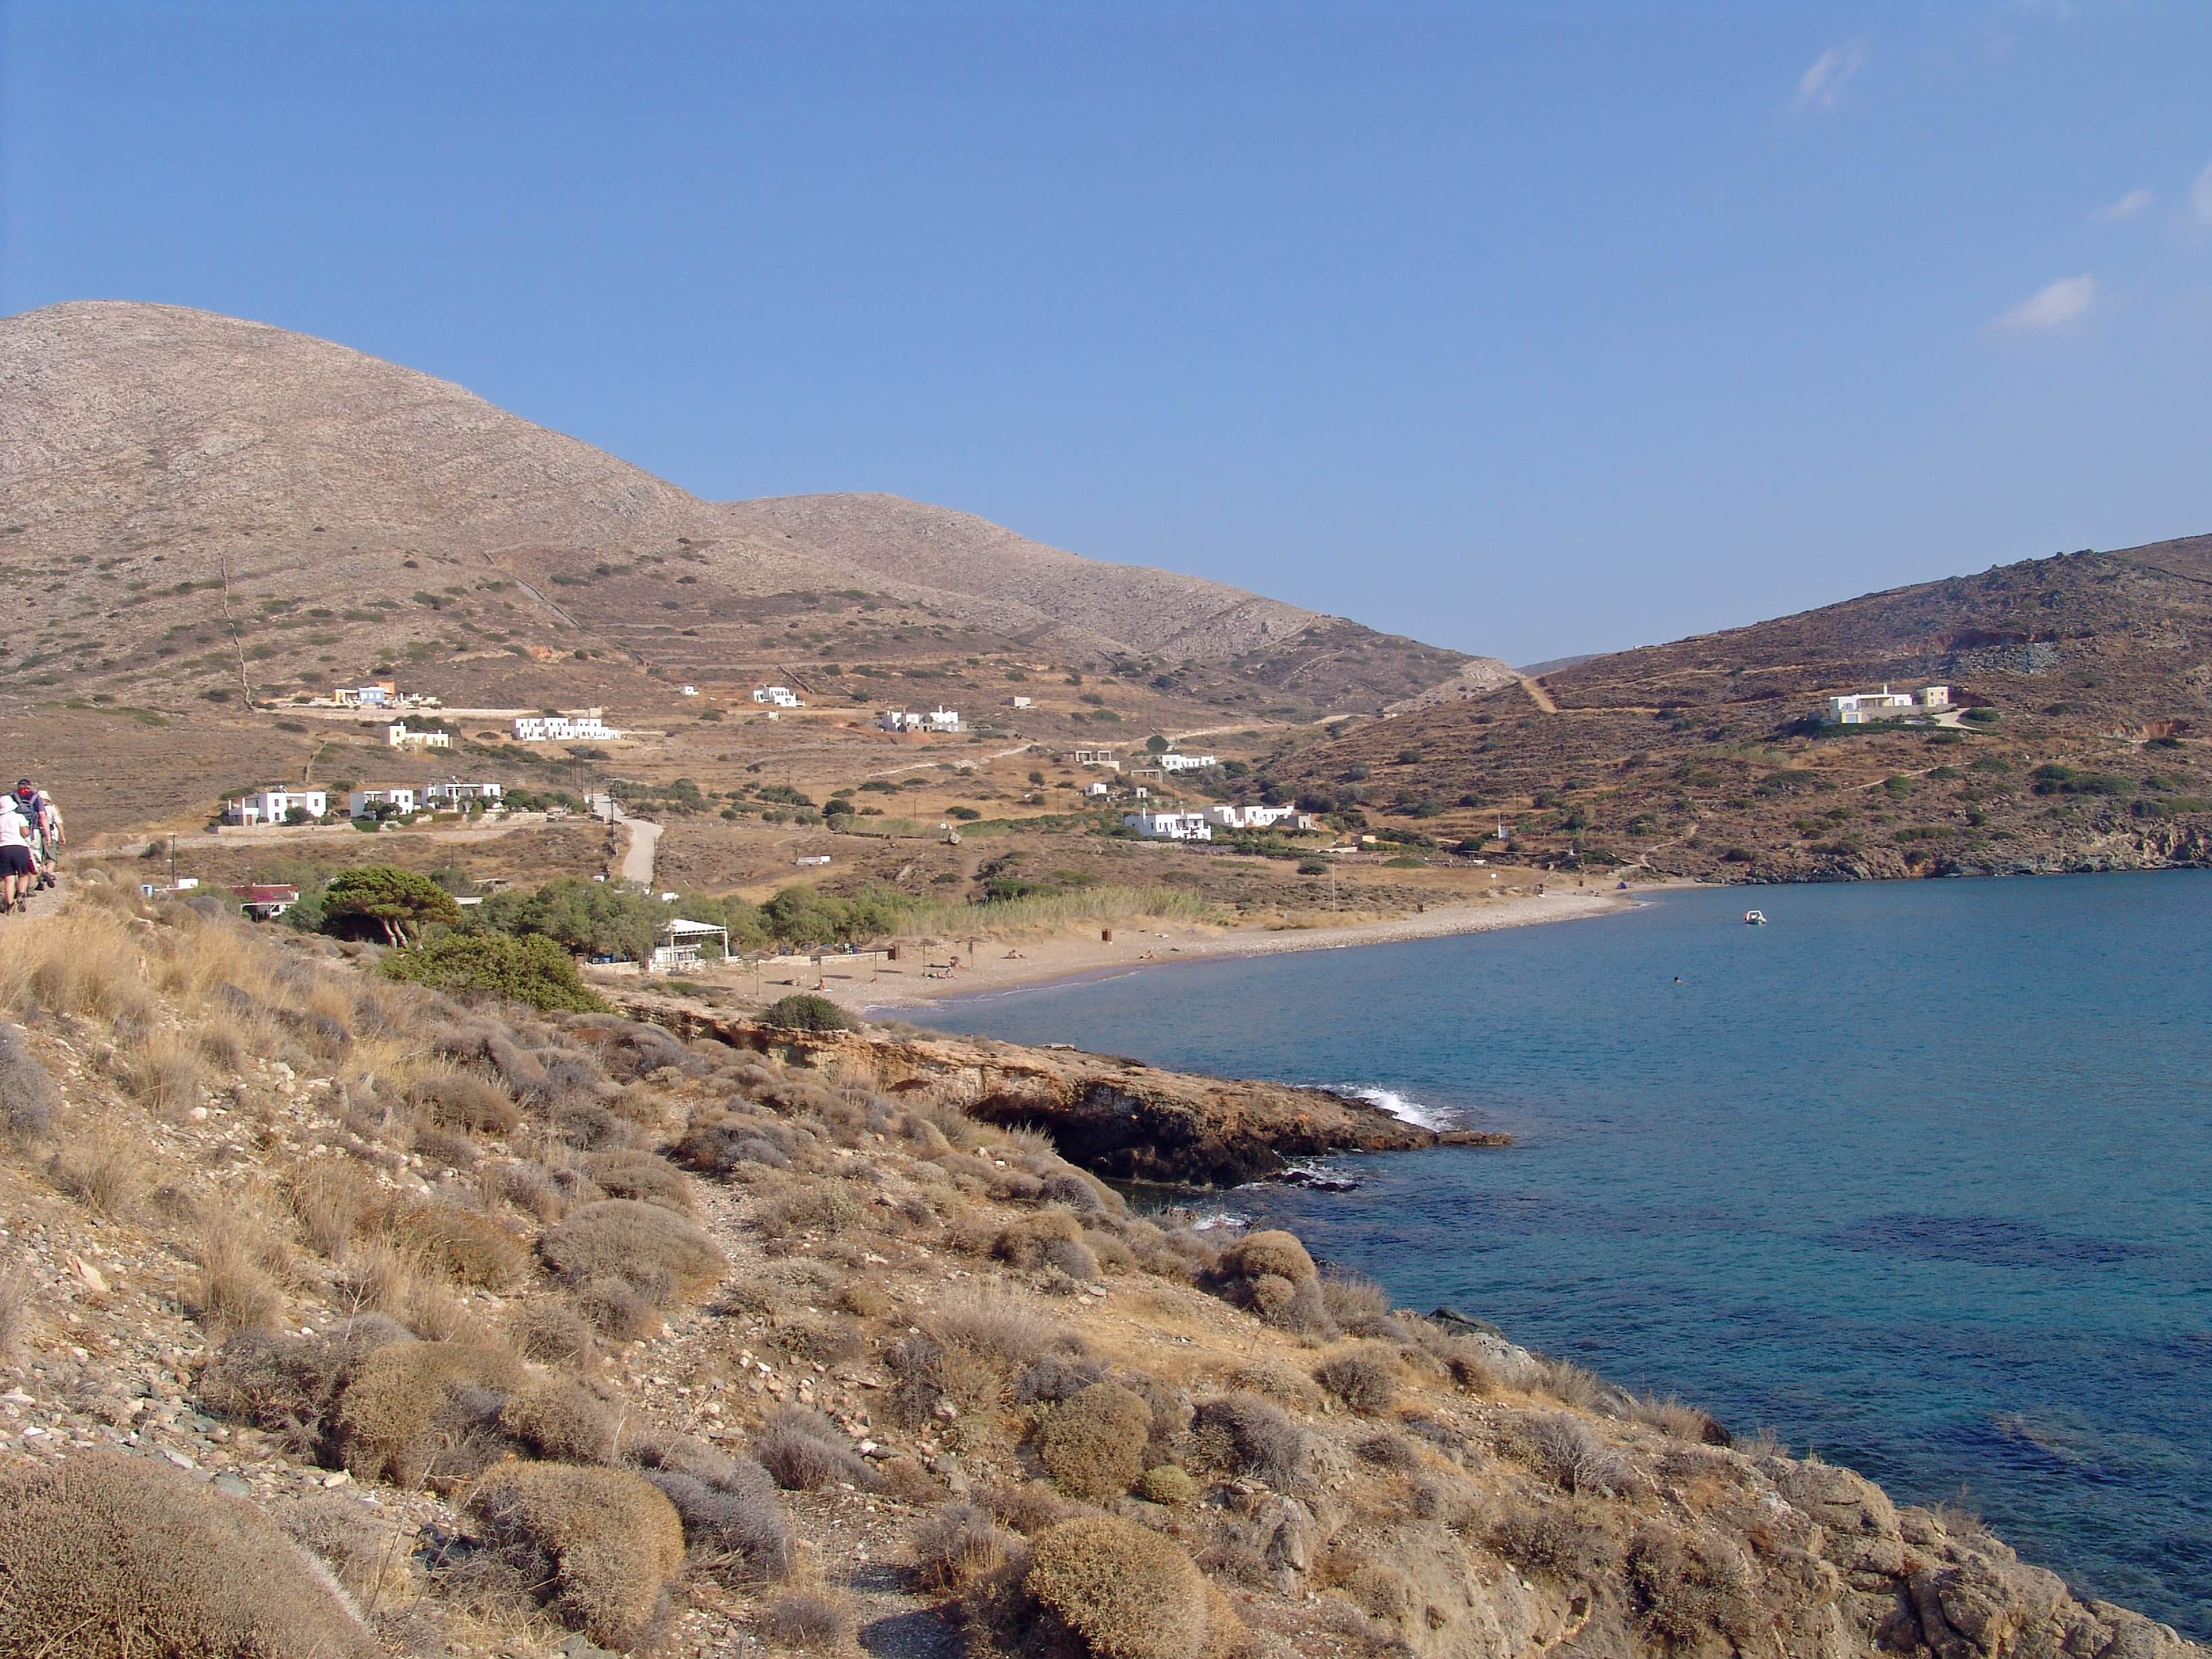
I left Turkey for three weeks of island-hopping in Greece and then flew to Bucharest, Romania, to chill out for a month.
It was during my stay in Bucharest that my health anxiety took off. I was concerned something was seriously wrong with me due to some labored breathing while walking up the stairs of my three-story apartment rental.
I was probably just out of shape and tired from months of stress and travel; however, I couldn't let it go.
I visited a medical clinic where the doctor available was an English-speaking cardiologist. She examined my heart, which was working fine, and suggested seeing a pulmonologist when I returned to the US.
Panic and a Pulmonary Embolism
I considered speeding up my plans to return to the US but didn't want to miss out on seeing Transylvania, so I spent a week sightseeing up there (which was more beautiful than Bucharest). I was nervous about my health but seemed to do okay.
As I waited to board my nine-hour Norwegian flight from London to Miami, I had one of the worst panic attacks of my life.
Flying didn't usually trigger them for me, but I was so concerned I had a health problem that it took every ounce of willpower to stand up and walk onto that trans-Atlantic flight.
Thankfully, a fear of flying is common, so I could Google it and get some quick advice to help me calm down. The flight was long and tiring, but I made it to Miami and Tampa okay.
In Tampa, I saw my parent's doctor, who took my history and asked if I'd like a CT scan of my lungs. I said, "Yes." Lo and behold, it showed several small pulmonary embolisms (blood clots).
I canceled my next flight to Lima and spent the rest of 2015 hanging out with my parents, taking $400/month blood thinners, and trying to calm my anxiety. Blood clots can be fatal.
I used this unexpected break to reflect on life and death and what I had and hadn't yet accomplished in life. I prided myself on practicing non-attachment to material goods.
However, as my life and career began to revolve around travel experiences, I attached myself to visiting new countries the same way someone might attach to buying new clothes or cars.
I decided it was time to try and let go of the need to go everywhere and do everything and do it all quickly so that I could write about it before others.
I also craved safety and comfort in a way I hadn't in a long time. I wanted a break from looking over my shoulder all the time while living in Latin America.
And I decided to prioritize the relationships that mattered most to me.
My work afforded me incredible flexibility, so I wanted to start using that to strengthen ties with the people I cared about most.
This meant spending time together in person, not just relying on social media to stay in touch.
In Search of Stability - Returning to the USA (2016-)
My relationship building began with two months in Oaxaca, Mexico, when my long-time friend, Jodi (Legal Nomads), and many others were planning to go there.
In late 2015, I was approached by several parties interested in acquiring Medellin Living.
Over several months, I wrestled with the idea of selling it, which, to be completely honest, had never crossed my mind.
Ultimately, it felt like the right move to let go of the blog and my time as an expat in the city. I finalized an agreement with the buyers in early 2016 while in Oaxaca.
By the end of that year, I was no longer formally involved with the site I'd spent seven years building from scratch.
It was as a bittersweet moment. I used the proceeds to do adult things like pay off credit cards, save for retirement, and eventually buy new furniture.
Moving to Austin, Texas
When my two months in Oaxaca were up, I flew back to Tampa to see my doctors. They gave me the all-clear, and I could come off the blood thinners.
My first trip was to Austin, Texas, for an e-commerce conference (WooConf) at the W Hotel.
I'd heard good things about Austin through the grapevine, so I gave myself an extra two weeks at an Airbnb to check it out.
I quickly got the sense I could be happy living here, so out of curiosity, I went to look at some apartments downtown. I wanted the third one. I looked at it and quickly put down a deposit, then signed a lease.
When I got the keys to the apartment, I only had the clothes in my backpack that I took for the two-week trip. I didn't have any furniture. Nothing.
It was an exciting and fresh start after living on the road and abroad for so long.
Since moving to Austin, I've made some excellent new friends, strengthened existing friendships, and continued to work and travel.
In December 2017, I sold the second of my three websites, Travel Blog Success, to my friend Matt Kepnes of Nomadic Matt.
He quickly merged the courses, webinars, and resources into his Superstar Blogging program.
After eight years, it felt like the right time to cash in my chips with that business. I wanted to get back to the creative side of blogging while making room for something new.
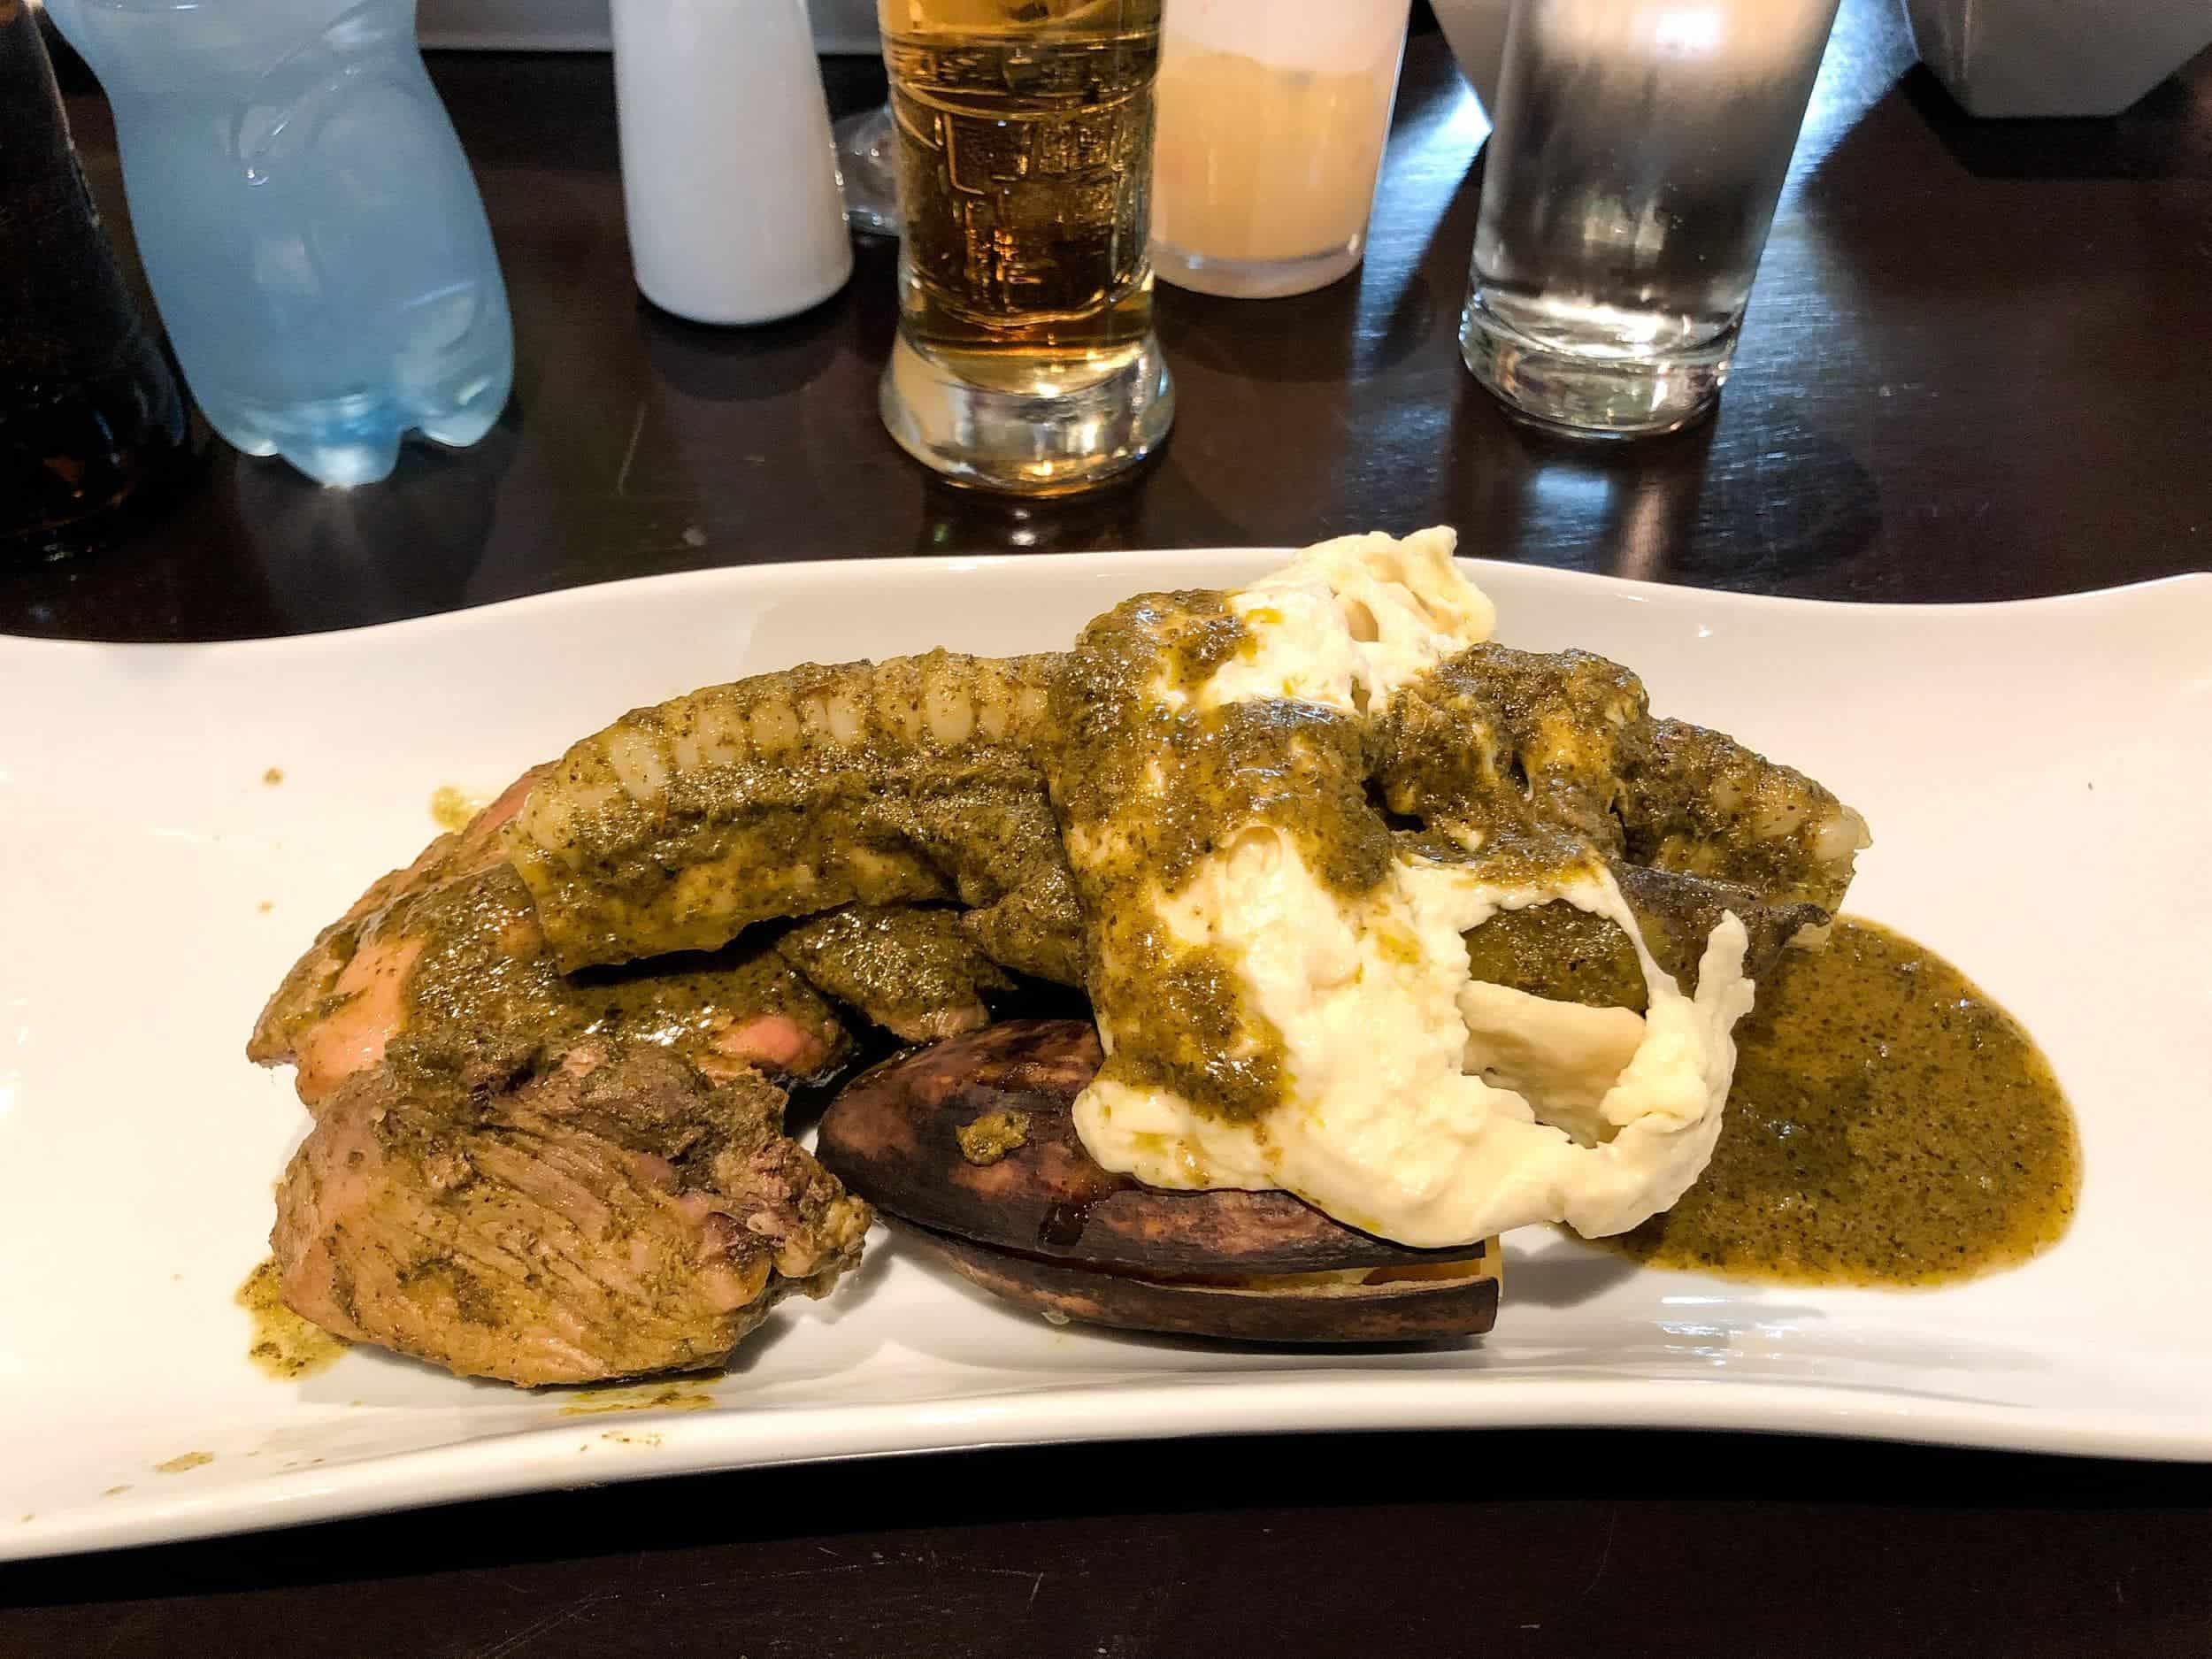
Launching Blog #3 - Feastio
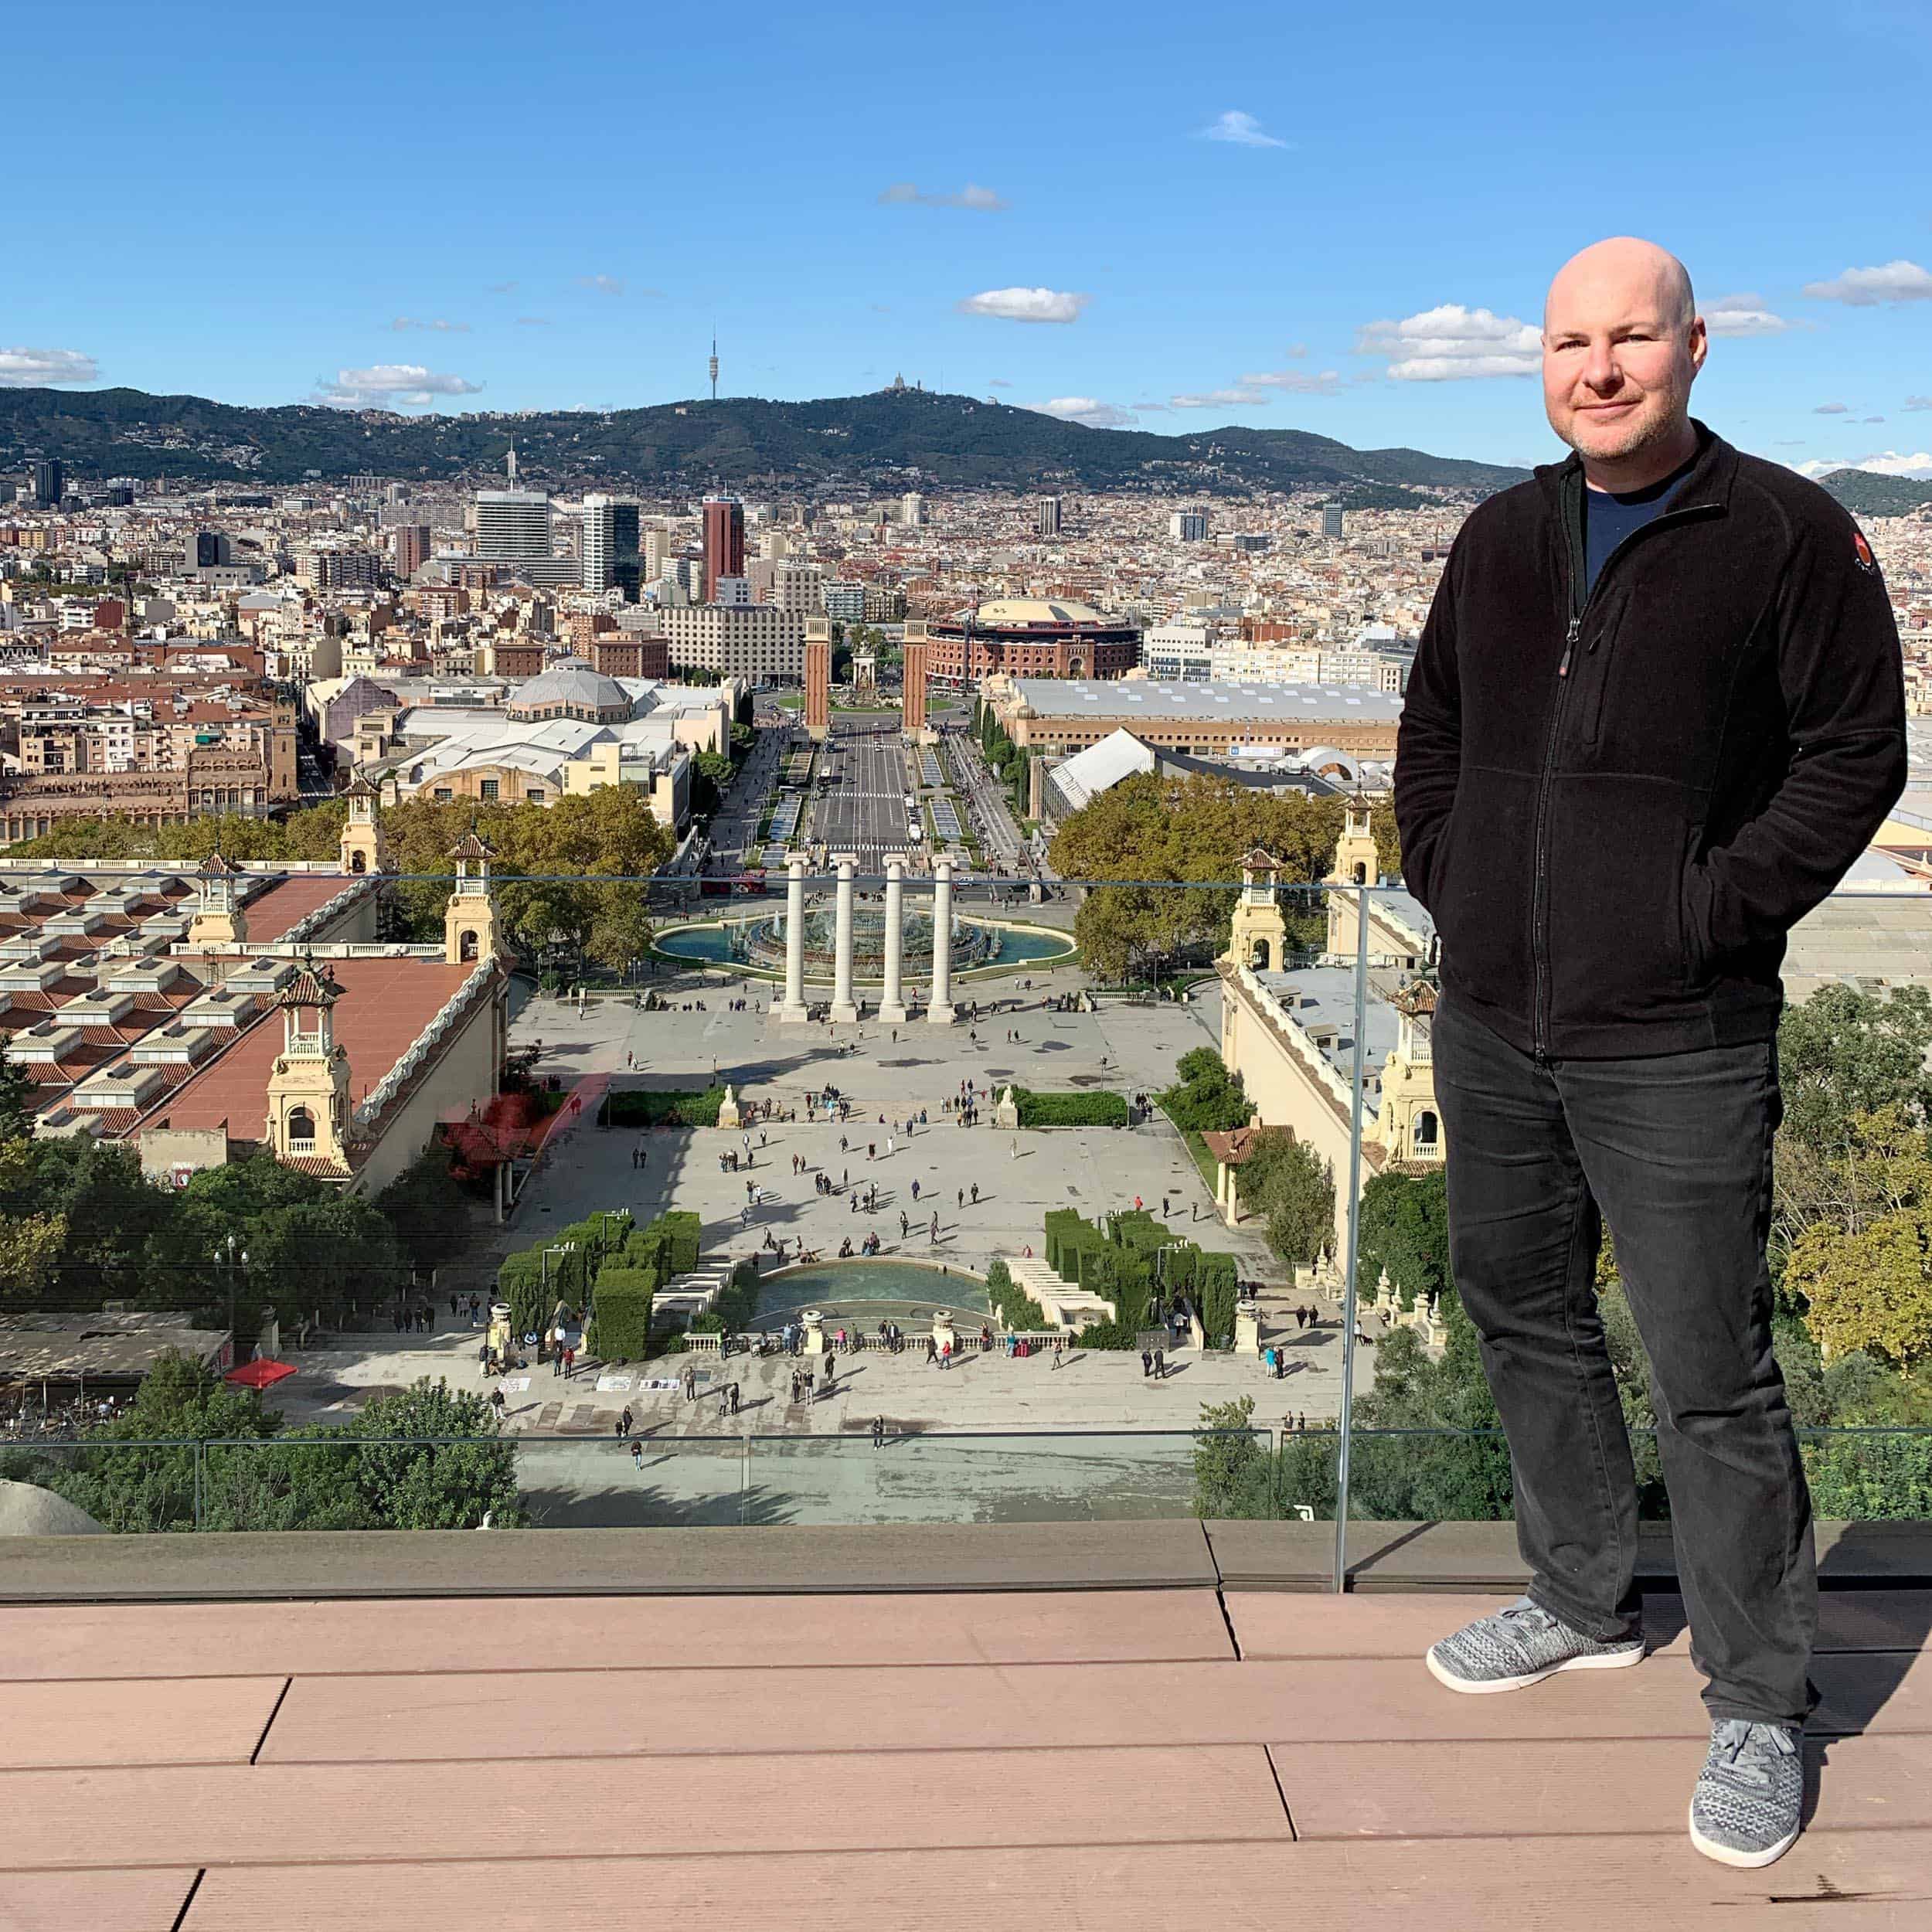
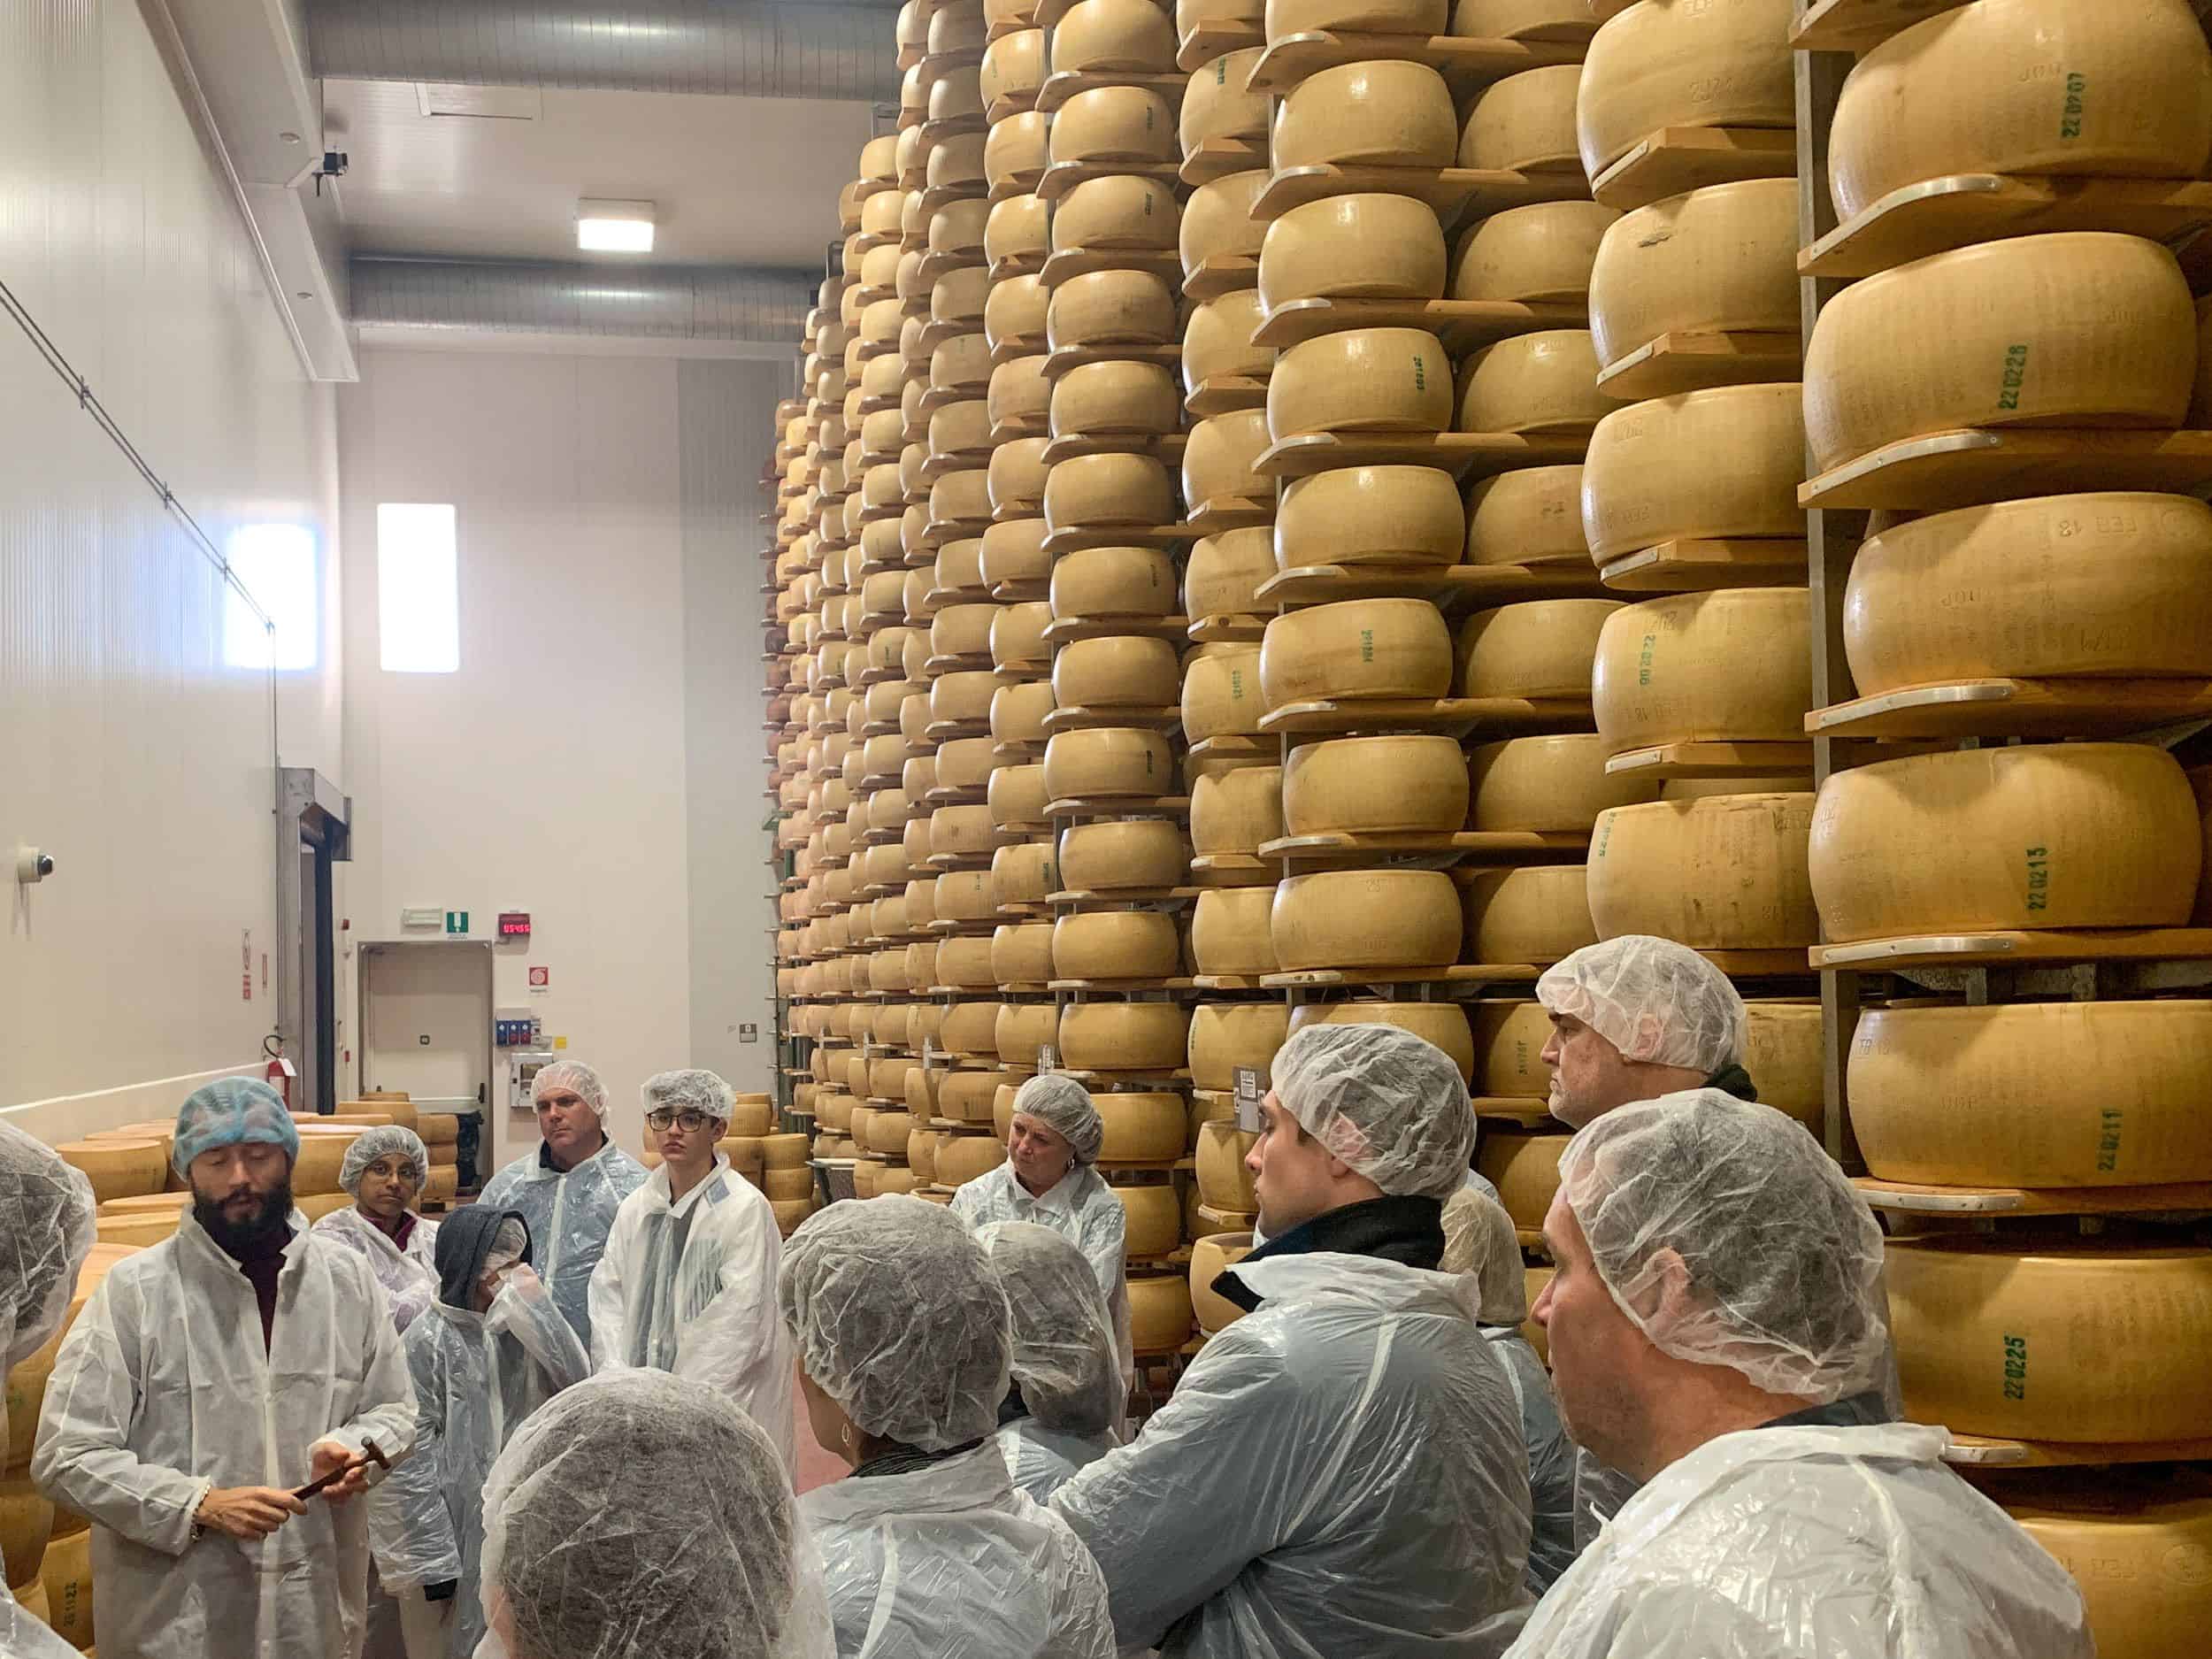
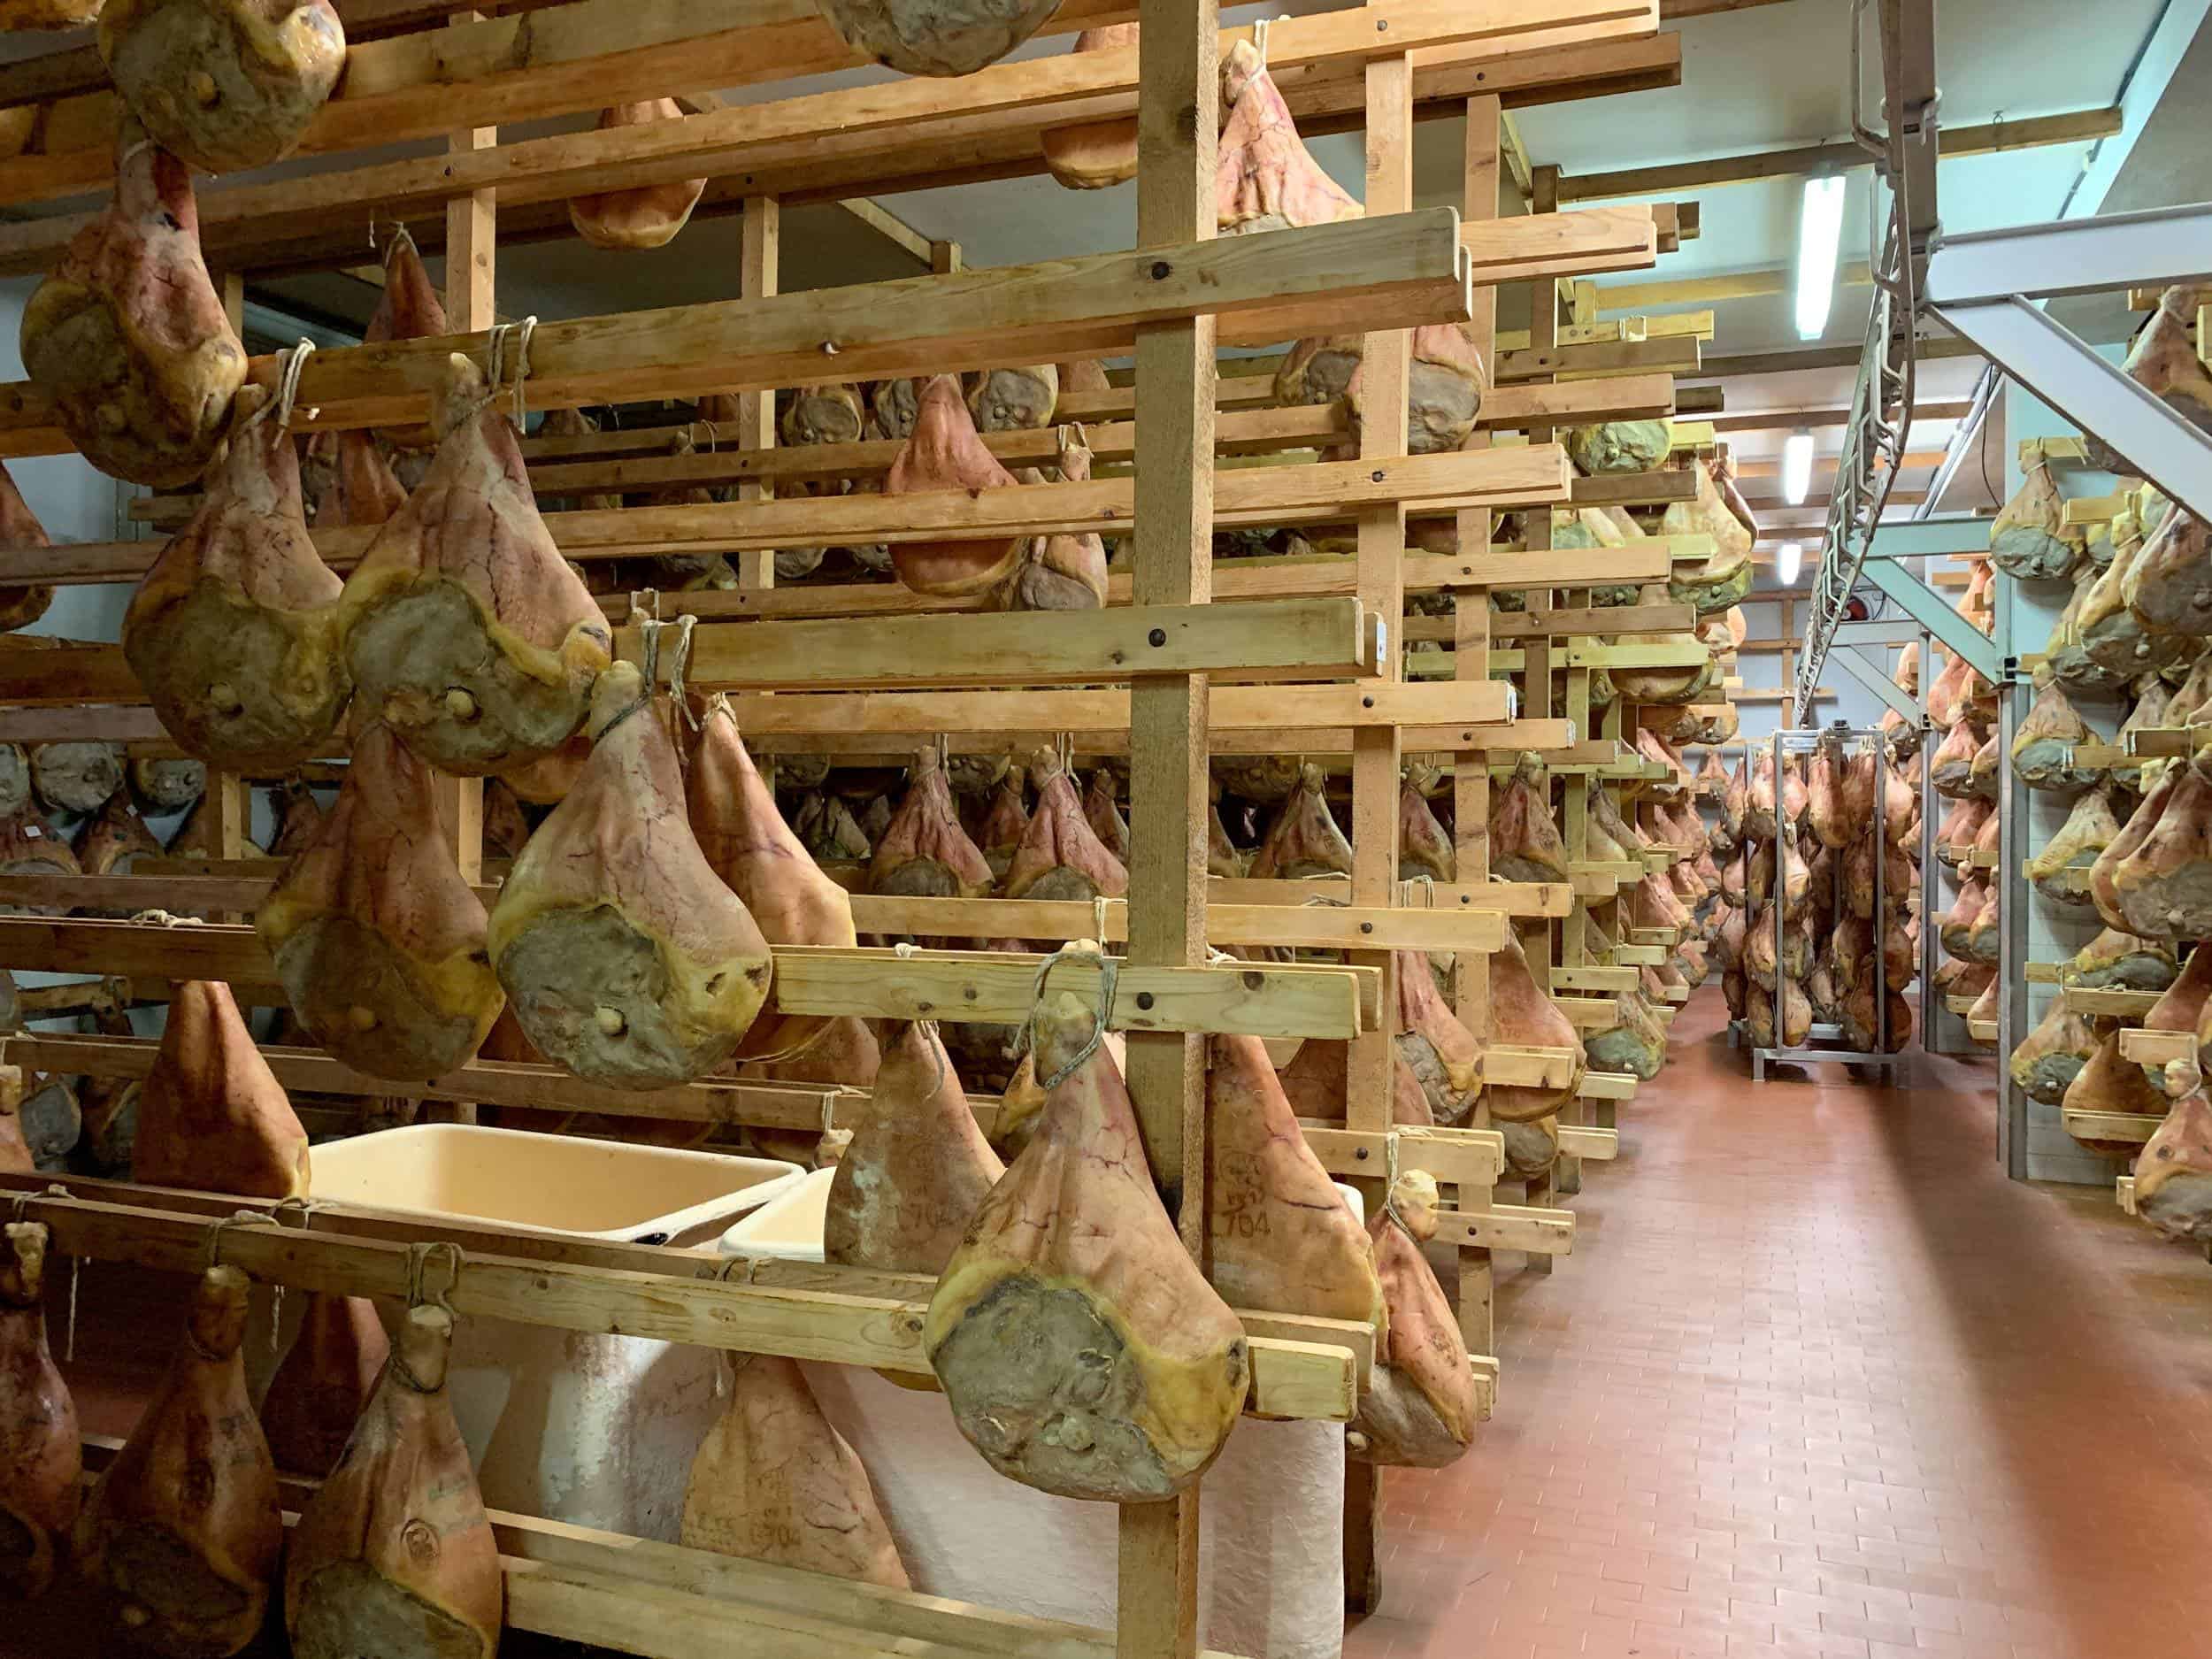
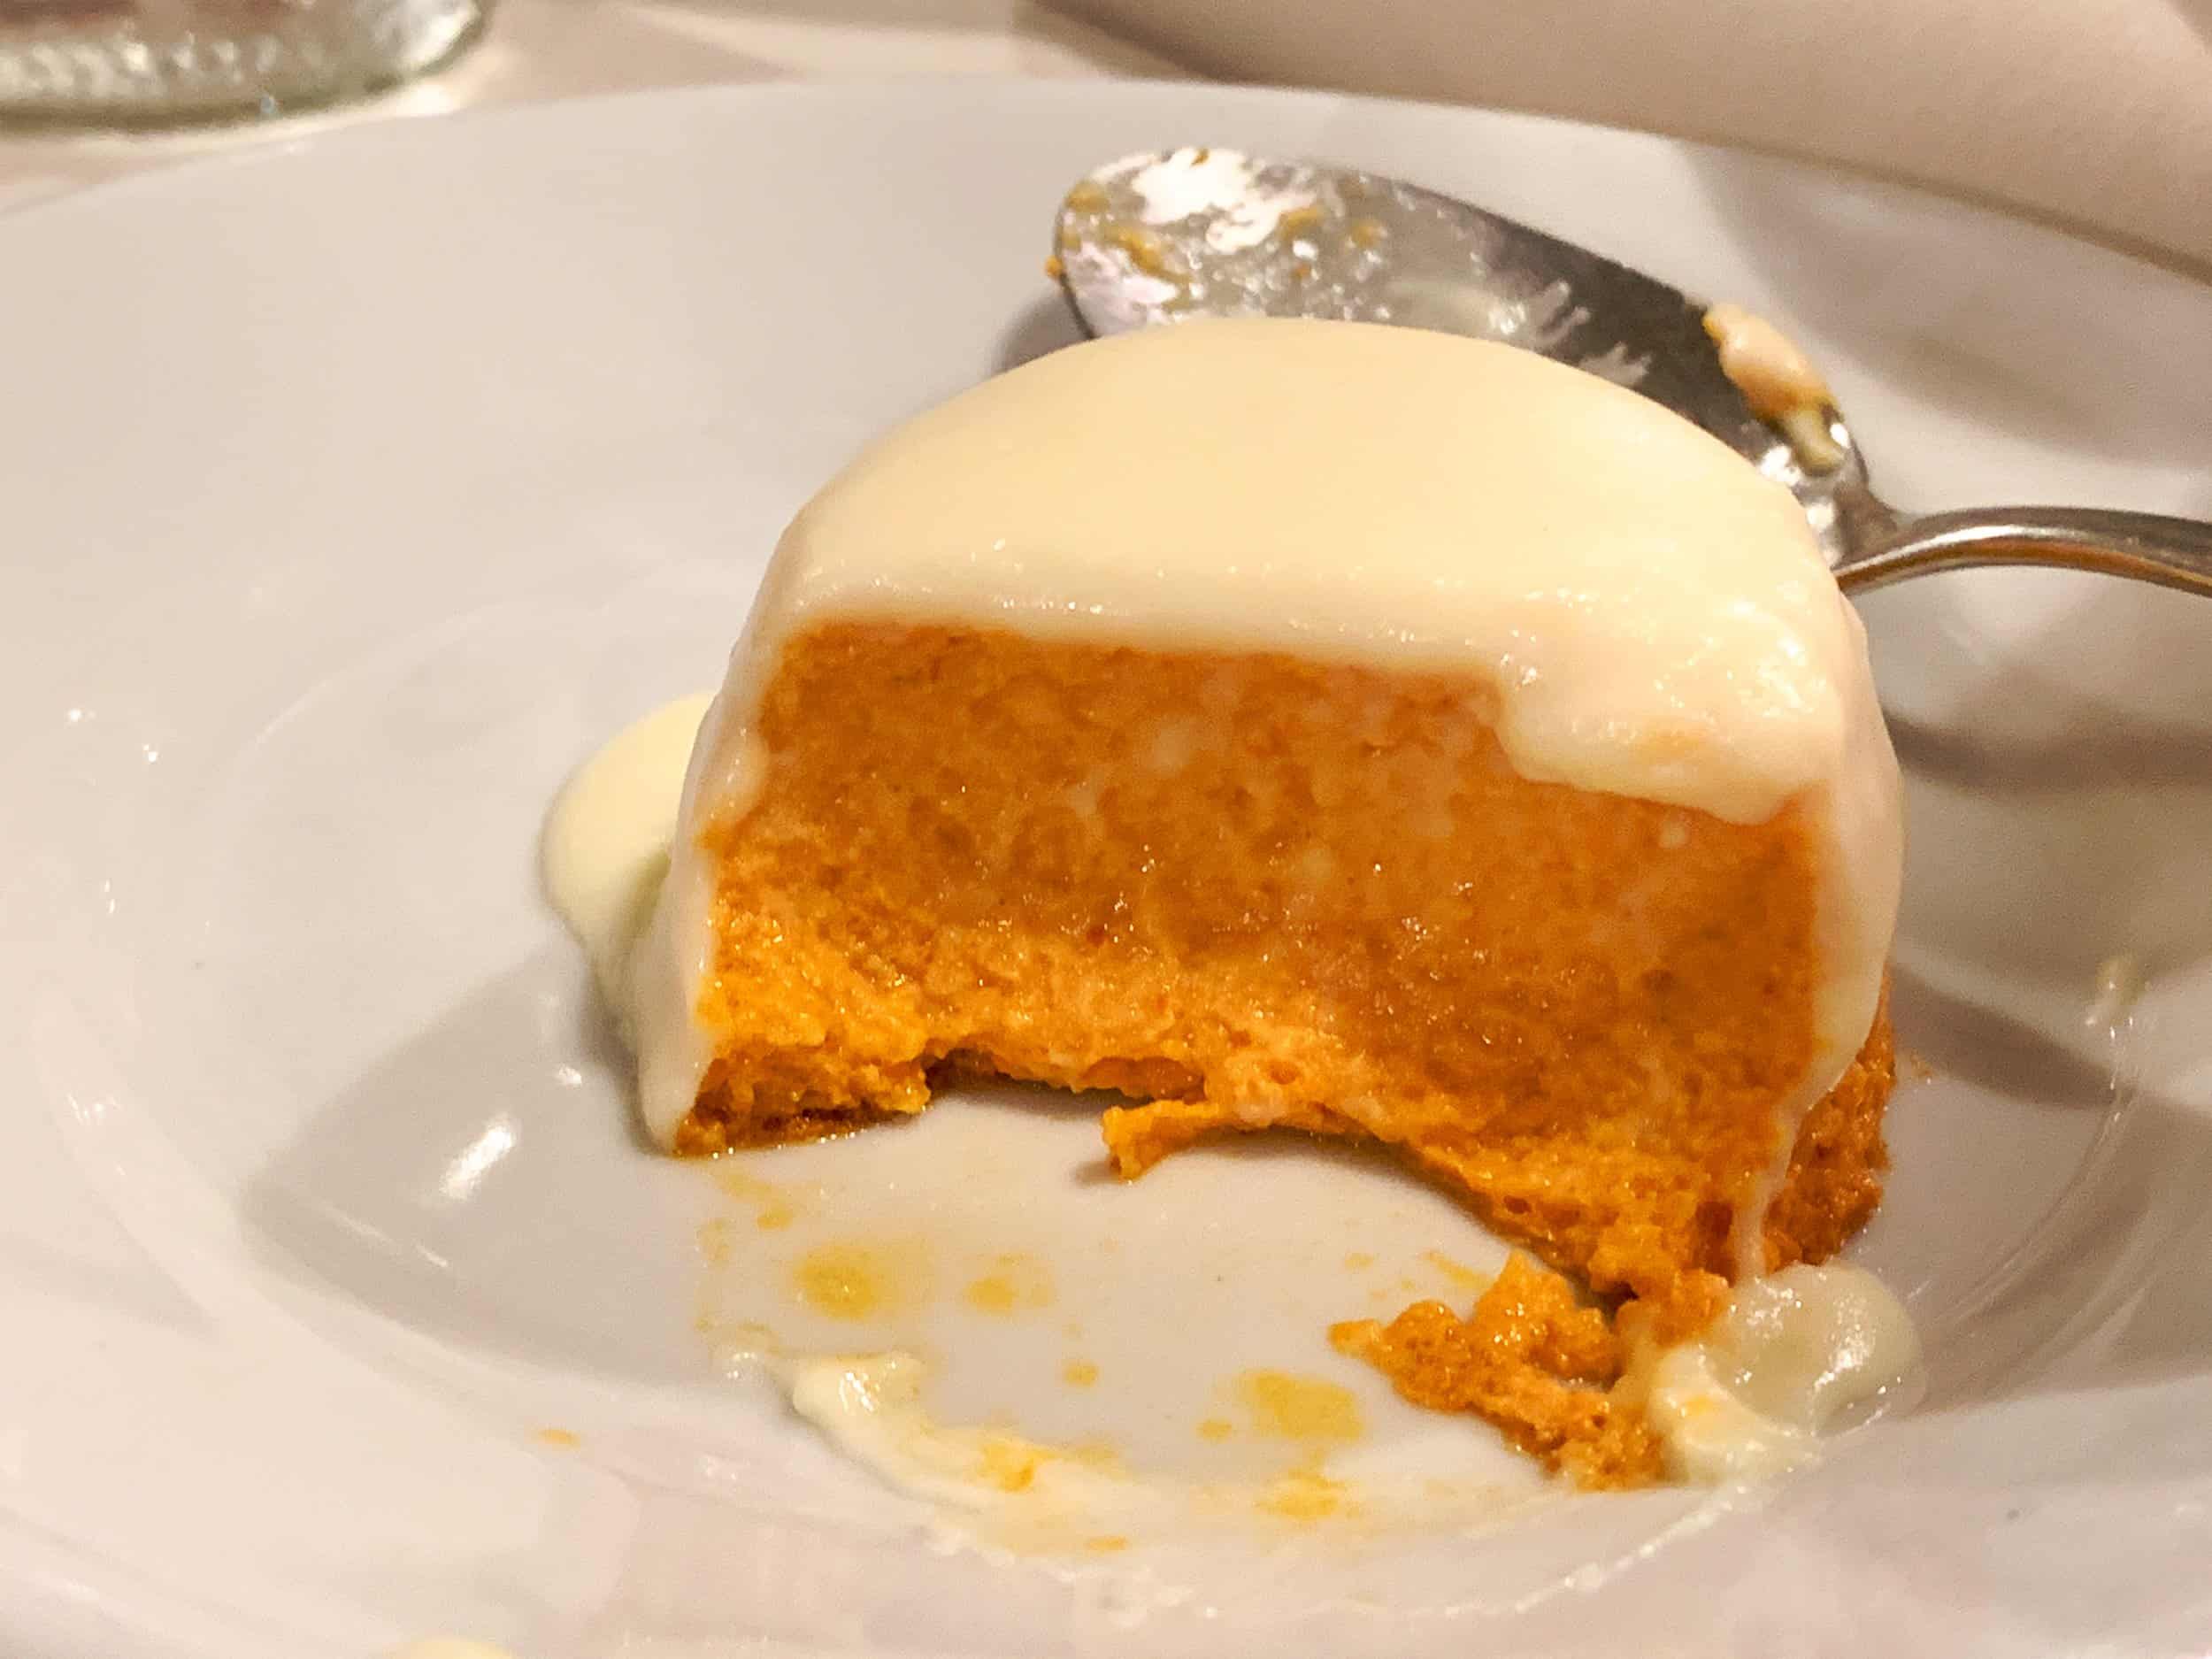
In Spring 2018, I started Feastio, a food and travel blog focused on searching for the best food and drinks wherever I go! I'm excited about this new site and what the future holds.
Keys to Being a Successful Travel Blogger
To sum it all up, here are my keys to building a career as a successful travel blogger:
- Trust your gut (intuition).
- Start early (pursue an idea without knowing where it'll lead).
- Be consistent (show up every day and put in the necessary work).
- Be persistent (don't give up; it can take years to produce the results you want).
- Become more comfortable with uncertainty.
- Consciously choose your values and do your best to live by them.
- Delay short-term gratification in favor of achieving long-term goals.
- Be willing to live an unconventional life.
- Invest the time and money to build and strengthen relationships in person.
- Treat people well.
I also owe a big thanks to my parents. While they may not have always agreed or understood my decisions, they've been there for me during the in-between times when I needed a place to stay and figure out what came next.
If you've read this far, thank you for taking the time to learn about my story. I hope it's been helpful or at least entertaining!