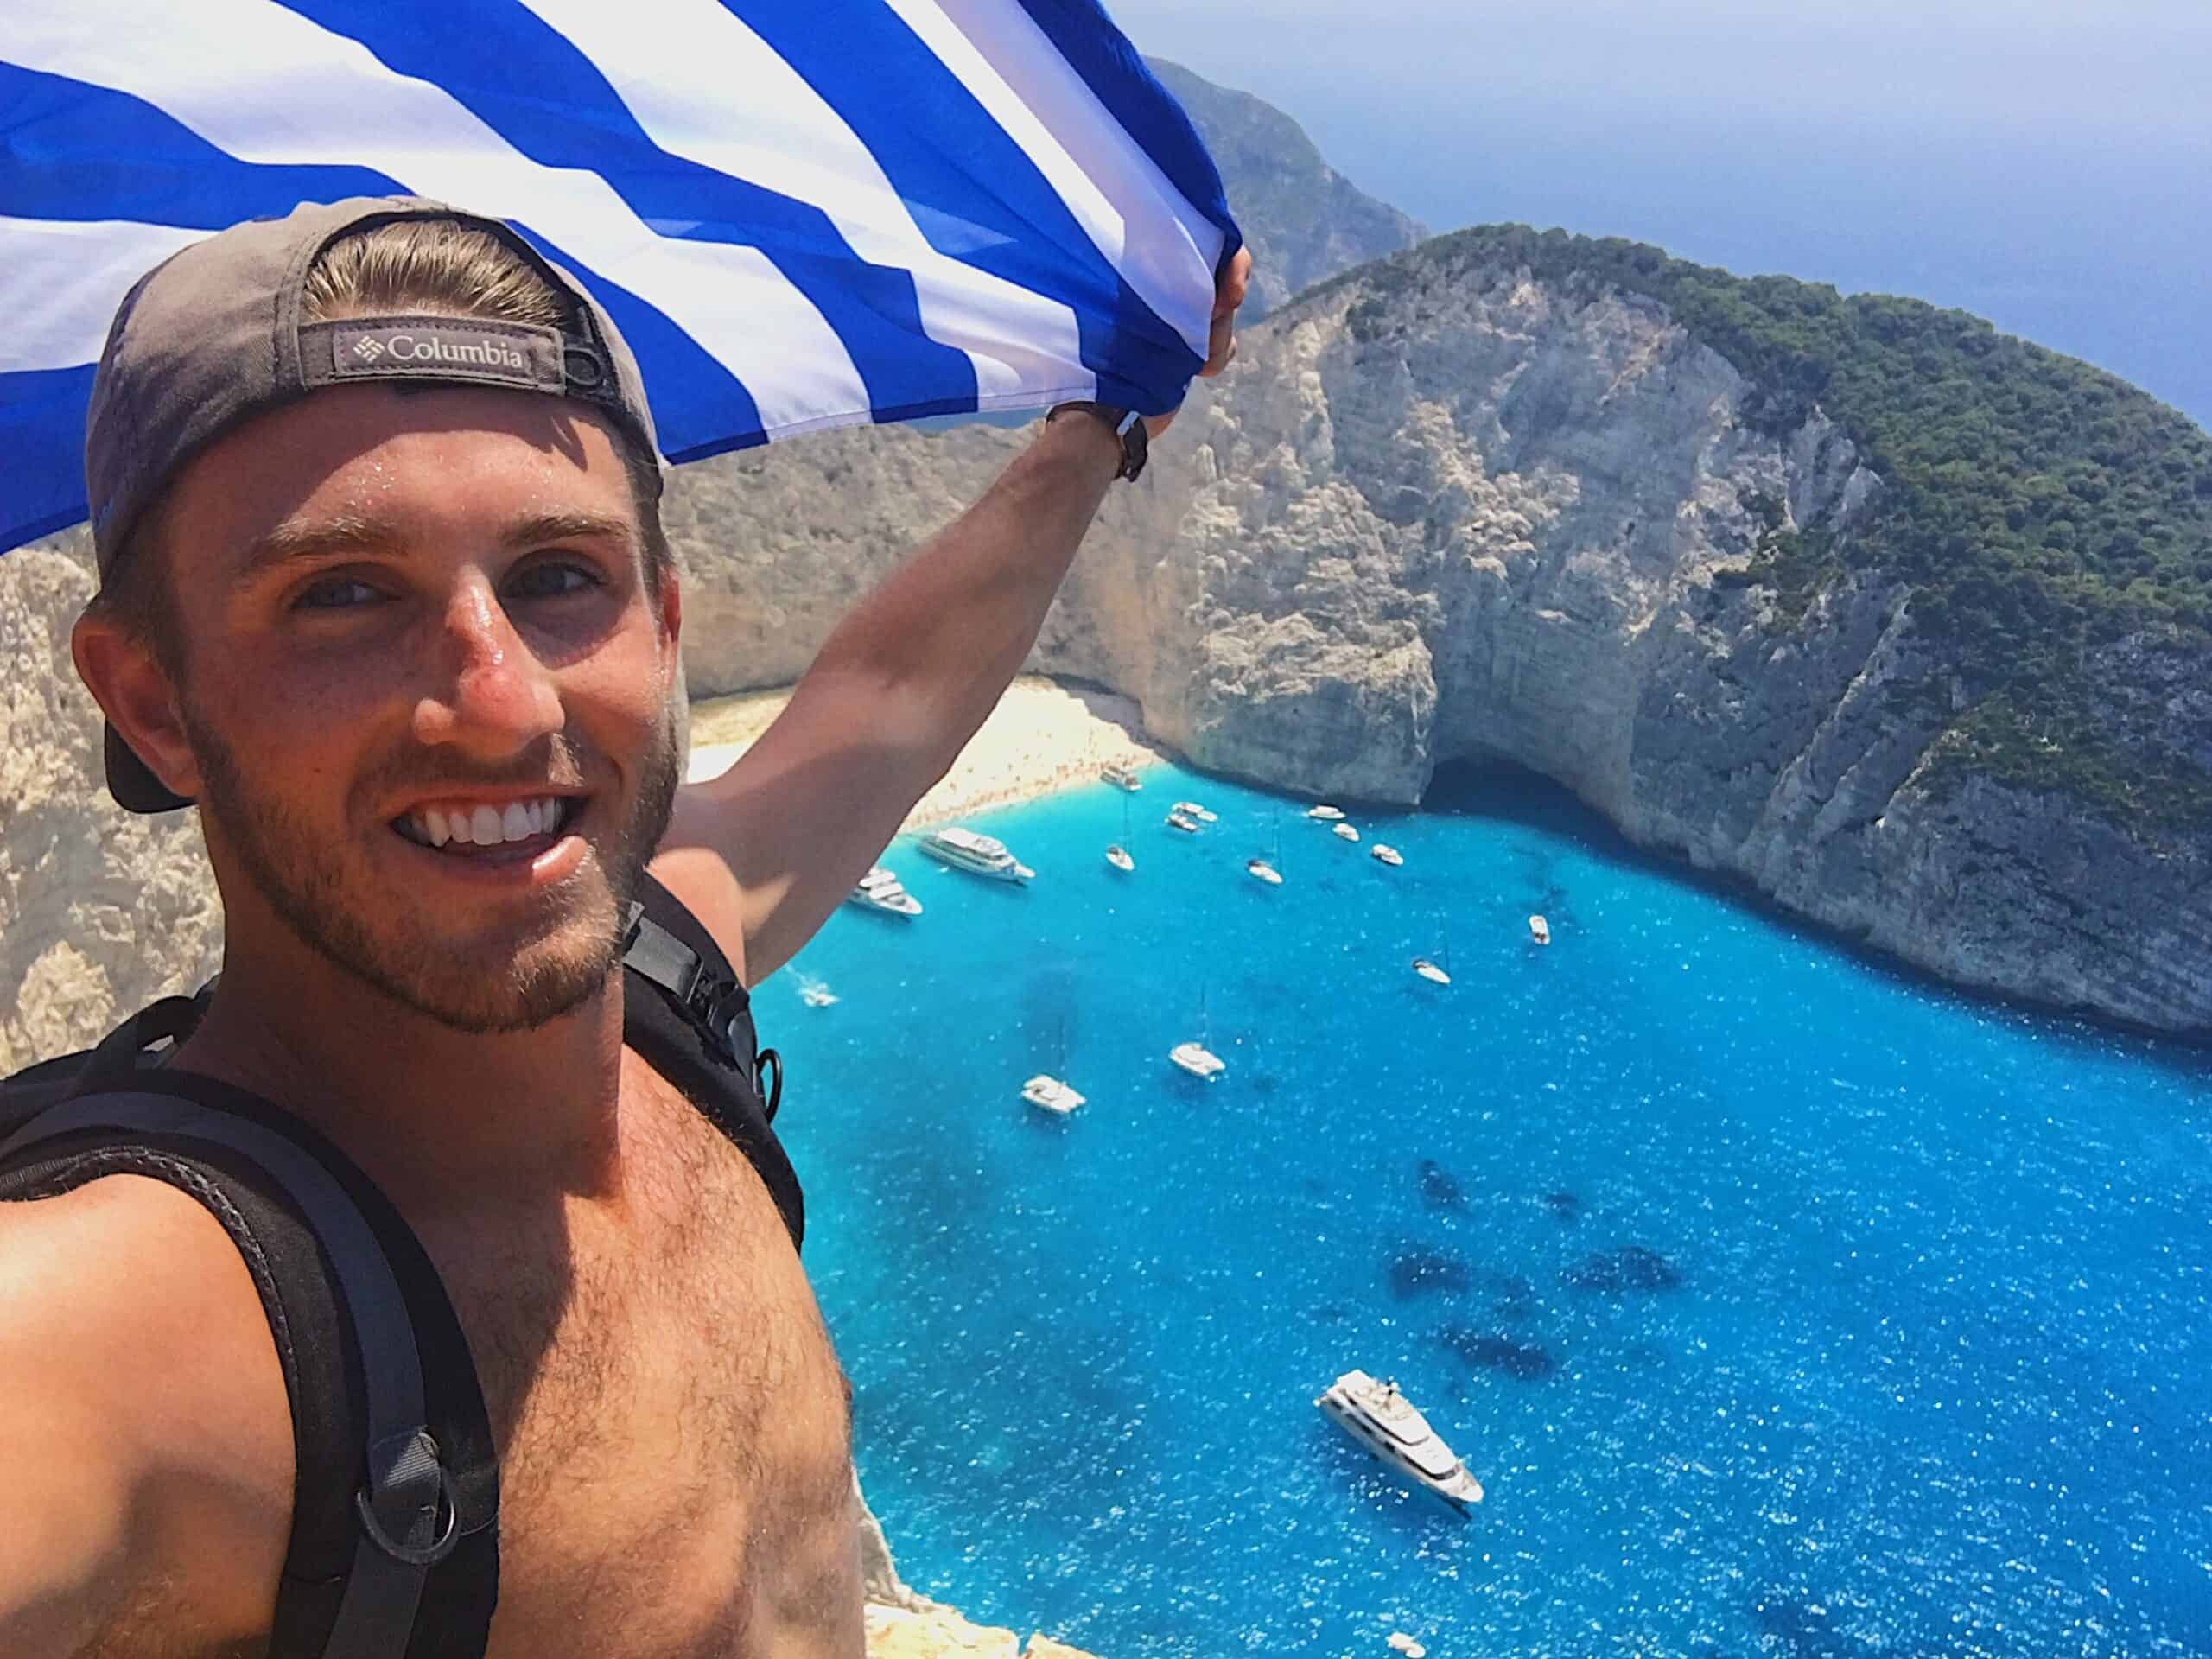
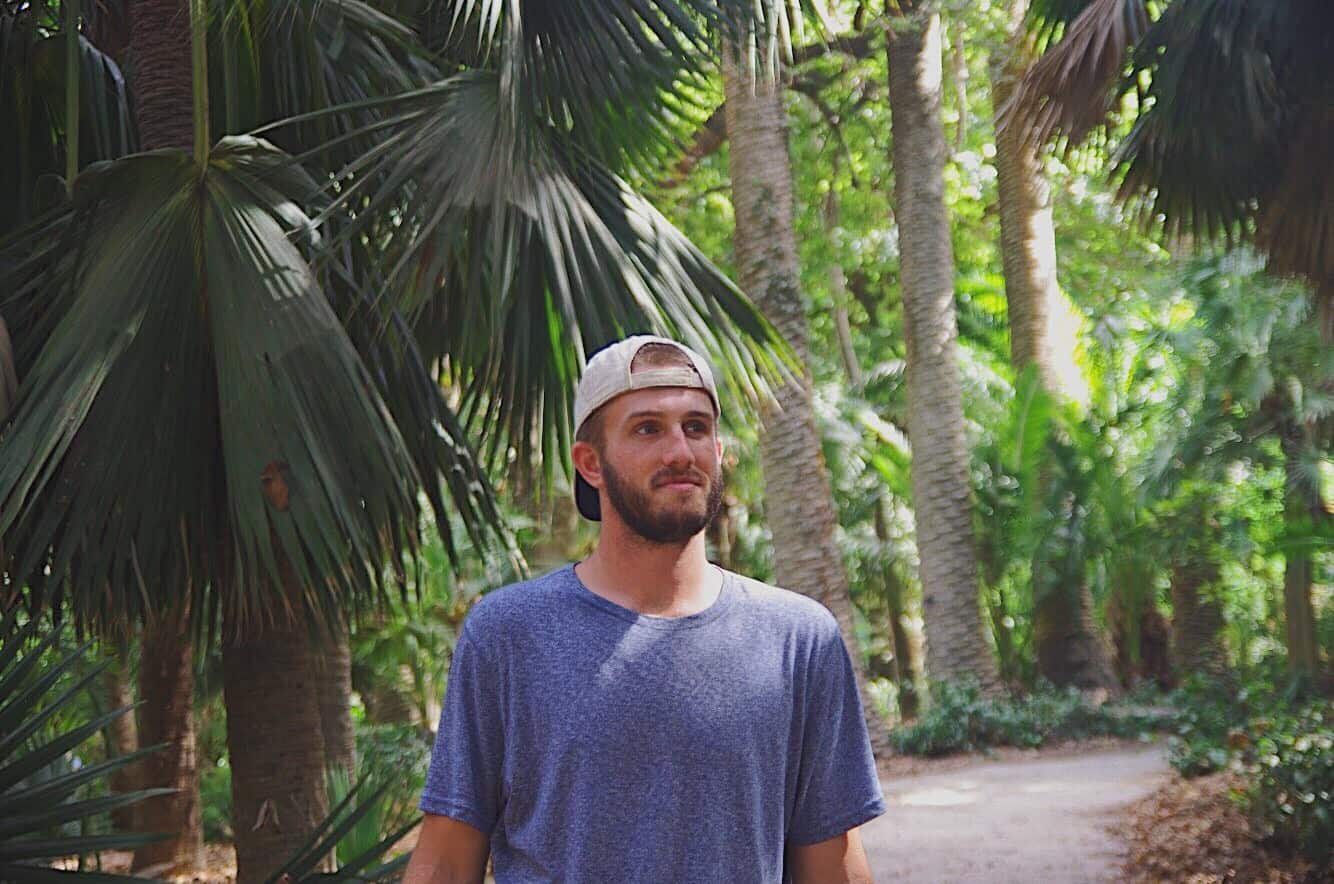
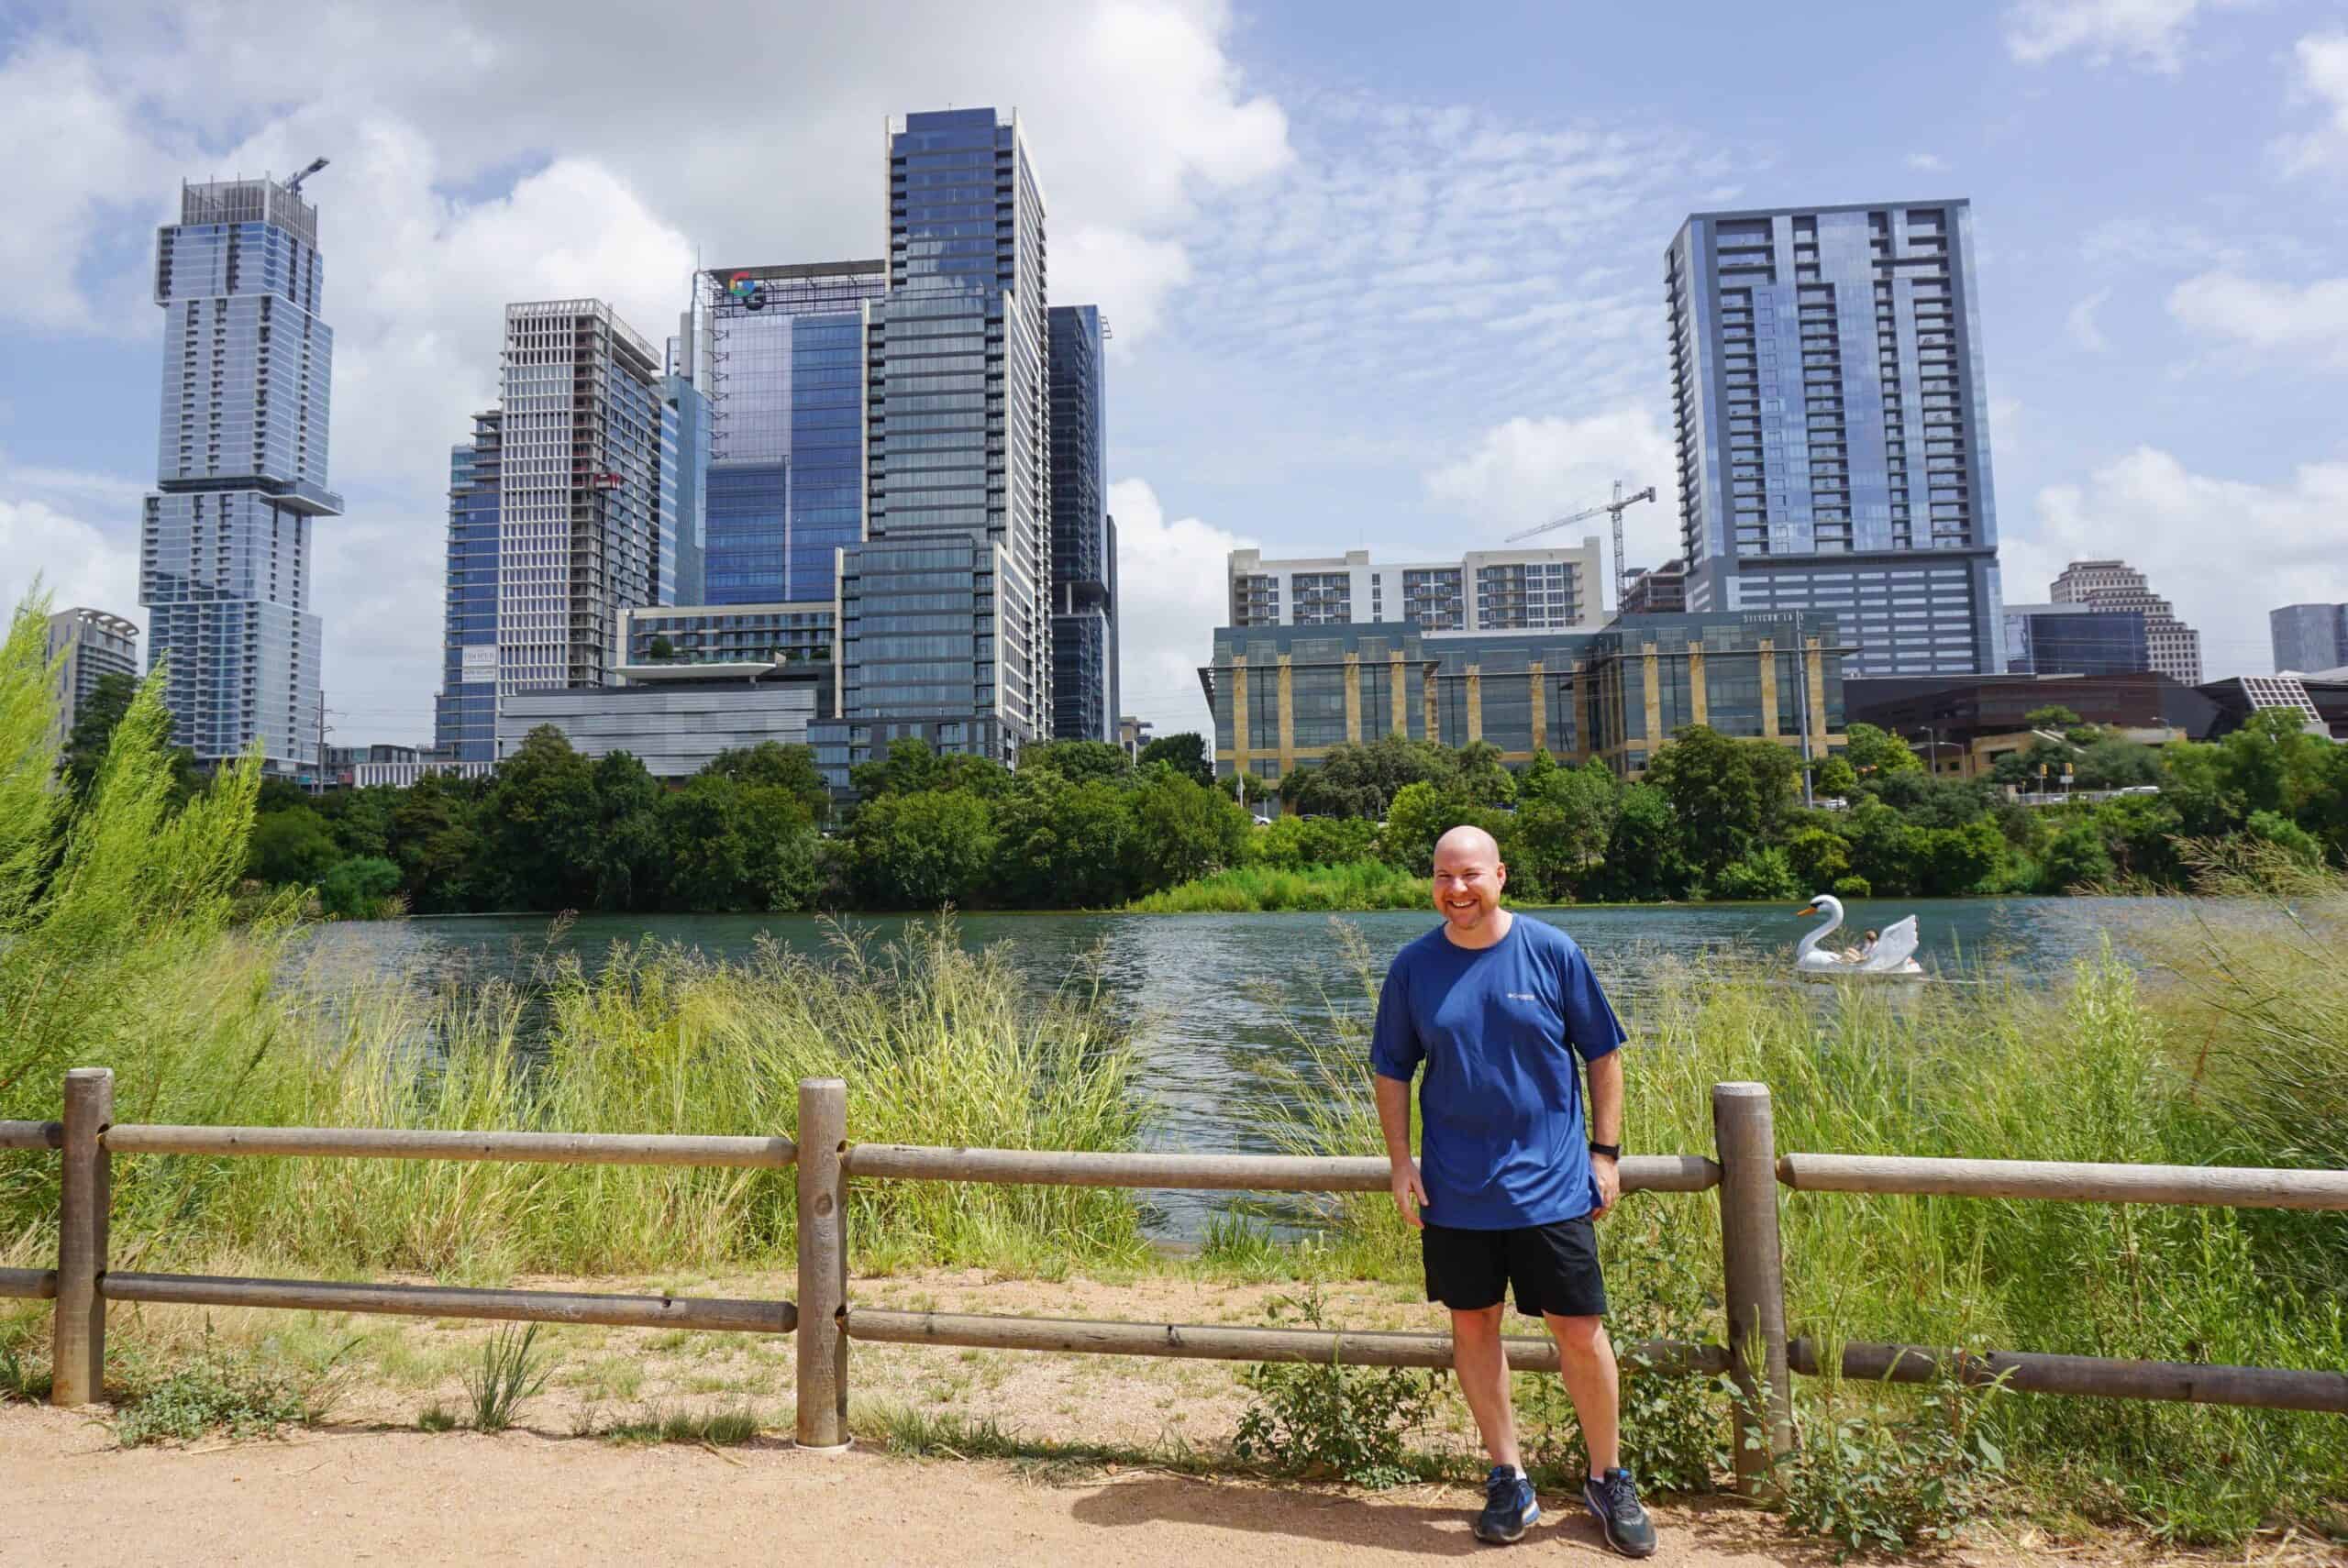
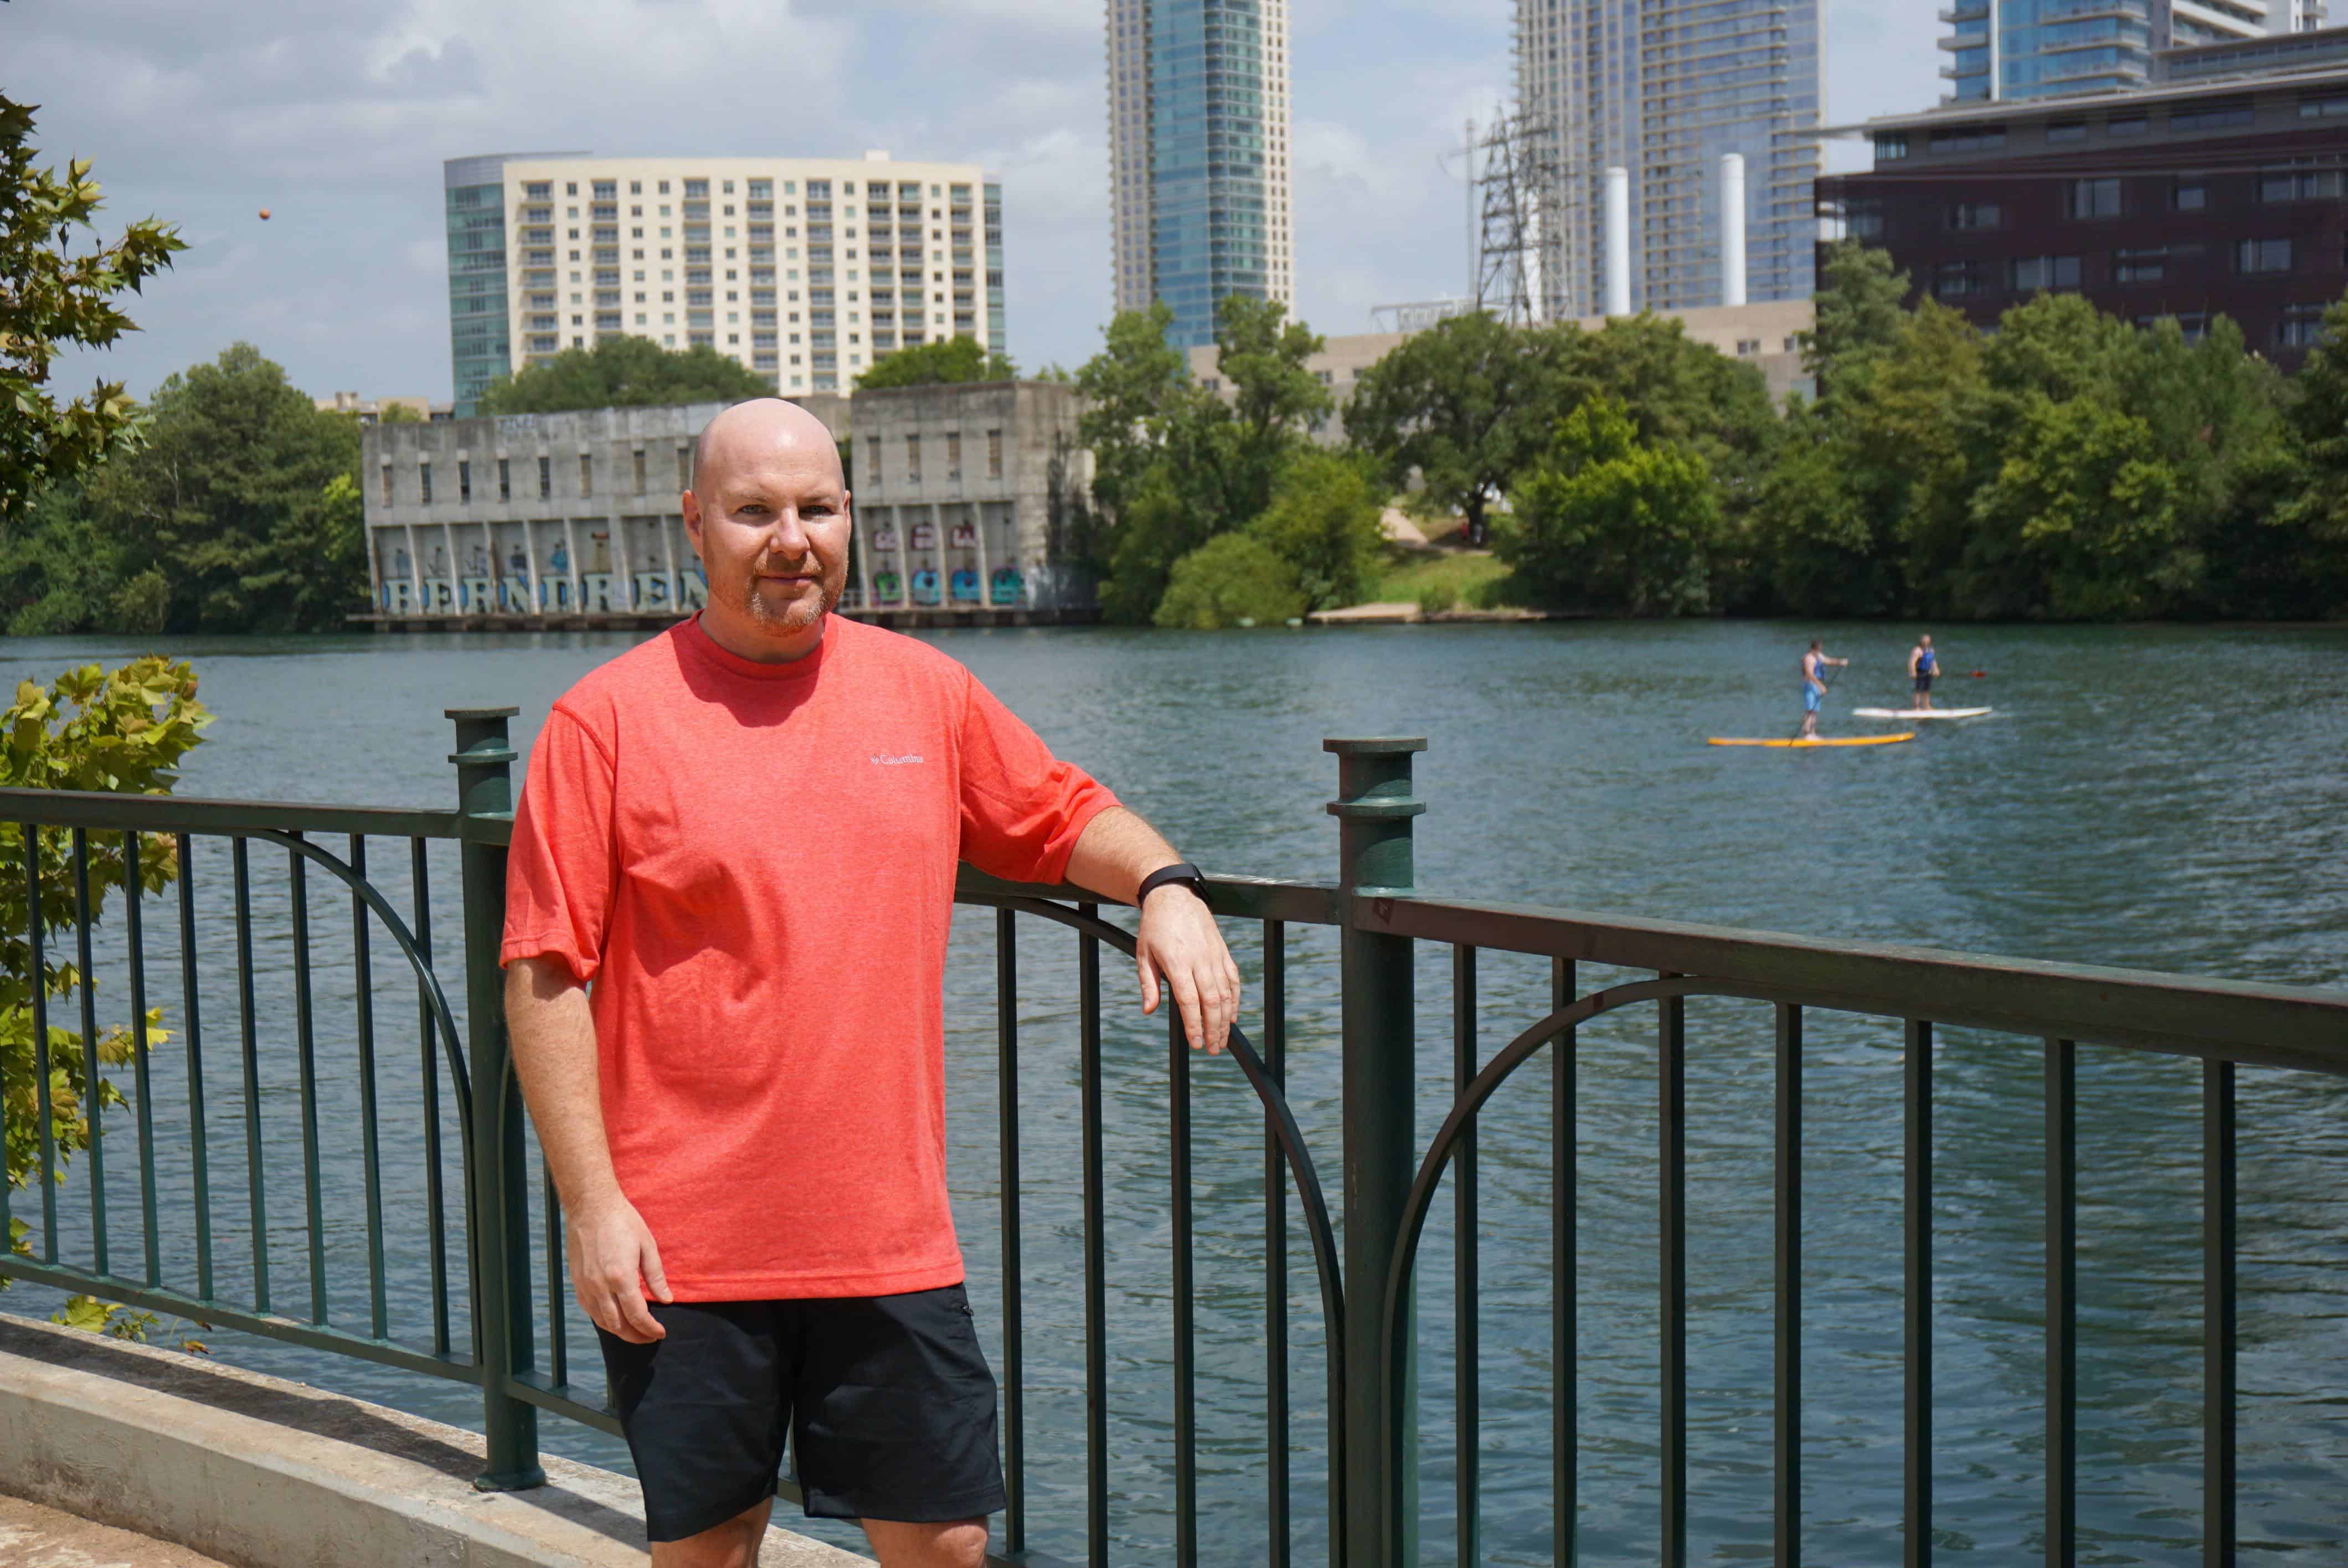
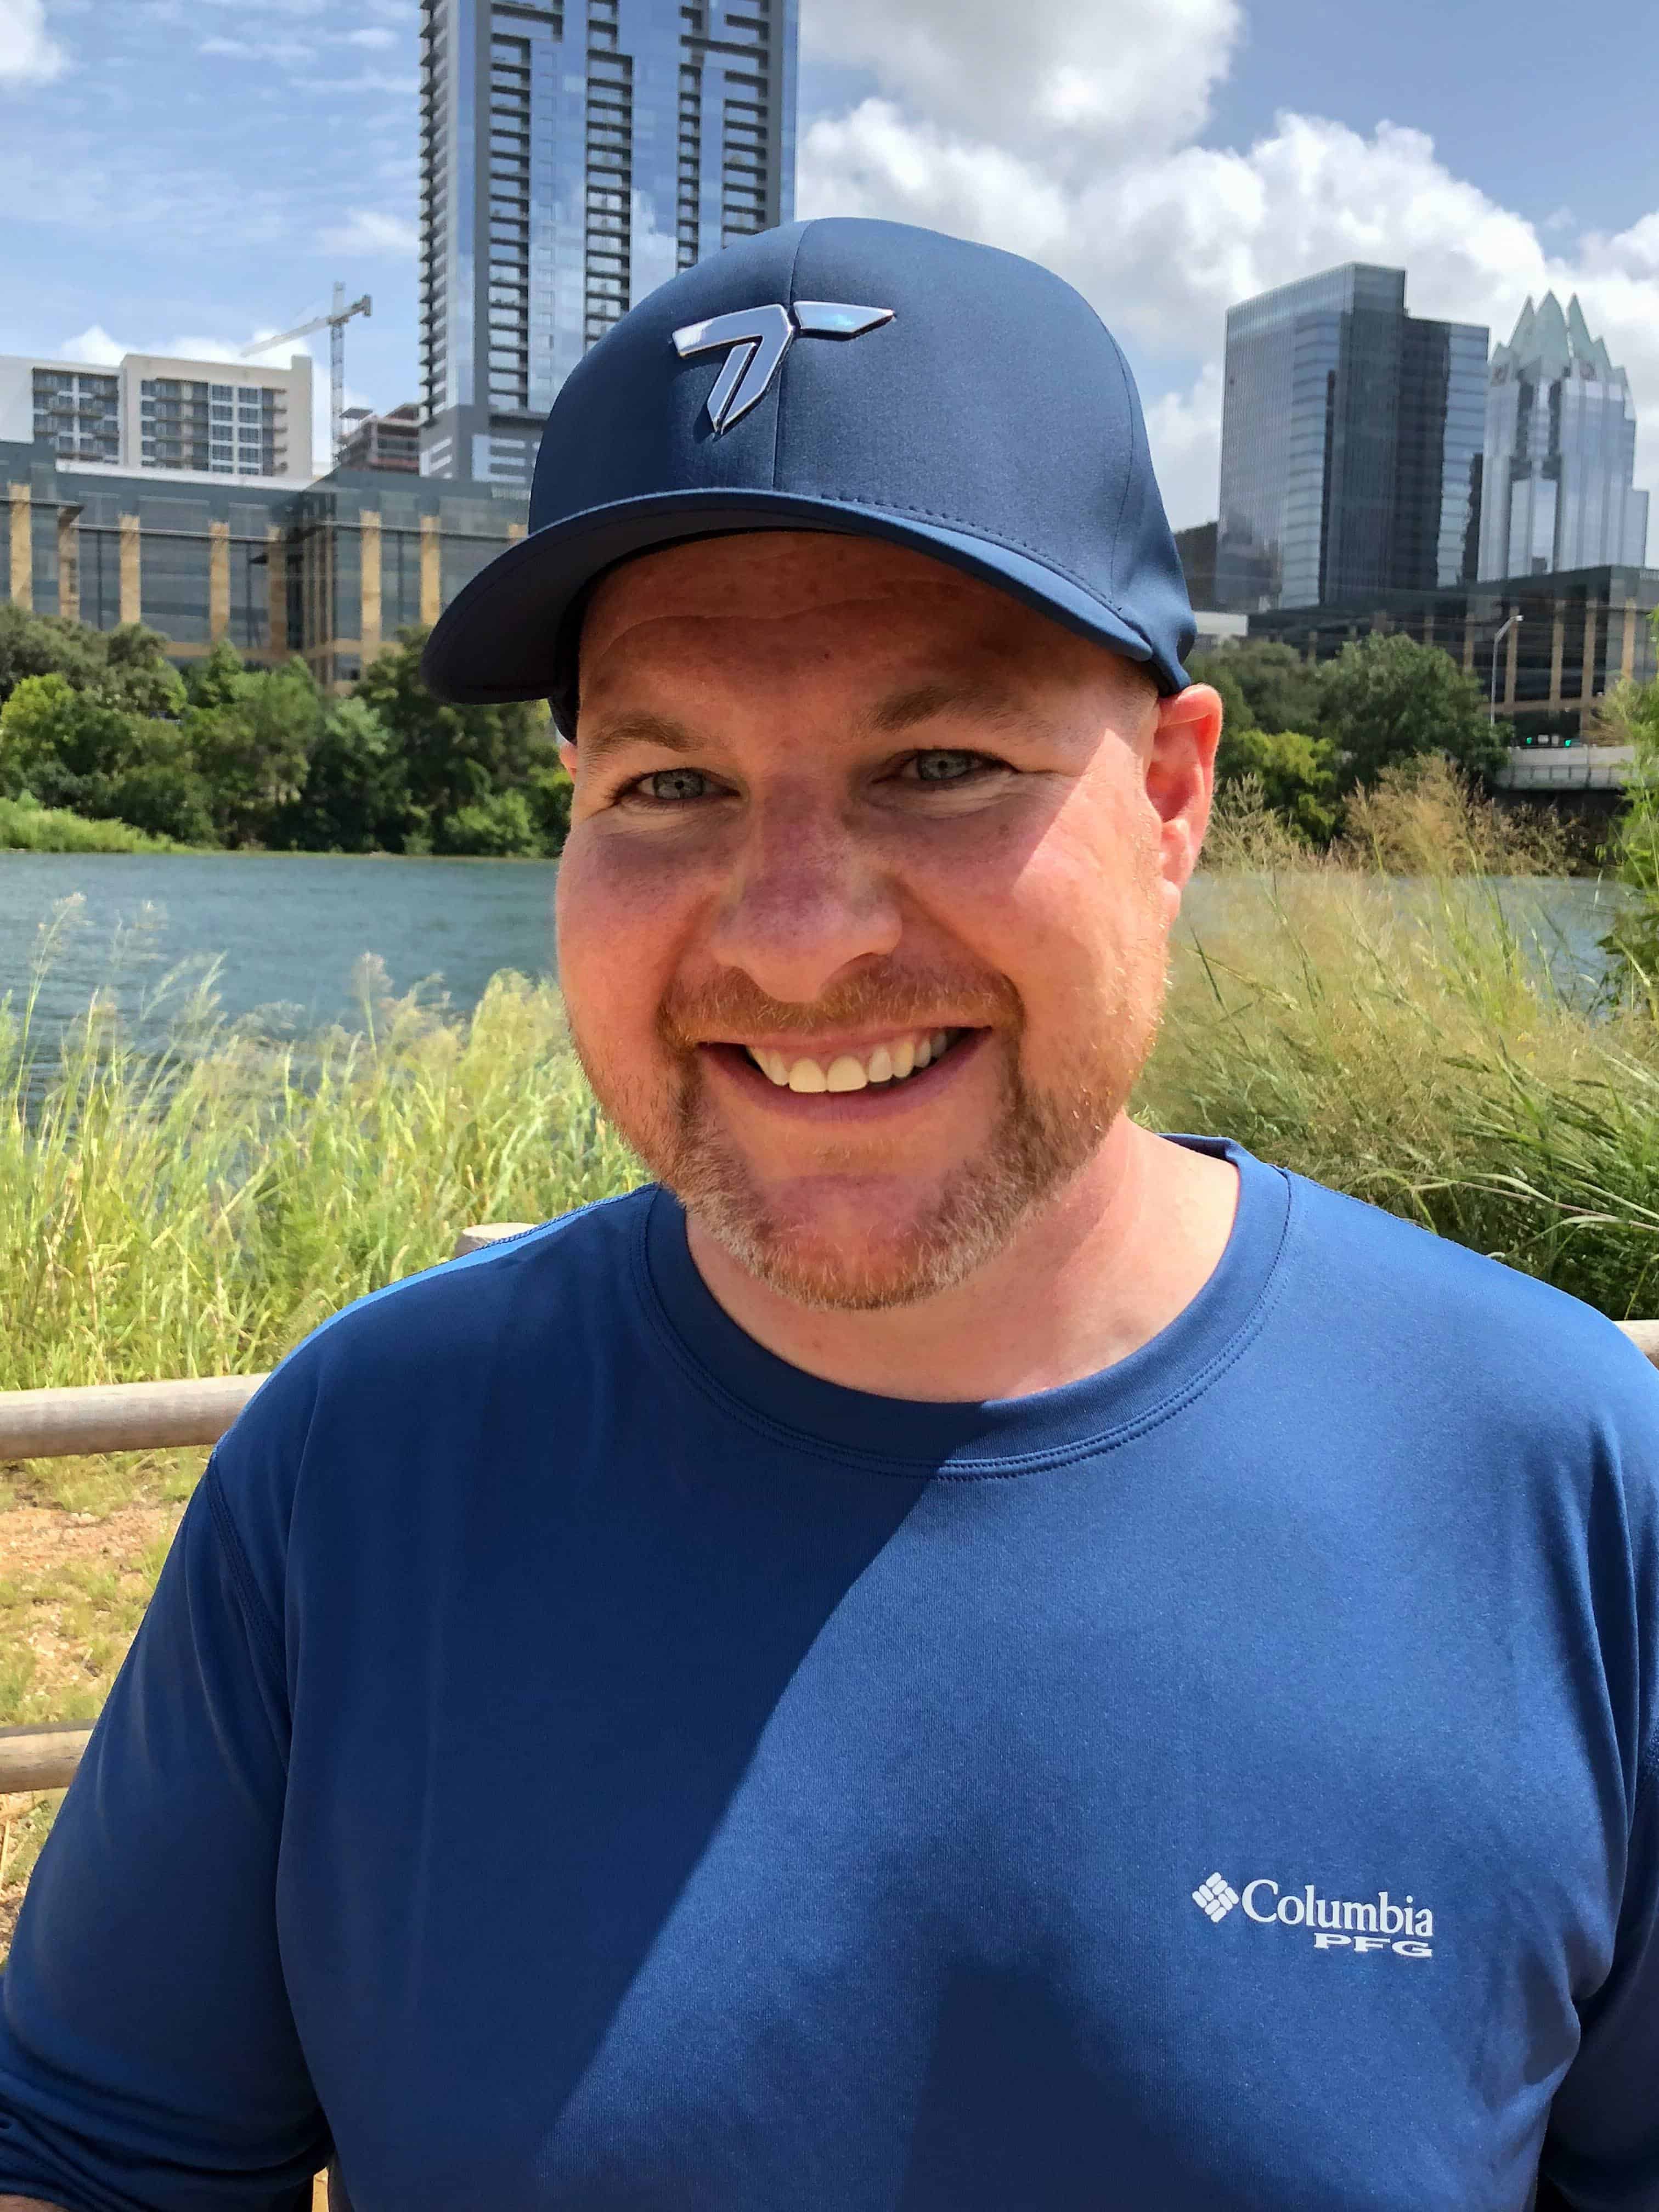
Meet Adam Cheshier, Go Backpacking's first Community Manager!
Adam is taking the lead on all things social media, starting with Pinterest and Facebook.
In the coming weeks, he'll also be firing up our new accounts on Instagram and Twitter.
Our goal is to kick things up a notch and start sharing stories from the road more frequently, and with fresh perspectives, travelers are looking for inspiration and asking for advice.
Adam is 24 years old and has been living around parts of Europe and Africa for the past three years.
He likes to tell his best stories from the road on his blog, Wanderwayer.com.
He was born and raised an American, but following his decision to study abroad in his third year of university, he's decided more time abroad is in order.
What better way to get to know Adam than to ask him some questions about his experiences traveling.
Go Backpacking: When did you start traveling?
Adam: From a young age, my family would travel around the United States at least once a year. It wasn't until I got to college, though, that my love for solo travel arrived.
I was 20 years old the first time I went on a trip by myself. I'd always dreamed of a Californian summer, but growing up in the Midwest, I was about the furthest thing from it.
Then, one summer, I decided I had to do it. I rigged a bed (somehow) in the passenger seat of my 1998 Nissan Altima and took off for a summer on the road.
From the border of Mexico to the border of Canada, all along the west coast, plus some side trips, in addition.
I slept in my car every night and ate cold canned soup almost every meal just so that I could afford to stay on the road longer.
I lost twenty-five pounds that summer which was probably not the healthiest thing for me.
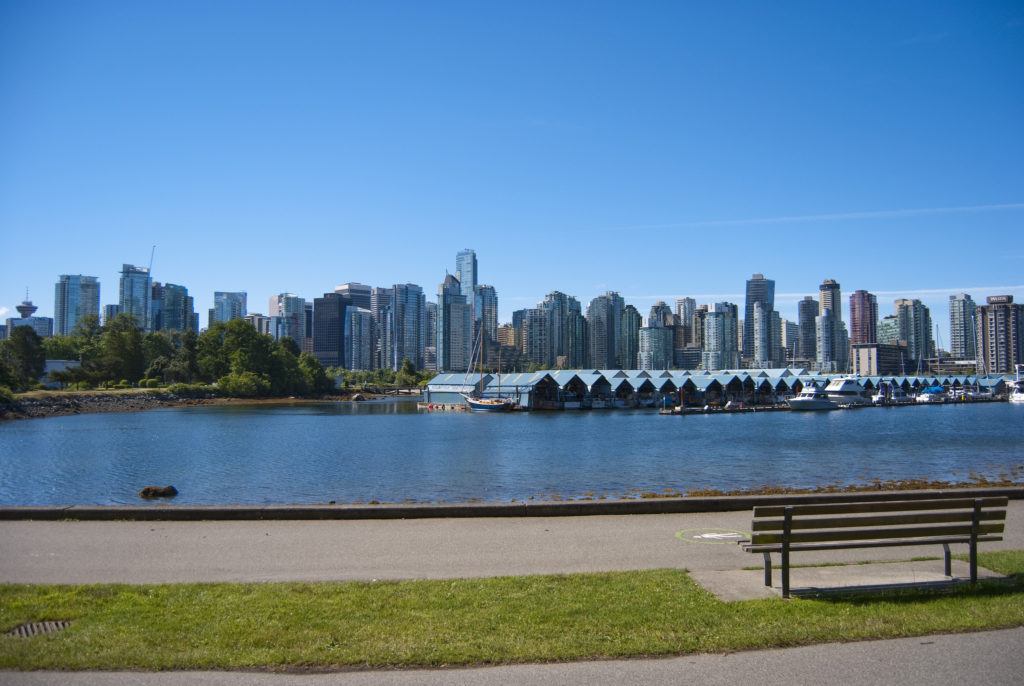
I loved it so much; I decided to do the same thing the next summer, except this time I had my passport and kept going through British Columbia and Alberta.
In total, I racked up about 20,000 miles on the road during those two trips.

Go Backpacking: What is your favorite place you've ever been?
Adam: I've been to a lot of cities that I was surprised by.
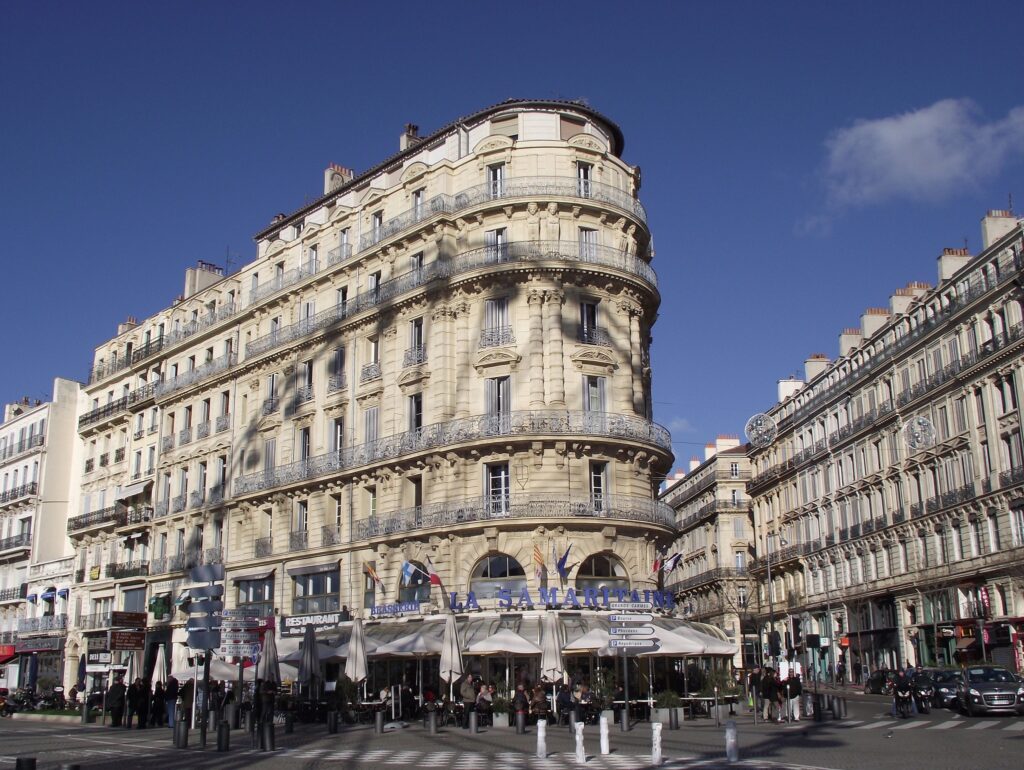
Paris, New York, Berlin - big cities like these I thought I'd have no interest in but ended up liking all three a lot.
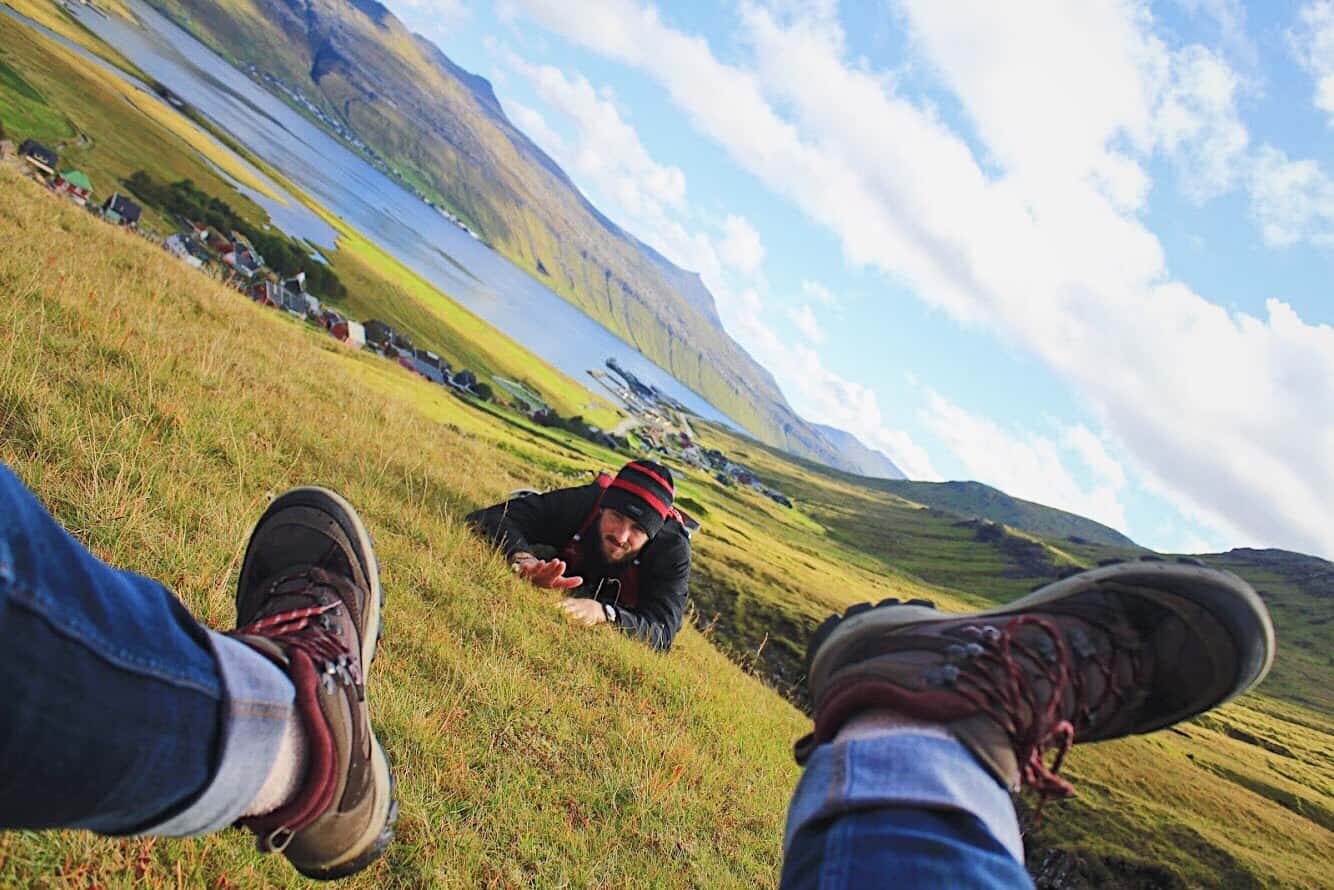
Budapest and Tbilisi, the capital of the country of Georgia, are two of my all-time favorites. The Faroe Islands was such a fun trip.
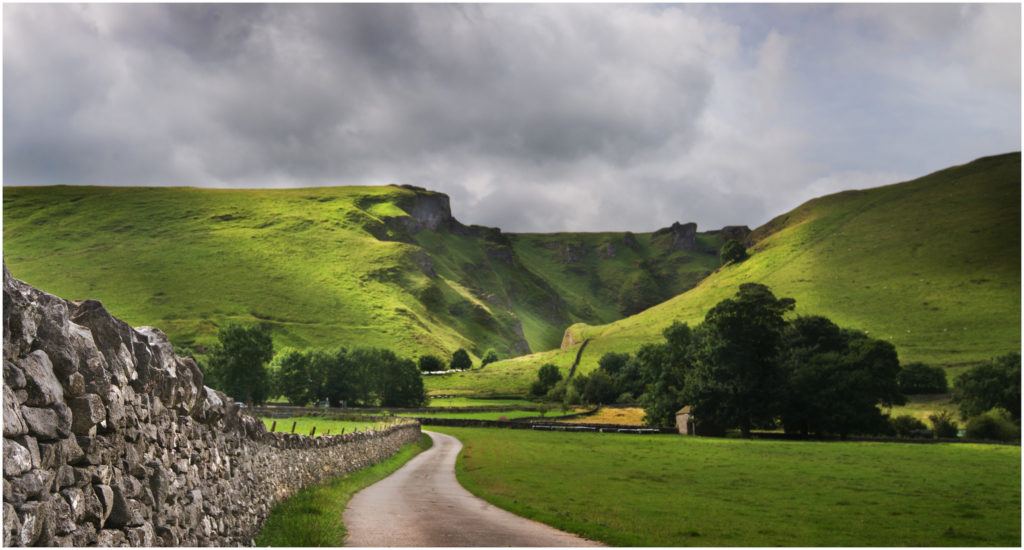
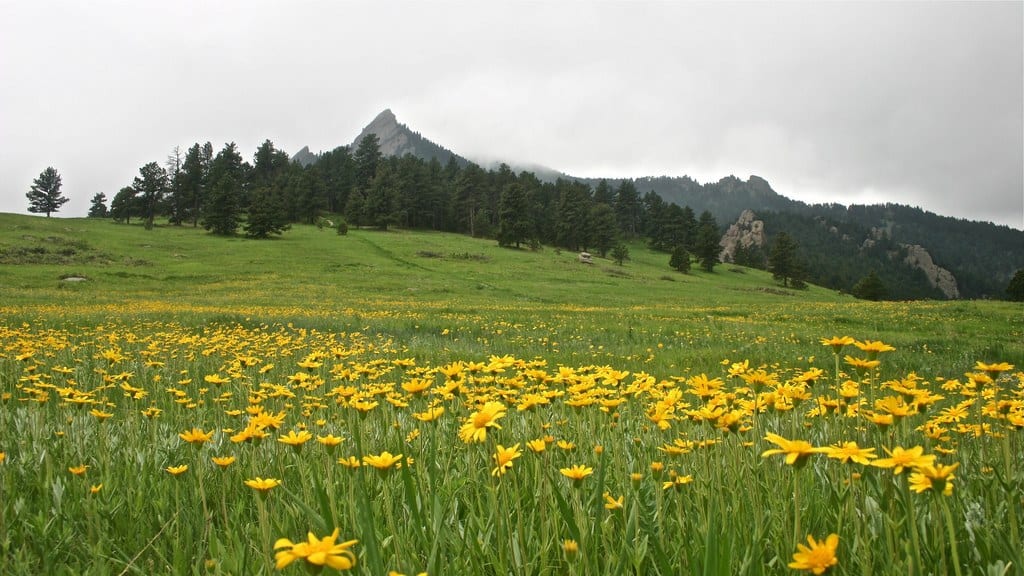
Even the Pacific Northwest in the U.S. always seems to pull out a sense of adventure in me.
I also hold my summer in Sub-Sahara Africa with my 76-year-old grandfather, very dear to me.
However, there's one place that will always be #1 in my heart. A small (I mean really small) island country in the middle of the Mediterranean; Malta.
It was the place I studied abroad, and I loved it so much, I stayed for two more years.
I made incredible friendships and memories which I will never forget. I suggest everyone travels to Malta at least once!
Go Backpacking: What's your favorite travel story to tell people?
Adam: Well, it's not my favorite story to tell, but I've certainly told it the most. It was actually the most difficult day in my life.
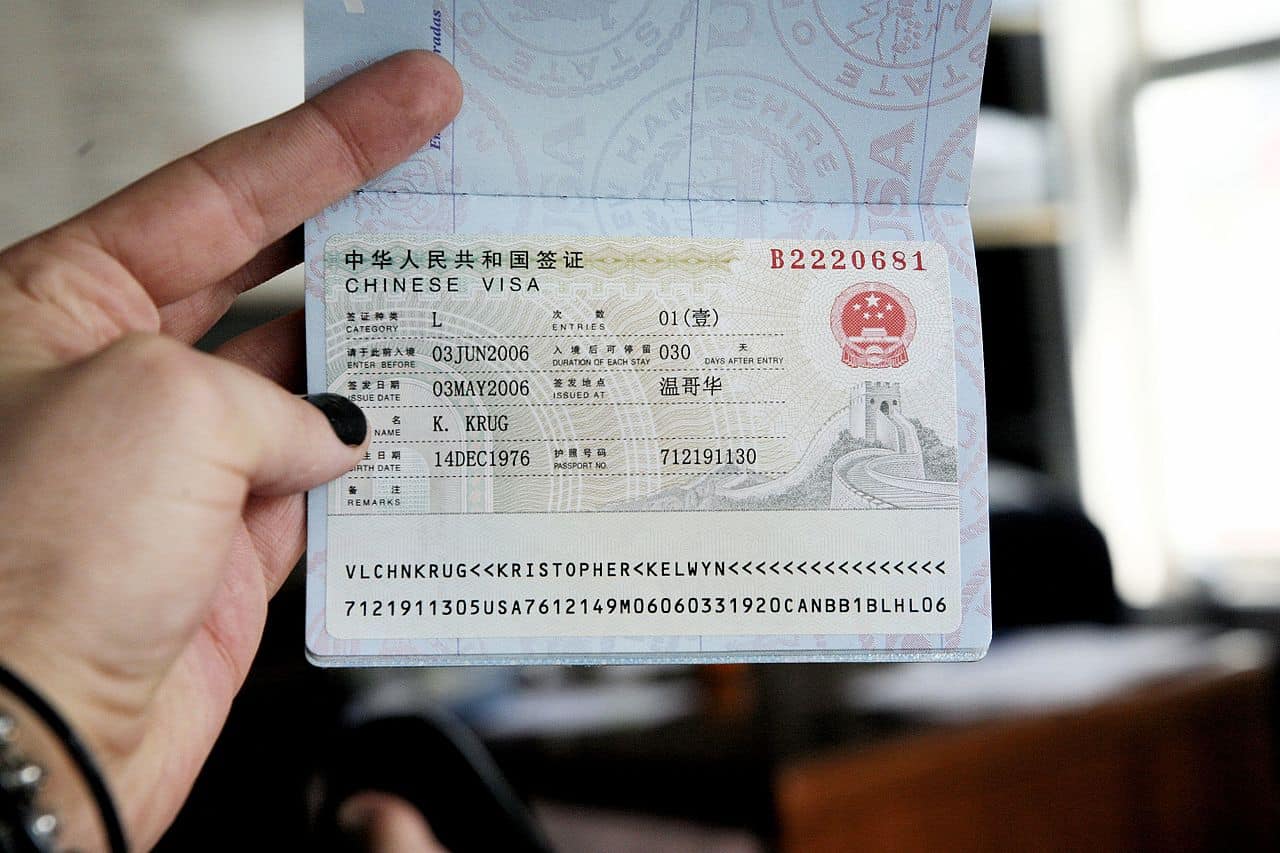
Long story short, I'm now banned from 26 countries. I regret the stupid decision that led to those consequences, but I must deal with it now. You can read more about that story later.

Go Backpacking: When did you start writing/blogging?
Adam: I've had a passion for writing for years. It started with baseball writing. Once I started traveling, though, I couldn't stop writing about it.
About three years ago, with the help of Travel Blog Success, I began Wanderway and have yet to stop writing.
Now, I've moved on to the next phase of my career as a writer. My debut travel novel, Summer of '92, will be published at the end of the year, and I can hardly wait to share it.
I put together a few things so anyone who is interested in learning more about it can get in the mood for its release.
Go Backpacking: Where to next?
Adam: I could never give a straightforward answer to that question. It's much more complicated than a single answer.
Right now, I'm in the Charlotte International Airport, about ready to head to Croatia.
I'd like to spend some time traveling the coast of Croatia and, after, I hope to see parts of Bosnia and Herzegovina that I've always had my eye on.
However, take that answer with a grain of salt because my plans change so often.
At some point, before too long, I want to make it to South America. That'd be taking on a whole new continent, for me.
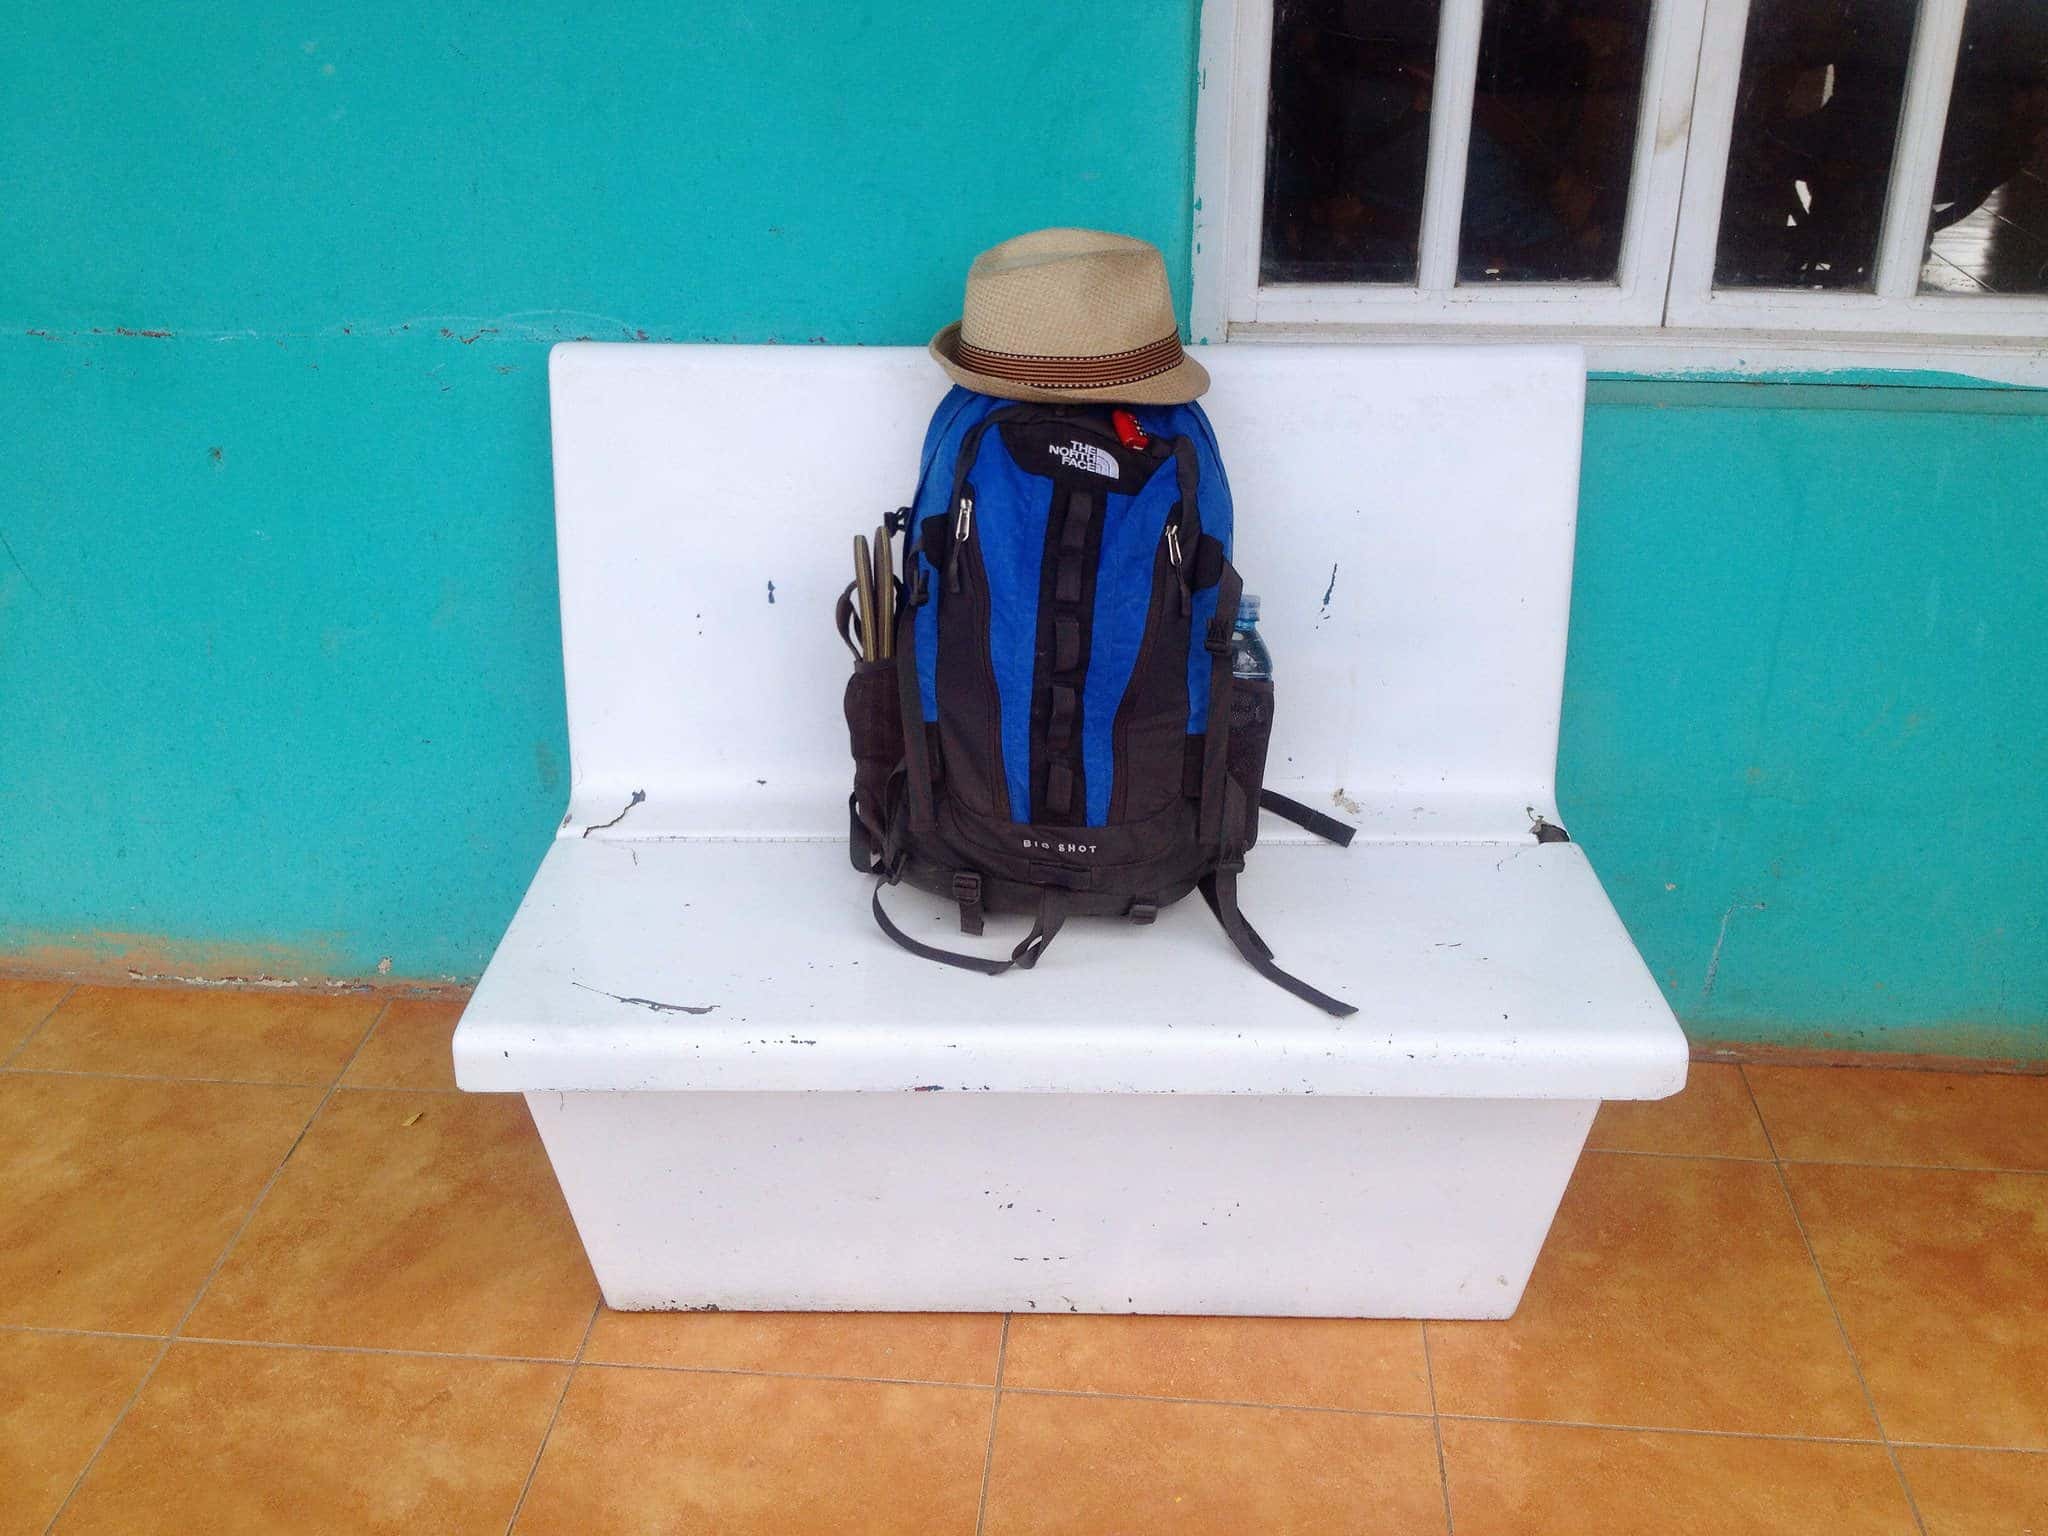
Go Backpacking: Check-in or Carry-on?
Adam: Carry-on all the way. There's no other way to do it.
Go Backpacking: Hostel or AirBnB?
Adam: Hostels will always be my favorite part of this kind of lifestyle. There are too many good stories waiting to be told in hostels.
Go Backpacking: Favorite travel writer? Favorite book?
Adam: No contest, it's Jack Kerouac. He will always be my idol. On the Road is my Bible (like so many others would say).
You can reach Adam by commenting on Go Backpacking's social media feeds.


")