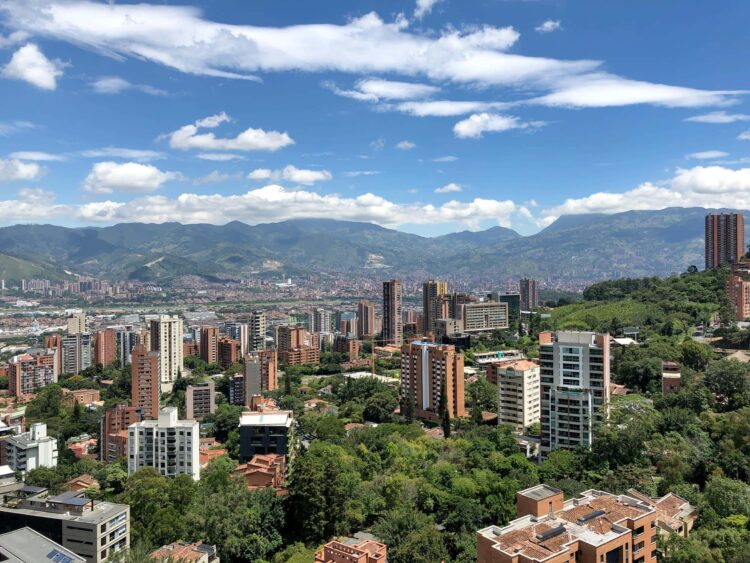
Looking to have the travel adventure of your lifetime? Backpacking may be the way to go. While it might not be as famous as some other European destinations, Portugal is a backpackers' paradise.
It is relatively inexpensive and has fantastic weather, magnificent landscapes, and amazing hiking trails, all of which make for an incredible experience.
However, the traditional backpacking experience of traveling with just the essentials and camping in tents or sleeping in hostels might not be a fun experience for some people.
It is thus no surprise that there are backpackers who cheat when traveling to get a more comfortable experience - by hiring a cool campervan to explore their destinations, such as Portugal.
Campervan backpacking is a great experience, as it allows you to explore your favorite destinations from the comfort of an RV.
Below is a look at some of the top benefits of hiring a campervan in Portugal.
Table of Contents
Campervan Travel
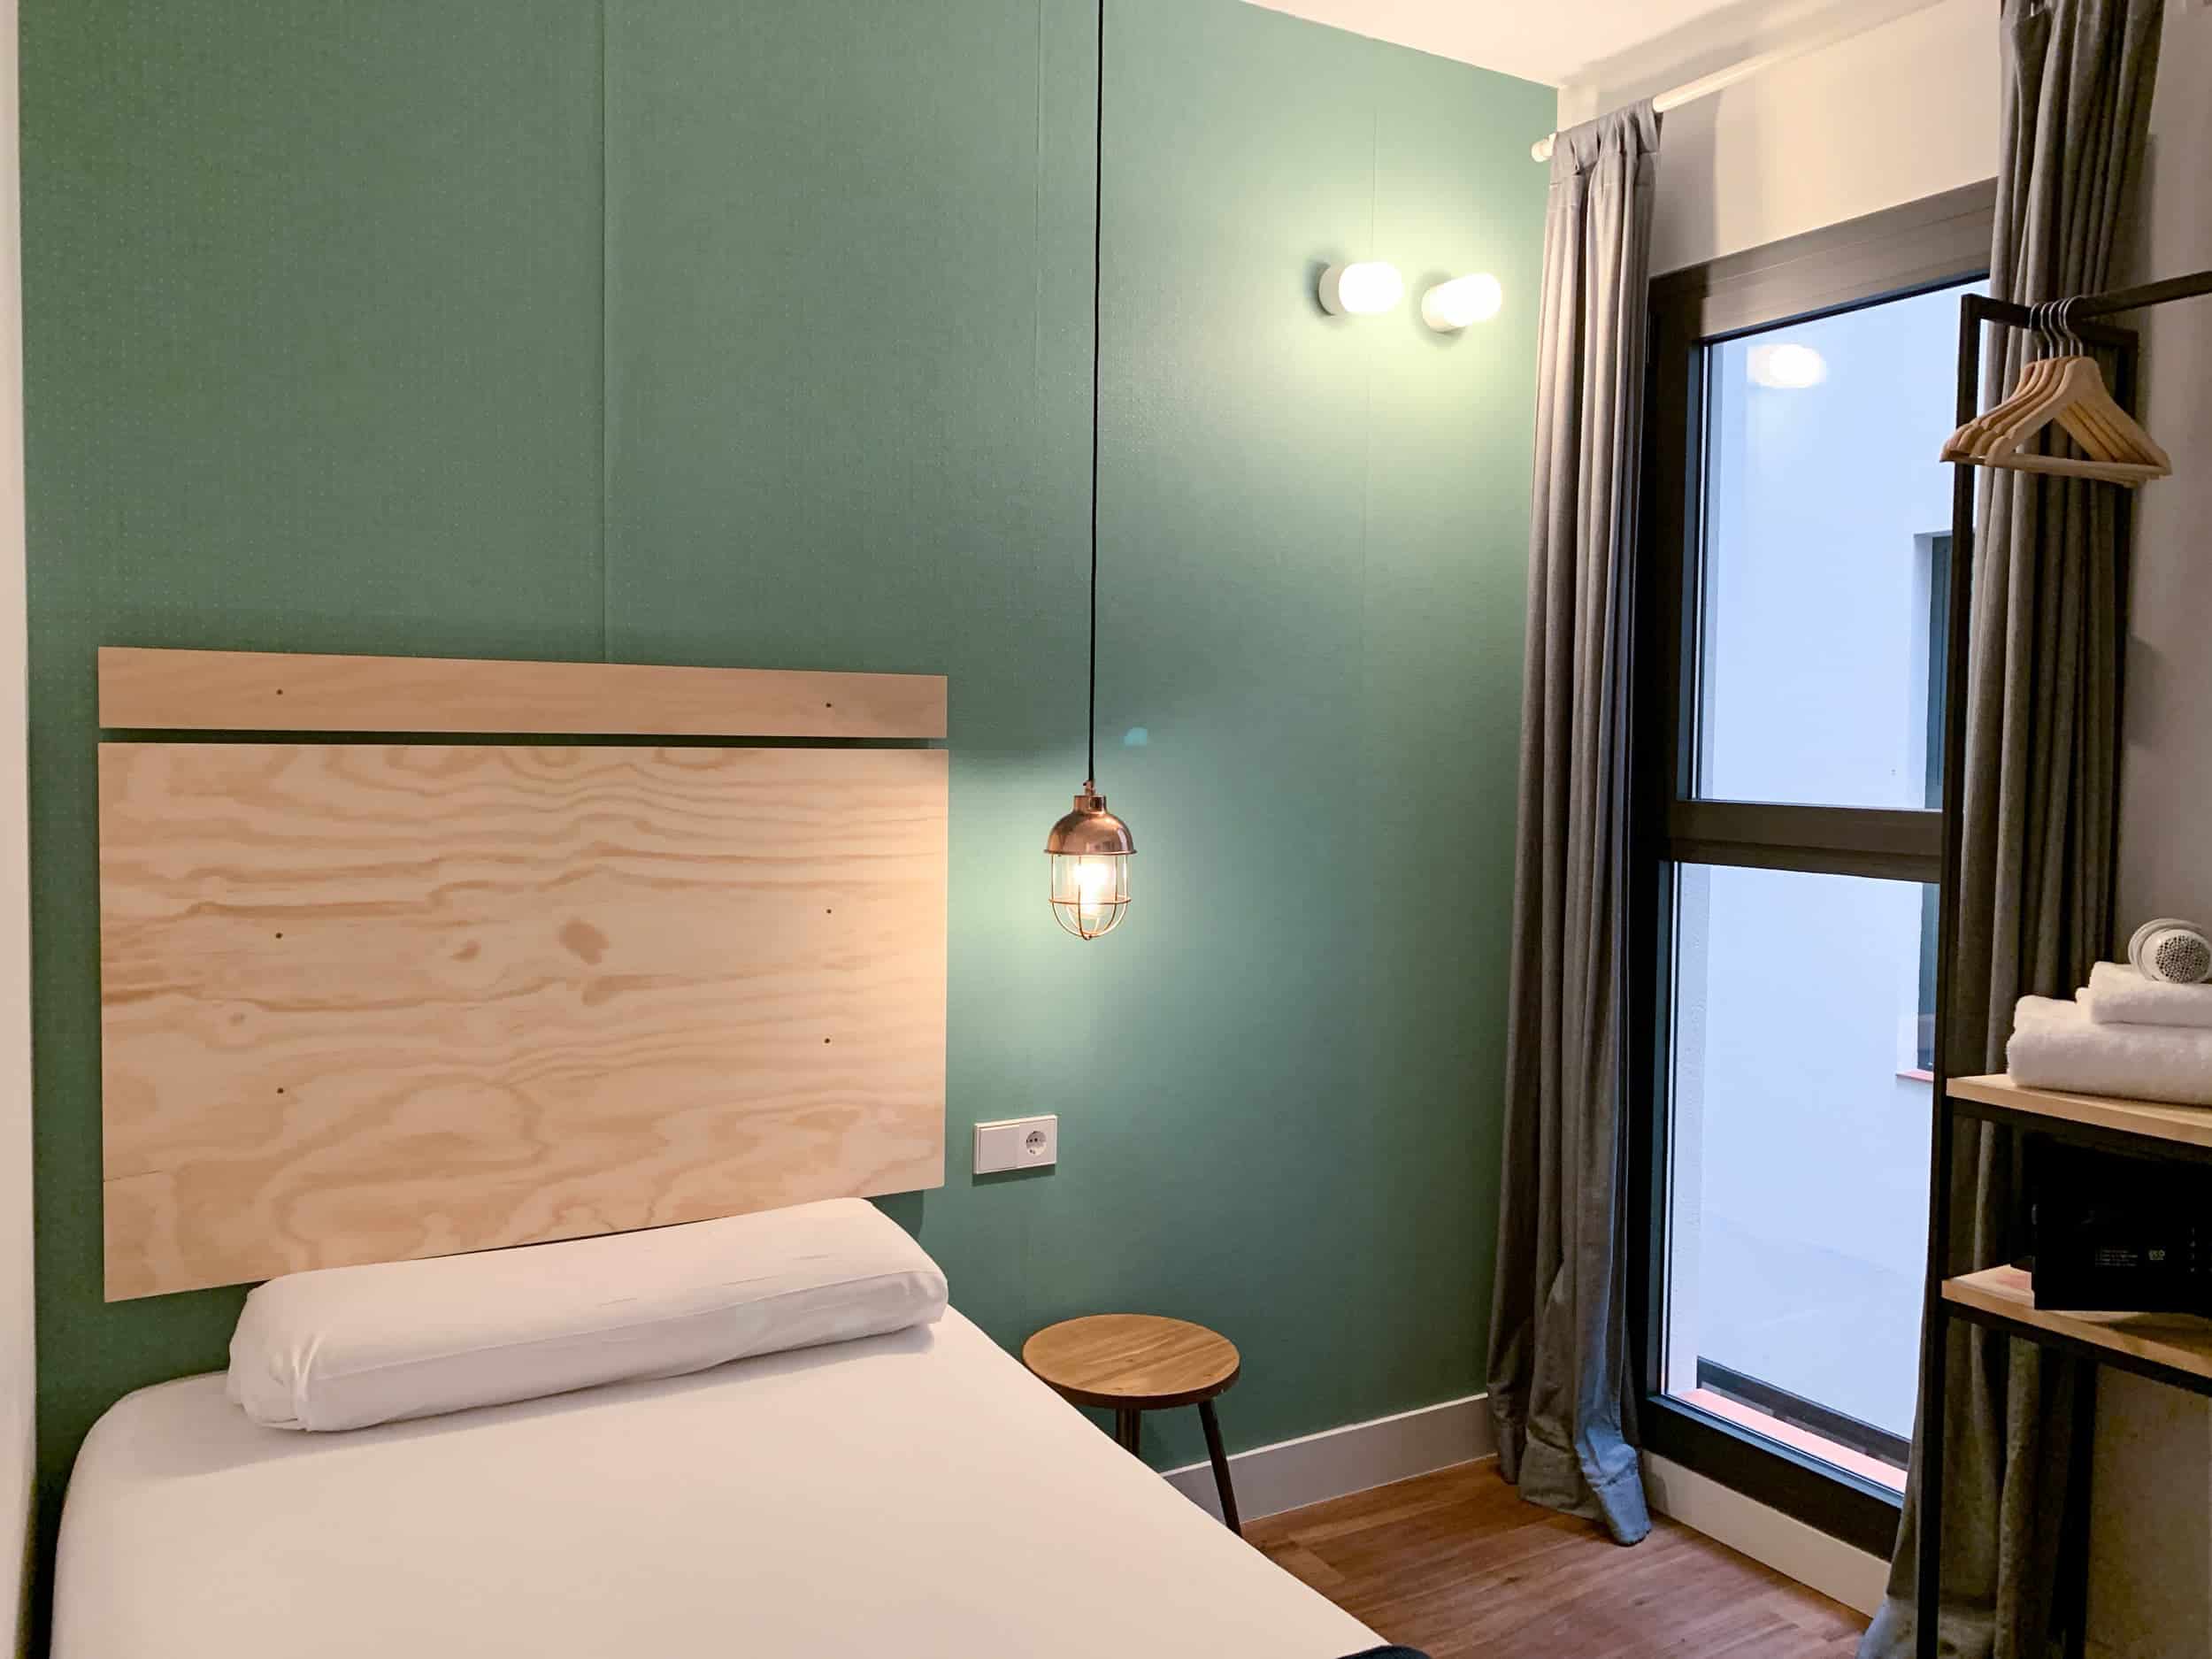
1. Comfortable and private accommodations
Camping can give you a thrilling, living-in-the-wild experience when you are backpacking through Portugal.
However, one of the things you have to contend with is sleeping on the ground, either in a sleeping bag or an air mattress.
And while it might be a fun experience, it can become quite uncomfortable over time.
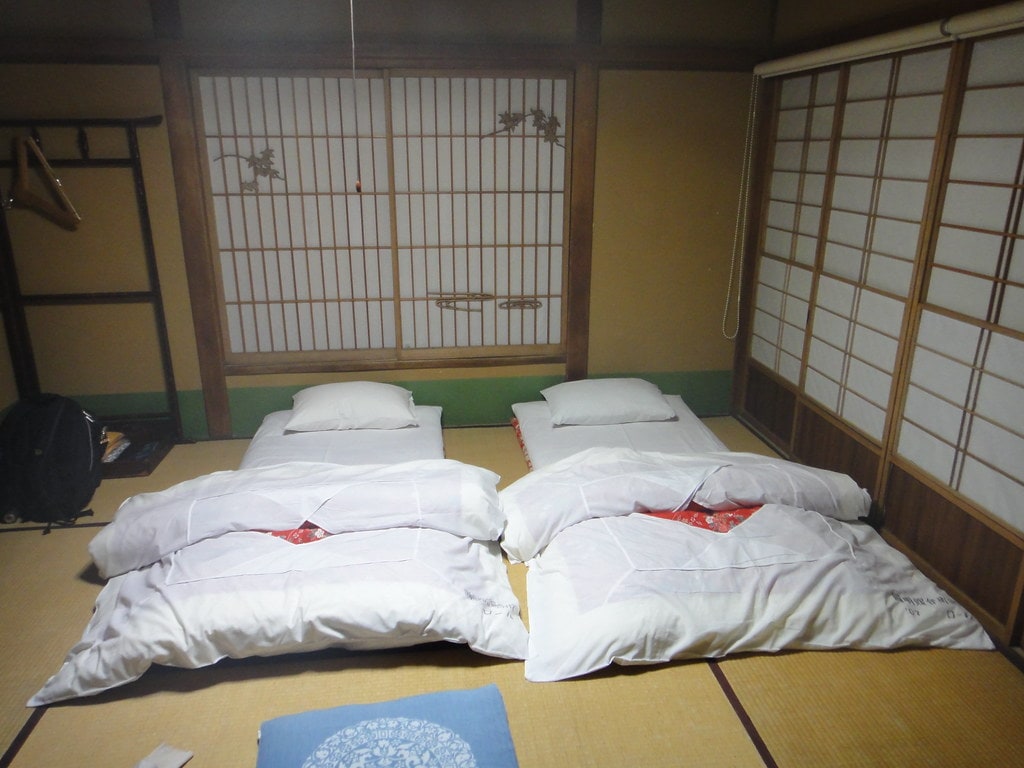
Sleeping in hostels can also be a thrilling backpacking experience, but having to share your space with up to dozens of other travelers (strangers) can grow old quickly.
On top of that, you are likely to experience some backpacking hostel nightmares, such as dirty hostels, bed bugs, snoring roommates, stolen stuff, and more.
Backpacking in a campervan is thus a great way to avoid all of these uncomfortable situations.
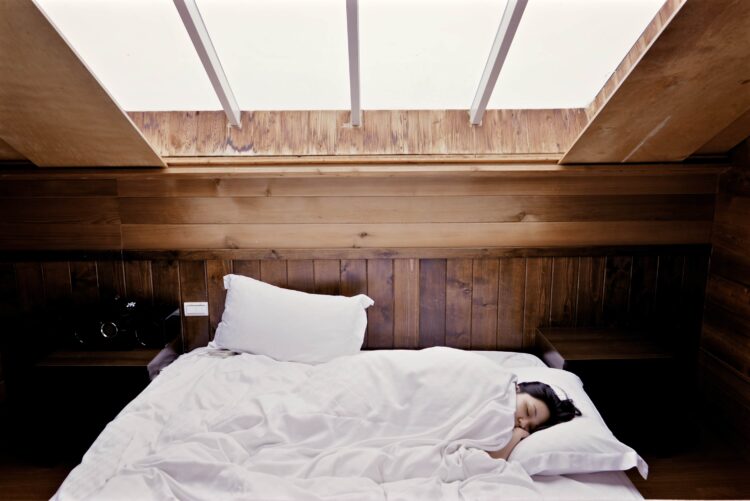
To start with, you get a comfortable bed in your RV, where you can lie down at any time of the day or night.
You also get to enjoy a private and peaceful living space; you don't have to worry about sharing (with strangers), your stuff being stolen, unpleasant roommates, etc.
2. Flexible itinerary and increased mobility
Another benefit of backpacking in a campervan is that it helps to make you more mobile and, at the same time, allows your itinerary to become more flexible.
The campervan offers you an easy way of getting around, where you don't have to rely on hectic public transportation or expensive (and sometimes unavailable) private transport.
With a campervan, you also get to travel to any destination you desire and at your own pace since you do not have to worry about departure and arrival schedules. Therefore, you can include any destination you want in your itinerary.
You can also modify your destinations as you desire - adding new destinations along the way and removing the ones you do not feel like visiting.
Another great thing about hiring a campervan when backpacking is that you can stop wherever you want.
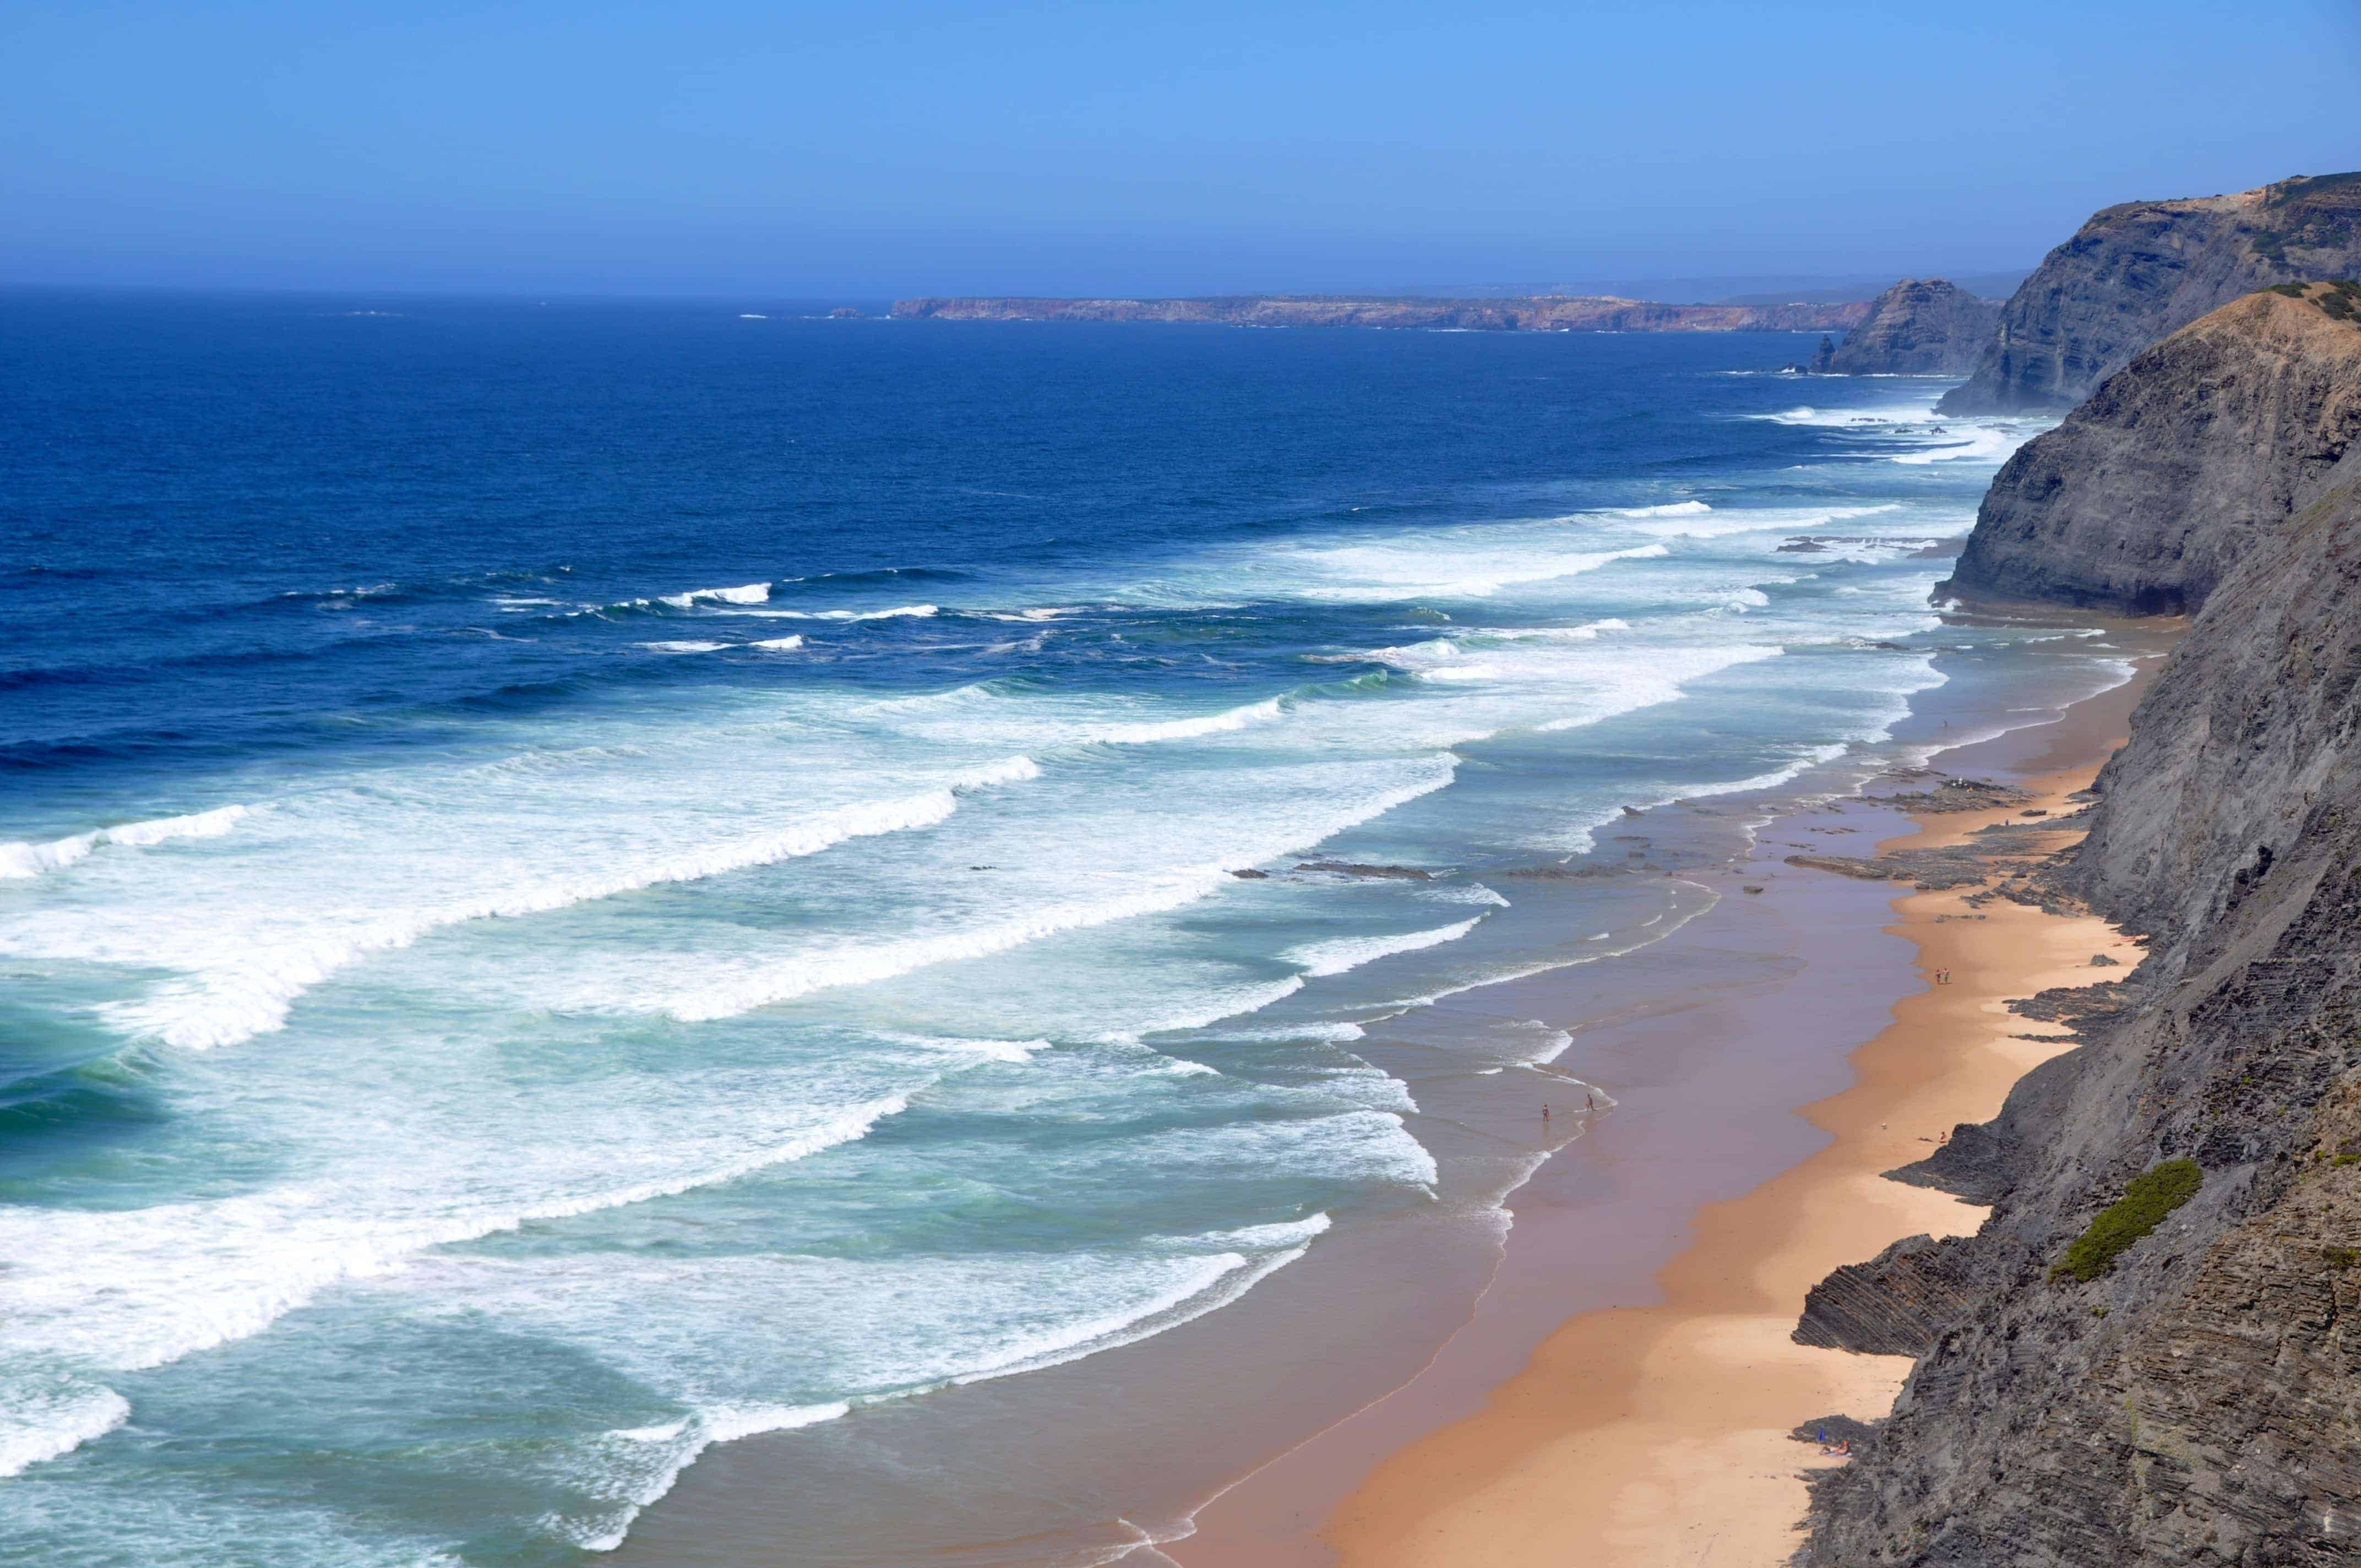
If you come up across a beach on your way, you can stop for a few hours, enjoy the sun, swim, surf, and perhaps even camp.
You can also discover some hidden locations along your way and stop to explore them.
On top of that, you can stop and camp in the wild -- nature parks, close to hiking trails, fishing spots, and so on. You just need to make sure that you are not breaking any local regulations.
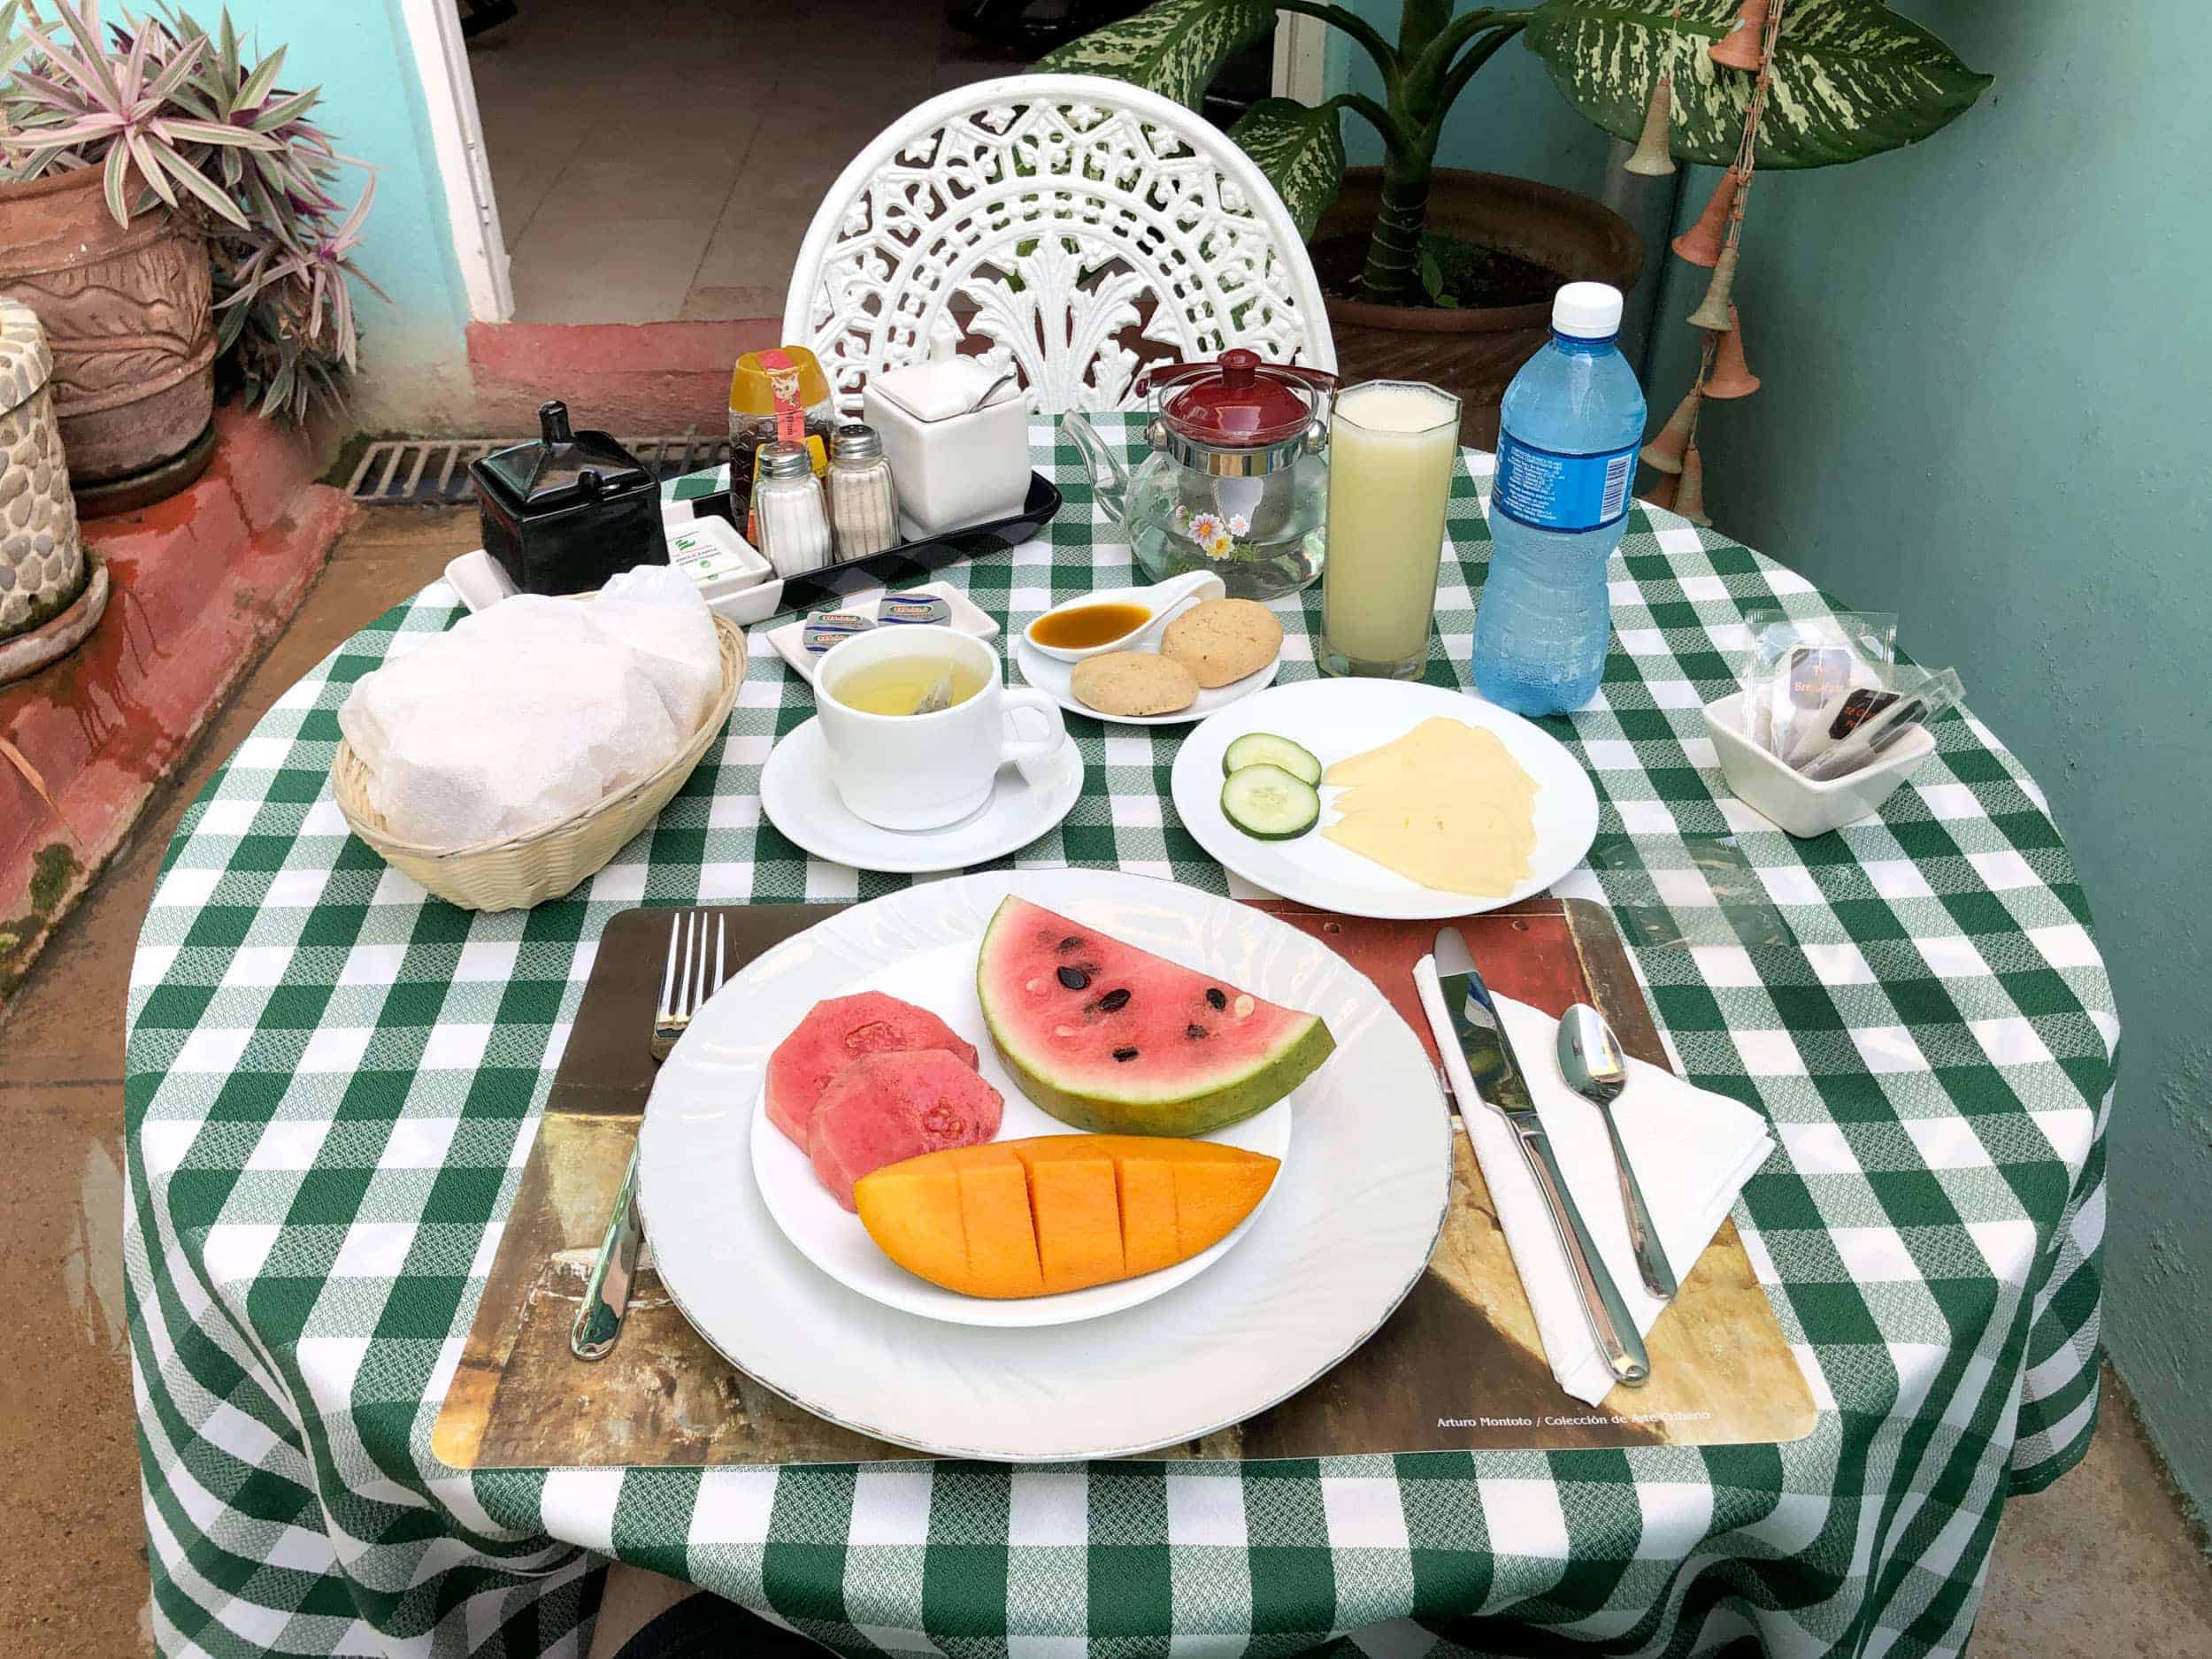
3. Home-cooked meals
Camping in tents or staying in a hostel during your backpacking vacation in Portugal can make it hard to prepare your meals.
To start with, some hostels might not have kitchen facilities and appliances.
As for camping, you must carry with you the appliances you need, which will only add weight to your backpack. And unless you hire a car, moving around with the extra stuff can be an inconvenience.
It is thus no surprise that most backpackers usually end up opting for restaurant meals, street food, and takeout, as opposed to cooking their meals.
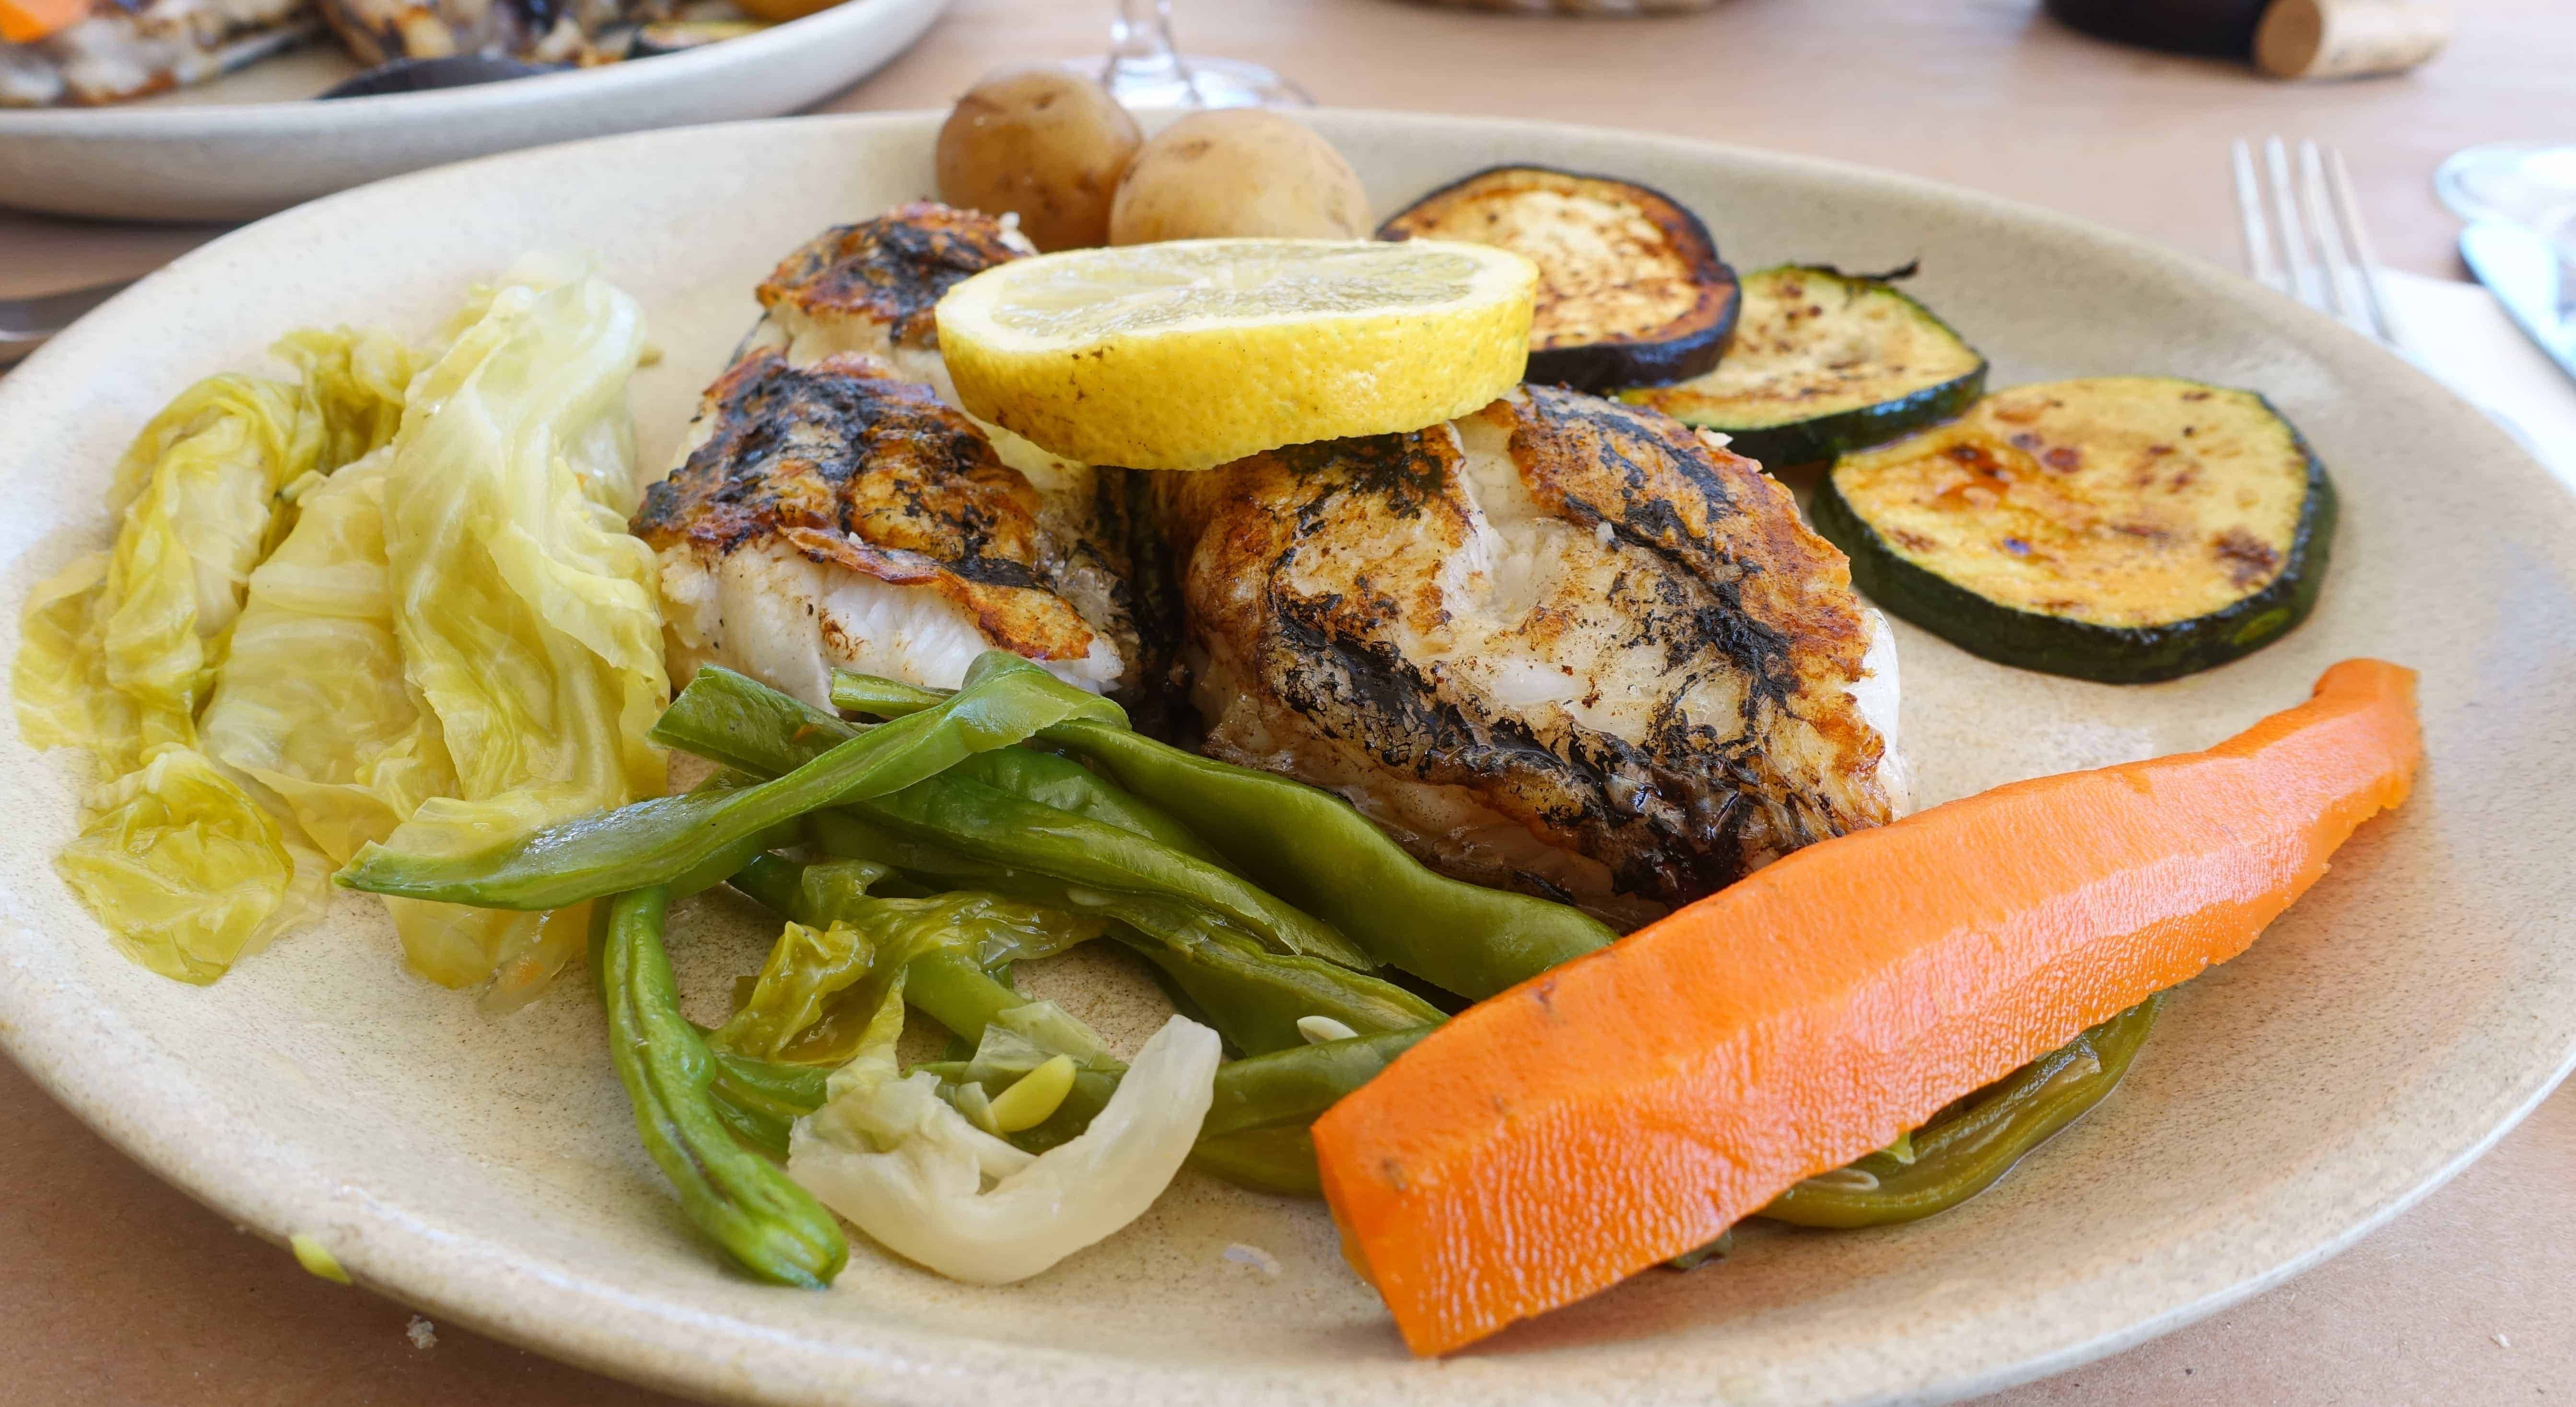
Luckily, with a campervan, cooking homemade meals when backpacking is an easy task.
Most campervans in Portugal, especially modern ones, come with a fully functioning kitchen. Therefore, you can shop for foodstuffs and groceries and make your home-cooked meals.
This will help you to save money (on the usually expensive restaurant meals and takeout) while allowing you to enjoy healthy and delicious meals.
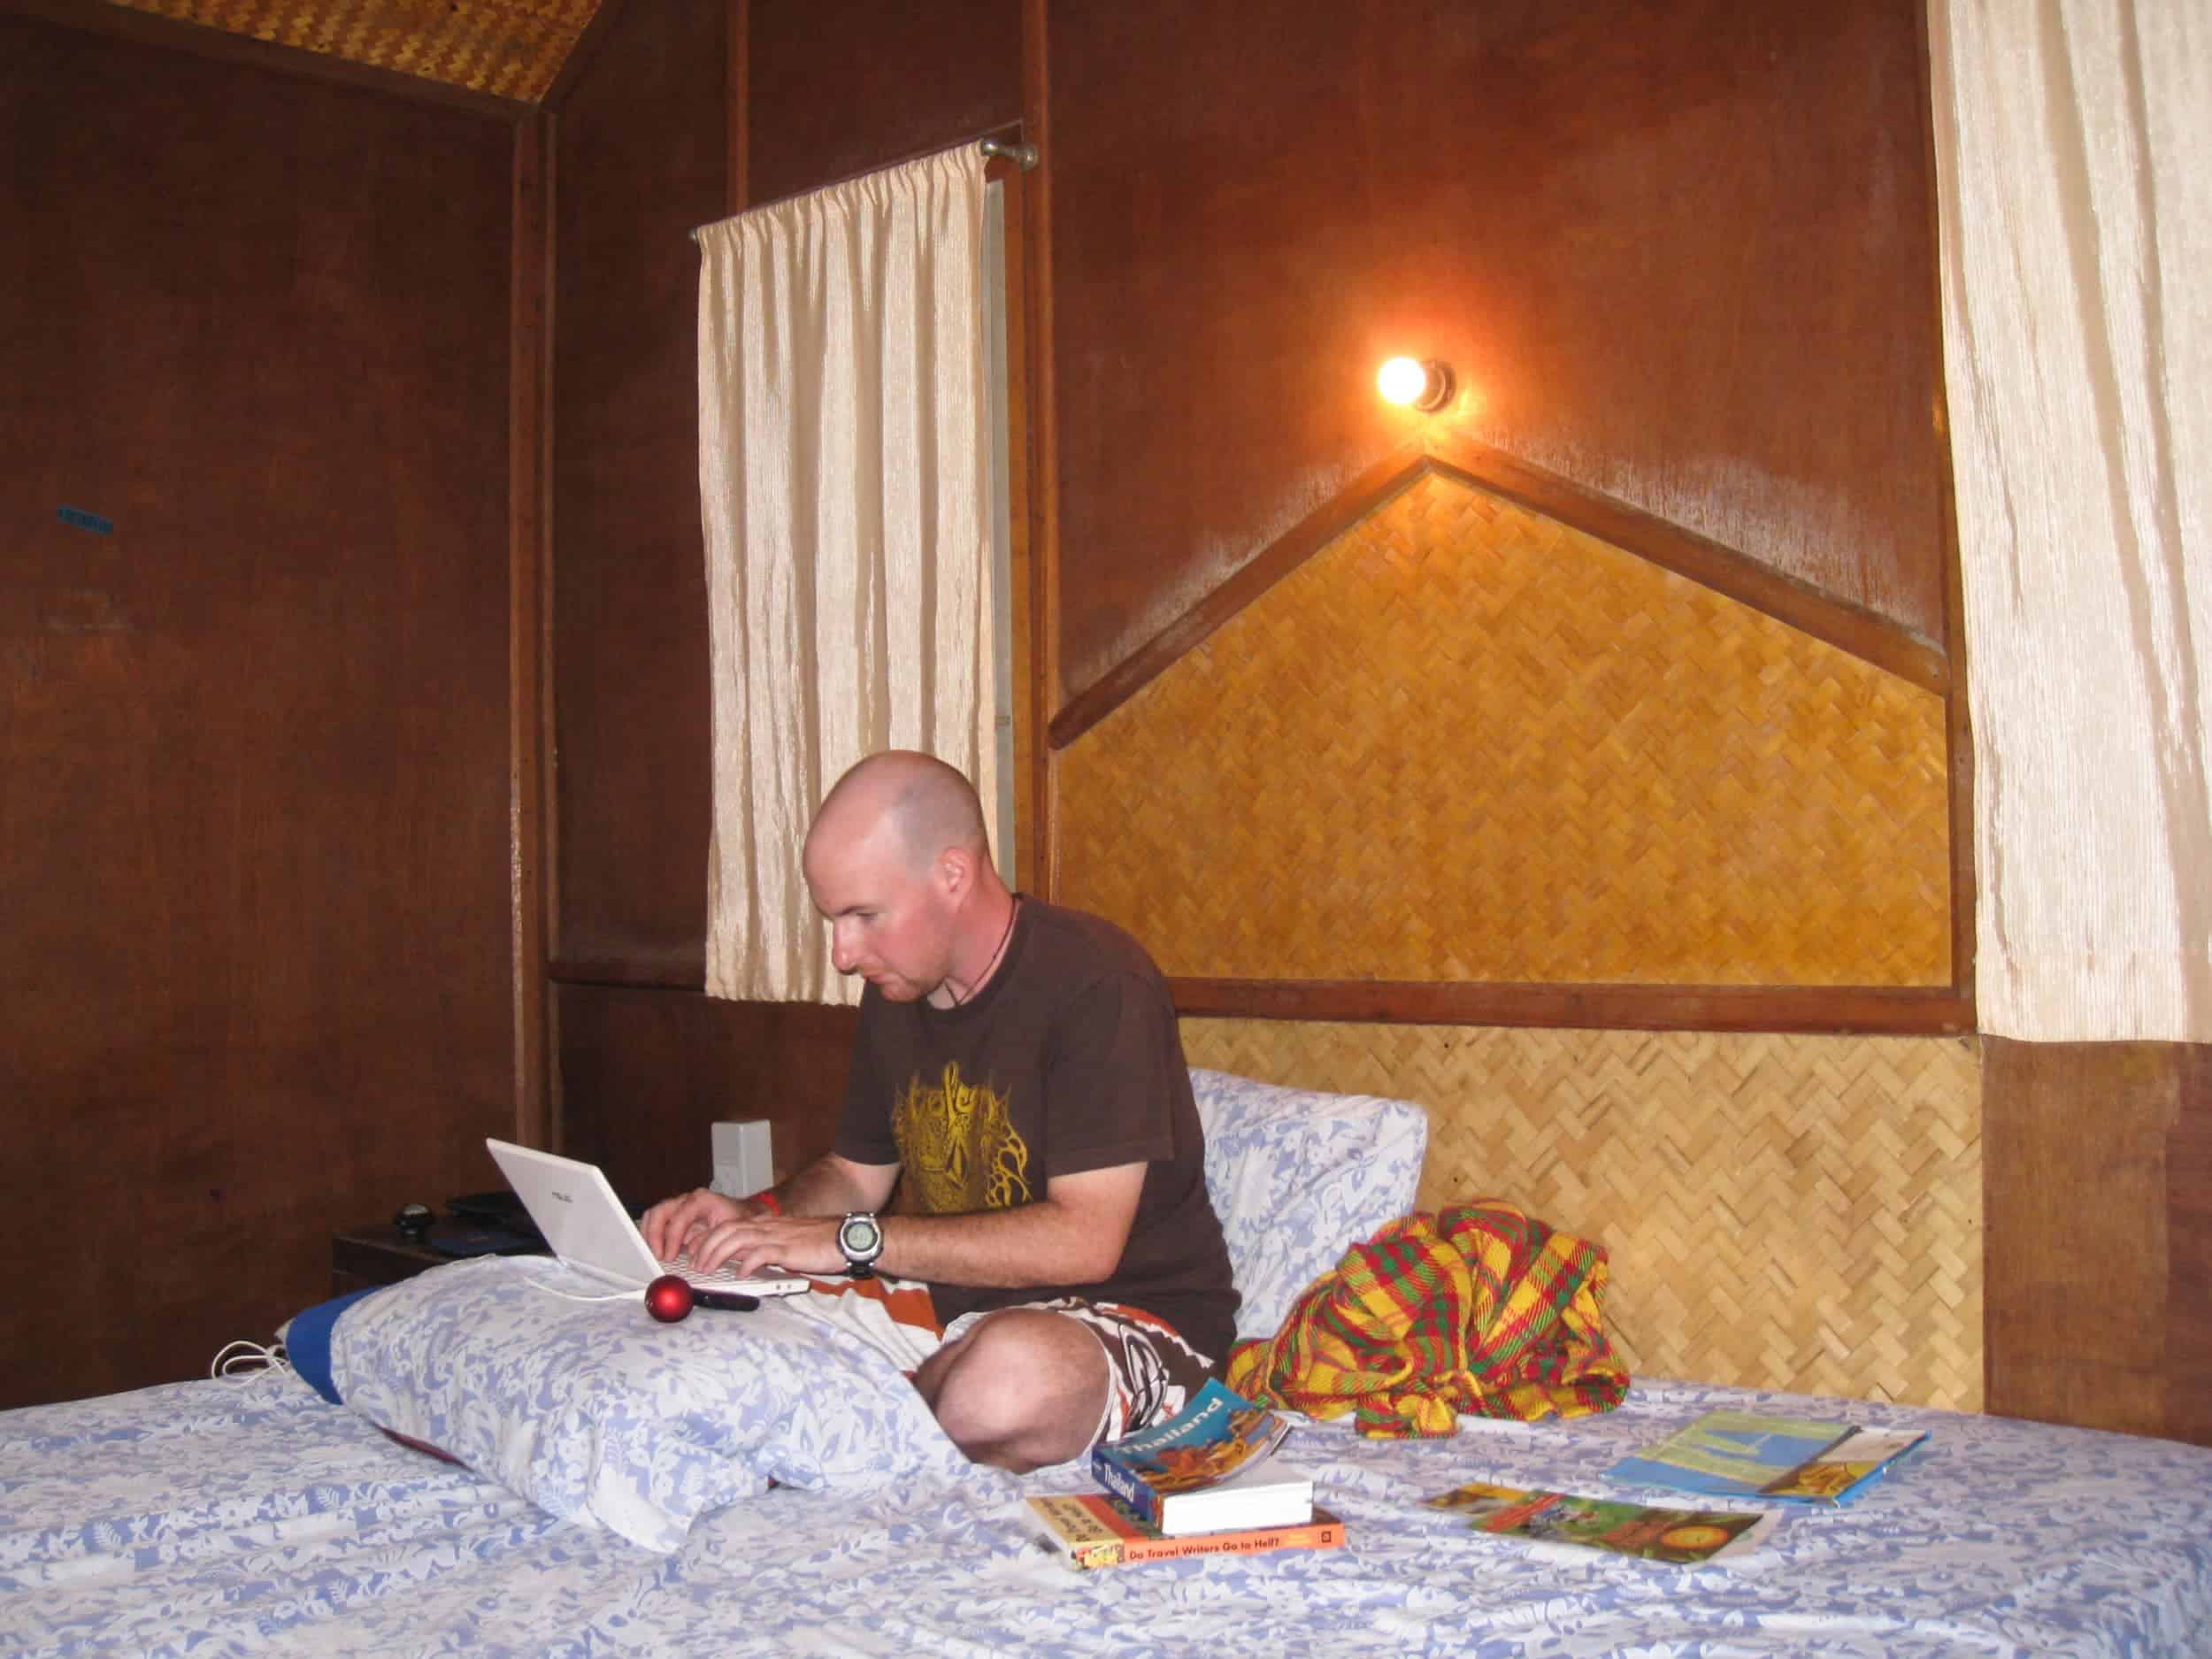
4. Power for your devices
If you decide to camp in a tent while backpacking through Portugal, one of the luxuries you might have to give up on is power for your devices.
The best you can do is carry a big power bank or portable solar panels to power your devices, but this will add to your luggage size.
Alternatively, you can seek out places with power along the way to charge your devices.
However, you might not always come across places to charge, especially if you are in a hurry or camping in remote areas. Traveling by campervan in Portugal can help to solve this problem.
Modern motorhomes come with solar power, and some even have generators and mains electricity connection (when comping in areas with electricity).
Therefore, regardless of where you are, you are guaranteed enough power for all of your devices.
As a result, you can bring along devices such as a laptop, tablet, smartphone, and camera.
With a campervan, you don't have to worry about being bored or not being able to capture memorable moments because your devices lose their charge.
5. No time wasted setting and packing up a camp
Another downside of opting to camp when backpacking is that you spend a lot of time searching for a campground and setting up a tent.
Also, when moving to the next destination, you have to pack up the camp and then begin the process all over again in the following location.
The time you take to set up and pack up your camp can eat into your vacation time, thus making you miss out on some amazing attractions.
This is why hiring a campervan for your backpacking vacation is such a great idea. With a campervan, you do not have to worry about setting up a camp and packing it up when you are done.
You simply stop where you want to spend the night, relax, and pick up again the following morning. While camping can be a fantastic experience when touring Portugal, it is not as comfortable.
If you are looking to enjoy some much-needed comfort during your backpacking trip, hiring a campervan in Portugal is the way to go.
From a comfortable bed, private living spaces, flexible itinerary, cheap and convenient transportation, and more, a campervan can make your vacation smooth and stress-free, thus ensuring that you enjoy it to the fullest.
_____
This story was brought to you in partnership with Siesta Campers.