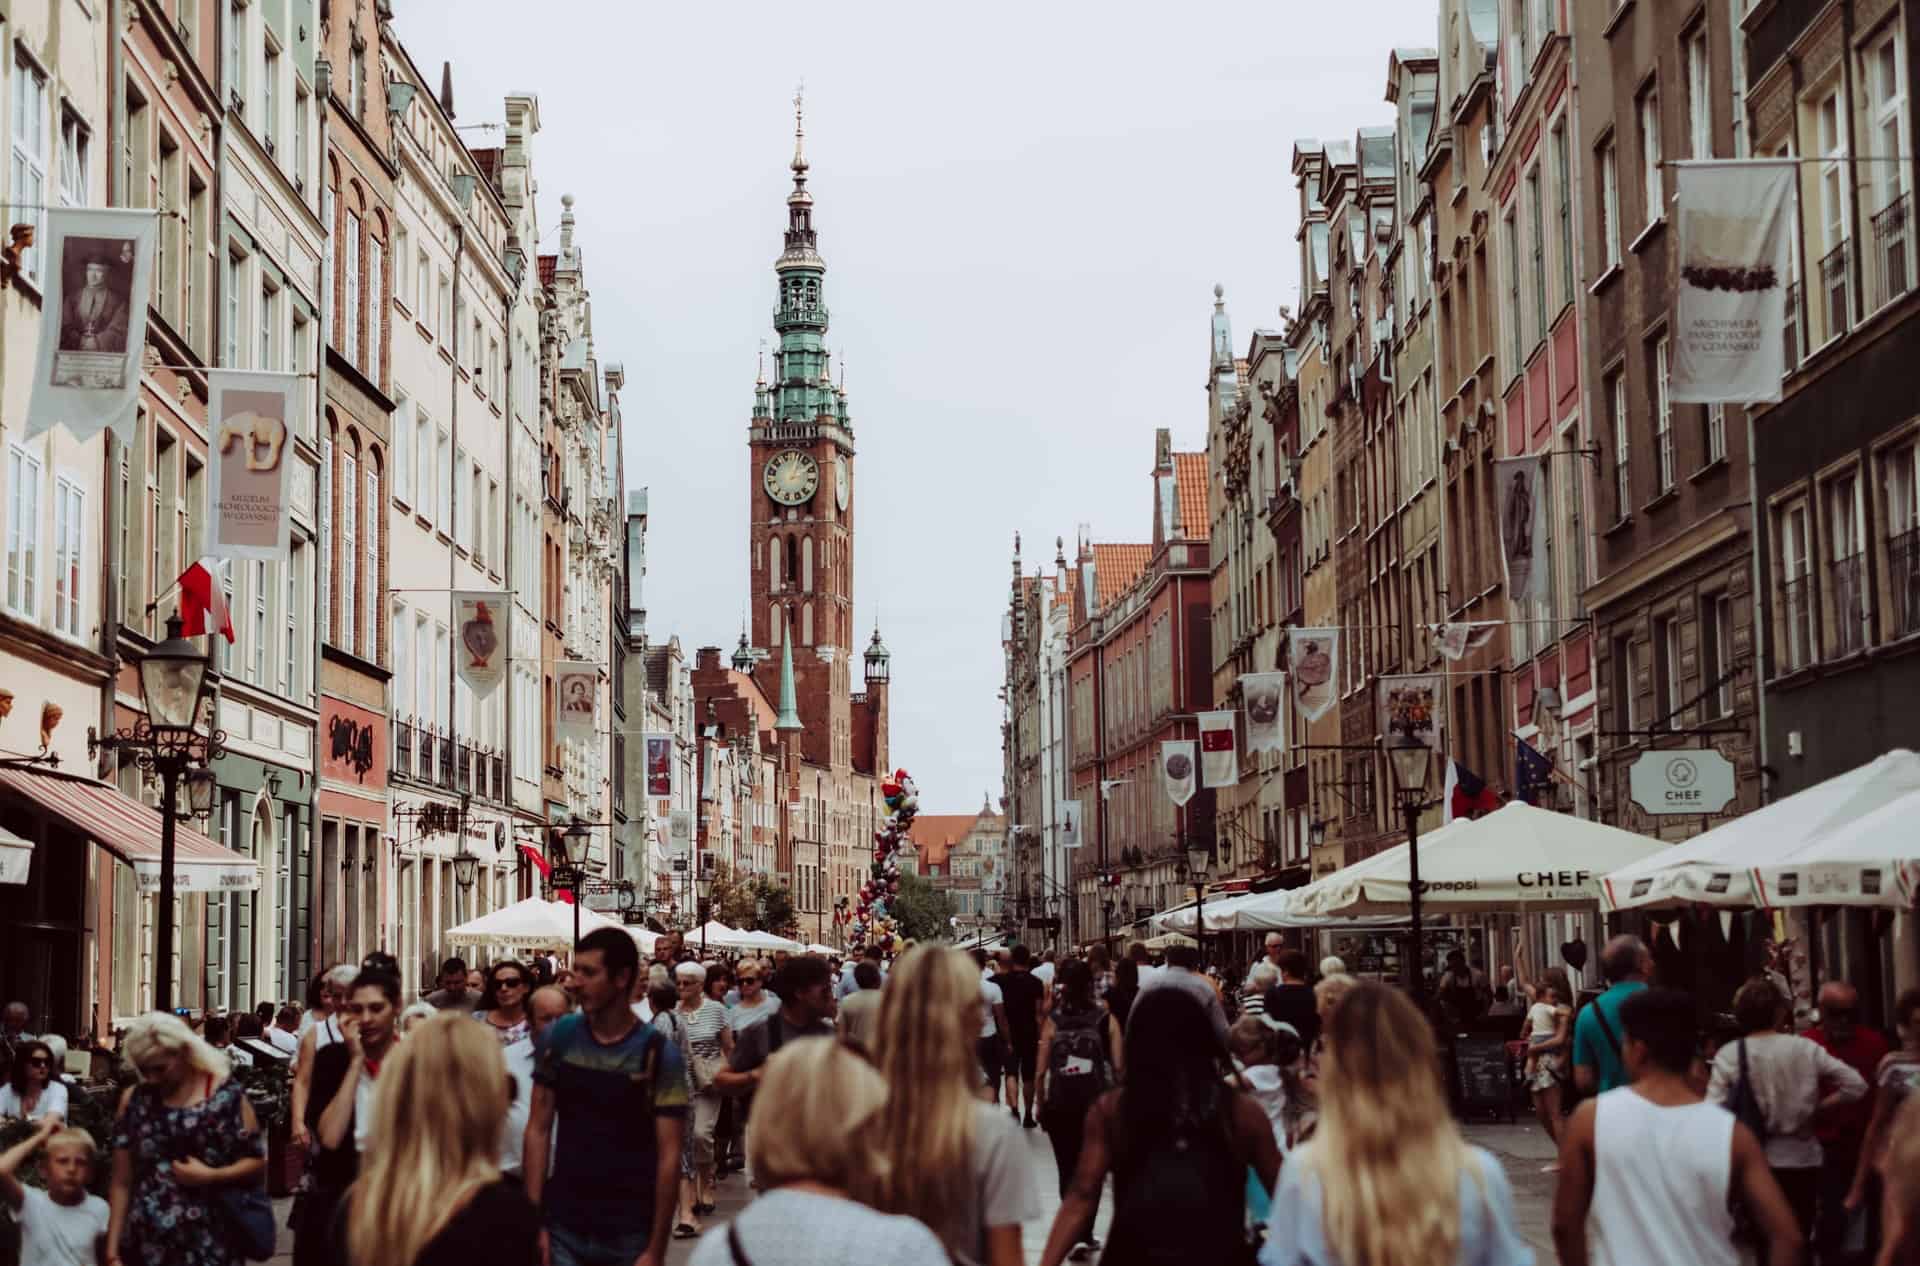
There are never-ending possibilities to have fun in Amsterdam. It's lively, inclusive, and innovative. If you plan to visit Amsterdam, you probably already know about all the go-to spots for tourists, but that's not where you get to see the city.
Instead of following the usual itinerary for Amsterdam, we've combined a list of hidden gems across the city, where you will see and experience firsthand how the locals live and have fun in their free time. Plus, you won't get swallowed up by the enormous crowds of tourists, which is a nice bonus.
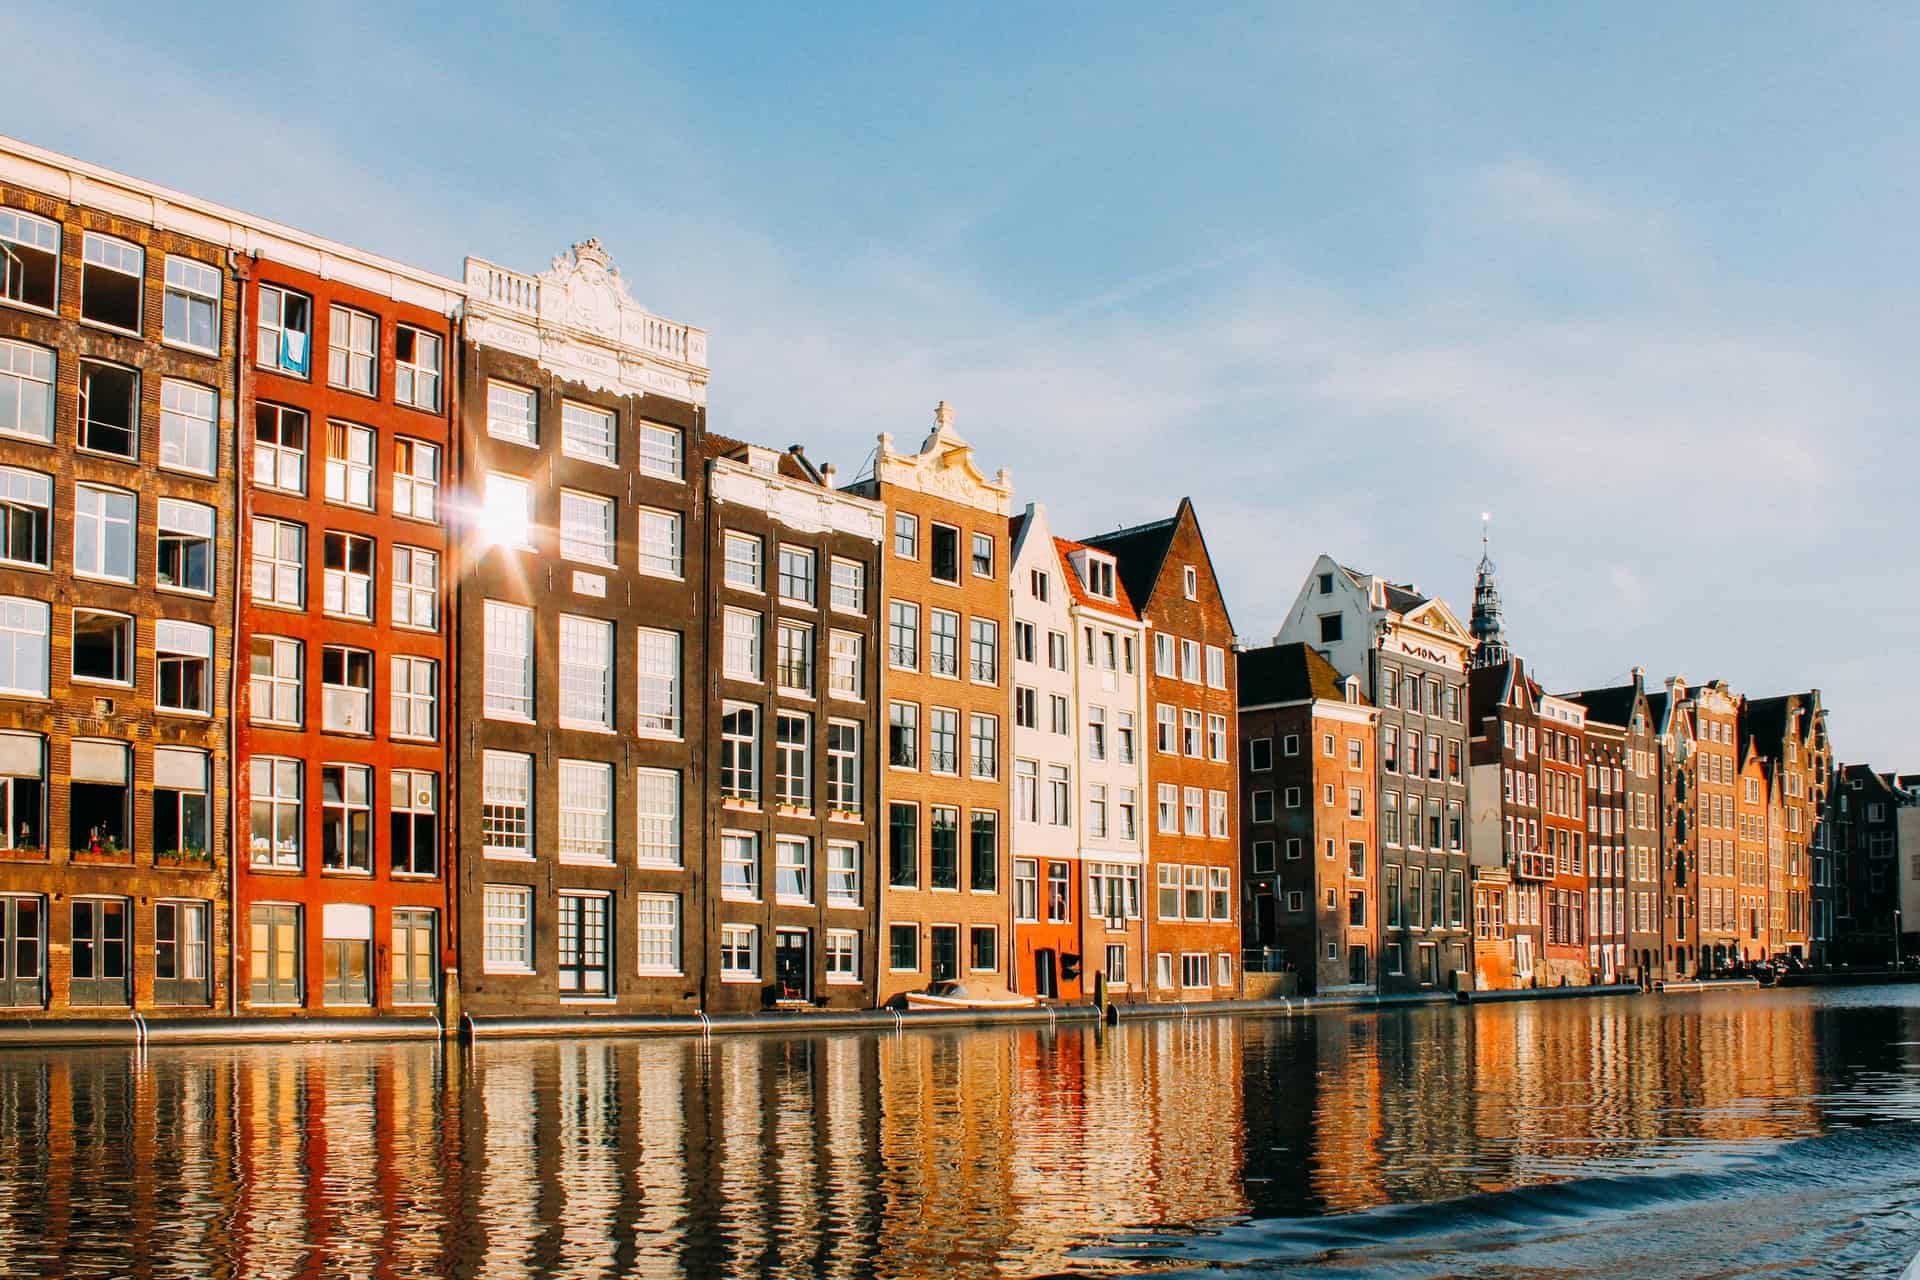
Table of Contents
Lesser-Known Attractions
1. Czaar Peterstraat
This lovely tree-lined street in Amsterdam is filled with independently-owned stores and cafes. Every establishment has its unique vibe, inspiring story, and distinct style.
The street offers an entirely different feel from what you'd experience in a city center, where all the cafes and shops are indistinguishable and lack character. Here, the locals like to spend a nice day outside, shopping and taking a coffee break between purchases.
This street houses the Netherlands' first peanut butter shop, De Pindakaaswinkel, and boutique shops like Dreamboat Design, which are perfect for gifts at any time of the year.
You can also get some delicious waffles at Wicked Waffles or have a piece of cake at Coffee and Friends. If you feel like having something heartier at the end of the day, you can visit a local favorite, InStock, which uses rescued food in all of its dishes.
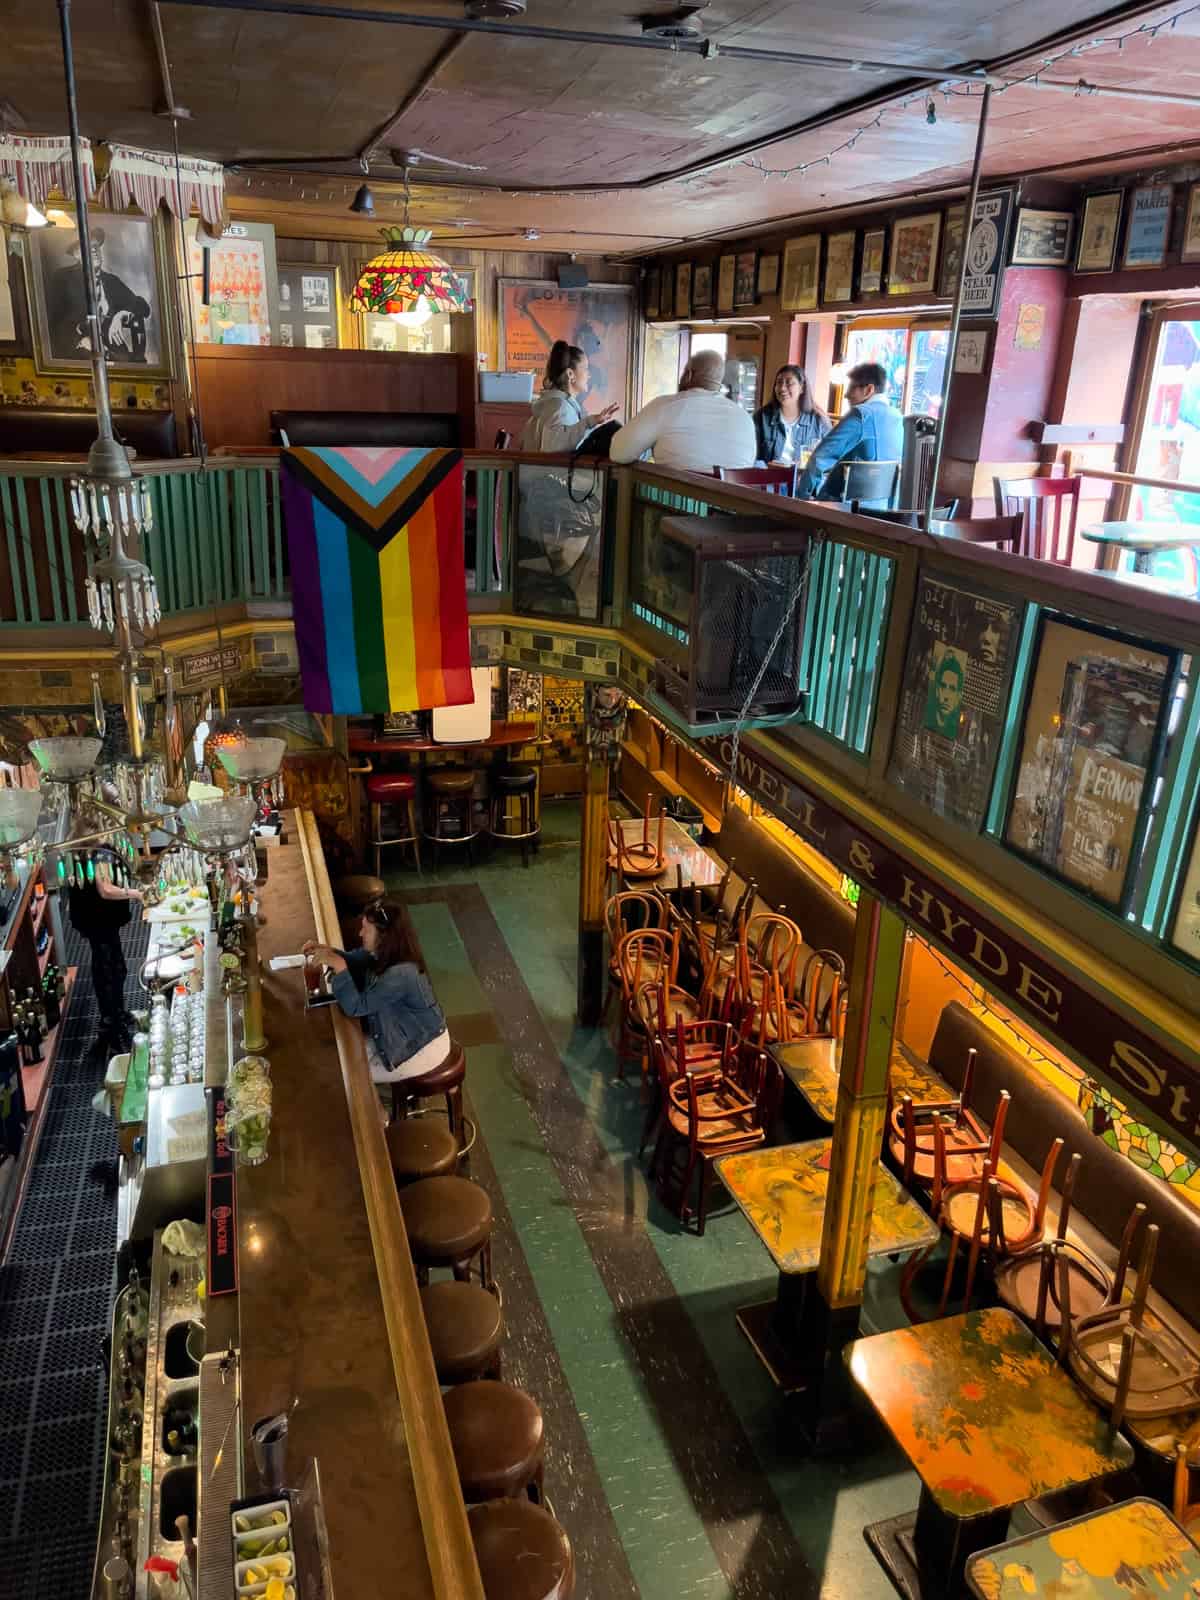
2. IJ Brewery
Located next to the Netherlands' tallest windmill, IJ Brewery is the home of Amsterdam's craft beer movement. "Brouwerij het IJ" was first created in 1985 in a former public bathhouse.
In the 1980s, finding good beer in Amsterdam was challenging, which is why the IJ Brewery was founded. Many followed in its footsteps, and soon, getting a nice pint of beer in Amsterdam was more effortless than ever.
IJ Brewery offers tours of its facilities where you can try various brews, including limited editions and seasonal brews. These breweries offer indoor and outdoor seating, but make sure to call in advance to secure a table for the evening.
3. An Original Picasso in the Vondelpark
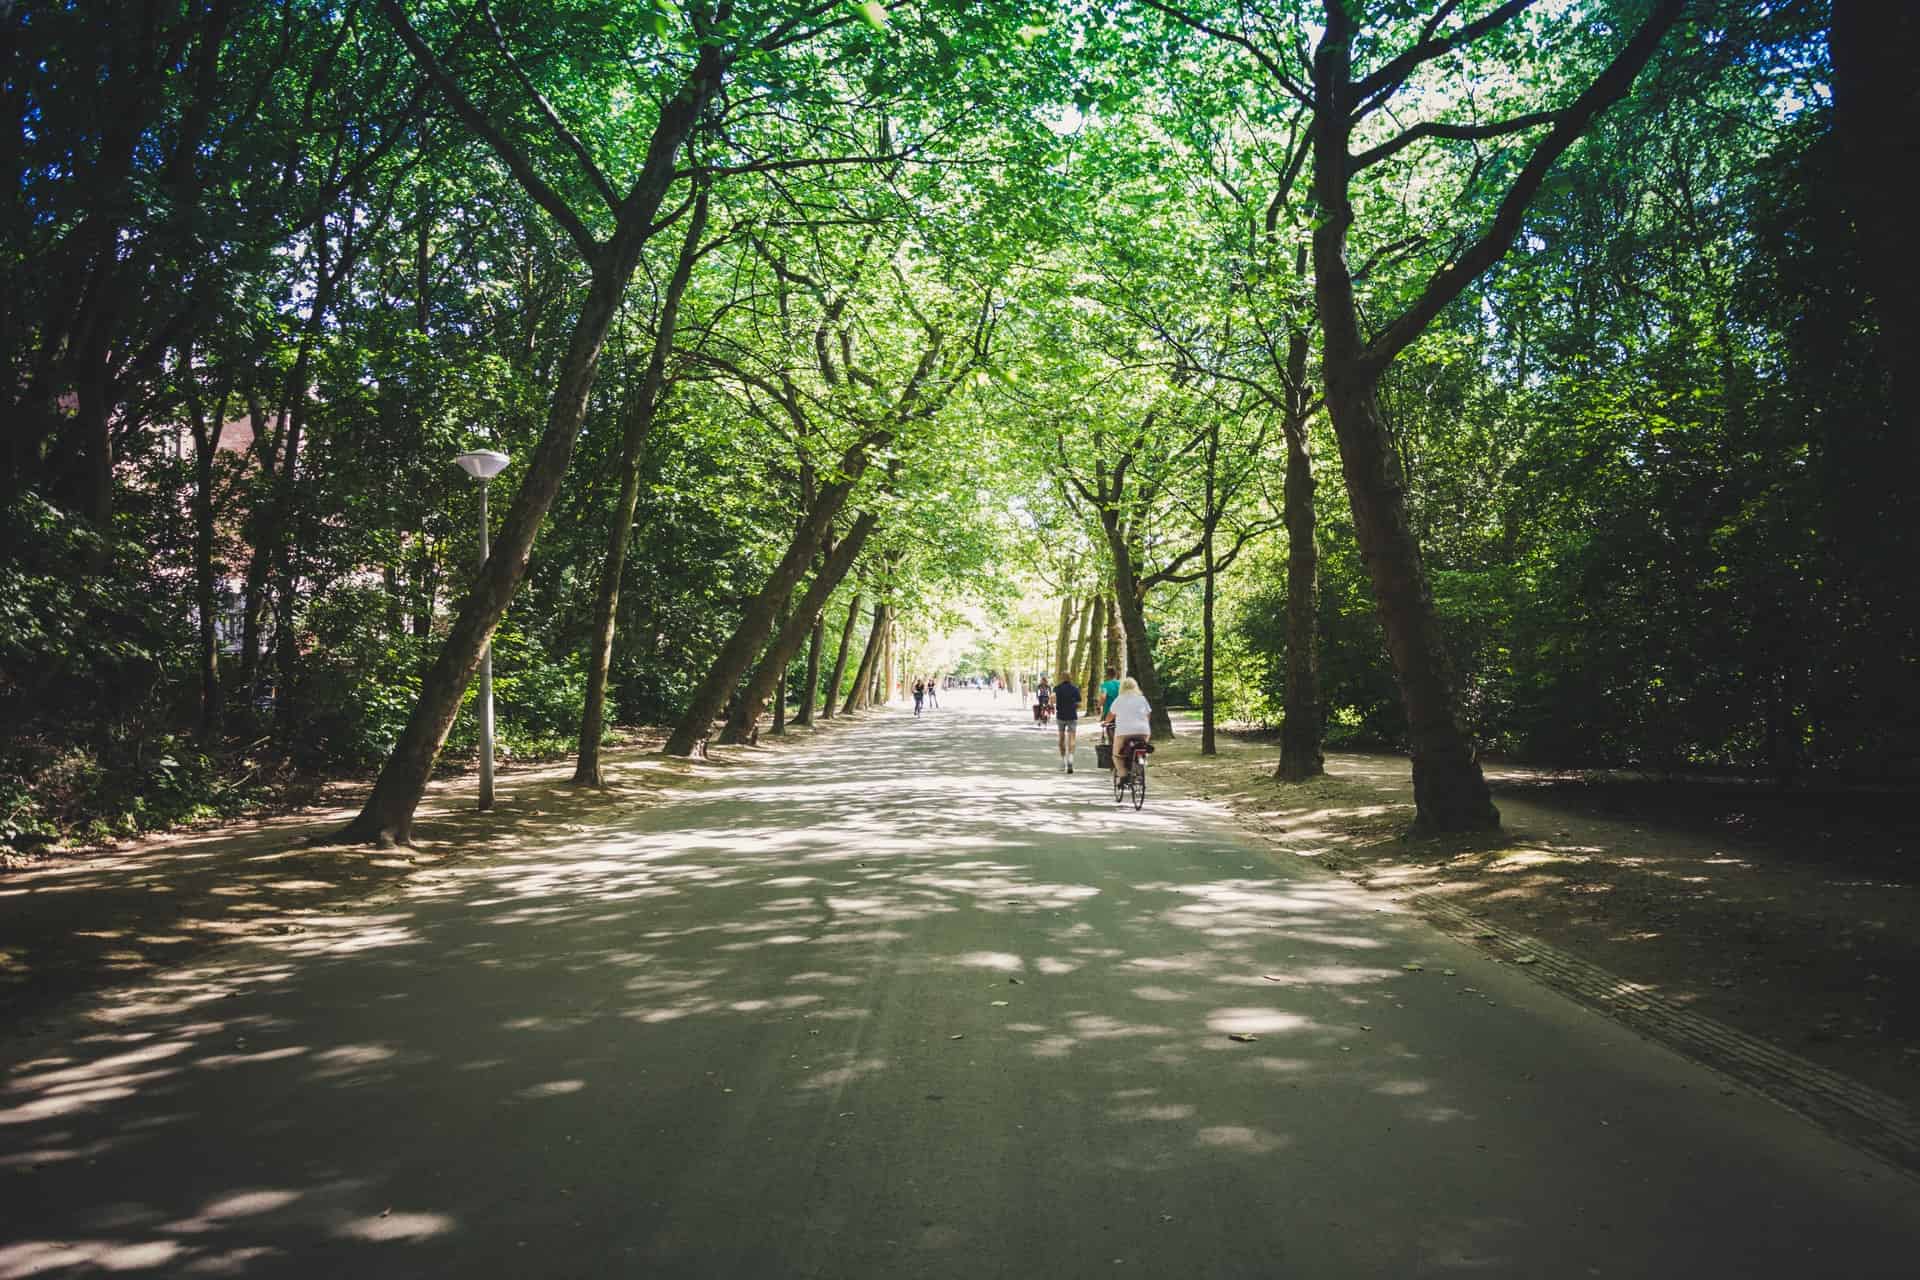
Vondelpark is a beautiful park to visit if you love outdoor picnics or being near nature in general. But what many people don't know is that there is an original Picasso sculpture in Vondelpark.
Picasso donated the "Figure decoupee l'Oiseau" or "The Bird" to the city to honor his friendship with Willem Sandberg, a former director of the Stedelijk Museum.
The sculpture was created in 1965 as part of an outdoor exhibition celebrating Vondelpark's 100th anniversary. After the exhibition, the famous painter donated it to the city, where it has remained ever since.
4. An 18th-Century Herbalist's Shop
Near Nieuwmarkt, an 18th-century herbalist's shop opened in 1743. The shop still has the original decor, small barrels that feature the Latin names of the herbs and plants, wooden drawers, and a unique set of scales embellished with two serpents.
If you feel like going back in time, visit this herbalist's shop, which will transport you to the 18th century.
5. Buddhist Temple in the Old Town
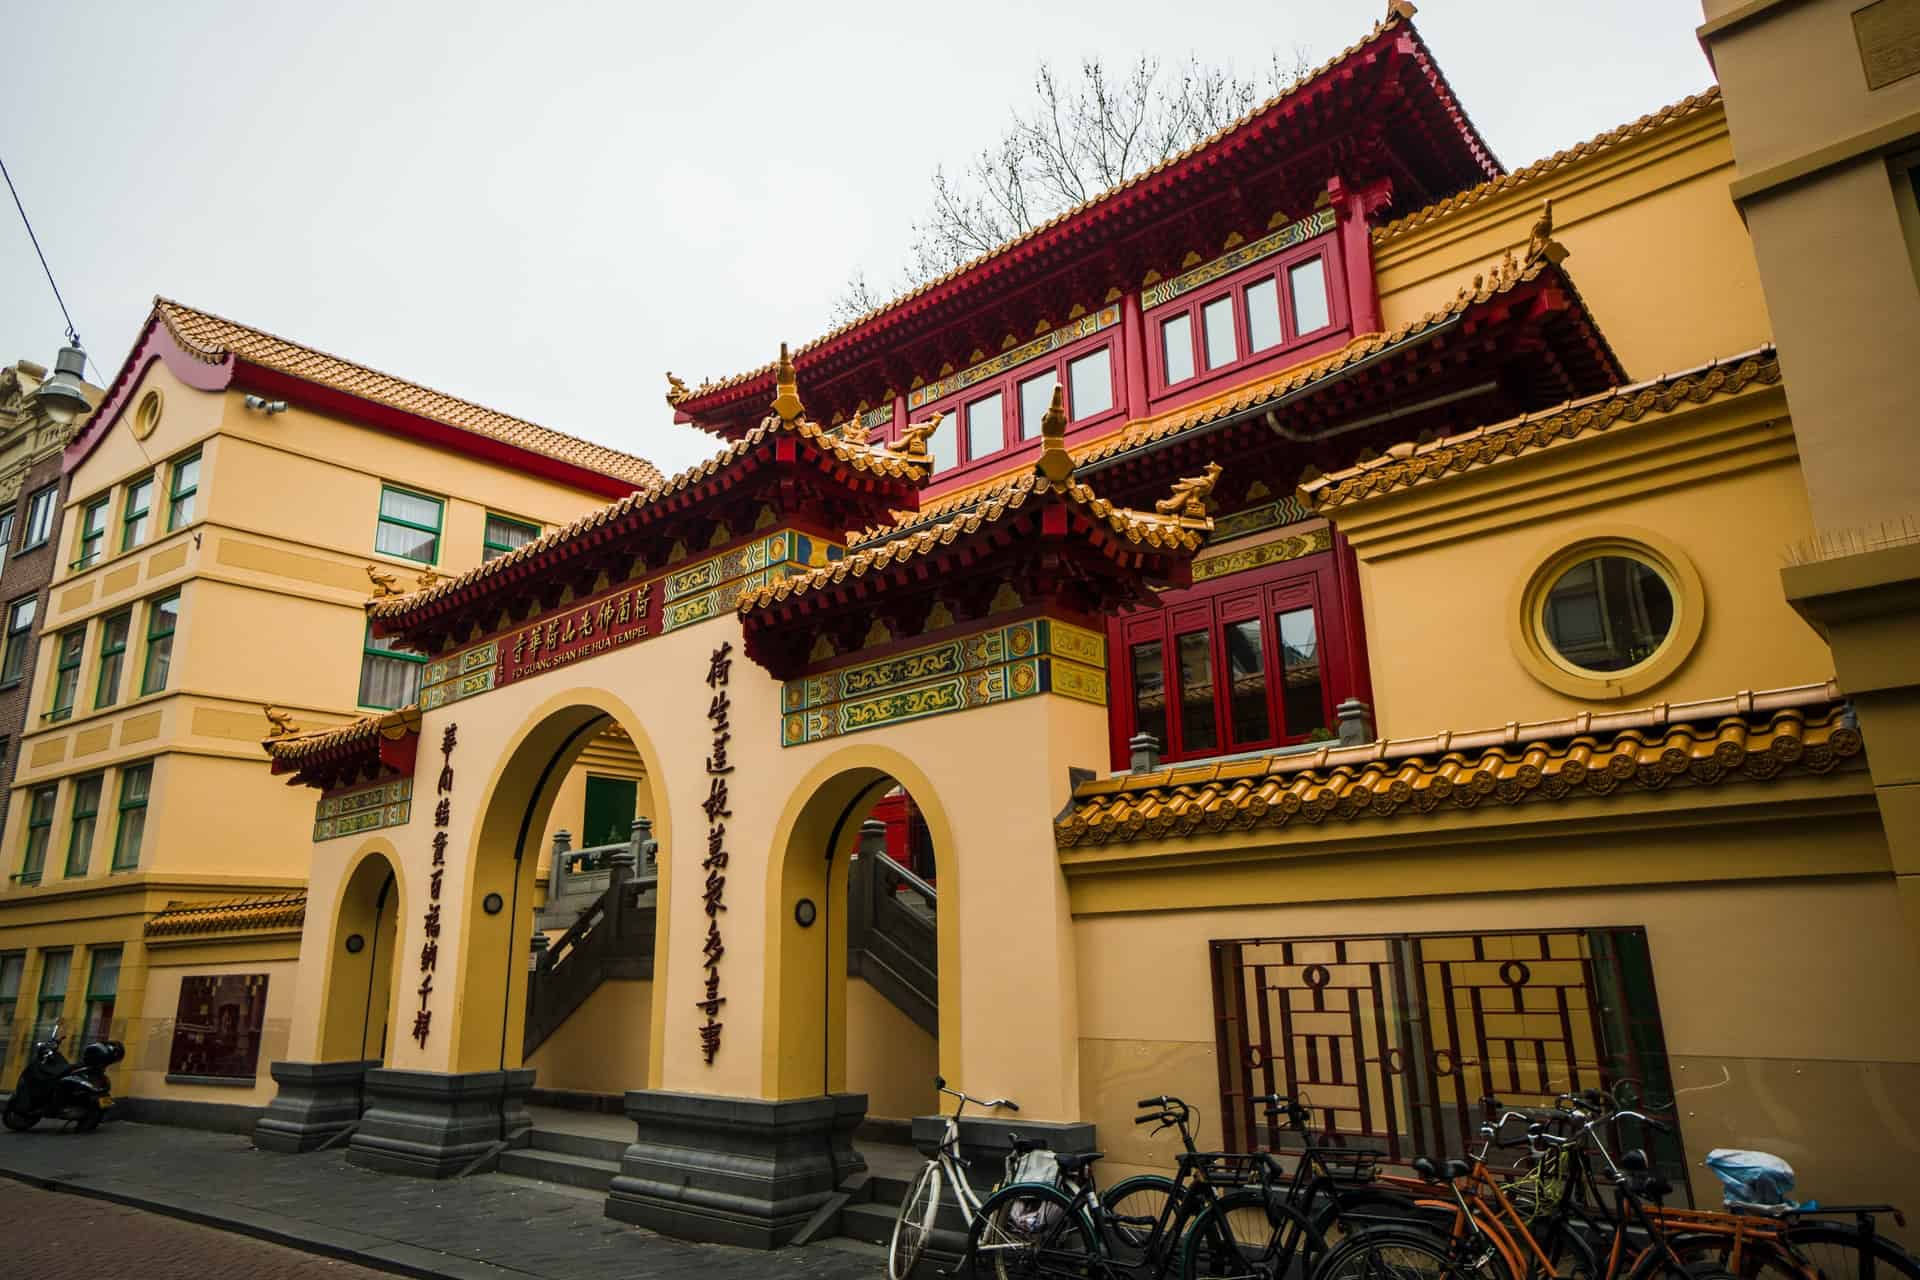
The golden-tiled Fo Guang Shan temple is often described as a "slice of Shanghai in the heart of Amsterdam." The temple is in Chinatown, part of the city's historic center. Its ornamentation simultaneously complements the surroundings and stands out.
The temple is open to the public on Saturdays and even offers guided tours. Visitors can reserve a spot for a tour that includes guided meditation.
How To Stay Safe Traveling in Amsterdam
Keep Personal Items Close
Amsterdam is generally a safe city, but pickpockets usually manage to snag a purse or two in areas with many tourists. There are never-ending possibilities to have fun in Amsterdam. It's lively, inclusive, and innovative. If you plan
Avoid Using Public Wi-Fi
Access to the Internet is essential when traveling, so it's understandable that tourists may be tempted to use public Wi-Fi. However, most people don't know the real risks of using public Wi-Fi. Because these network connections aren't encrypted, they are more vulnerable to attacks.
If you have to use public Wi-Fi, use it through a VPN. Get the fastest VPN on the market and browse the web with public Wi-Fi without risks.
_______
This story is brought to you in partnership with Harold Kilpatriack of PR Consultancy.